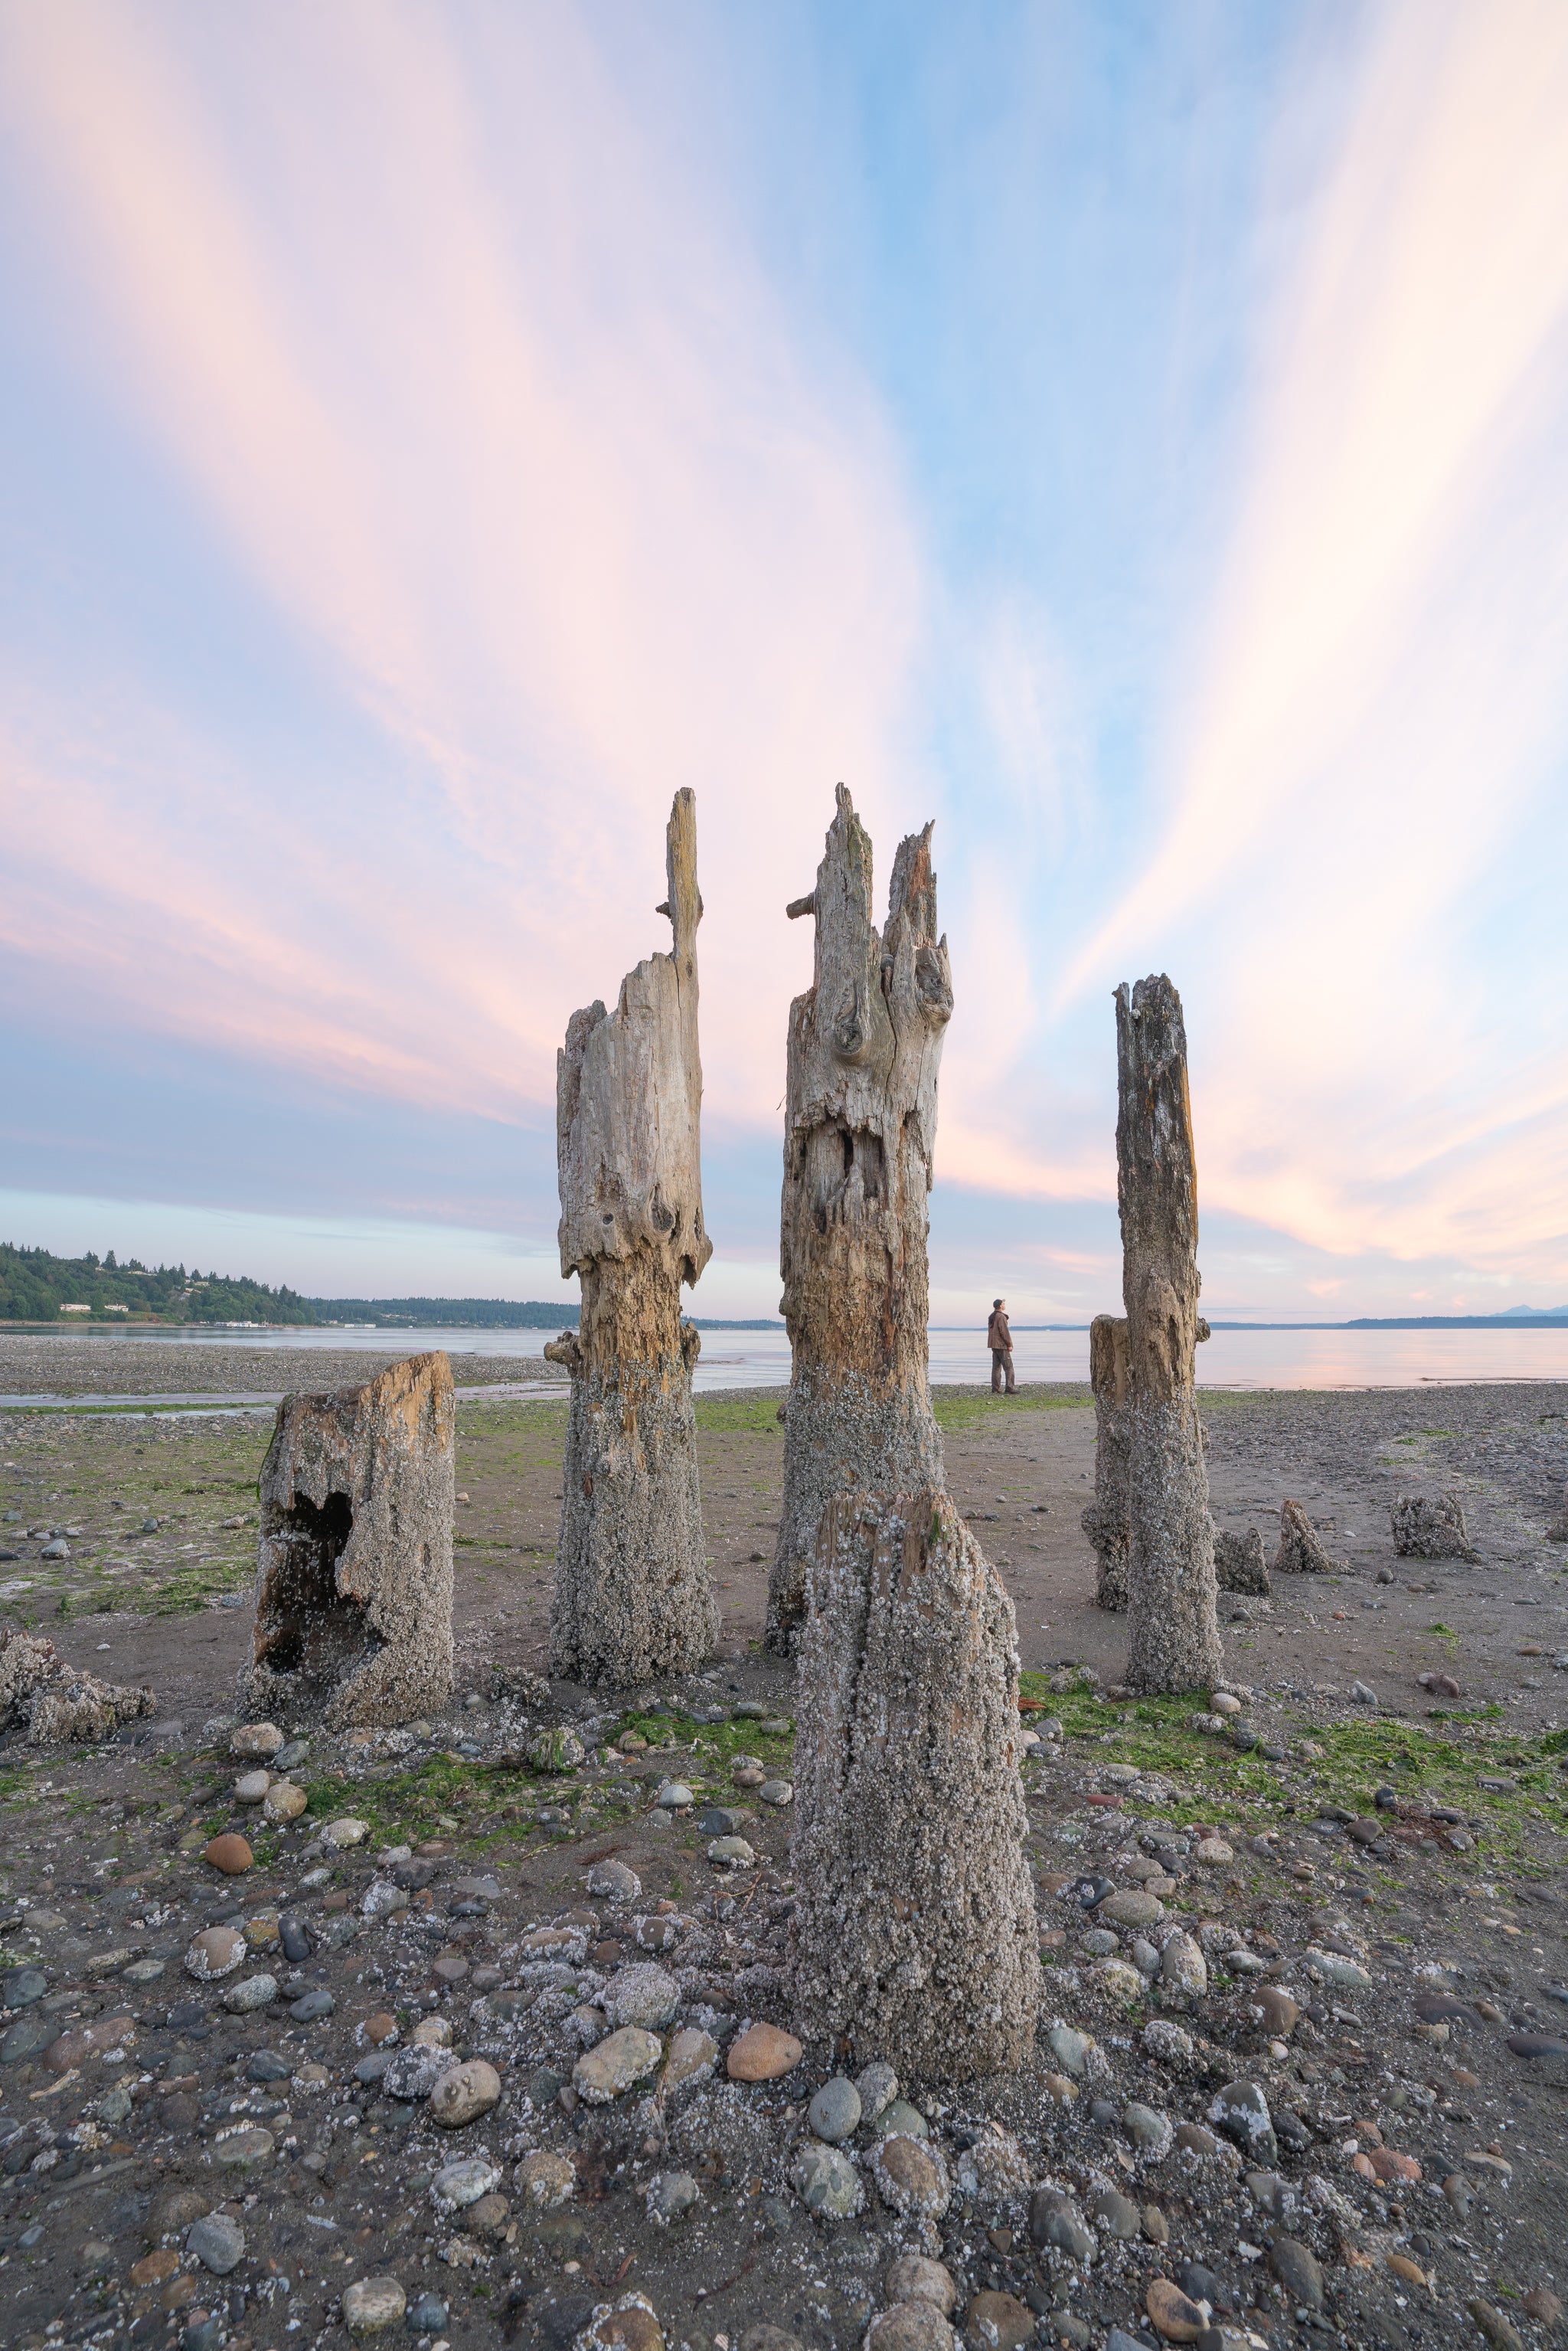
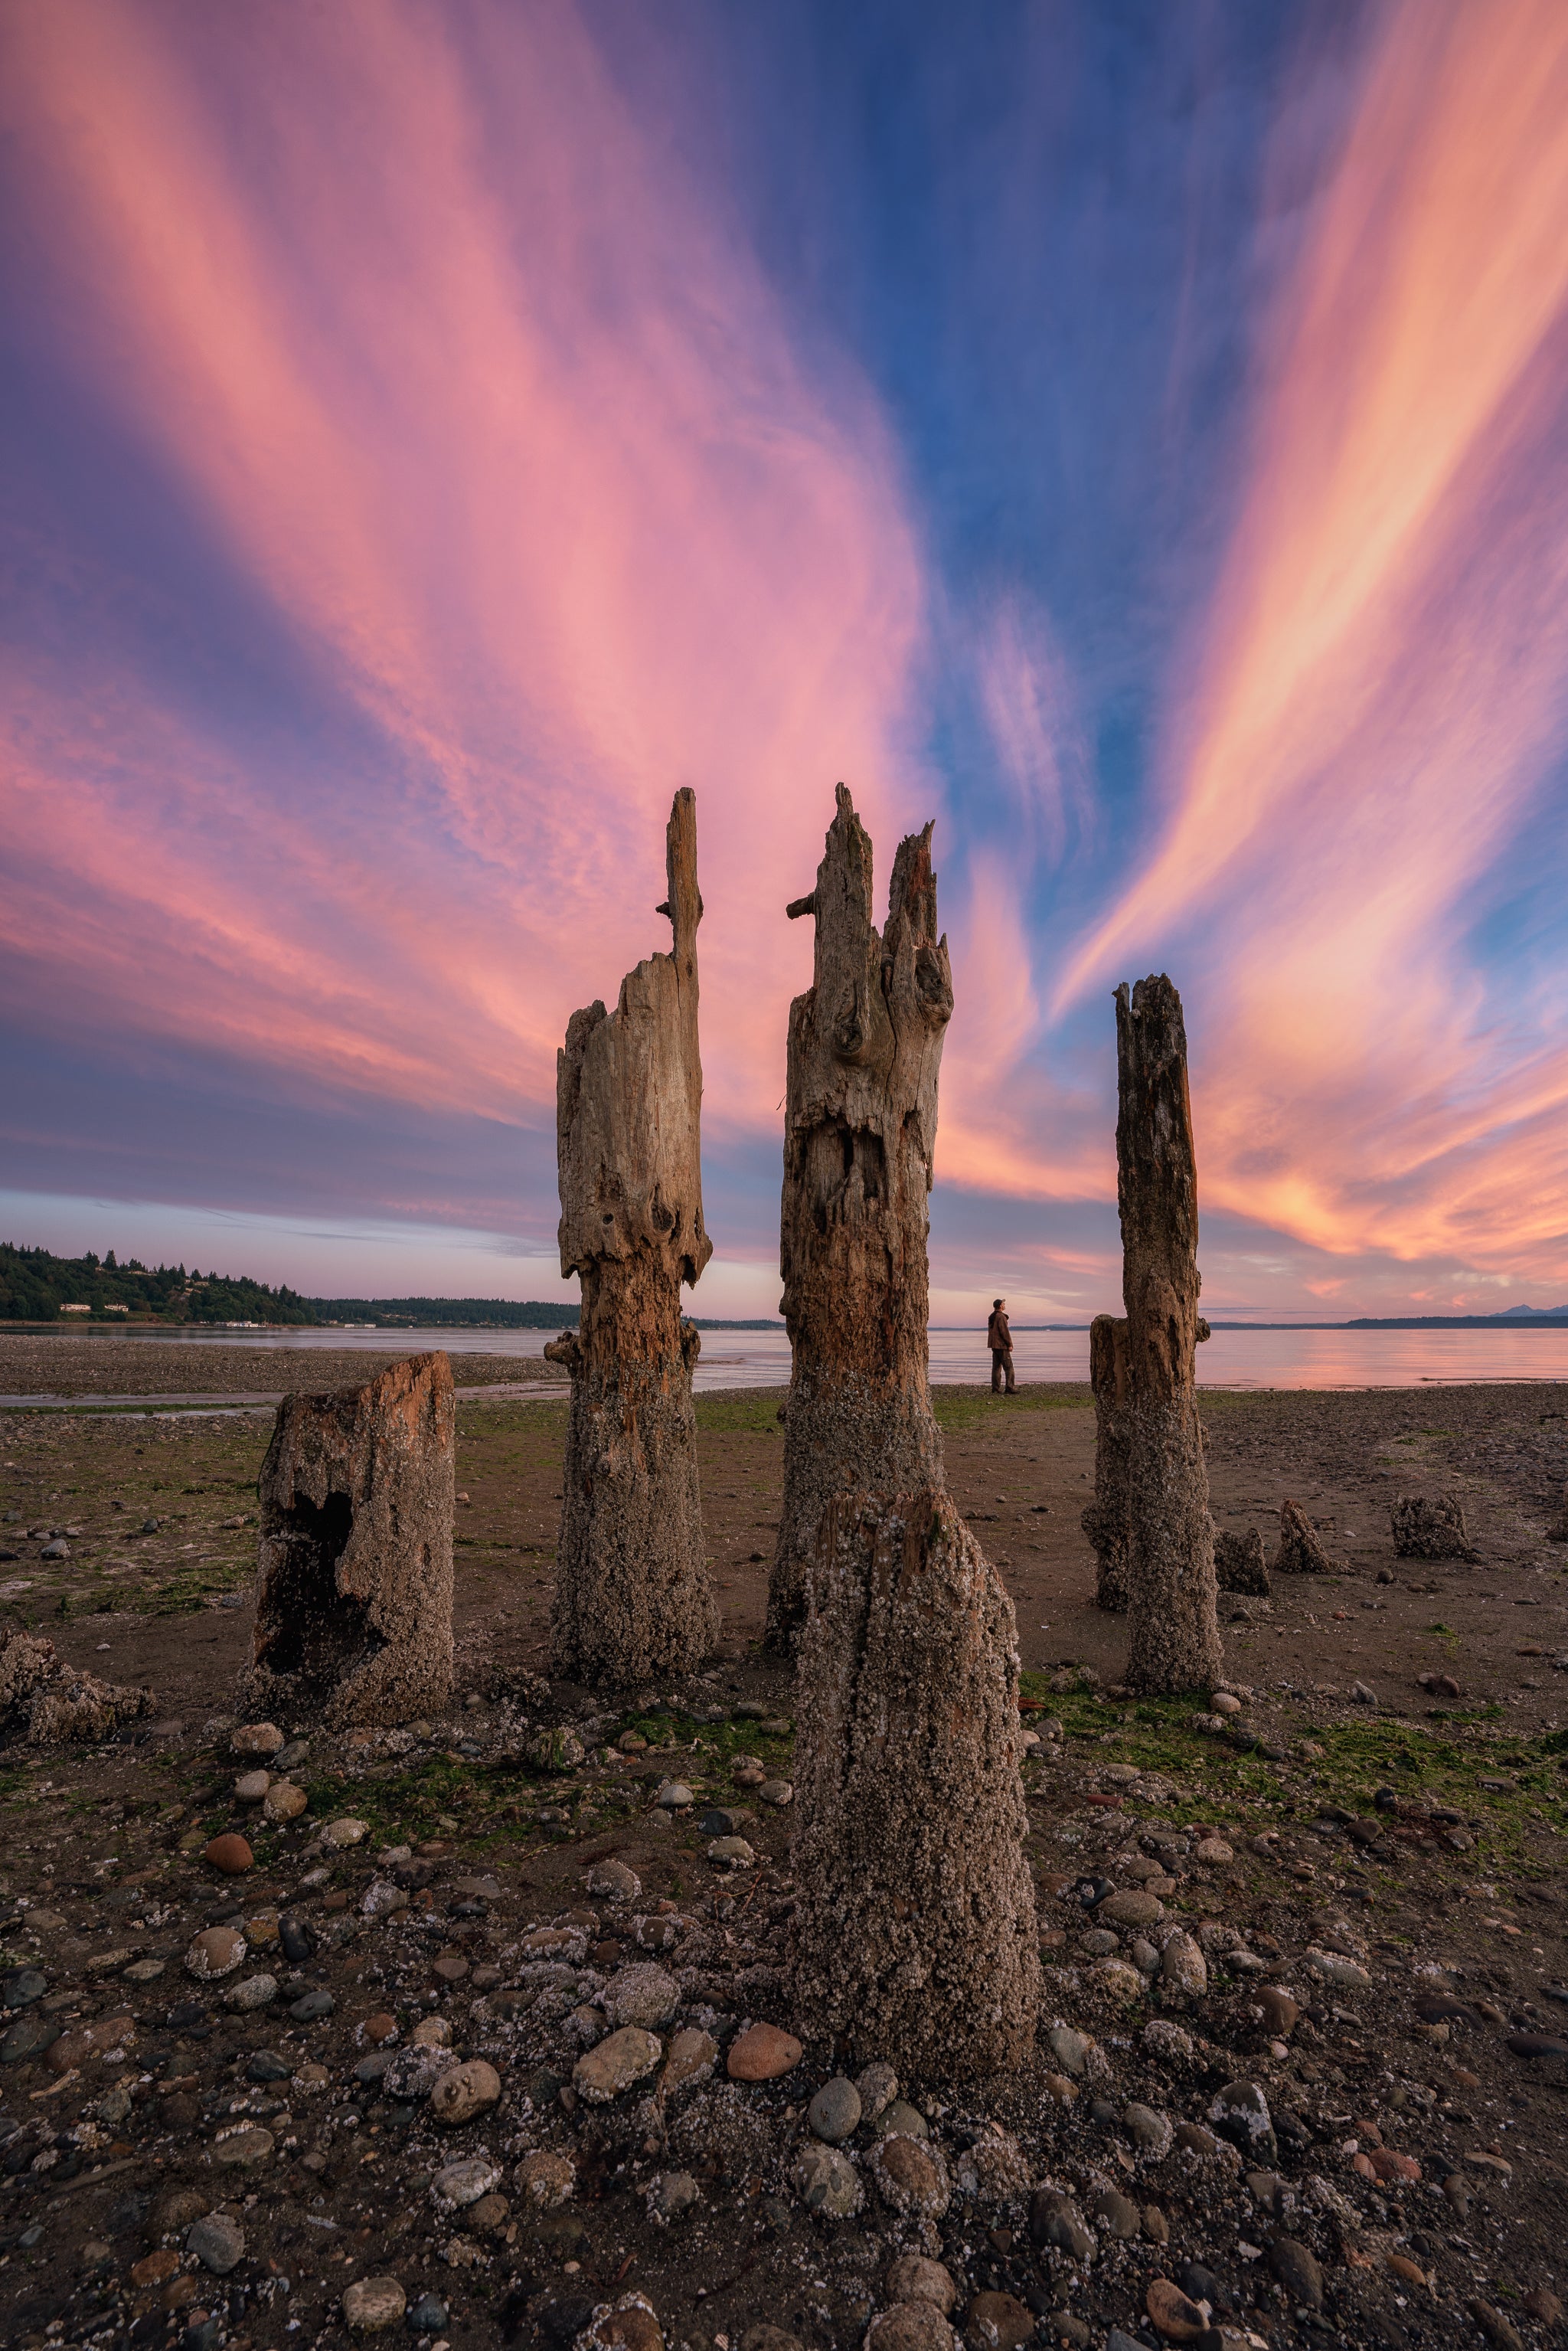
As a landscape photographer, there are four technical aspects I always perseverate over: lens sharpness, sensor noise, image resolution and dynamic range. The first three I can judge as soon as I take a photograph. All I have to do is zoom up to 100% and I can evaluate sharpness, resolution and noise very easily. What I cannot scrutinize, however, is dynamic range, because all previews on a digital camera are based on the corresponding JPEG algorithm used to generate the preview. You could use the histogram, of course, but there is one drawback to that. A histogram only shows blown highlights once all three channels (RGB) are out of range. If just one is out of range, the histogram will not reflect it. This is where the combination of Zebra, HLG and BT.2020 which I set up in all of my Sony cameras, is invaluable. I learned this from my good friend, Rishi Sanyal, at DPReview.com.
Think of this as a “RAW histogram” or an extreme form of ETTR (Expose To The Right).

Sony α7R III. Sony 16-35mm f/2.8 G Master lens.
In the Picture Profile Menu set Gamma to HLG (Hybrid Log Gamma) and Color Mode to BT.2020 (has a broader color space coverage than SRGB or Adobe RGB). Then find the Zebra Setting. Turn Zebra Display on and set the Zebra Level to 100+. The image preview you see on your LCD will be very “washed out” and desaturated. However, if you shoot in RAW format, this file will give you the maximum highlight detail. You can adjust contrast and saturation to taste in post-processing, content in the knowledge that you eked out as much highlight detail as possible without blowing them out. Think of this as a “RAW histogram” or an extreme form of ETTR (Expose To The Right).

Sony α7R III. Sony 16-35mm f/2.8 G Master lens.
When evaluating your scene, increase your exposure compensation until you see the zebras turn on, which indicate areas of blown highlights (or color channels). At their first sighting, dial back the exposure 1/3 of a stop and zebra stripes should disappear. You’ve now completely nailed your highlight exposure. I’ve created a short video explaining this process.


