Jess Santos (@missjessbess) is a landscape and astro-photographer and currently based in Phoenix, Arizona. The Alpha Collective member spends over half the year on the road in her trusty Jeep named Joseph traveling the Southwest photographing the stars as well as teaching a variety of workshops. Santos is well-known for her beautifully blended astro-landscapes and we recently chatted with her to learn more about how she created this stunning image. Continue reading as Santos explains the gear, the process and the edit that went into creating this day and night composite image.
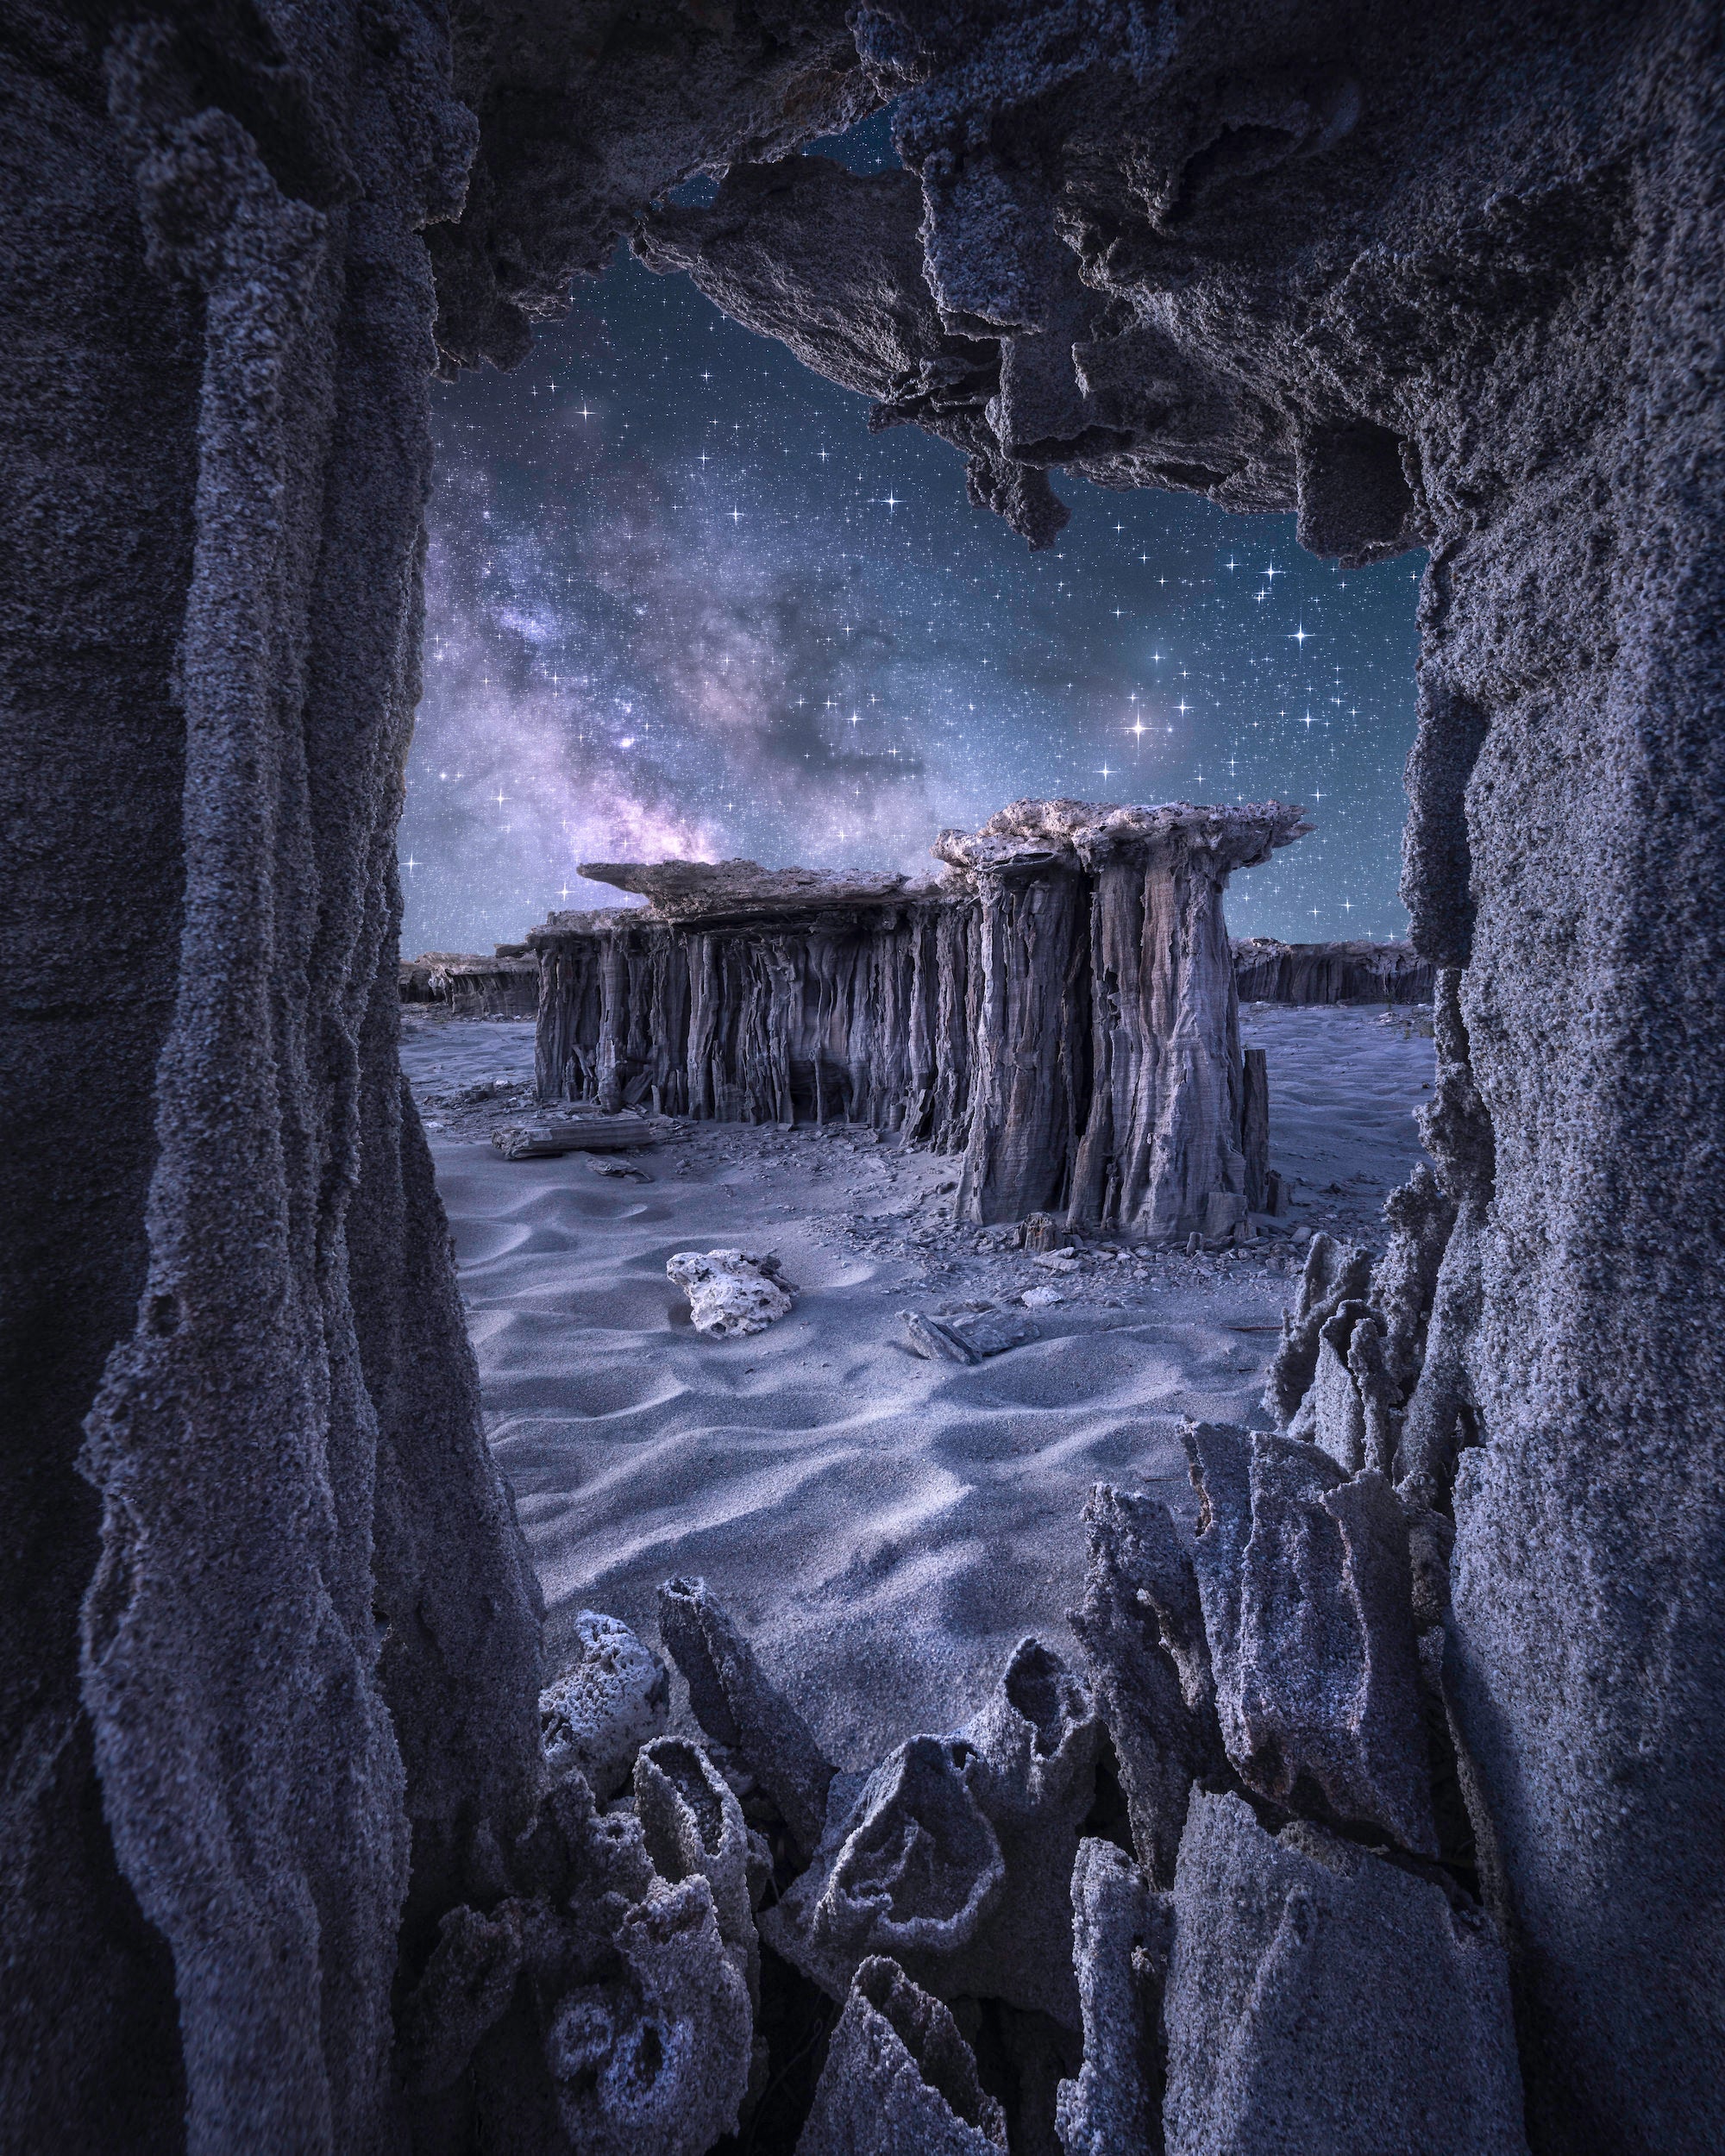
Photo by Jess Santos. Sony Alpha 7R IV. Sony 12-24mm f/2.8 G Master.
Jess Santos of the Alpha Collective shares how she created this magical blue hour and Milky Way composite.
Playing With Scale
Joshua Snow (@j.snow_photo) and I visit this location every year for our Eastern Sierras workshop. This is one of my favorite locations, not only for the tufa formations, but also for playing with the idea of scale in an image. These unique foreground structures are only about 3 feet high, but with a wide angle lens you can make them appear to tower over the scene around them.
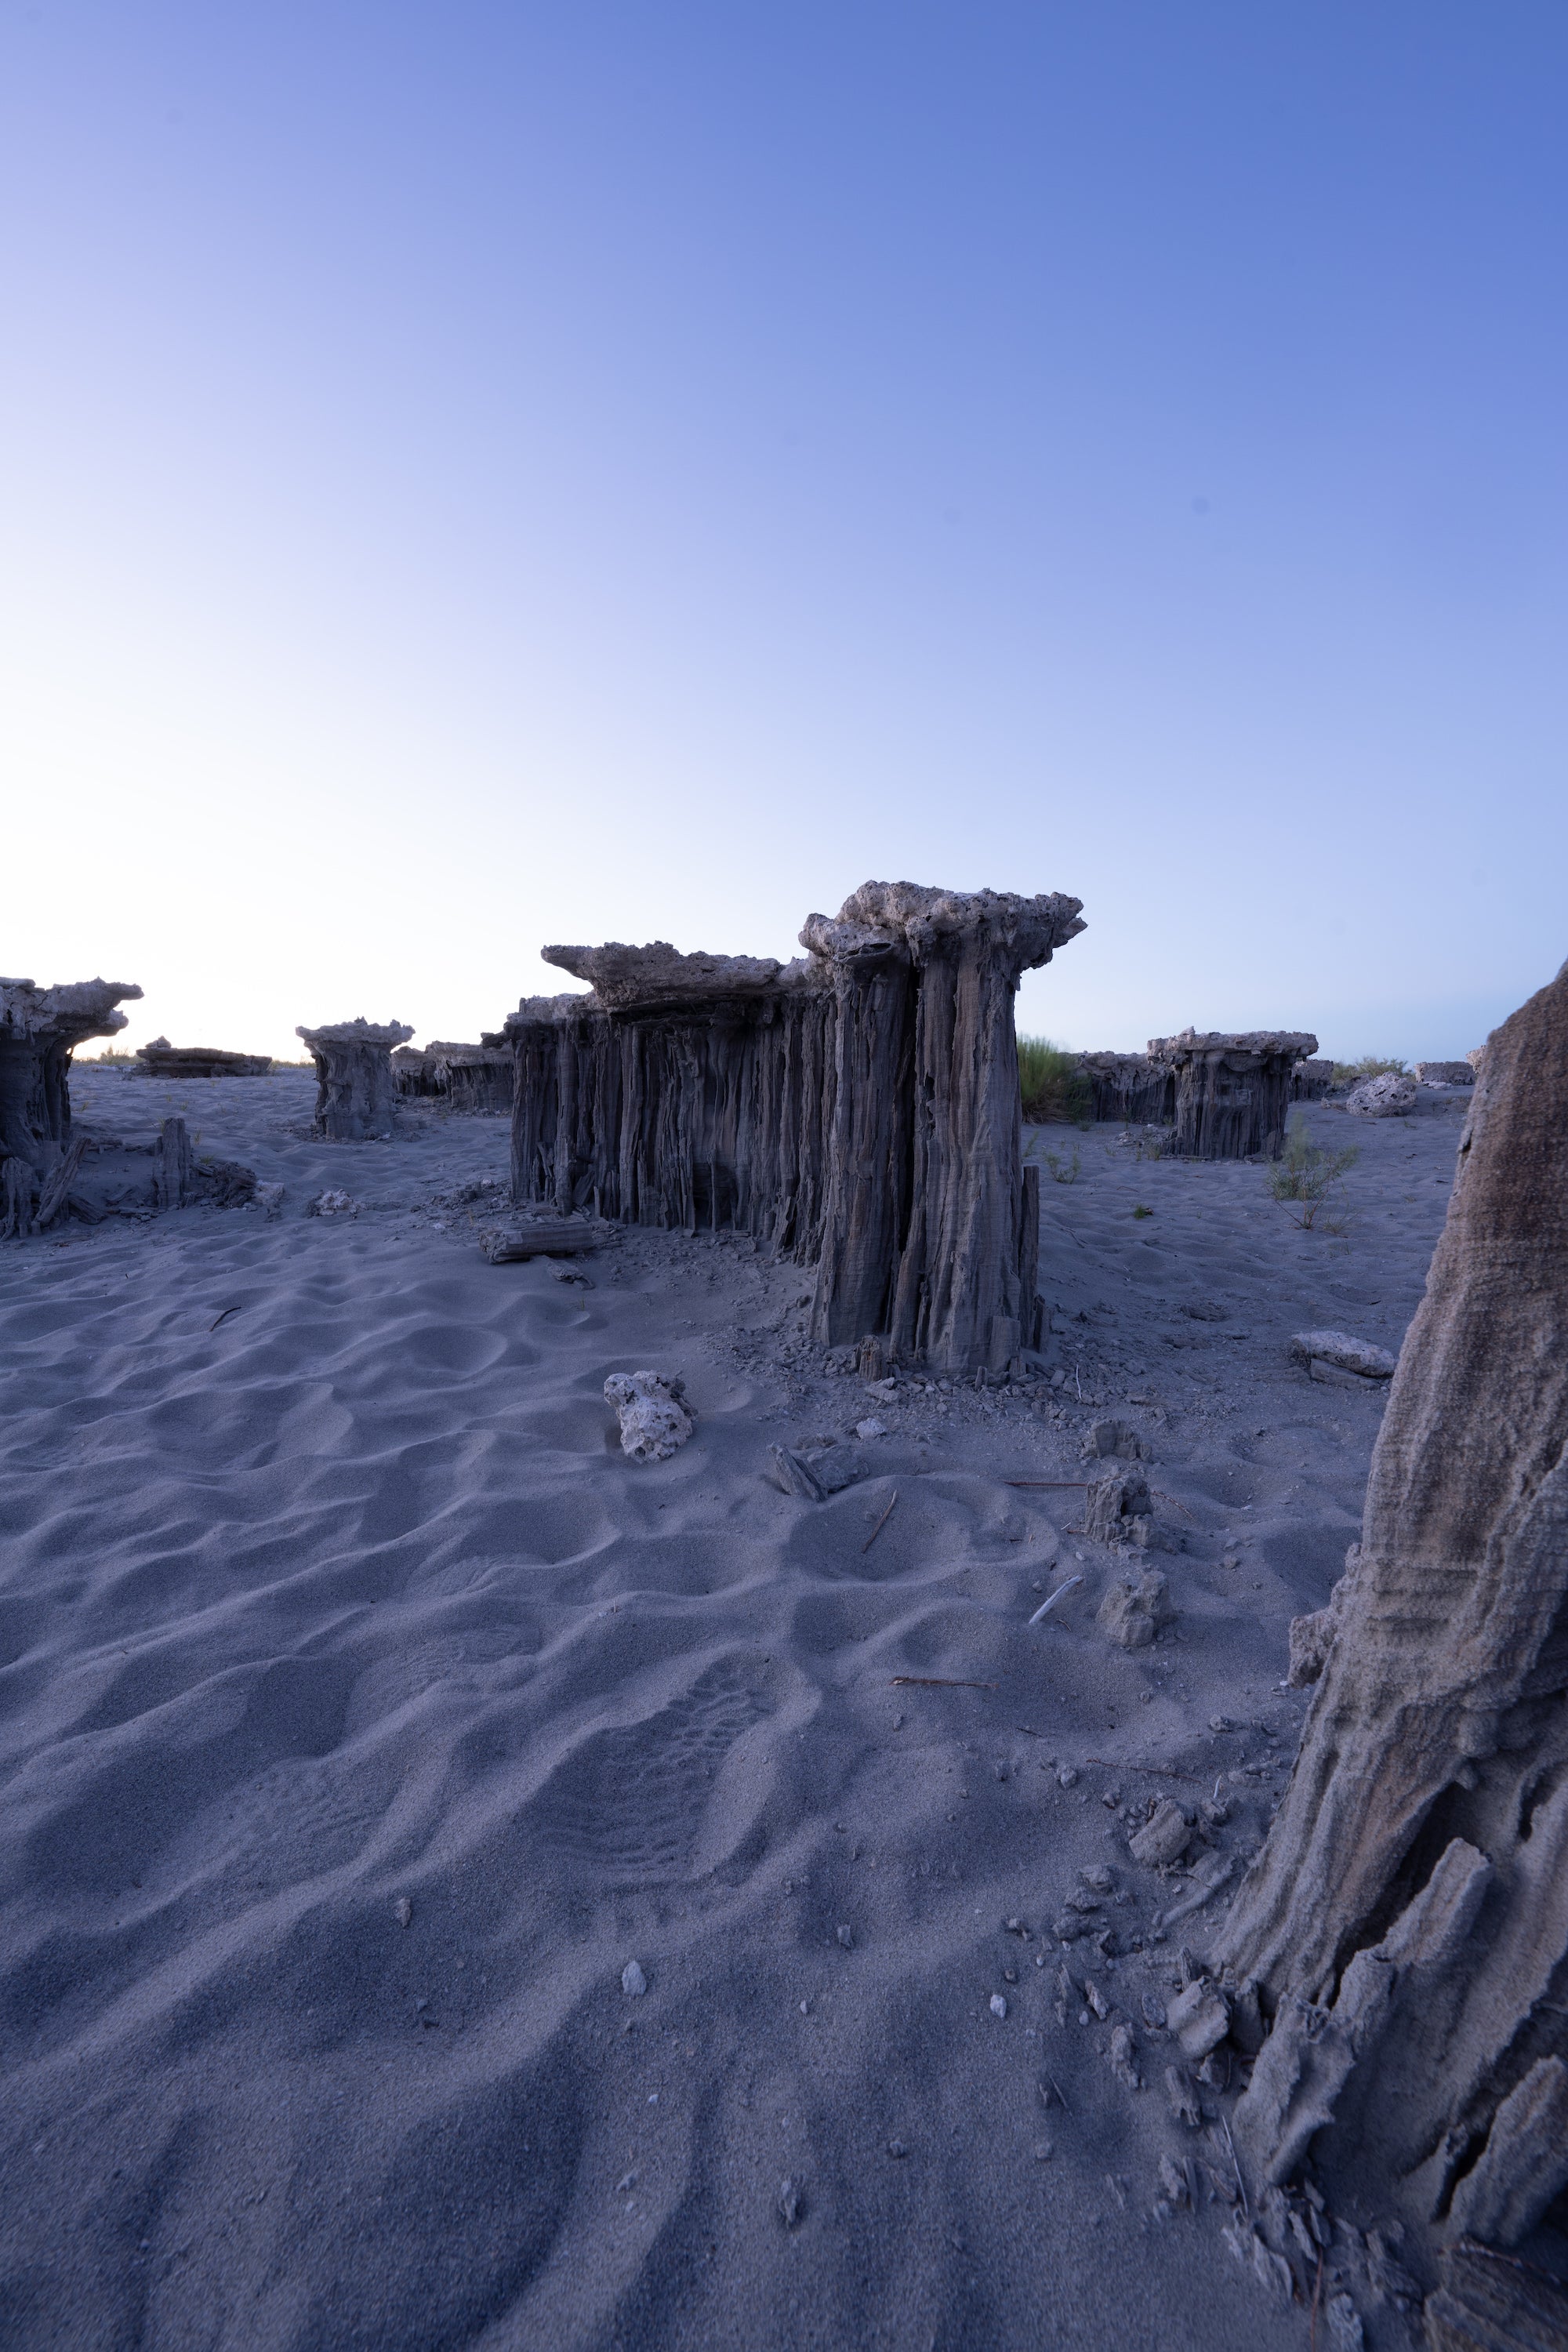
Photo by Jess Santos. Sony Alpha 7R IV. Sony 12-24mm f/2.8 G Master.
Once all the students were set up on their perspective compositions I was wandering through the area and came across this small gap. When I held my camera up to it, it looked as if you were peering through a cave in a new world.
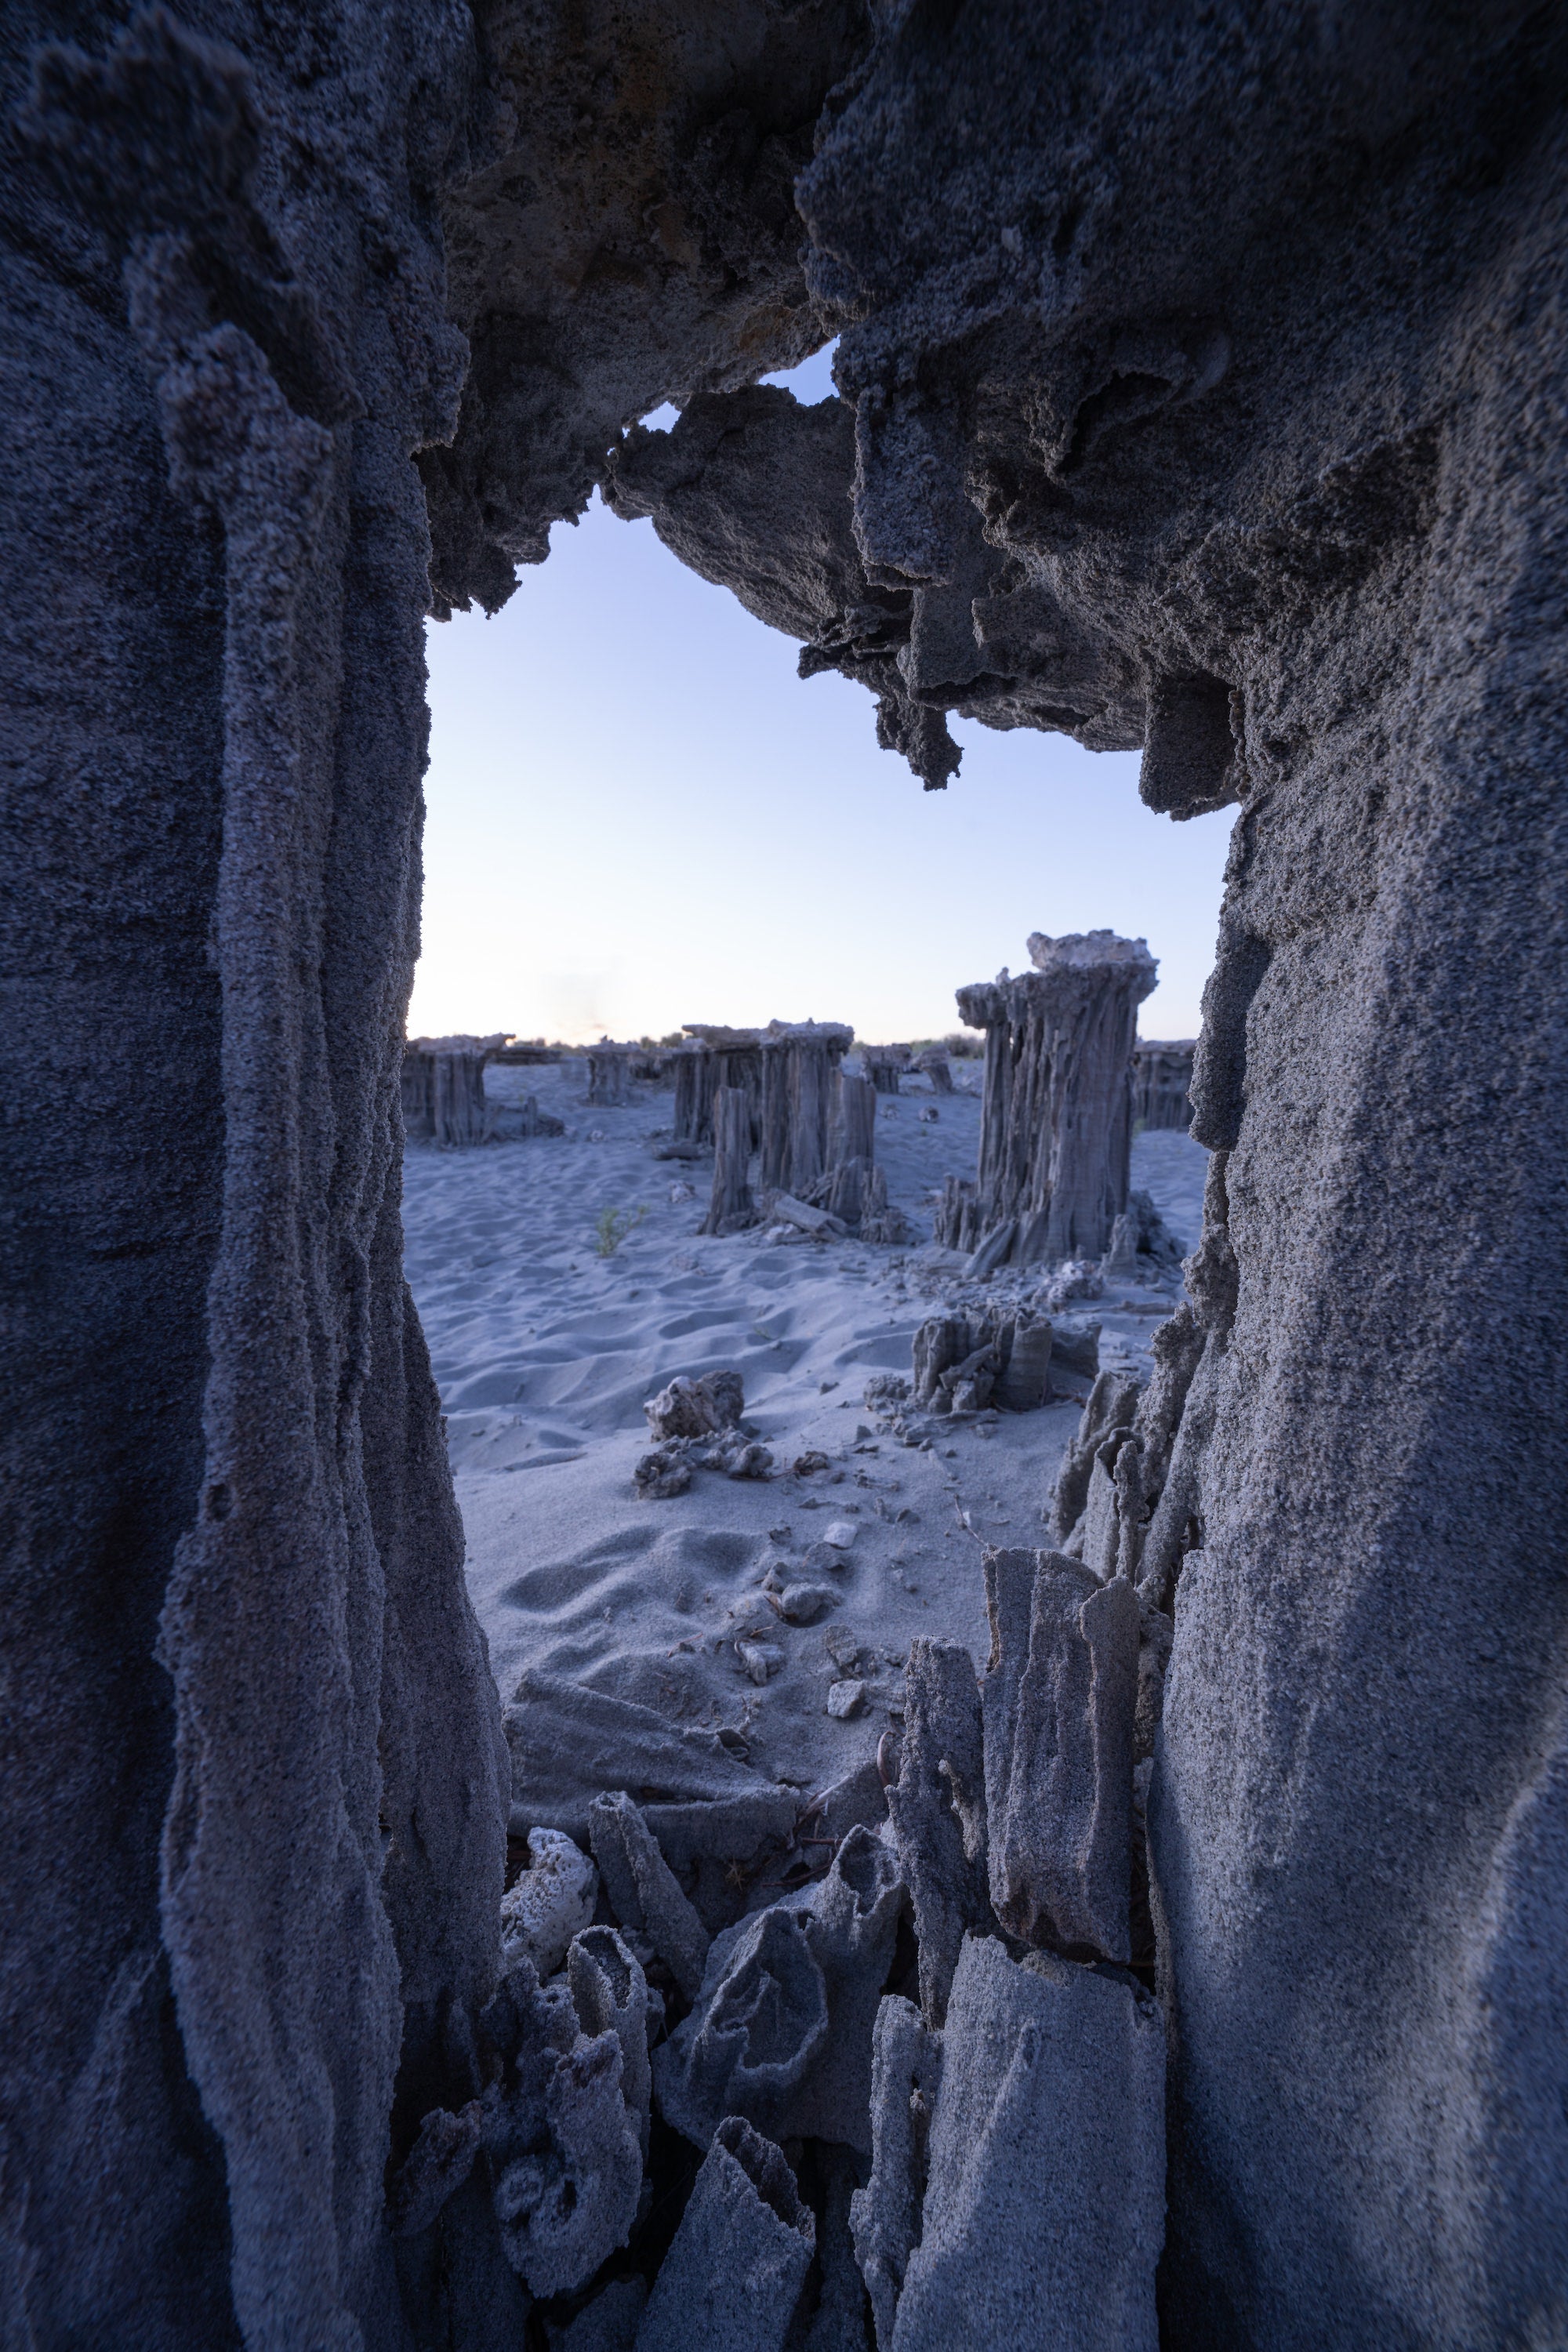
Photo by Jess Santos. Sony Alpha 7R IV. Sony 12-24mm f/2.8 G Master.
The Gear Makes the Scene
I used my Sony Alpha 7R IV to capture this scene. This is my go-to camera for stills, not only because of its hefty megapixels (and the ability for large scale printing) but also its incredible dynamic range. Since my camera was essentially inside this gap in the rocks I needed to be able to use the dynamic range to capture the soft light of blue hour without crushing my shadows.
I chose my Sony 12-24mm f/2.8 G Master lens because of the ability to shoot at such a wide focal length. I needed all 12mm to include the overlapping rocks at the top of the image all the way down to the almost coral-like structure at the bottom.
Creating A Focal Length/Blue Hour Blend
I also shot this as a focal length blend, so having the ability to go from 12mm to 24mm without changing my lens mid-shooting was key. If you haven't heard of a focal length blend before, it is where a wide focal length is used to capture the foreground and longer focal length is used to capture the background.
I shot the outside framing of the cave at 12mm and then zoomed my lens into 24mm to capture the tufas through the cave. This is done because when using a 12mm wide angle lens anything in the middle of the frame appears smaller and anything near the short edge appears larger and more dominant due to the lens distortion. I like to use the lens distortion to my advantage to create more prominent foreground compositions, but in this case by doing that it made the tufts seen through the center of the cave miniscule. Therefore to get them to look more like what I was seeing with my eyes I chose a focal length blend.
As I do with all my night scenes, I also shot this as a blue hour blend. This is where the foreground is shot during Blue Hour (in this case about 40 minutes after sunset) and the Milky Way is shot at night time.
I do this so that I can get a well lit foreground naturally with the lowest possible ISO. I then photograph the sky using a technique called sky stacking. This involves shooting 15-25 consecutive Milky Way images at a very high ISO (anywhere from 10,000 to 16,000) to capture all the light and color present in the sky as well as keeping the shutter speed as short as possible for pinpoint sharp stars with no trailing.
Blending & Editing
Because I am photographing the night sky with such a high ISO there is also a high amount of noise present. To reduce this, I then use Starry Landscape Stacker to align and composite my star images to reduce almost all the noise. This is a Mac-only program but Sequator is the PC equivalent. I then do some global adjustments to my foreground in Adobe Lightroom before moving everything over to Photoshop where the true magic begins.
The two focal lengths of the foreground are blended together and then the sky is blended in as well. Some final touches in Photoshop including: dodging, burning, orton glow, vignette etc. are added and the image through use of luminosity masking and other techniques and the image is finally complete. Most of the editing time is spent in the dodging phase, really shaping the light and leading the viewer's eye from the foreground through the image.
See more of Jess Santos’ work on her Alpha Universe Profile and on Instagram @missjessbess.
