In the first session of Macro Therapy With Caroline Jensen, the Sony Artisan of Imagery shared her quick start guide for choosing your camera settings for macro photography and in the second she gave us five quick tips for lighting your macro shots. As we continue the series, Caroline explains three different creative macro techniques and how to do them at home yourself. To see more about the Sony Alpha cameras and lenses Caroline uses for macro, check out this What's In My Bag article.
In our continuing Macro Therapy series with Caroline Jensen, the Sony Artisan and macro photographer explains 3 high-impact creative techniques & how you can try them at home.
Create Sparkle Bokeh
This activity is my favorite! It serves two purposes:
1. It adds visual interest to a normal scene by adding reflective elements that enhance the subject and the bokeh areas.
2. It helps the autofocus system have something to latch on to and makes it easier to use focus peaking when manually focusing.
Many macro subjects, flowers and leaves included, tend to have curving surfaces. It can be difficult for the camera to know where it should focus on the surface plane. You can see how it helped direct the efforts of the focus peaking in the image below. The little green squares of focus tracking also find it helpful to lock onto droplets.
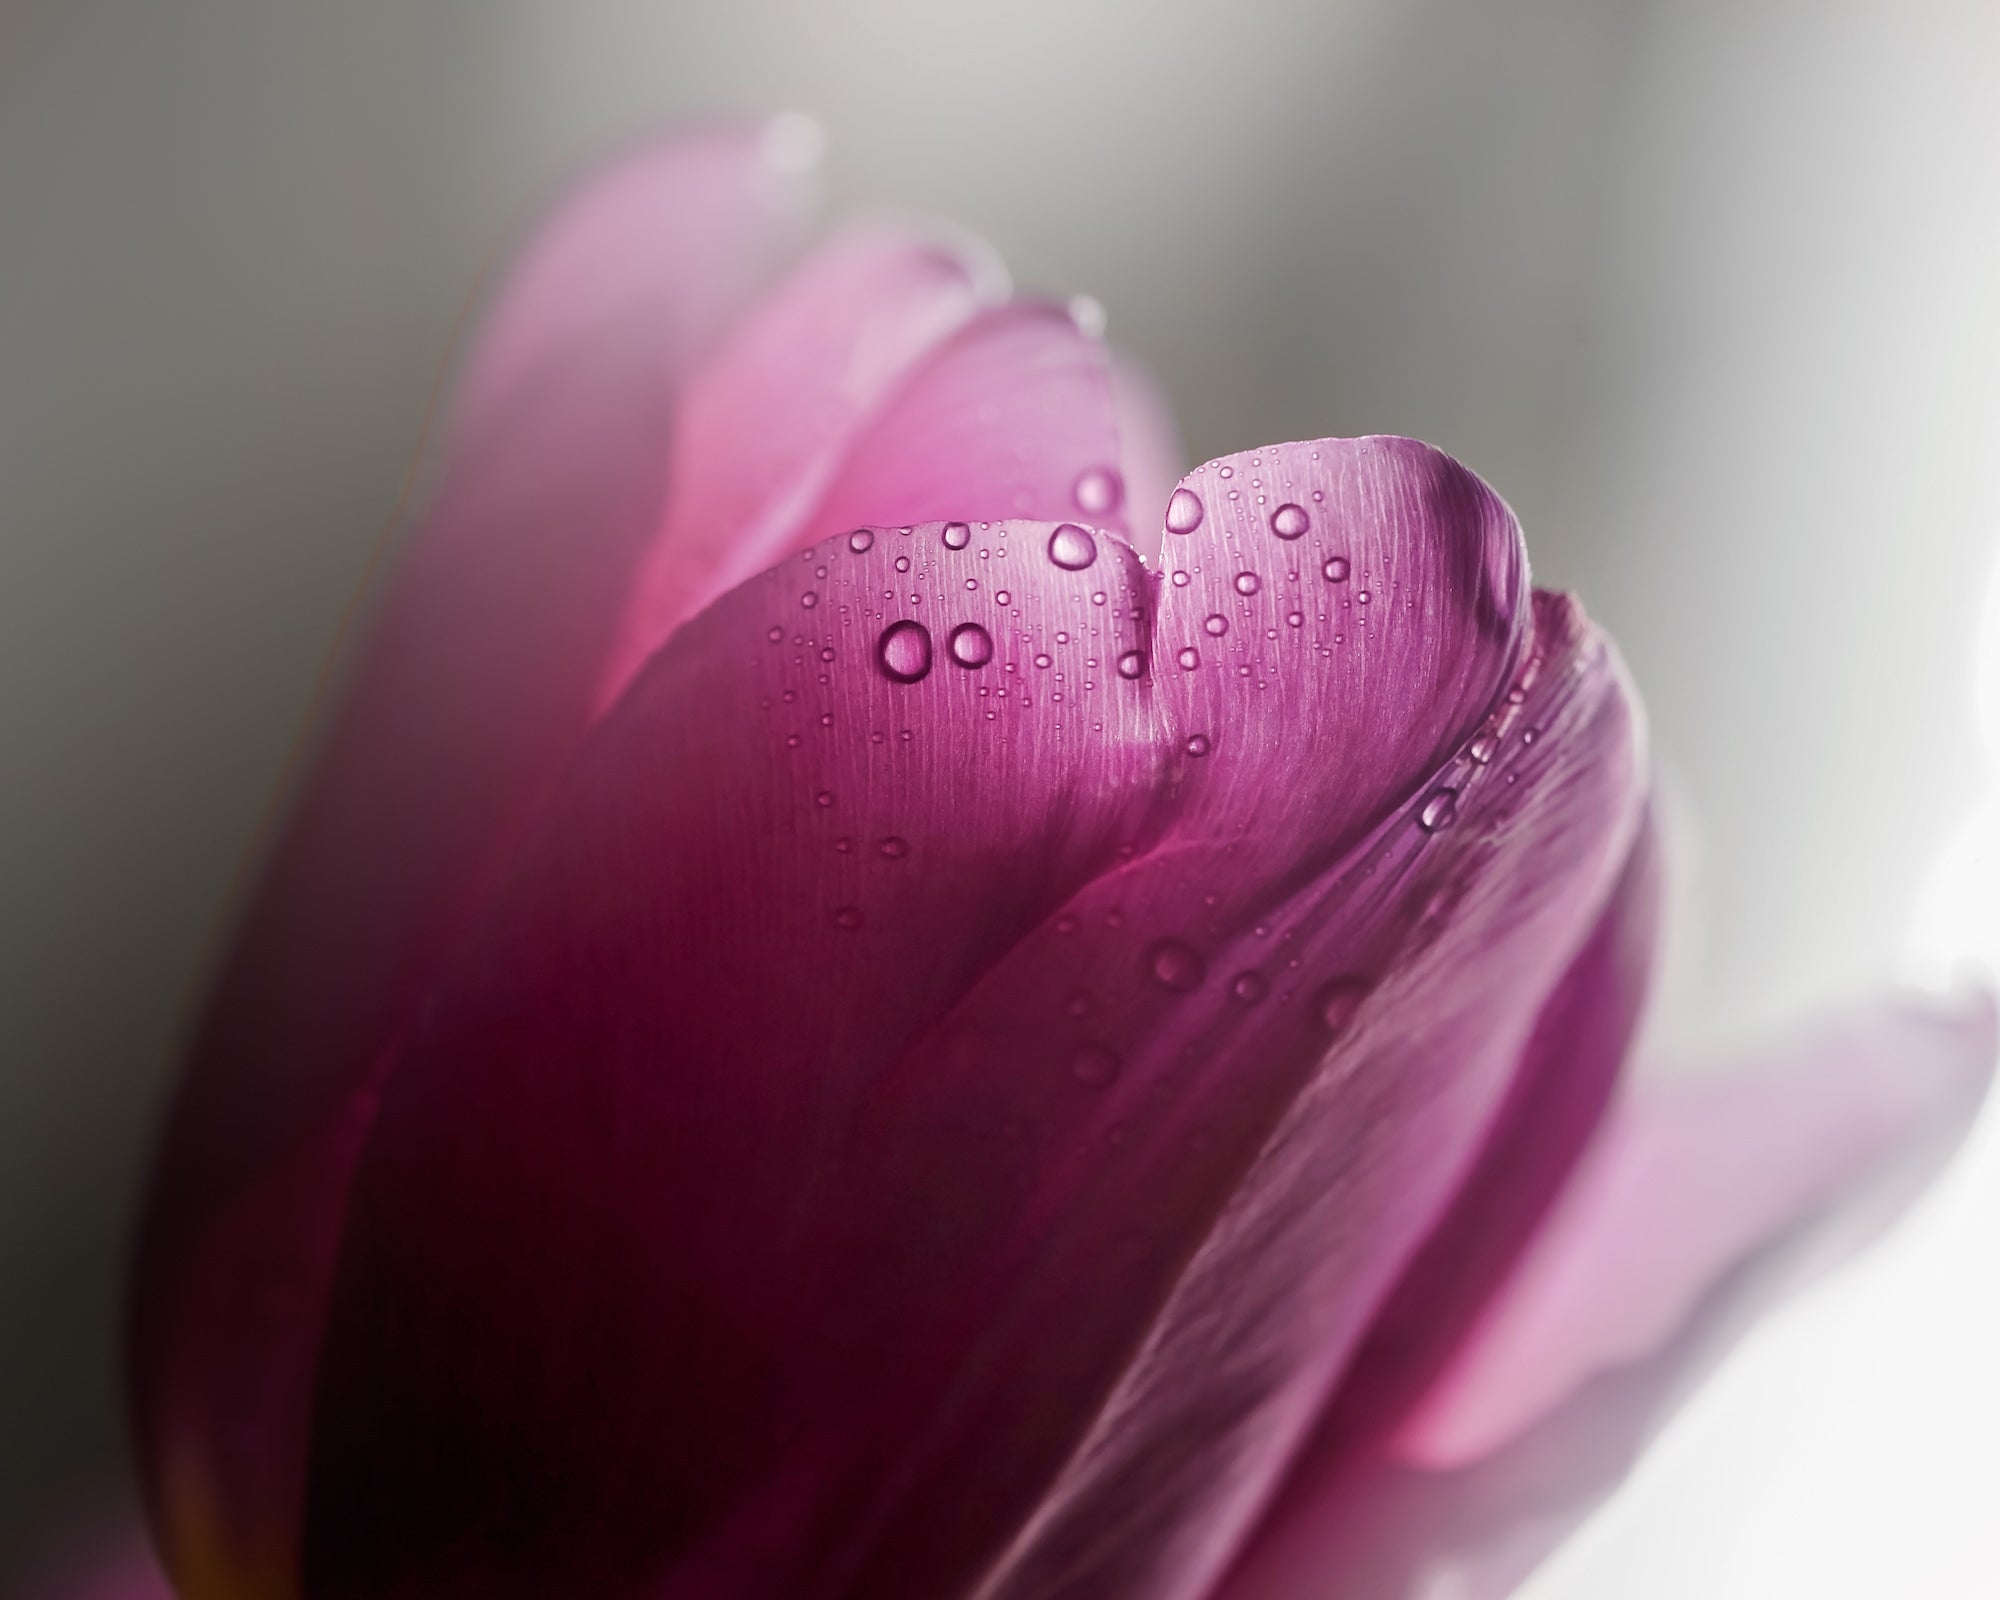
Sony α7 III. Sony 90mm Macro f/2.8 G. 1/250-sec., f/4.5, ISO 200
The method is simple. Mix one part water and one part vegetable glycerin in a two ounce spray bottle. Lightly mist this spray over the area of the plant you want to photograph. Be sparing at first! Once it is sprayed, the droplets tend to stay for a very long time. It is best to try this on a blossom that is near spent, in case you overdo it. Once you practice a little bit, move on to a more portrait-worthy subject.
Organic vegetable glycerin is a non toxic, sticky substance derived from plant oils. It ‘thickens’ the water in the bottle and makes the drops adhere to the surface of the plant. Plain water tends to group together and slide off, in a less than photogenic fashion.
Tip: Don’t happen to have vegetable glycerin handy? Enlist the help of a fellow quarantined roommate or family member to spray water into the air behind your subject. This will give the atmosphere of rain! Shoot with a slow shutter to drag the drops or a fast shutter to freeze dots of water.
Backlight Veining And Filling The Frame
This method was born out of frustration shooting at high noon. Sometimes, the light is not perfect, but you want to shoot anyway. I found that by using the sun as a giant light table, I could create images I loved working WITH the light as opposed to beating it into submission. You can step outside (while maintaining appropriate social distancing procedures) and try this one.

Sony α7R II. Sony 90mm Macro f/2.8 G. 1/400-sec., f/7.1, ISO 500
Here is a diagram of my shooting position:
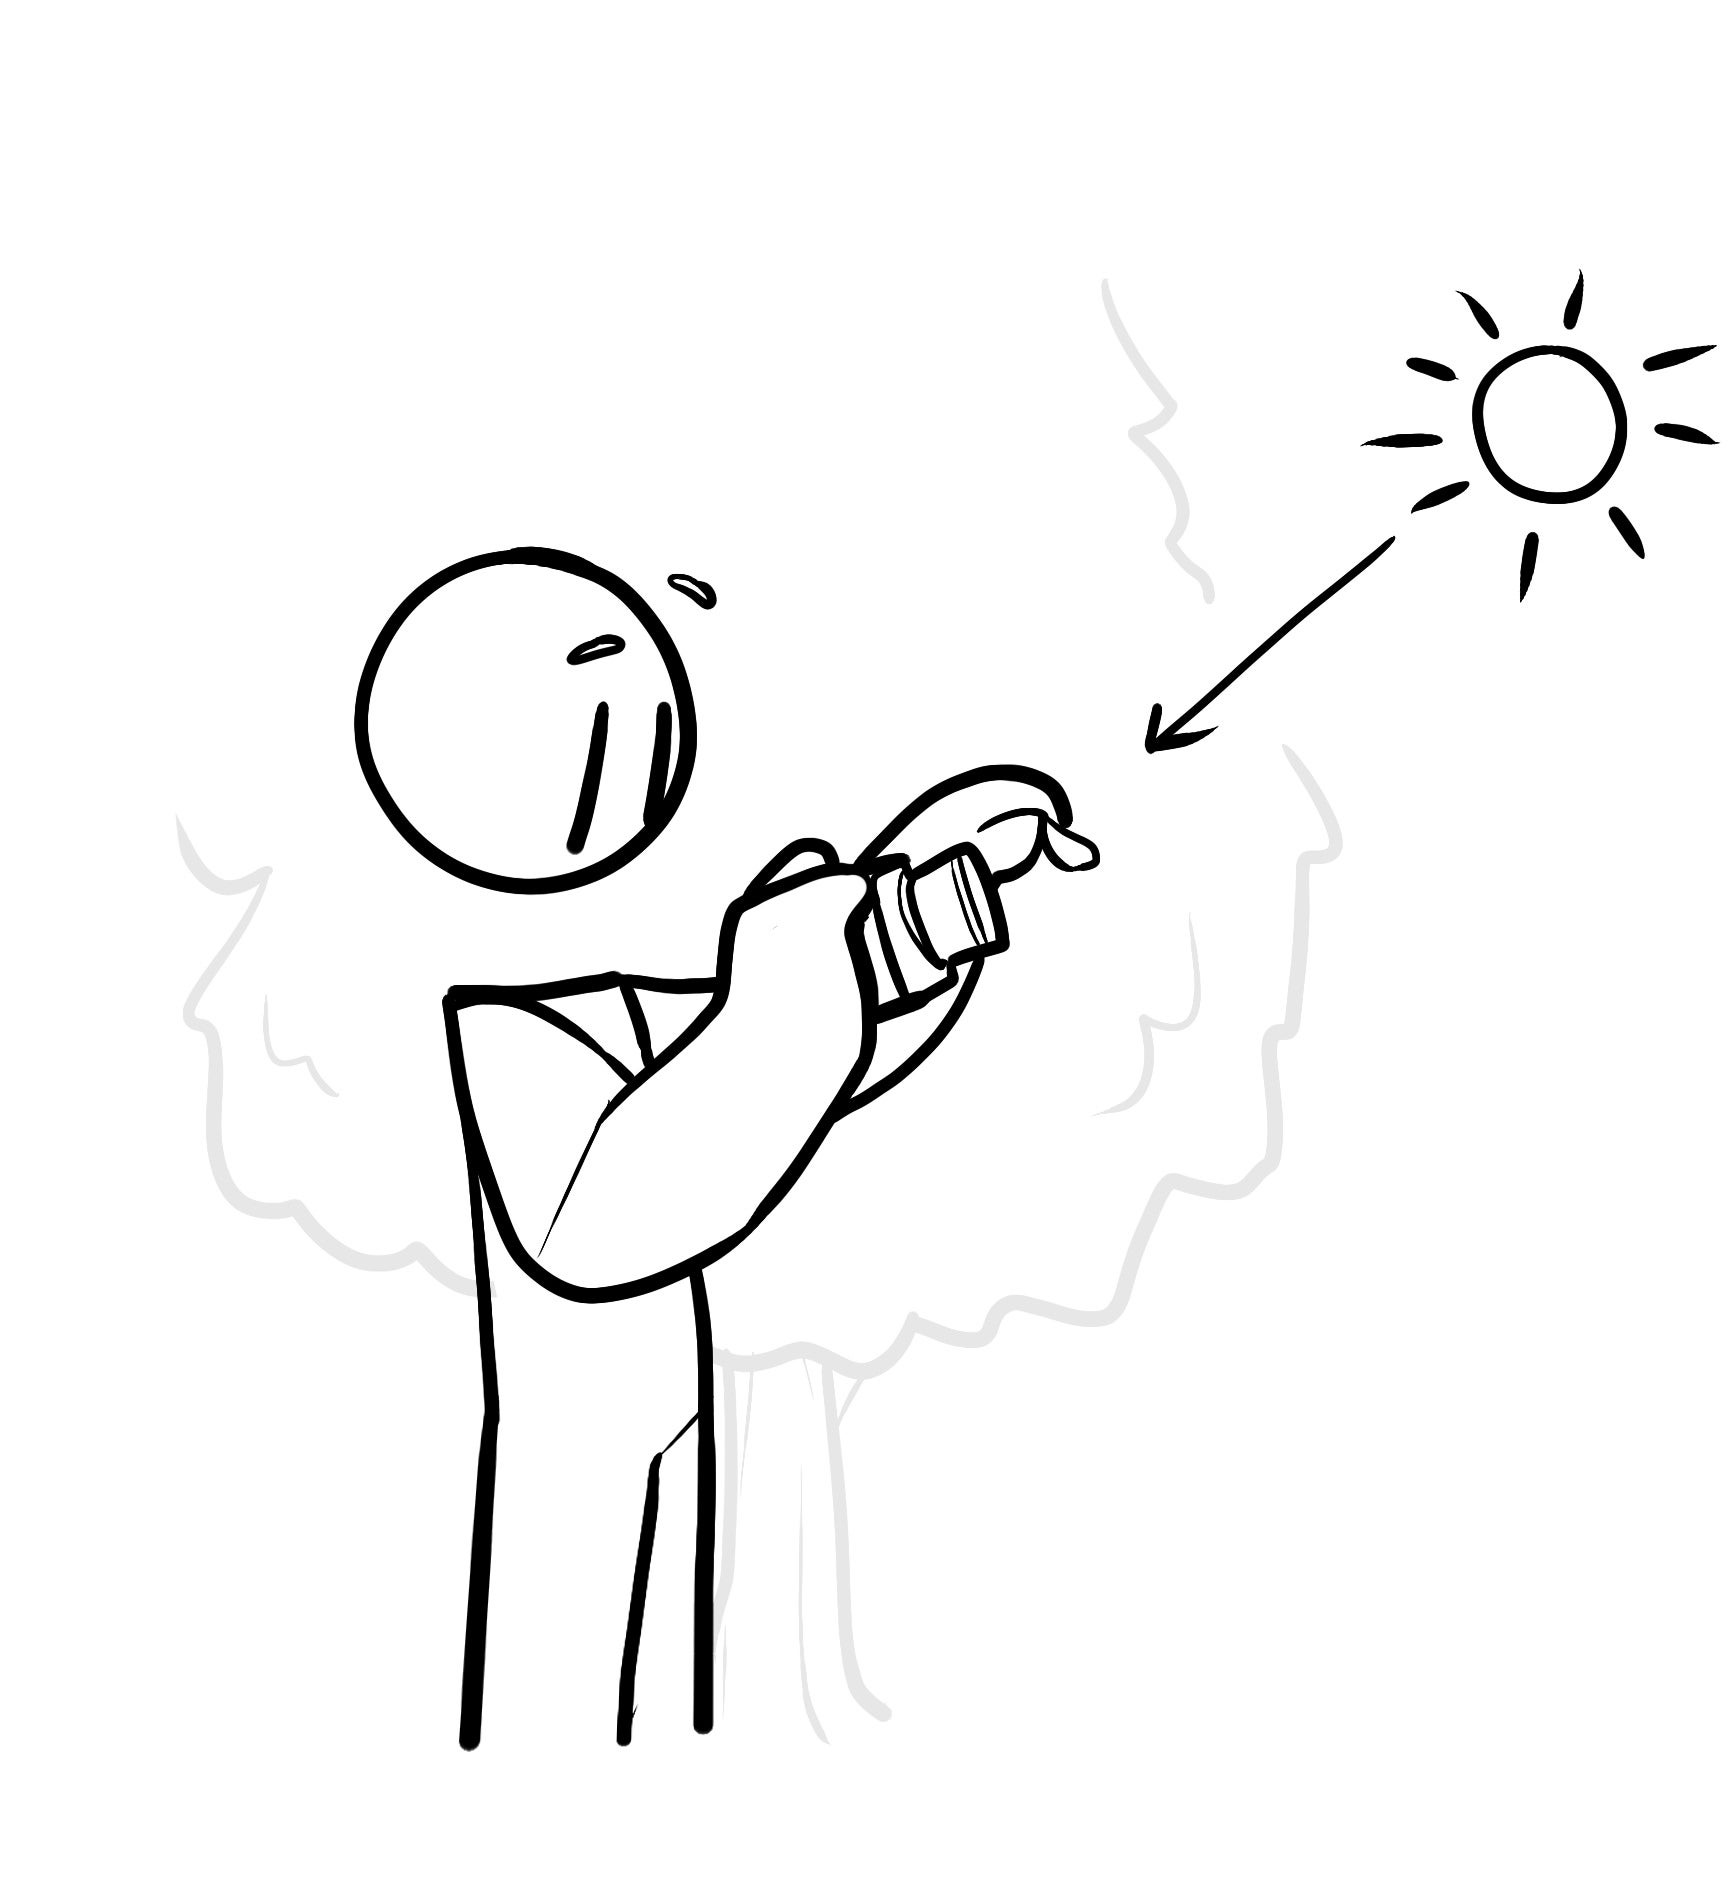
Hold a leaf away from the tree as you shoot. Choose a well-anchored leaf. The attachment to the tree will stabilize the leaf.
Colorful Bokeh – Vintage Lenses, Paper & Copper Pipes
Nothing is better than a glorious sunset! Macro photography, and its cousin micro landscapes, can make the most less-than-ideal times of day. Most macro lenses have a heavy dose of compression (seemingly moving the background closer to the subject) and this results in the colors wrapping around your subject.
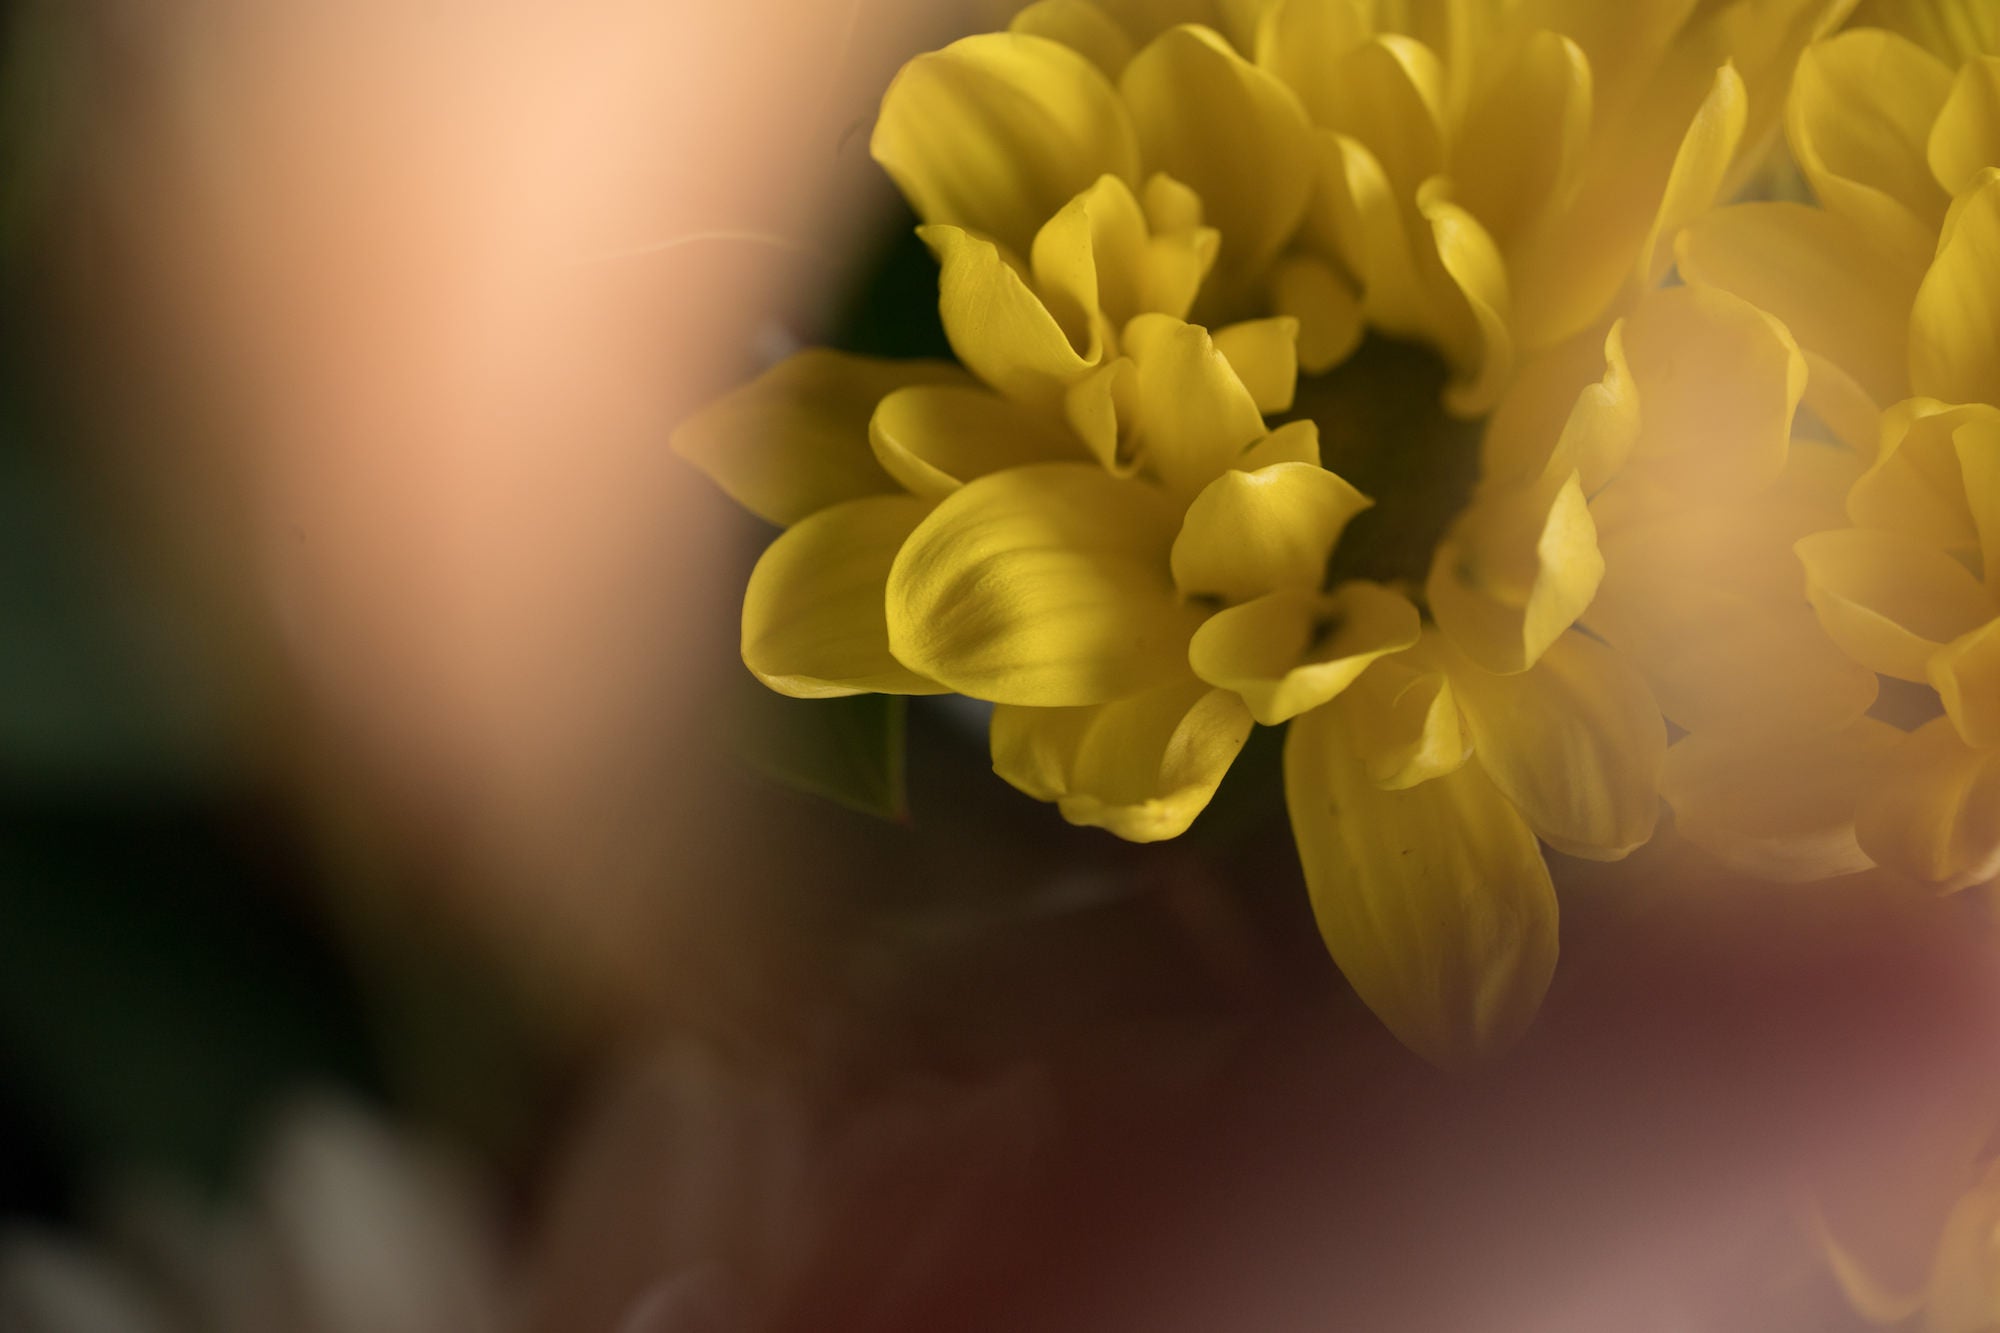
Sony α9. Sony 90mm Macro f/2.8 G. 1/400-sec., f/5, ISO 400
Even incandescent lights can appear as a sunset when shooting without a skyline. You can add colorful bokeh by adding things into your scene. Colorful scrapbooking pages (metallic and sparkle varieties are fun), crushed tin foil, vellum sheets, and wax paper, all can add interest to bokeh or cover an ugly background.
Shooting through a copper pipe lets you bounce reflected light into the frame. These were shot with a one-inch pipe, cut two inches long and placed in front of the 90mm macro lens.
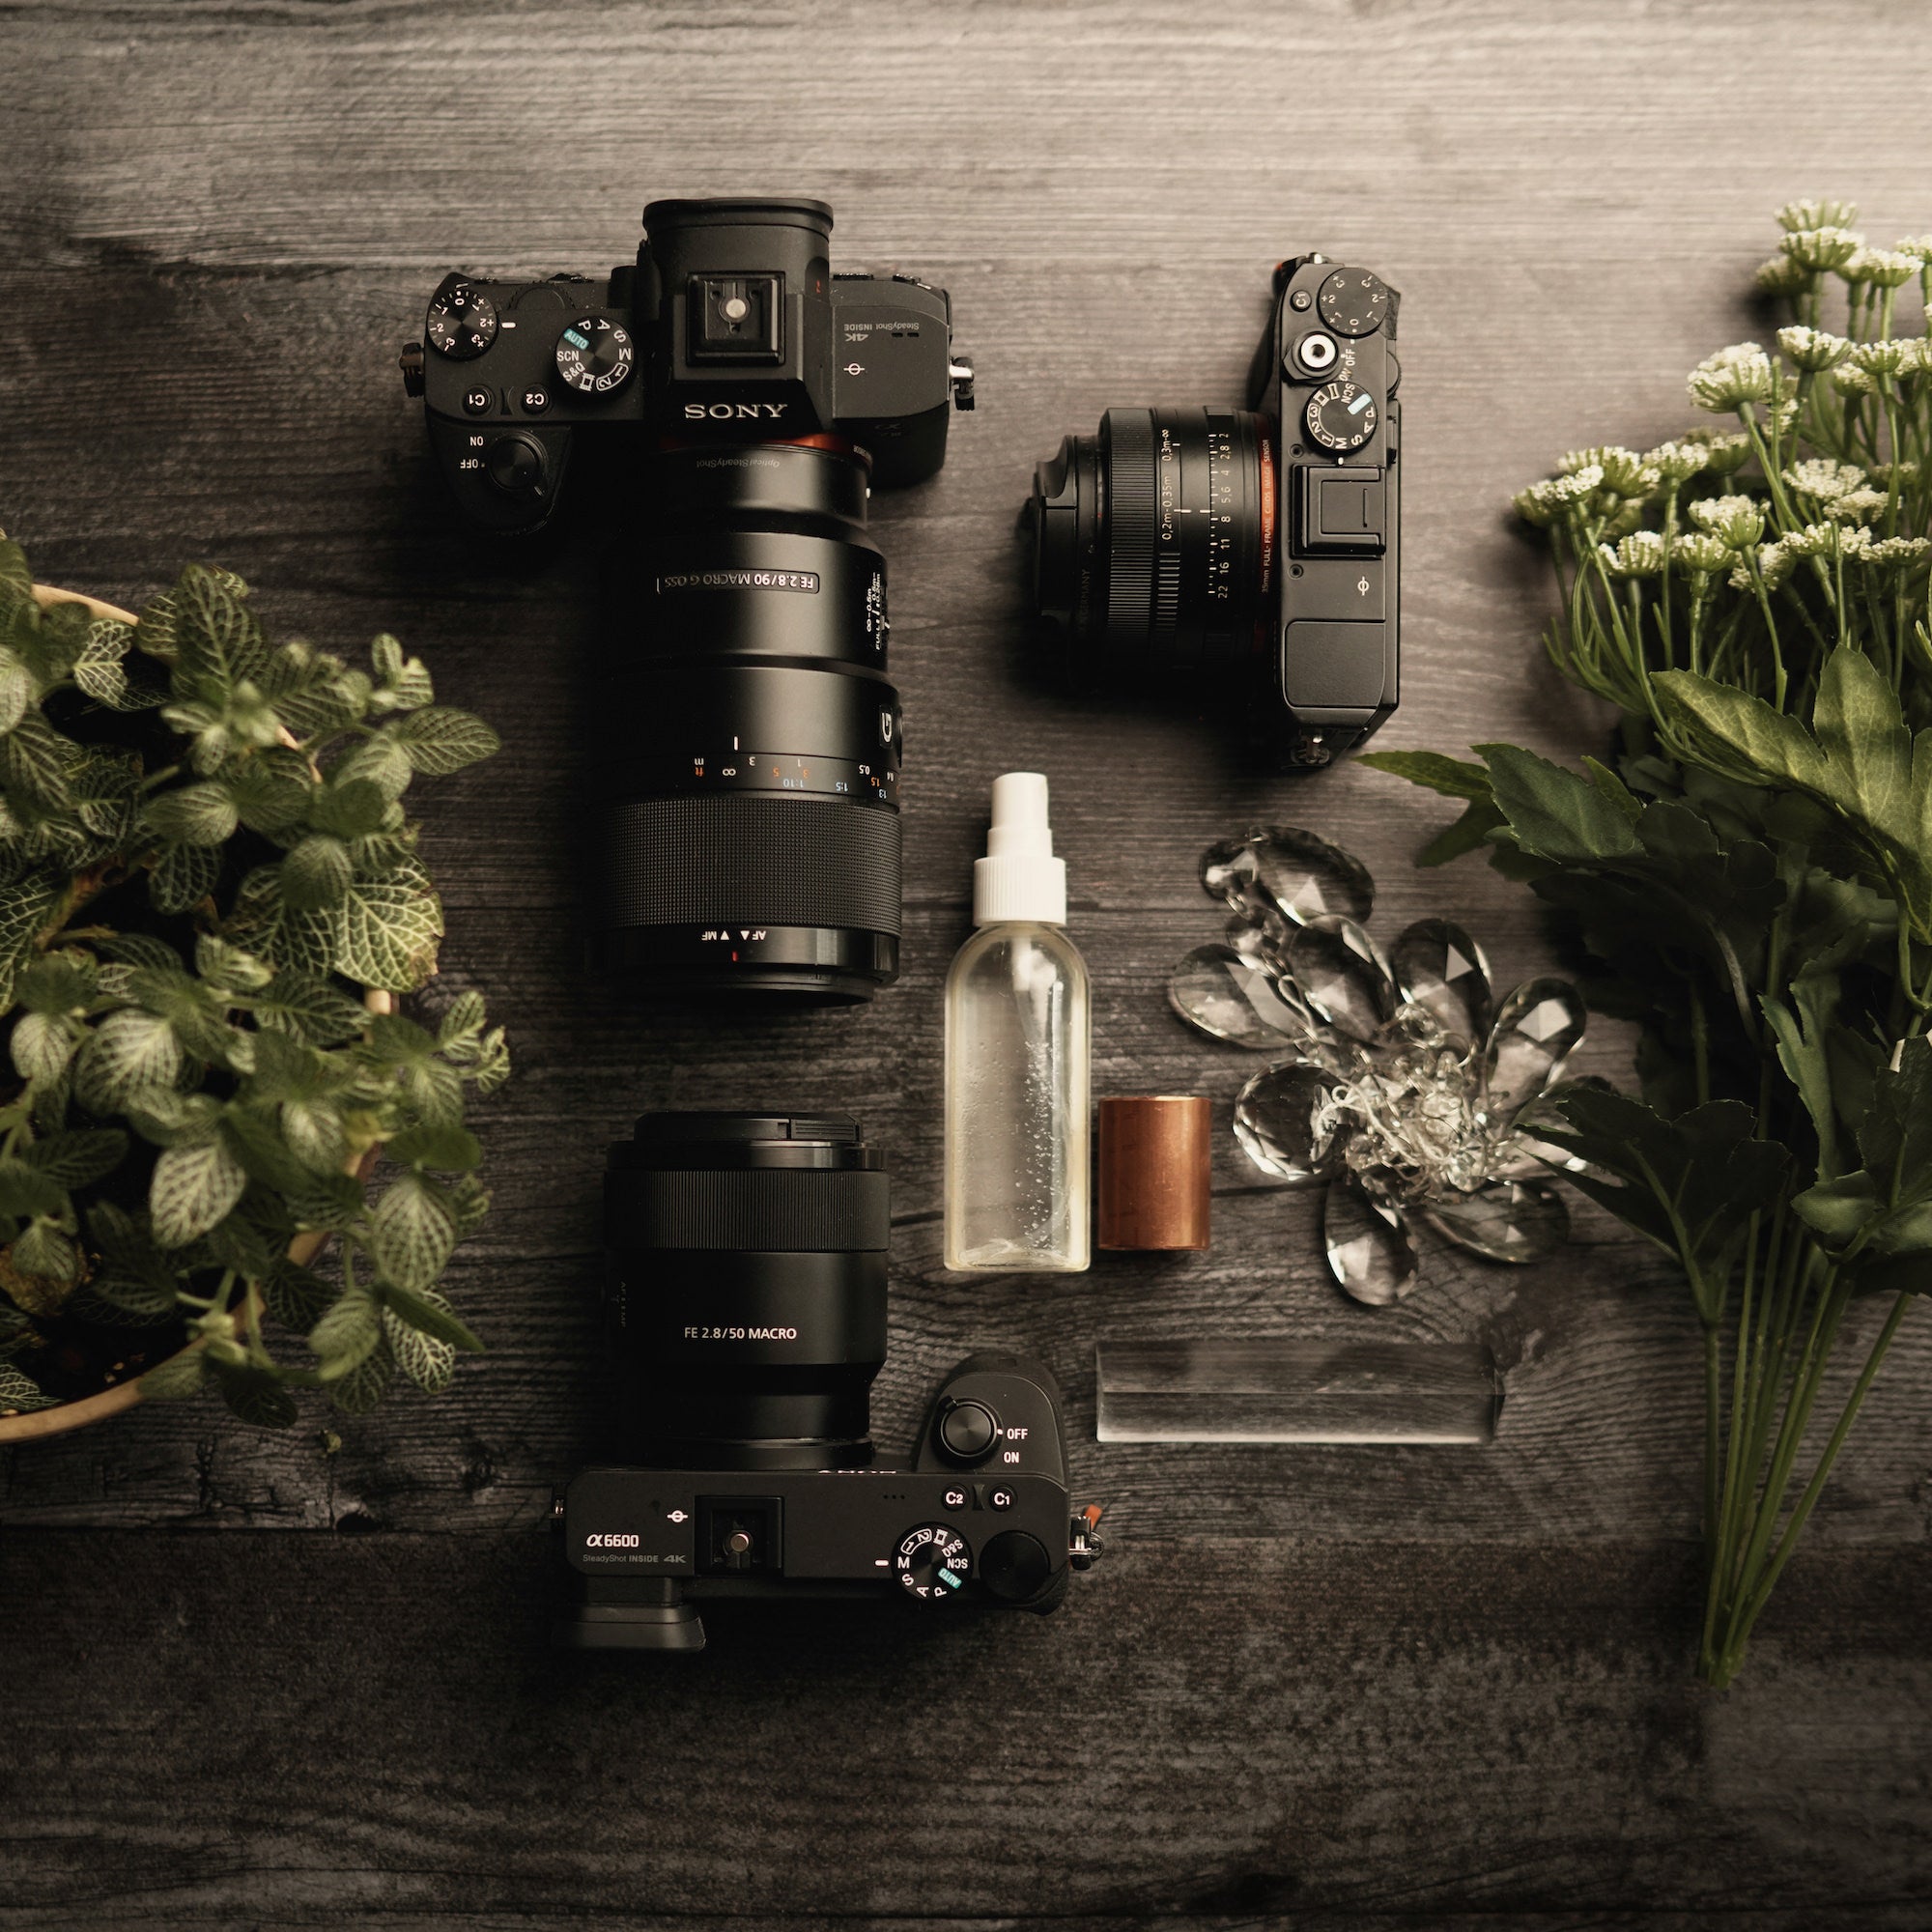
Caroline Jensen's cameras, lenses and other gear for macro photography. See more about her gear here.


