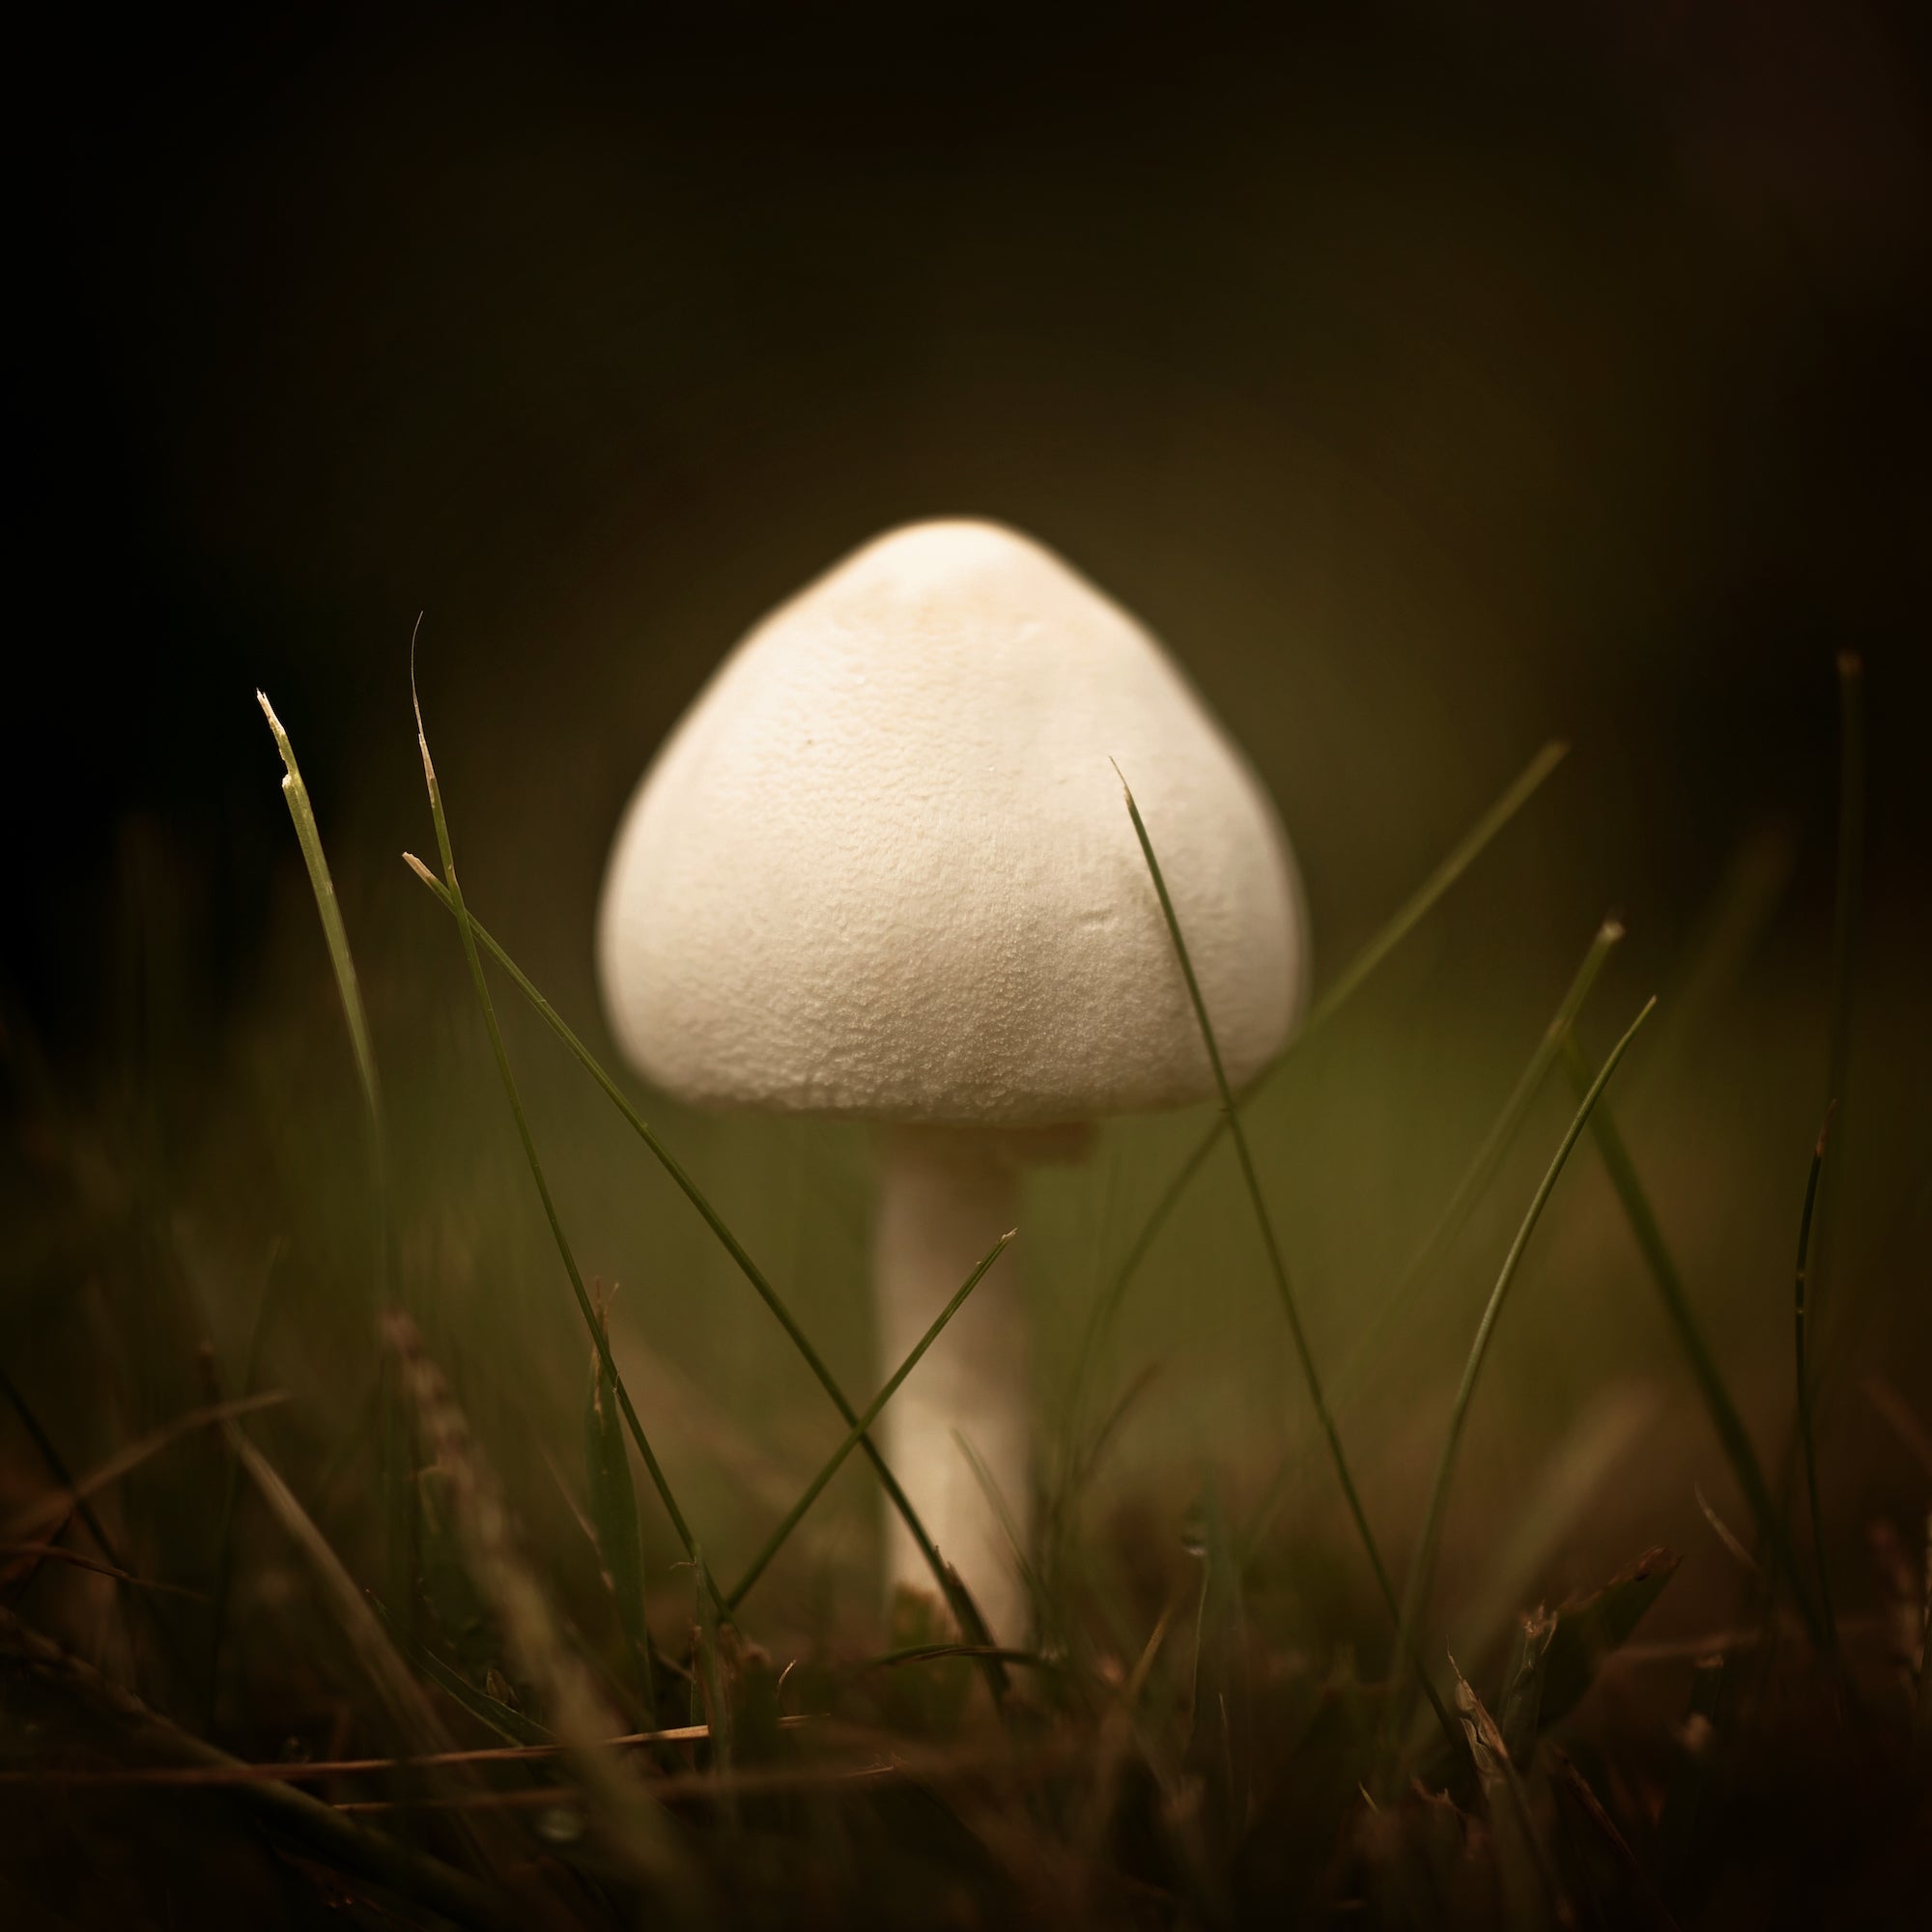
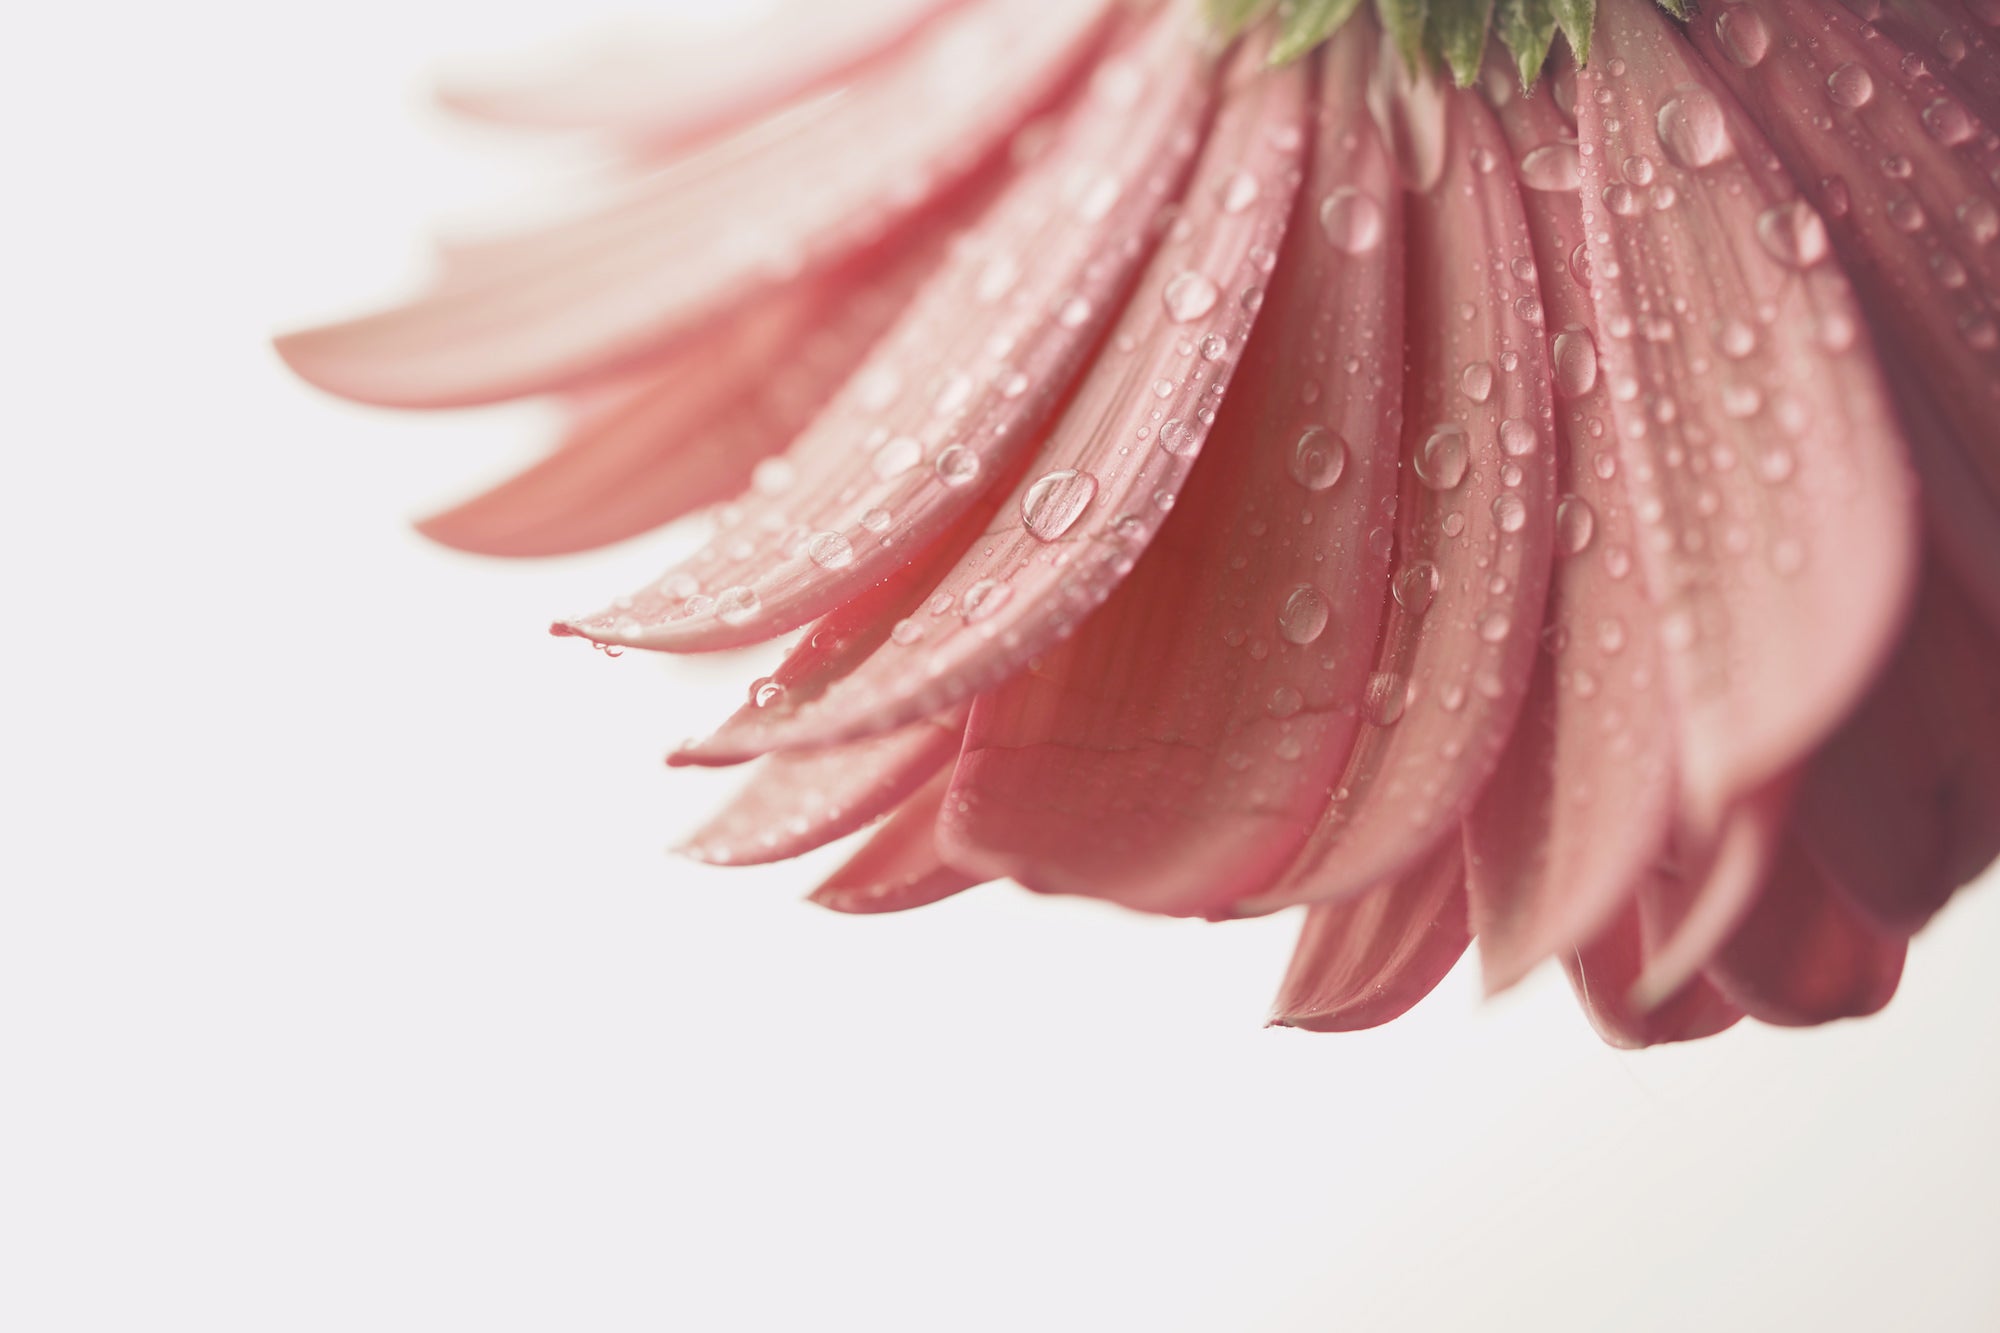
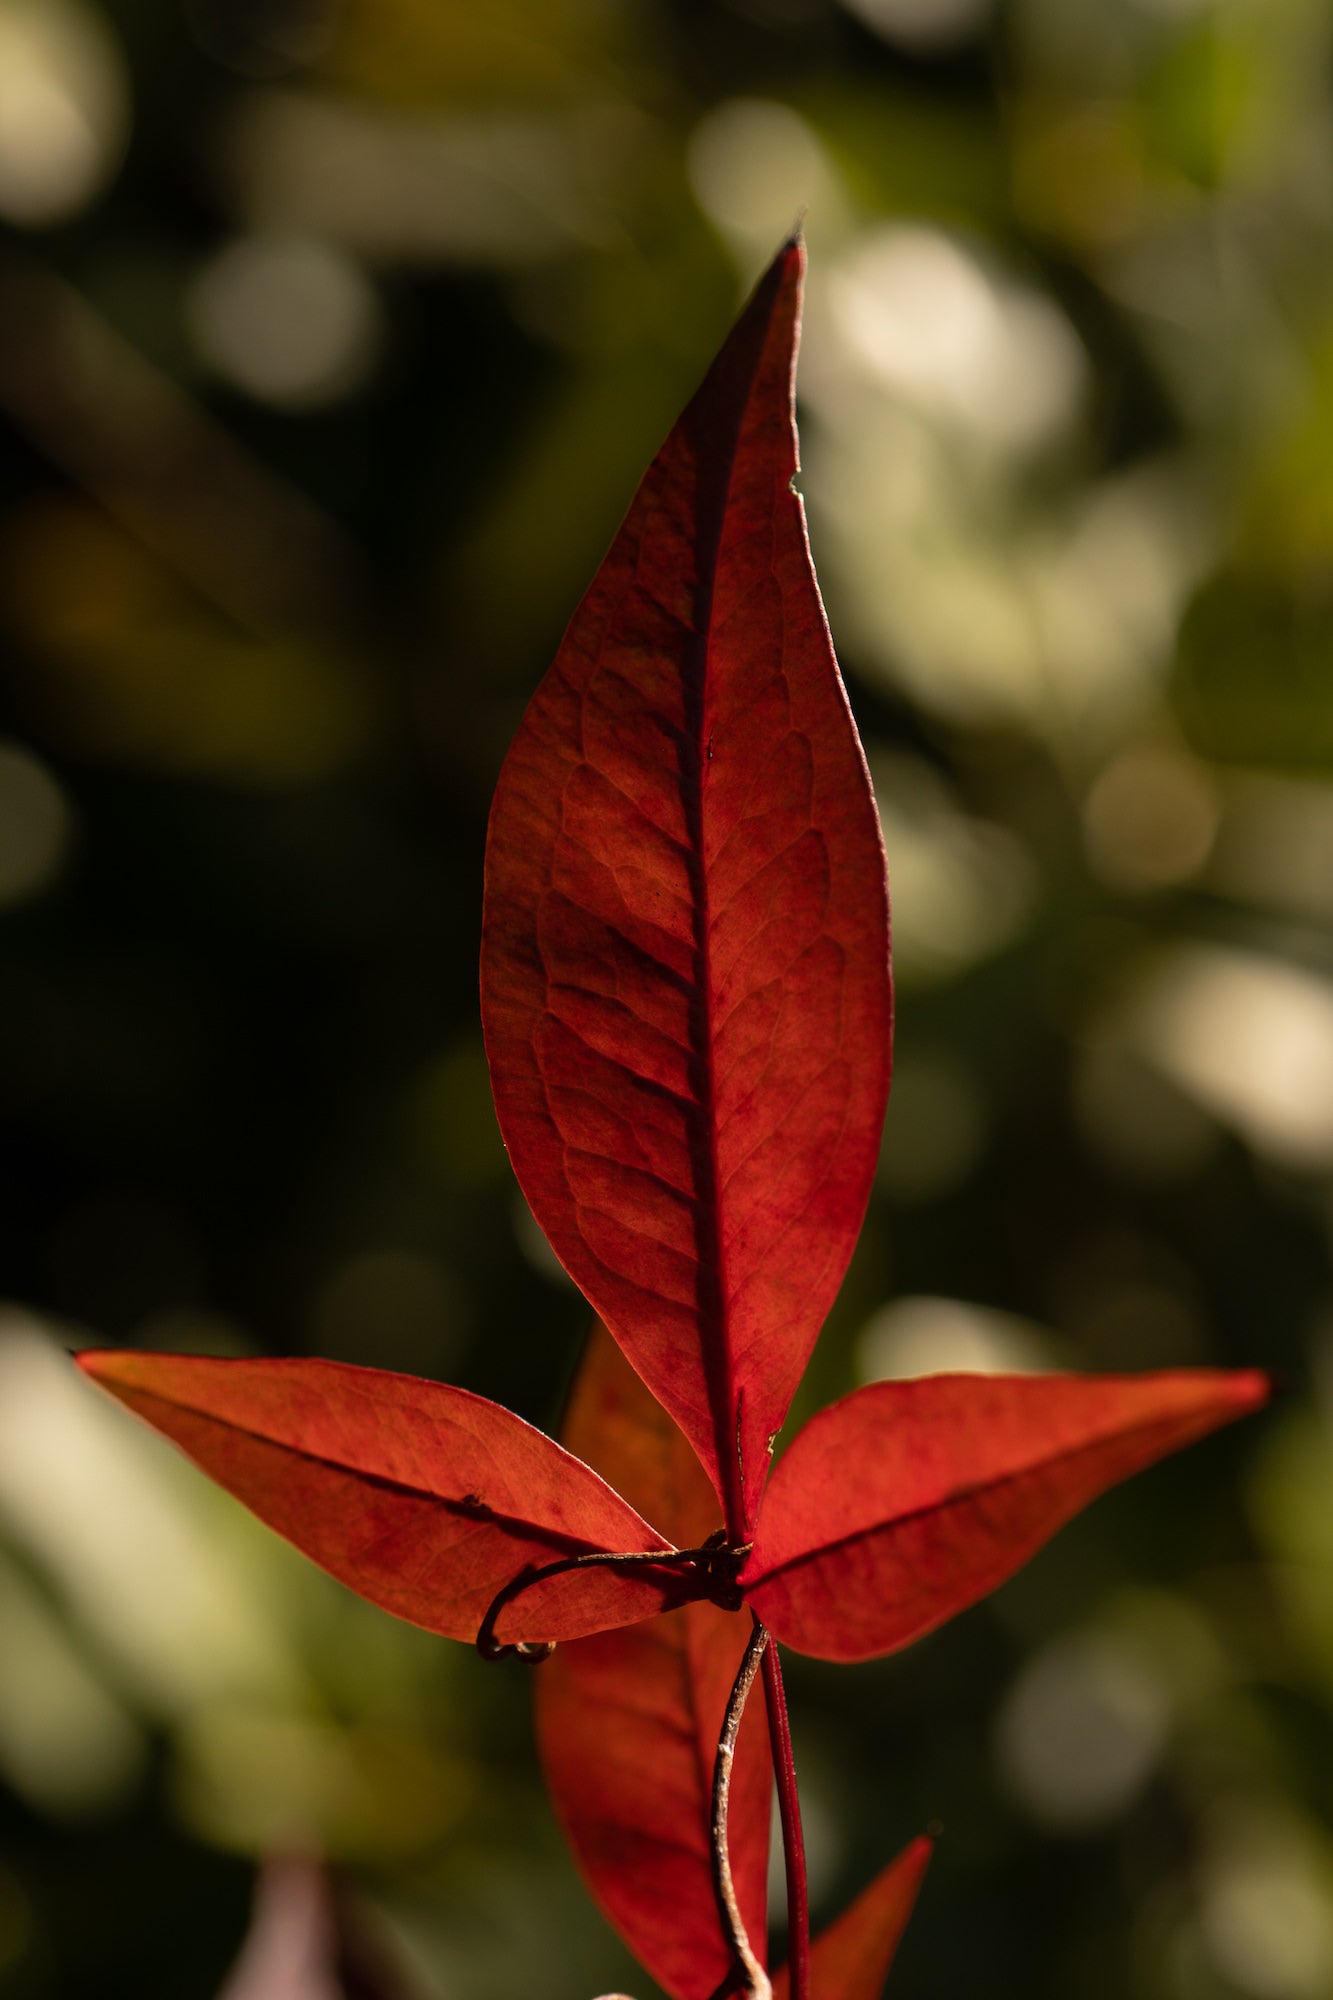
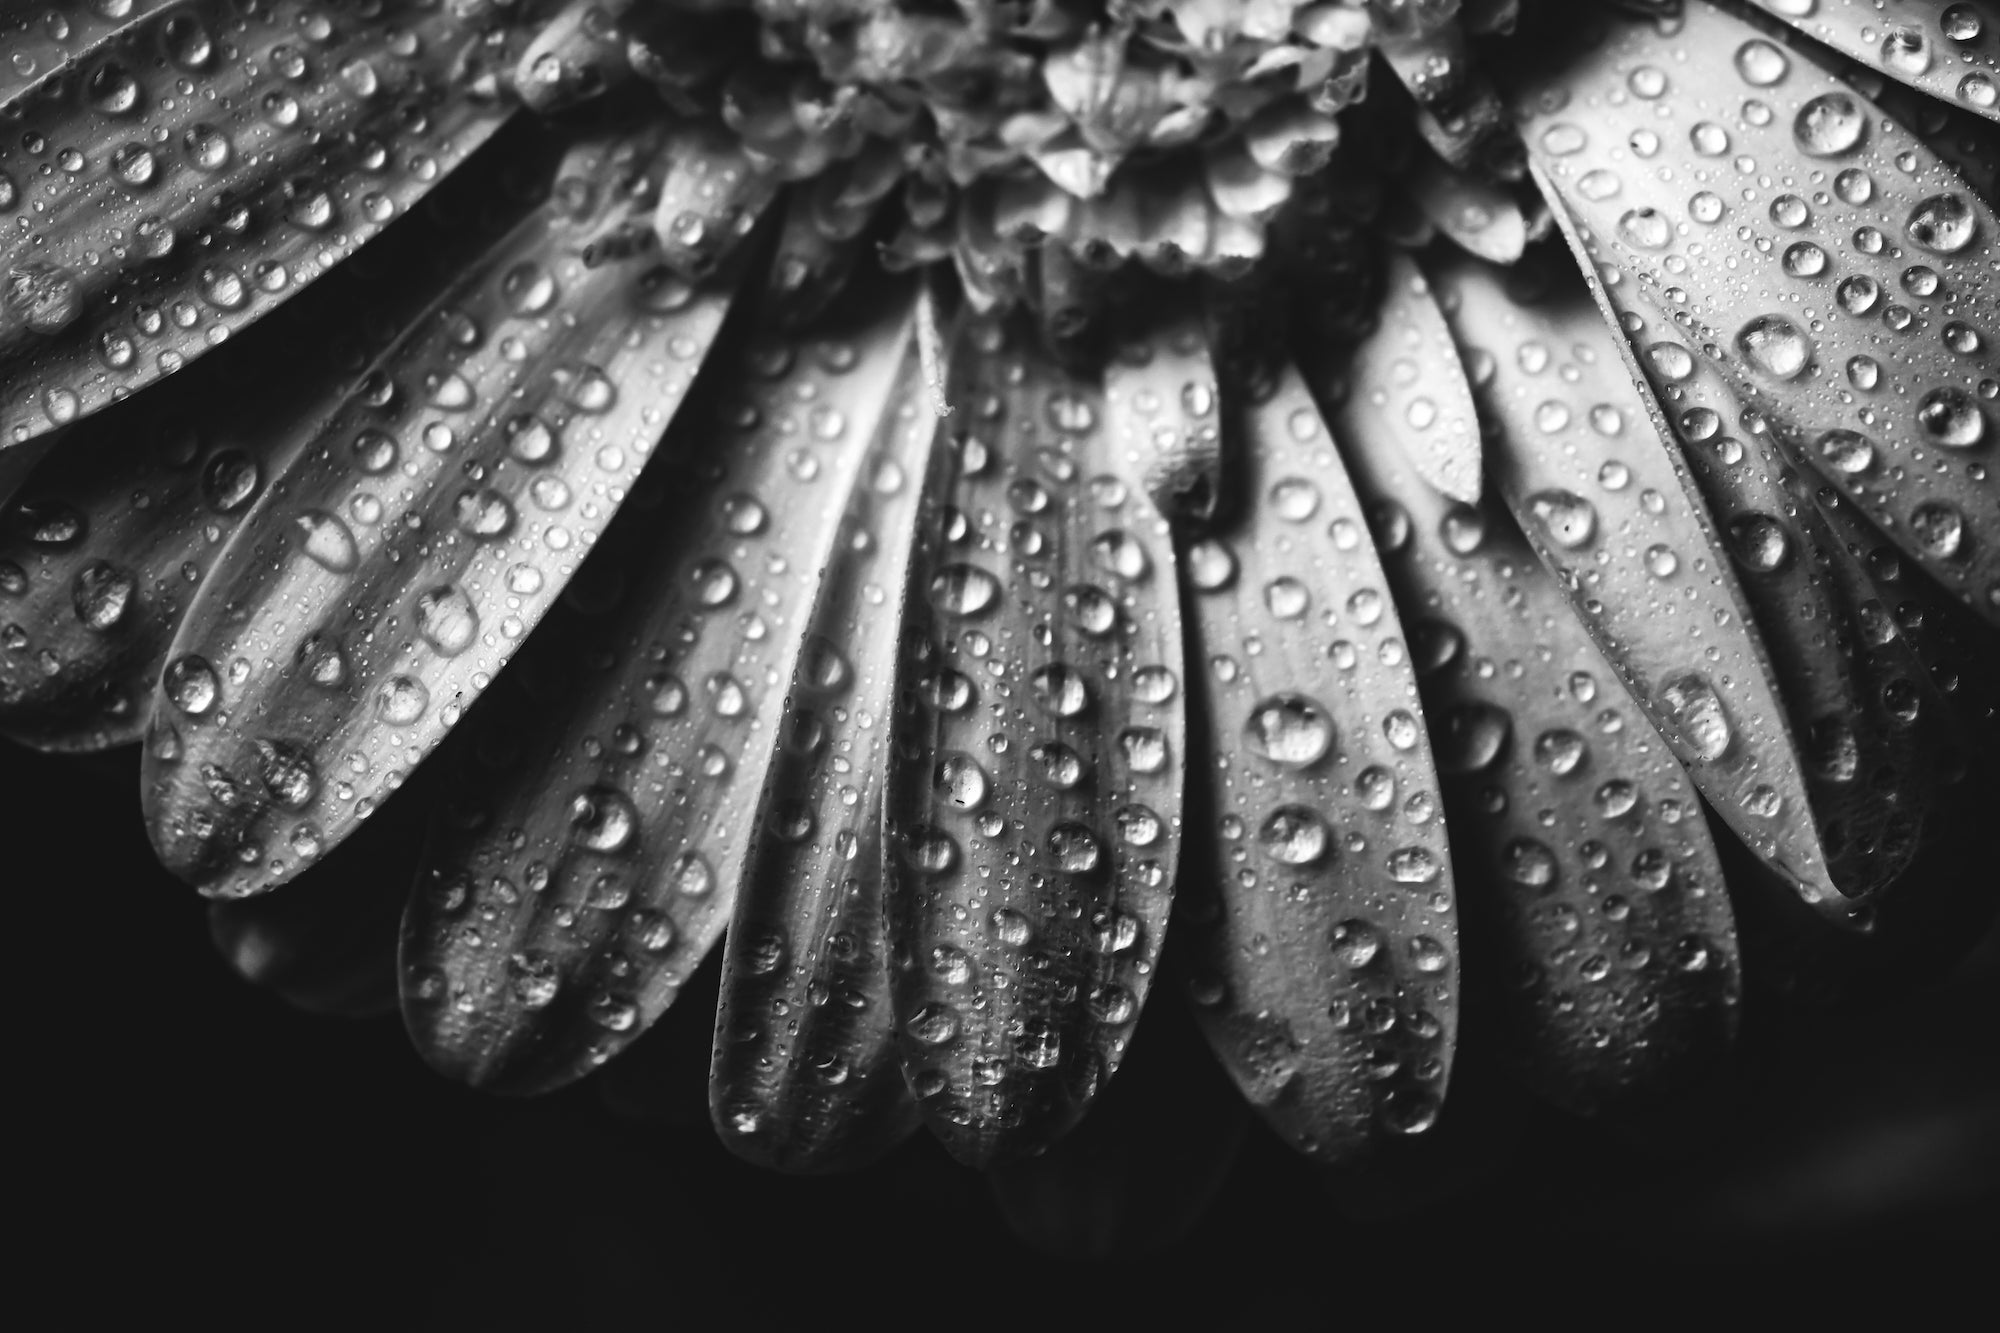
The craft of macro photography is special for Caroline Jensen. The Sony Artisan not only enjoys taking a closer look at the details found in the everyday, but she also views this form of photography as a kind of stress relief. To keep things as consistent and stress-free as possible, she has a workflow she adheres to when shooting macro. We caught up with her to learn more about the steps she follows, from gear selection and preparation, to file transfer and photo editing. See the process below and check out Caroline’s Quick Start Guide For Macro to begin creating your own macro images at home.
From choosing her gear, to managing her settings, to editing and sharing – Sony Artisan Caroline Jensen walks us through her workflow for macro photography.

Sony RX1R II. 1/2000-sec., f/2, ISO 100
Before: Gear Selection & Preparation
“Macro is a daily thing for me when it’s available,” explains Jensen, “because it’s a subject that’s easy to find pretty much anywhere. I try to have a kit of some kind with me anywhere I go, because you just never know when you’re going to see a beautiful subject for macro. Whether it’s the Costco parking lot, or a walk after dinner, or a trip to the botanical gardens. Because of that, it’s very important for me to have a very light and portable kit that can come with me. It usually needs to fit in my bag or purse, and has to be small enough that it isn’t intrusive in my life.”
If she’s working on a project for print, she will grab the Sony α7R IV or Sony α7 III and 90mm Macro. If she wants something smaller she might go for the Sony α6600 and 50mm Macro. If she wants something even more compact, she might choose the Sony RX1R II because of its resolution and impressive fixed lens for this category of camera. Sometimes she uses lenses with longer focal lengths and fills the frame rather than shooting a true macro. Each shooting situation will determine the camera and lens she chooses to bring, and you can learn more about her gear options for macro in her What’s In My Bag article.
“When I know which gear I want to pack, usually my gear prep starts by making sure all my batteries are charged,” says Jensen. “Then I also make sure I have extra memory cards for the specific camera I’m bringing. Sony’s TOUGH cards are awesome. Because I have no shame and I’m literally crawling around in the grass or in the dirt for macro, I sometimes have wet or muddy fingers. So having the extra protection of the TOUGH cards is important for me.”

Sony α7 III. Sony 90mm f/2.8 Macro. 1/320-sec., f/2.8, ISO 250
In addition to her chosen camera, lens, batteries and memory cards, Jensen usually likes to bring a handful of accessories that can serve to make her macro shots even more interesting. Things like a bottle of sparkle spray (one part water and one part vegetable glycerin), a copper pipe and colorful prisms. You can learn more about using these accessories to create high-impact macro shots from Jensen in this Macro Therapy article. Then she also likes to bring along supplemental lighting, like a Lume Cube or an Ice Light.
“I think the key to being a macro photographer is to have your gear with you and have it prepared. I sell my images for stock and I also make a lot of tutorials. If there’s some really rare plant that I see and am excited to shoot, and it happens to be on some street I’m walking down, I want to make sure that I have my stuff with me at that moment. I always try to shoot a lot of variety and to maximize whichever season we are in, and having my gear on me is paramount to be able to do that.”
During: Camera Settings & Shooting Your Prepositions
When it comes time to actually shoot macro, Jensen says you don’t want to be like a bee, flitting from flower to flower in a frenzy of energy. Instead, she says, you should slow down and shoot your prepositions, which you can learn more about here. “I think when people are shooting macro, they tend to give up before they hit their sweet spot,” says Jensen. “So initially when I go out to shoot, I remind myself how important it is to slow down and give myself time. There's nothing more frustrating than getting back to your computer and realizing that if you had shot that at f/5.6 or at a slightly different angle, it would have been so much better.”
“I’m not afraid of high ISO, so one of the things that I like to do if I’m really in the zone to do a shoot is deepen my aperture. I usually start fairly wide, at f/2.8 or f/4, and do what I’m going to do. Then I stop down to f/5.6 and crank the ISO to compensate and then continue shooting in the same way. I do this because sometimes I will find that my initial intention is to make the background soft and blurry to really bring out the detail of the subject, but later on I notice that something else looks better with a deeper depth of field. So remembering to shoot more of the same subject with different settings is important. When you’re shooting the same subject it's really easy to just kind of move on and say, ‘Oh, I'm done with that.’ Don’t. Do it all again but just keep going deeper and deeper.”

Sony α6600. Sony 50mm f/2.8 Macro. 1/500-sec., f/4.5, ISO 160
“I don’t limit myself to only shooting true 1:1 macro. I also prefer to shoot with longer focal lengths simply because I can get a better step-back view of my subject. When you’re in really close, sometimes your shadow can fall on the subject and that can be frustrating. It can also scare away anything living like a bee or a butterfly if you get too close. I can dip or step back, and that will often fill in the gap between true macro and the other lenses that I have. I like the span between macro and intimate landscapes.”
For Jensen, shooting her photos in RAW + JPEG is most ideal. If she knows she missed the mark on a shot, she will delete the photo in camera, especially if she’s burst shooting, in order to save the space for import. Usually one card is plenty for her to handle a shoot, but she does have the extras with her just in case. “I’m not a massive shooter. I would say my average shoot is probably 60 to 300 frames – I'm not shooting rapid fire a whole lot. It's pretty reasonable.”
After: Importing, Editing & Sharing
Once Jensen has completed the shoot, using the Imaging Edge app she will wirelessly transfer over any JPEGs she might want to edit on the spot to Lightroom on her iPad. At the same time, she also takes her memory card and imports it into a backup 8TB Raid system that’s connected to her Mac. All of the RAW + JPEG files are offloaded there and delineated by date, and then those are backed up again to Backblaze and some other spots so she has redundant back-ups.
“Once I have everything offloaded and backed up, I tend to go through the images on my computer in Photo Mechanic. I figure out which images are the keepers and move those into Lightroom Creative Cloud, where I do a lot of my initial edits. I get the RAW image to where I want it to be with pre-edits and basic adjustments like exposure, and then I send those files out to my Dropbox where I keep them for further editing in the future.”
Sometimes those initial edits done in Lightroom are good enough for the project she’s working on, and sometimes she ends up going back to the Dropbox and working on them more one-by-one. She likes to add painterly-style edits where she will either digitally paint or she has a variety of apps on her iPad that she can run the photos through to give them that style. It all depends on the project, but when it comes to posting on Instagram, there are certain looks she’s discovered that perform better than others.
“I know that the images of mine that perform the best on Instagram are ones that have back lighting,” explains Jensen, “where there’s light coming into the image or the sun is soaking the image. The lighting is huge. People love moody lighting. People also really like a good dramatic black and white, or any contrasty image like that. (And you can learn more about creating them here.) I’ve noticed that those images that are more delicate or don’t have a really defined focal point, just don’t perform as well. For example if you’re going to post a photo of a flower field, that is never going to do as well as having one singular blossom that is front and center.”

Sony α9. Sony 90mm f/2.8 Macro. 1/200-sec., f/6.3, ISO 640
Jensen’s whole purpose of telling others about her macro workflow is to introduce them to this type of photography as a form of stress relief. “I really want what I do to be somewhat accessible. It's really important that when people see my images, they feel inspired. That they could actually grab their camera and walk outside in their backyard and do the same thing. Even those who aren't into photography but are maybe passionate about either their yard or garden or whatever, or they are in desperate need of stress relief, they can put a camera in their hands and experience something maybe they hadn't before to find an outlet for some of life's stress.”
See more of Caroline’s work on Instagram @carolinej.


