Star trails are a fun and unique way to capture the stars and the earth rotating. You can get a wide variety of results depending on where you aim at the sky and what type of foreground you have. I’ll be taking you through some of my techniques I use when I capture star trails.
There are two general ways to make star trails images. Each has advantages and disadvantages.
The first is just to set a very long shutter speed and walk away from the camera. That works, but the problem with very long exposures an digital cameras is that it’s possible to introduce unwanted noise into the image.
The second is to create a series of moderately-long exposures and stack them in post to build a low-noise, star trail image. This method works great, but stacking the images after shooting can be tedious.
Despite the additional steps involved, I prefer the stacked images method. I use the PlayMemories Time-lapse Camera App when I’m shooting which automates the capture process.
Here’s how I do it:
Equipment
A camera that can do long exposures. I use a Sony α7R II and Sony α7 II
A sturdy tripod that can hold the weight of your camera easily.
A shutter remote or a timer on your camera. This will reduce shake and give you sharper images.
To include foreground objects, use a wide-angle lens. Anything in the 10-25mm range should work.
Large, fast memory card. Since I frequently use the α7R II and it has a 42 megapixel sensor, I usually use a 64GB 95MBPS SD Card
Image stacking software like Adobe Photoshop or Lightroom.
Find a Dark Place
Locate a very dark place. I use the website “DarkSiteFinder.com" to see what areas are dark enough. The darker the area the brighter the stars. You want to get as far away from the city’s light pollution as possible.
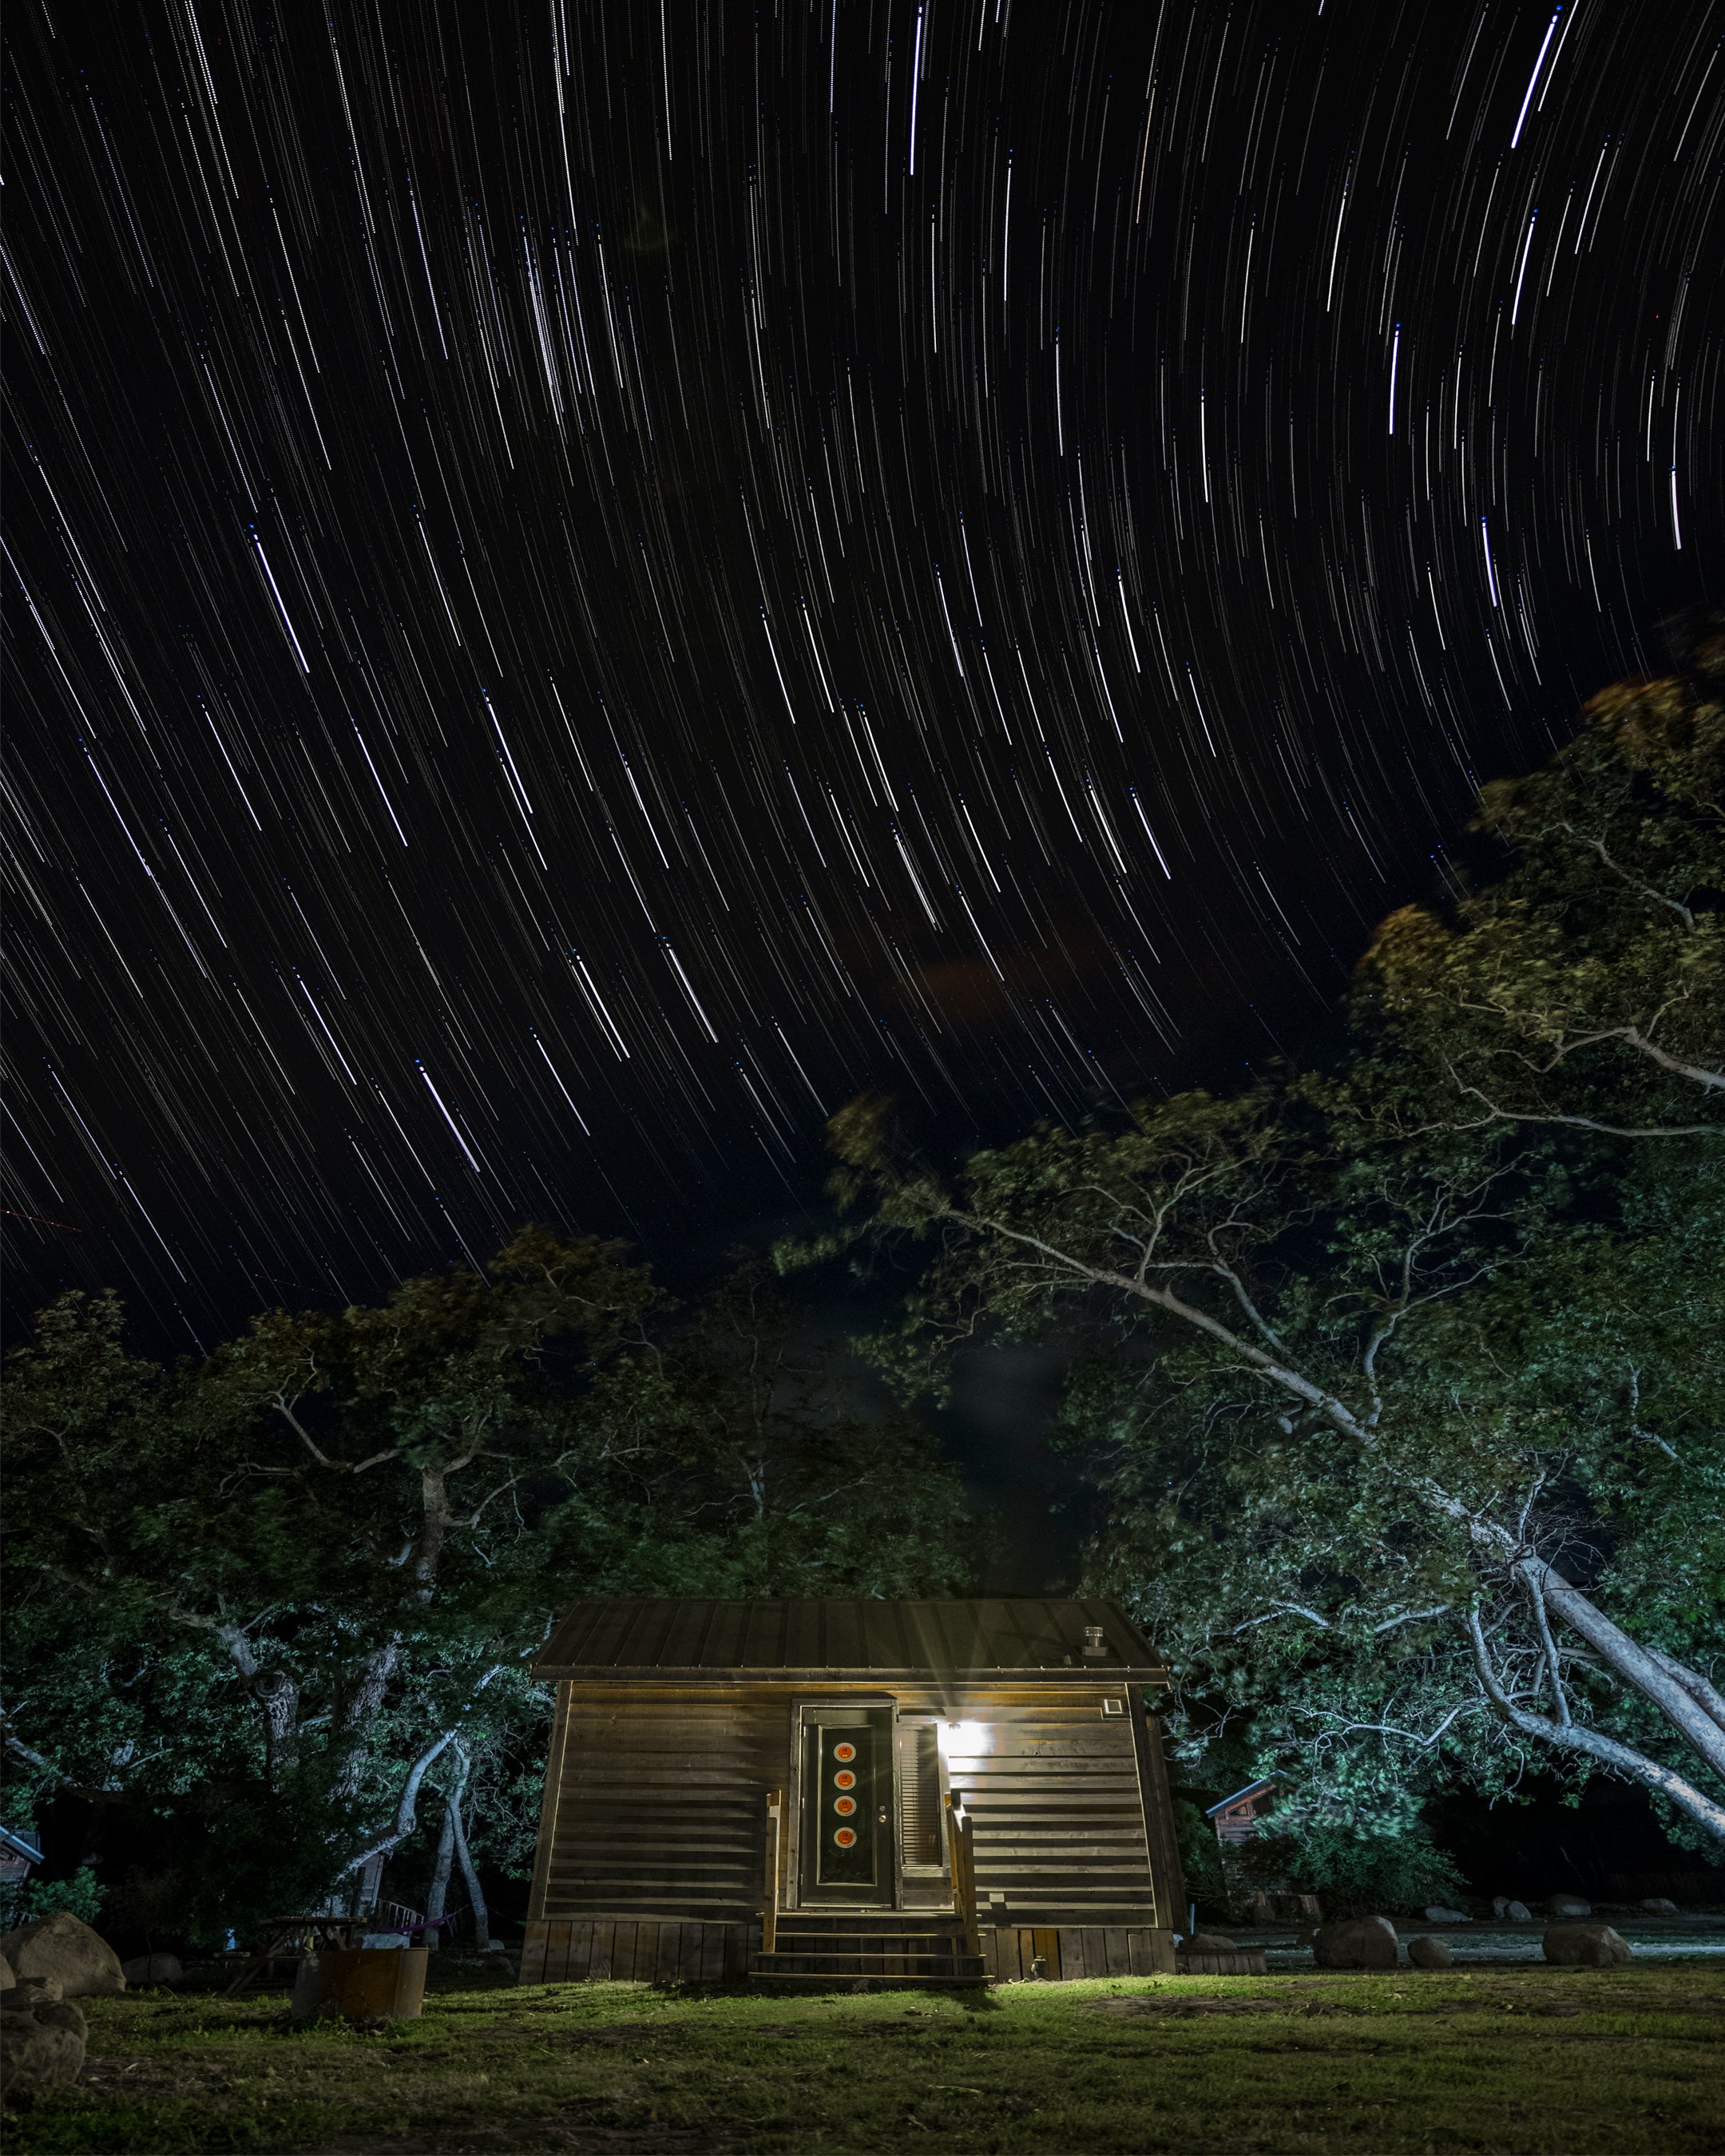
Find a subject. Since we were in Santa Barbara for the Sony Kando Trip I wanted to capture the cool little cabins we were in.
Locate the north star. I use an app called “Sky View” It’s free on your iPhone or Andriod. The north star serves as the center point for the star trails.
If you can’t find the North Star then having a really good foreground subject is best. You won’t get the full circular motion, but you can still create a really cool image.
Camera Settings
Aperture: Make sure you are using a wide angle lens to capture the most stars. Your aperture will need to be at f4 or lower depending on the lens you have and how far you are from the subject you will need to make the proper adjustments.
ISO: You will need to be at 100 or higher depending what kind of camera you have and how dark the area is.
Shutter Speed: You will need to be at around 5-10 seconds. Take a couple of test shots to make sure the image is sharp.

For this photo which I made at Kando Trip 1.0, my settings were Sony α7R II. Sony 16-35mm lens. 50 stacked images. 10-seconds, f/4, ISO 3000. The camp in El Capitan Canyon was in the green zone according to DarkSiteFinder.com. You will need to take about 50-100 pictures depending on how long you want your trails to be.
Using the PlayMemories Time-lapse Camera App
I love the Time-lapse app from Sony Play memories for many reasons. For star trails it makes the capture process very easy. All I have to do is enter my settings, take a test shot then I sit back and watch.
After you download the Time-lapse app, go to the Application List in your camera menu and open it.
For settings, select “Custom”. Here you will be able to enter the settings I used above. I sggest you try those settings as a starting point.
Once you input the settings, enter the Application Settings. This is where you can adjust the file formats, intervals, number of shots, and AE lock.
Tip: Take a sample picture outside of the app and remember those settings. The app has a slight lag and depending on how patient you are, it may frustrate you.
PlayMemories Time-lapse Application Settings
One great thing about the PlayMemories Time-lapse Camera App this app is it will create stills and a time-lapse video for you. Make sure your memory card is big enough to be able to hold all those files!
File Format: Set to Stills & Video. You may be able to use the video at a later time.
Interval: For star trails, set it to the lowest setting because you don’t need any time in between frames since the Earth is consistently moving.
Number of shots: I always set the number of shots to 990. By pressing the shutter button durting the sequence you will stop the capture. You will need 50 - 100 shots to create some star trails. And yes, the app will also create the video for you when you stop it before the set amount of shots. Note: the AE lock is not needed since the exposure settings aren’t changing.
Tip: The time and duration information at the bottom is extremely helpful because it will tell you where you are in the sequence. This information is updated after every shot. It will say “1/990” or “22/990” etc.
Stacking The Images
The final step is to stack all those images and create one image. Here's how I do it in Adobe Photoshop
Import all your pictures and put them in a folder on your desktop or a location you will remember.
Open Adobe Photoshop and set up the size of the file you want to create
Click File/Scripts/Load Files into Stack
After all files are loaded, select every file except the first one on the bottom layer.
Once all the files are highlighted, select the filter “Lighten” and you will see the star trail created. “Lighten” removes all the dark colors and keeps the light/whites.
Save your image.
Tip: You can edit all the RAW images in Lightroom and apply the same settings to all the pictures and then export or you can just edit the final image. Keep in mind you will have more control with RAW images then you do with a JPEG file.
Quay Hu is a member of the Alpha Imaging Collective. You can follow Quay @AroundQ

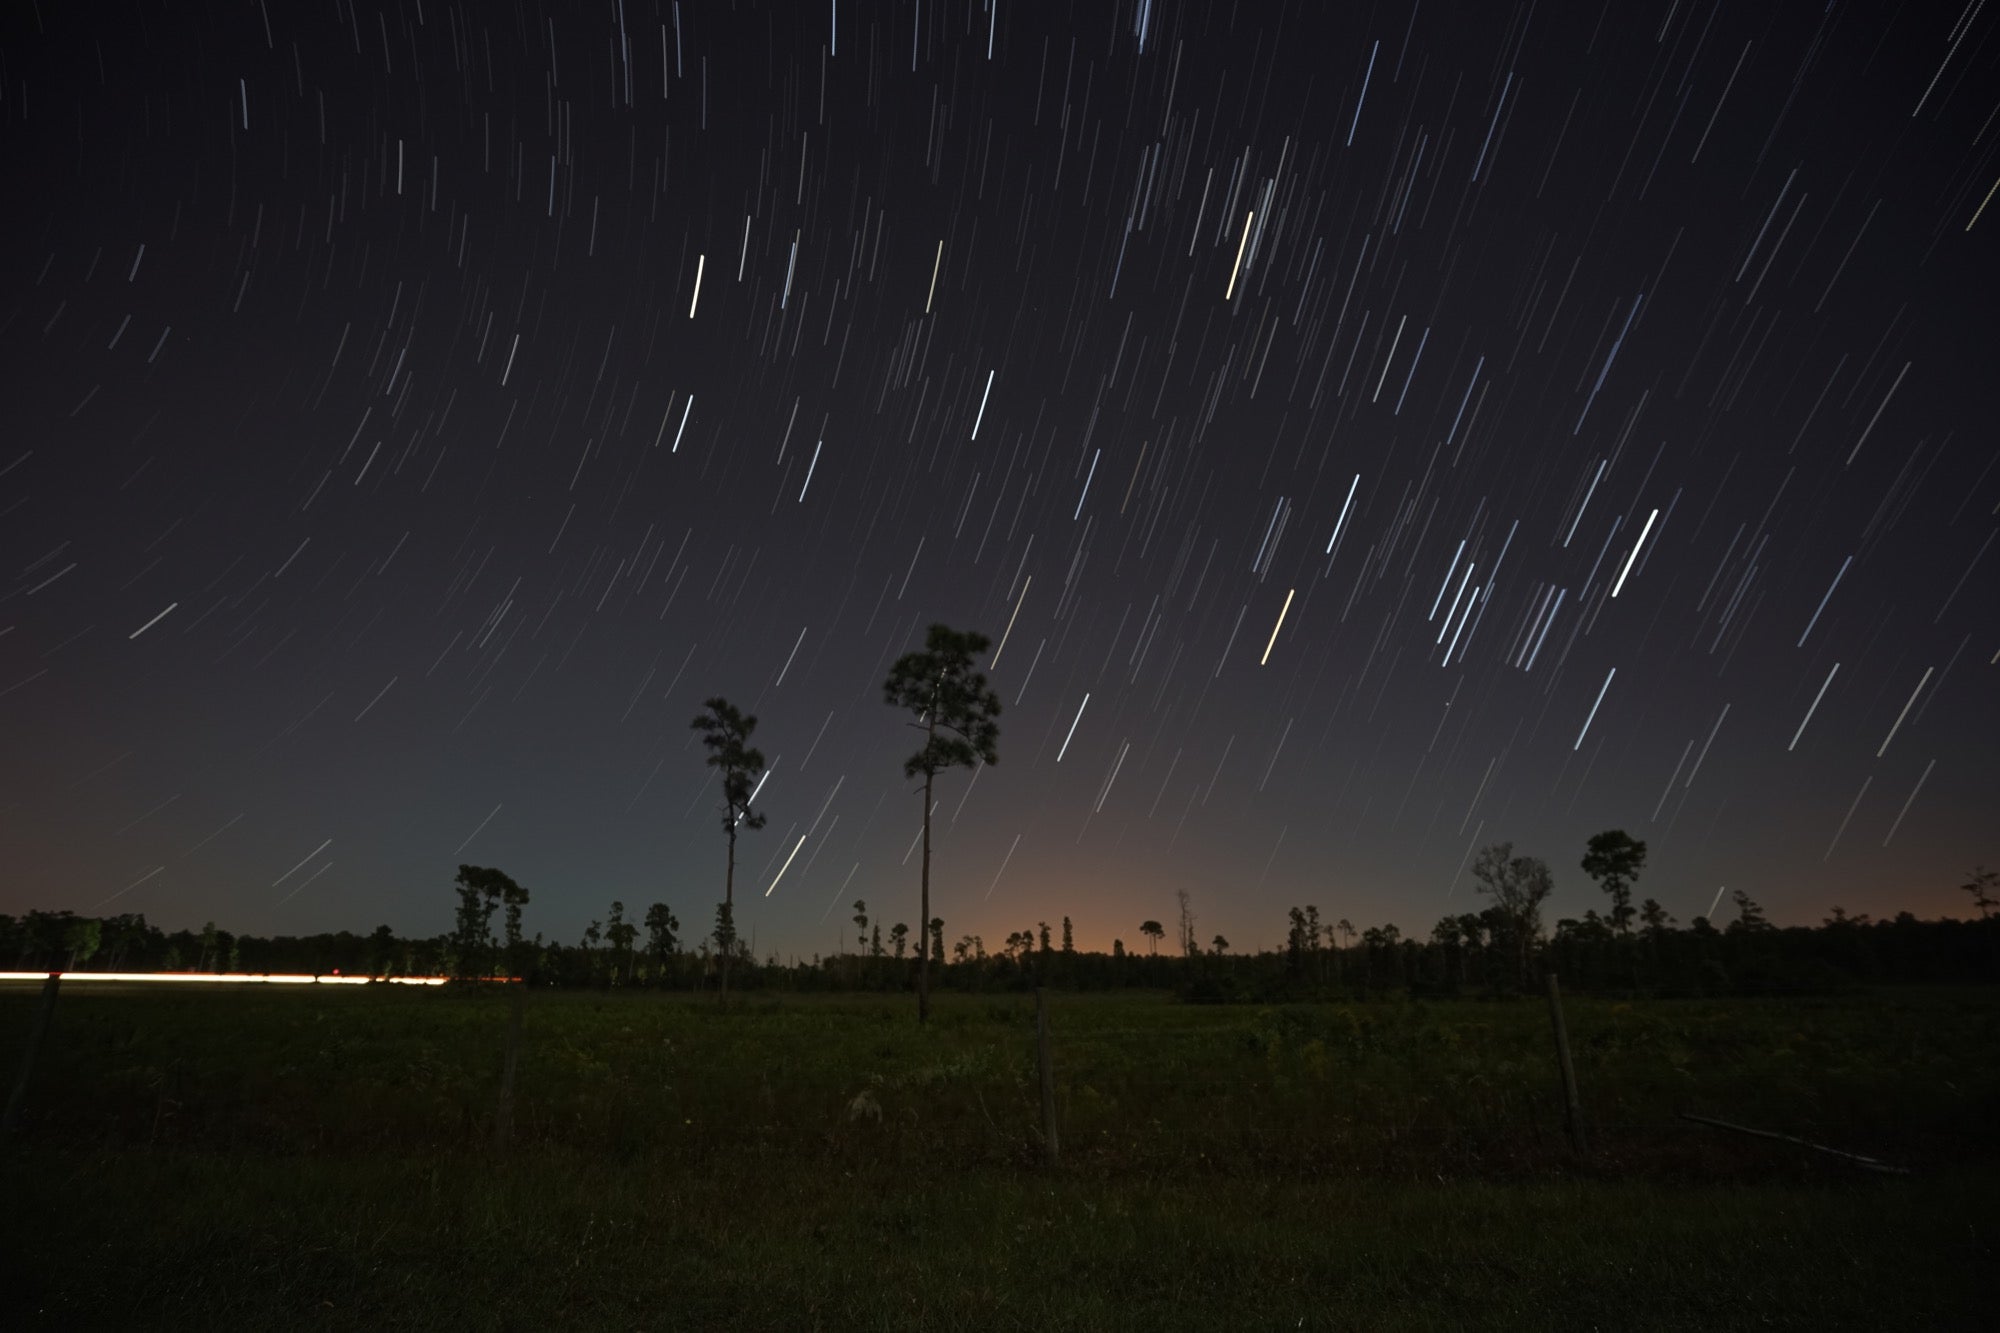
Sony α7 II. Sony 16-35mm f/4 lens at 16mm. 50 stacked images. 10-seconds, f/4, ISO 1000.

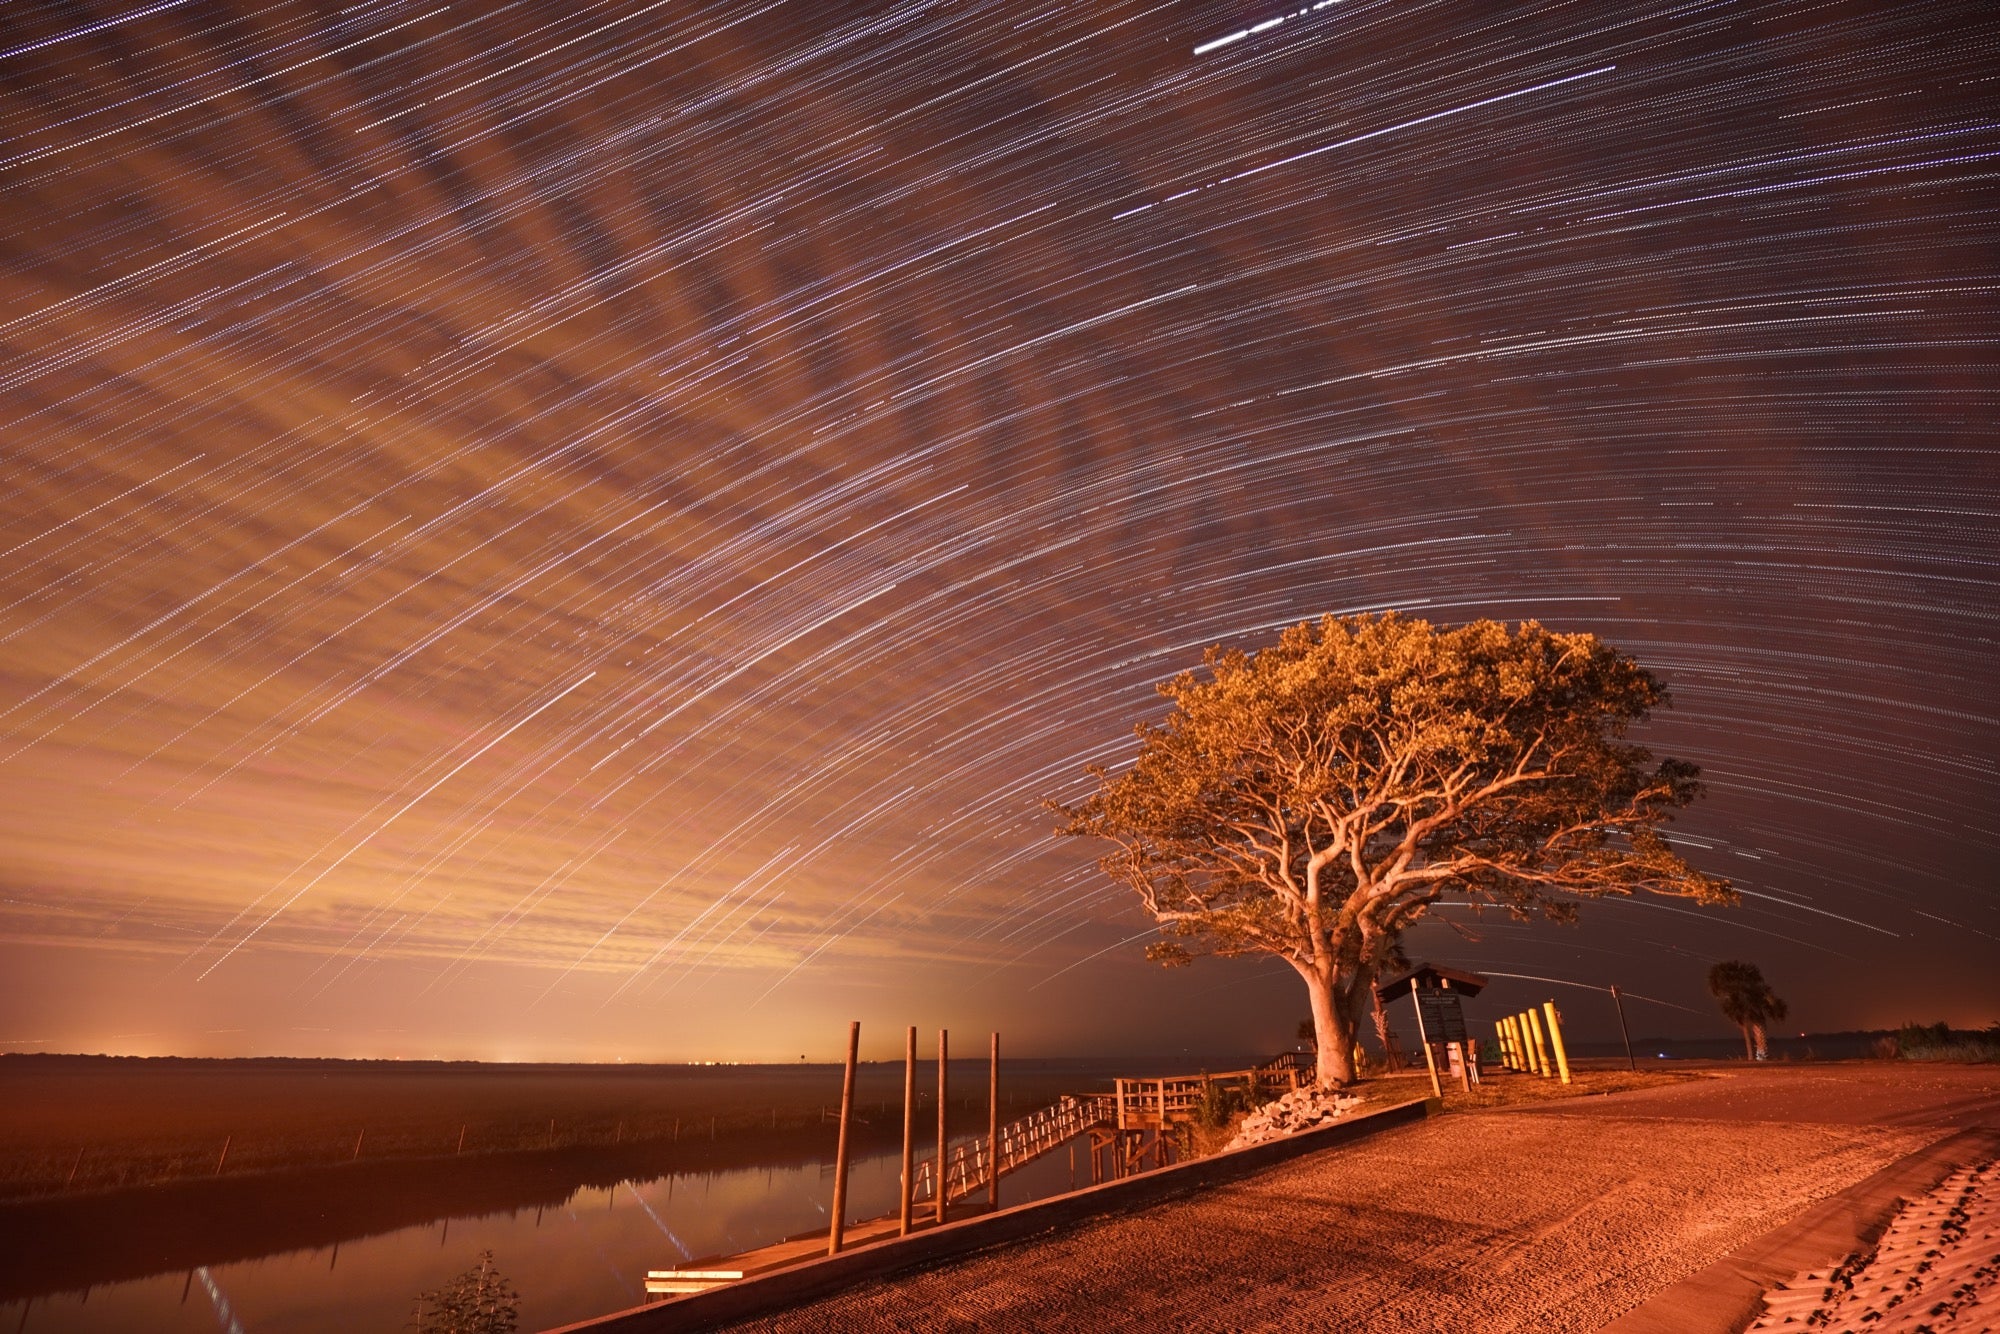
Sony α7R II. Sony 16-35mm f/4 lens at 16mm. 150 stacked images. 15-seconds, f/4, ISO 3200.

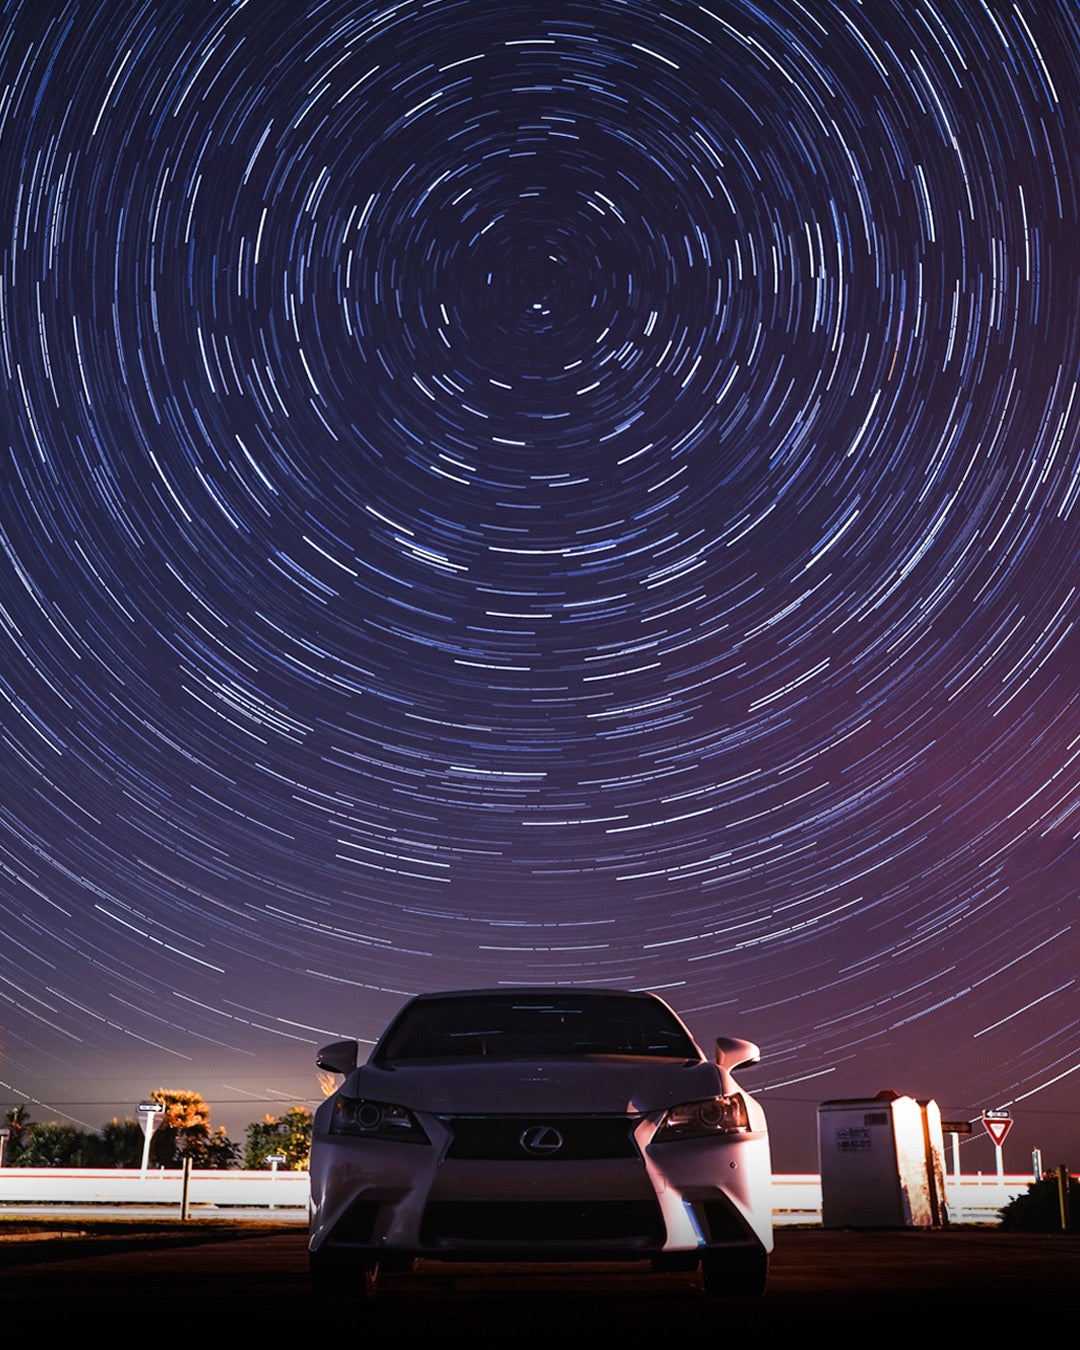
Sony α7R II. Sony 16-35mm f/4 lens. 50 stacked images. 10-seconds. f/4, ISO 1000.


