The majestic land of Patagonia is a landscape photographer’s dream location. It rests in both the southern parts of Chile and Argentina and boasts spectacular landscapes such as snow-capped mountain peaks framing glacier-fed lakes, waterfalls, unlimited mountainscapes and an eclectic mix of flora and fauna. For those who make the trip with cameras and lenses, the rewards are endless dramatic vistas waiting to be captured and shared.
When in doubt, just go: When many landscape photographers will tell you that it’s best to save your energy & be patient when the weather conditions or weather forecasts are bad, I’ll tell you the opposite.
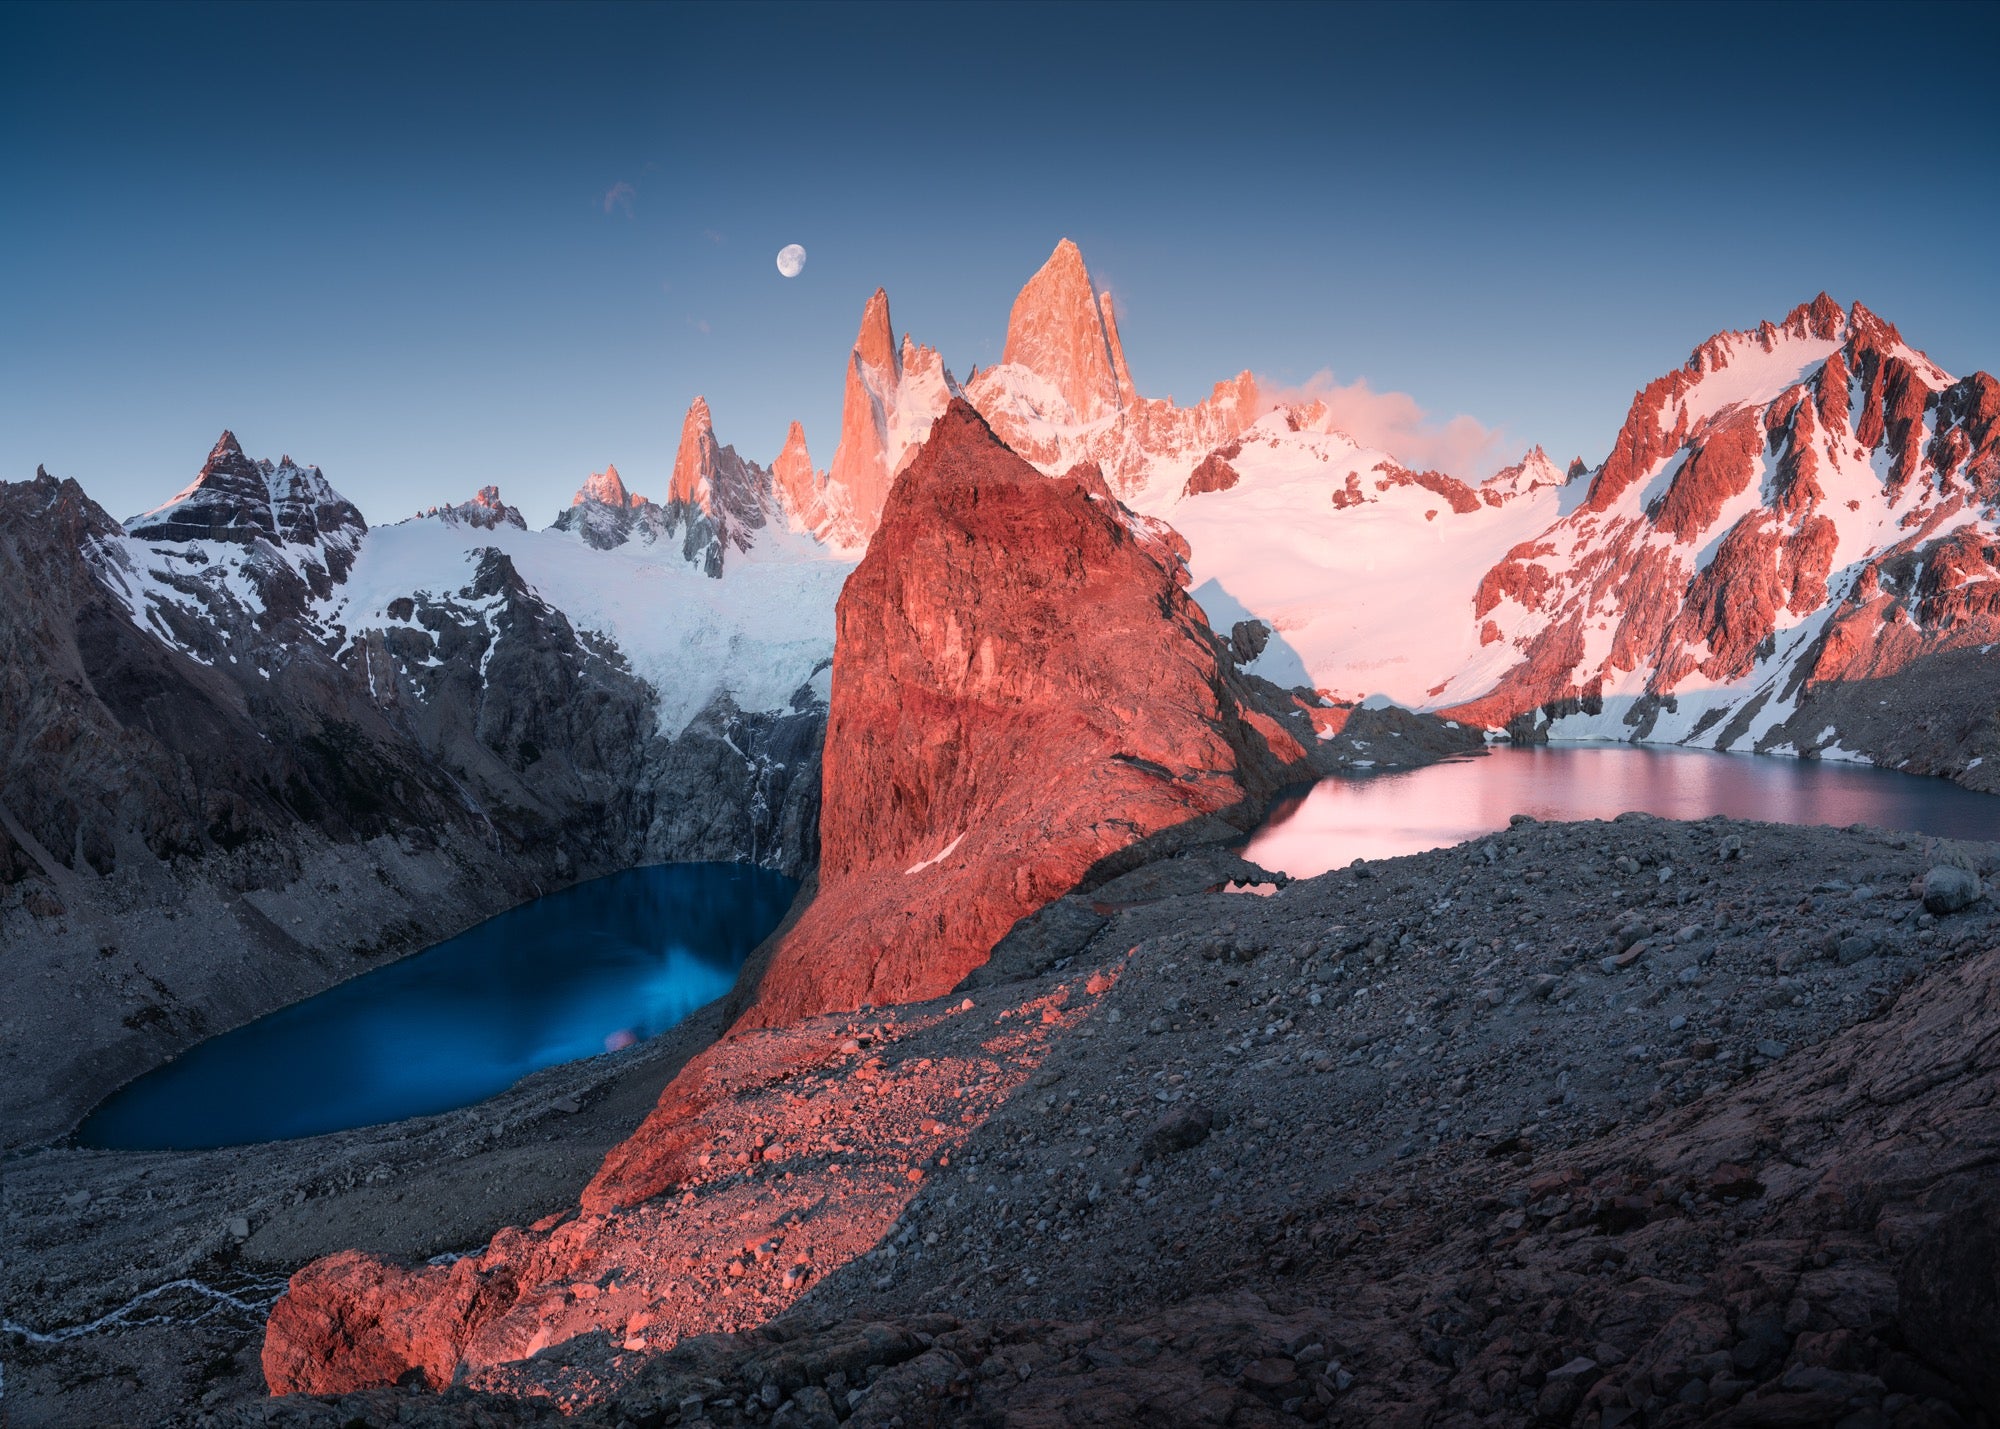
Laguna De Los Tres – El Chalten. Sony α7R II, Sony FE 16-35mm f/2.8 G Master lens. Five shot panorama at 16mm. 1/8-sec, f/5, ISO 100. Moon shot at 100mm.
In the past few years it’s become easier to get to Patagonia, but once there, life isn’t exactly easy. You’ll need to be ready to hike long distances, shoot in extremely windy conditions, wake up in sub-zero temperatures and work hard for your shots. But don’t worry, the sceneries and natural splendors will blow your mind and make all these inconveniences worth it. And the physical difficulties keep the area from being oversaturated with other photographers.
For those who are up to the challenges, here’s a guide to Patagonia based on my experiences in the region.
How long should you go?
The first thing to consider when traveling to Patagonia for photography is to allow yourself enough time and to be flexible with your itinerary. To me, one month is the minimum if you want to see the best of the region. Patagonia is not an area where you can travel fast if your purpose is landscape photography because the weather is so extreme and unpredictable. You’ll find yourself spending a good part of your trip waiting for the nice weather to come back.
When’s the best time to go?
Many travel agencies will recommend coming from December to February, as it is the warmest time of the year, but it’s also the busiest and usually when the winds are at their strongest. If you can brave the cold, I find that March and April are the best months to go. During these months, the fall colors (March is autumn in the Southern Hemisphere) are incredible, winds are less severe (hello long exposures!) and there are better chances to see wildlife.
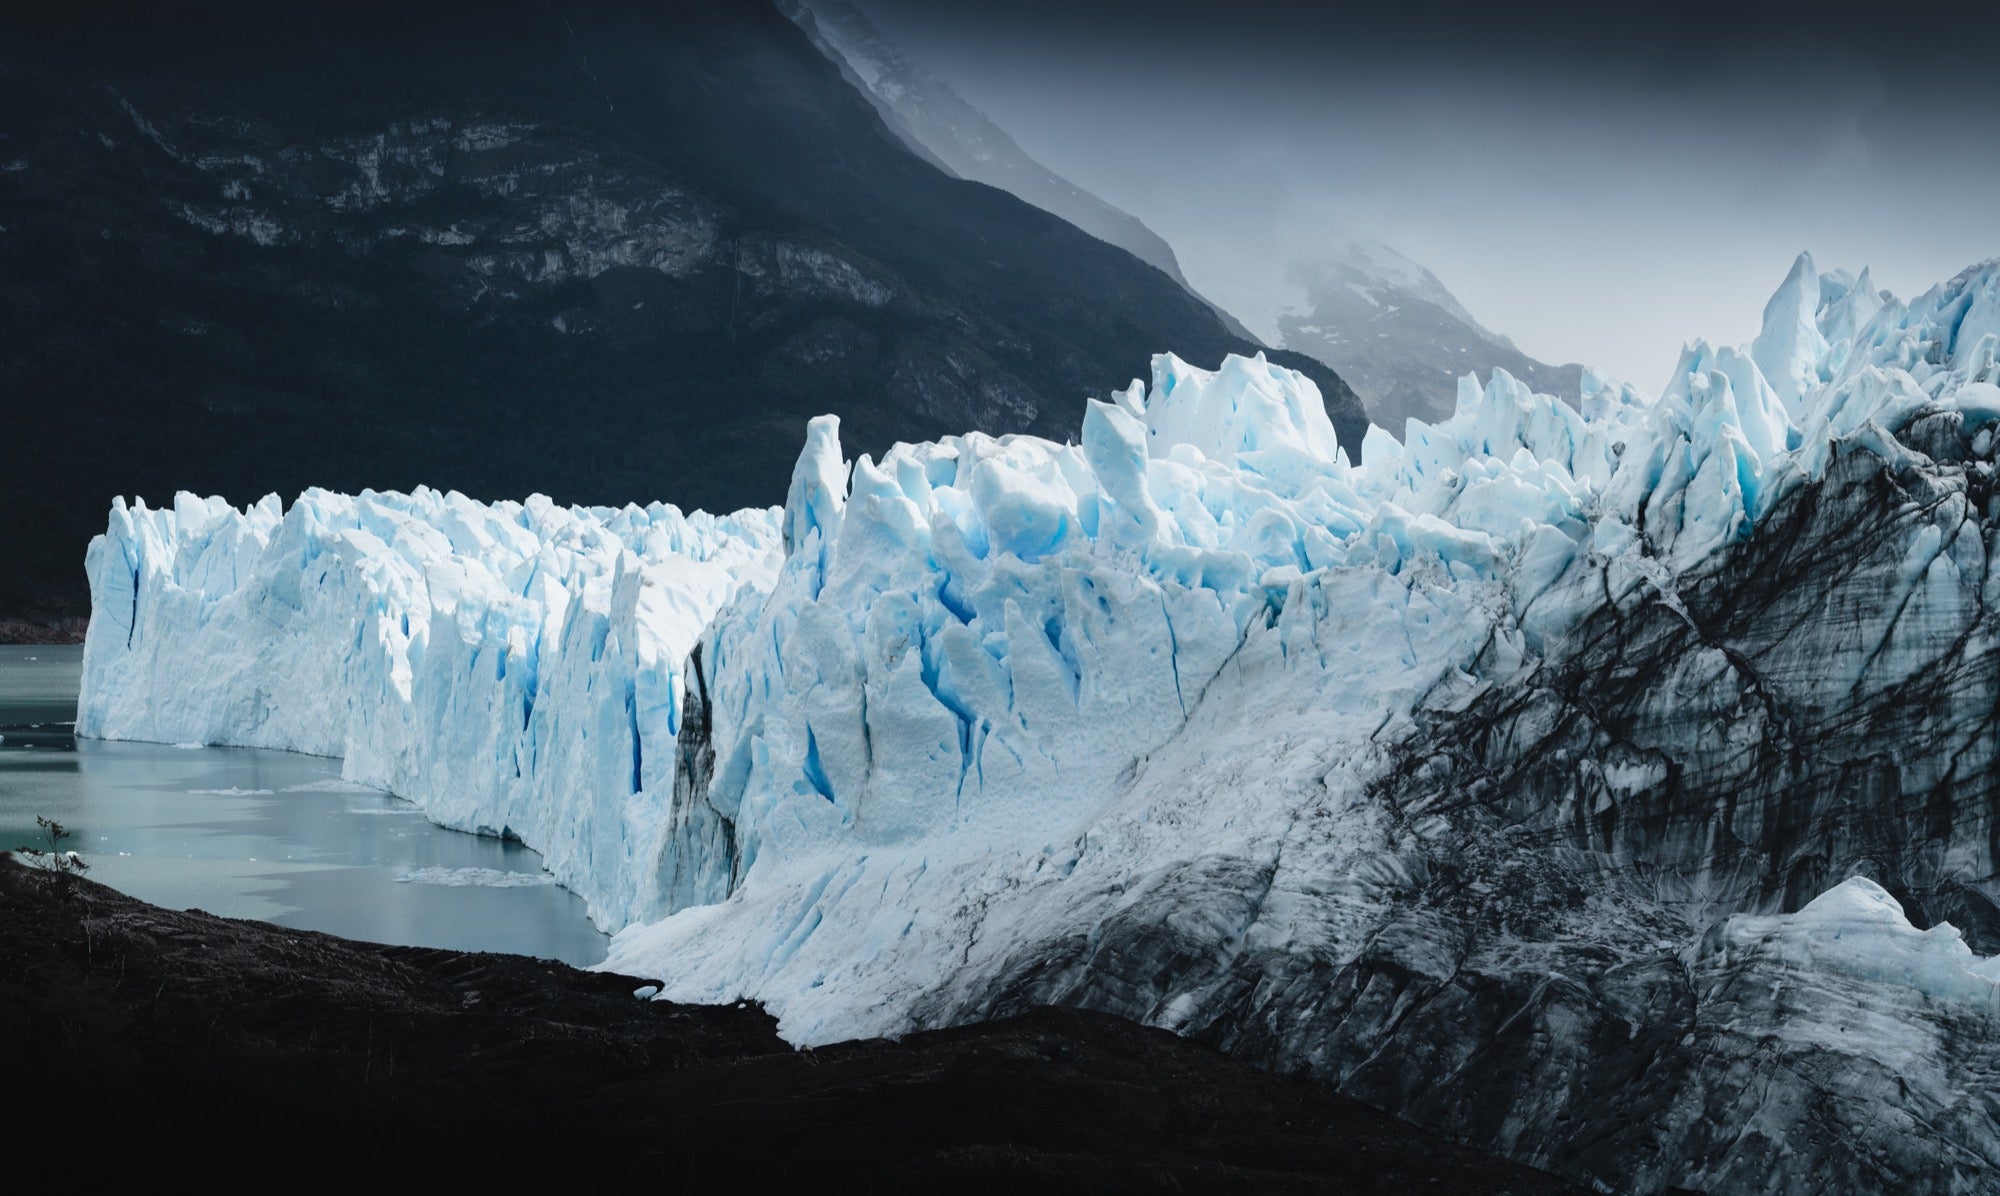
Perito Moreno Glacier. Sony α7R II, Sony FE 100-400 f4.5-5.6 G Master OSS lens.12 shot panorama, shot at 100mm. 1/1250-sec., f/4.5, ISO 320
How I made my trip to Patagonia.
Being constrained by time, I started my trip at the end of December and stayed for a month.
After doing a lot of research, instead of traveling by bus and staying in hostels, I decided to reserve a midsize SUV and make it my home for the whole trip. Going with that option made it a bit more expensive, but it allowed me to go wherever I wanted, whenever I wanted, to be more flexible and make the most of every location. Plus, I love to sleep in a car!
Torres Del Paine
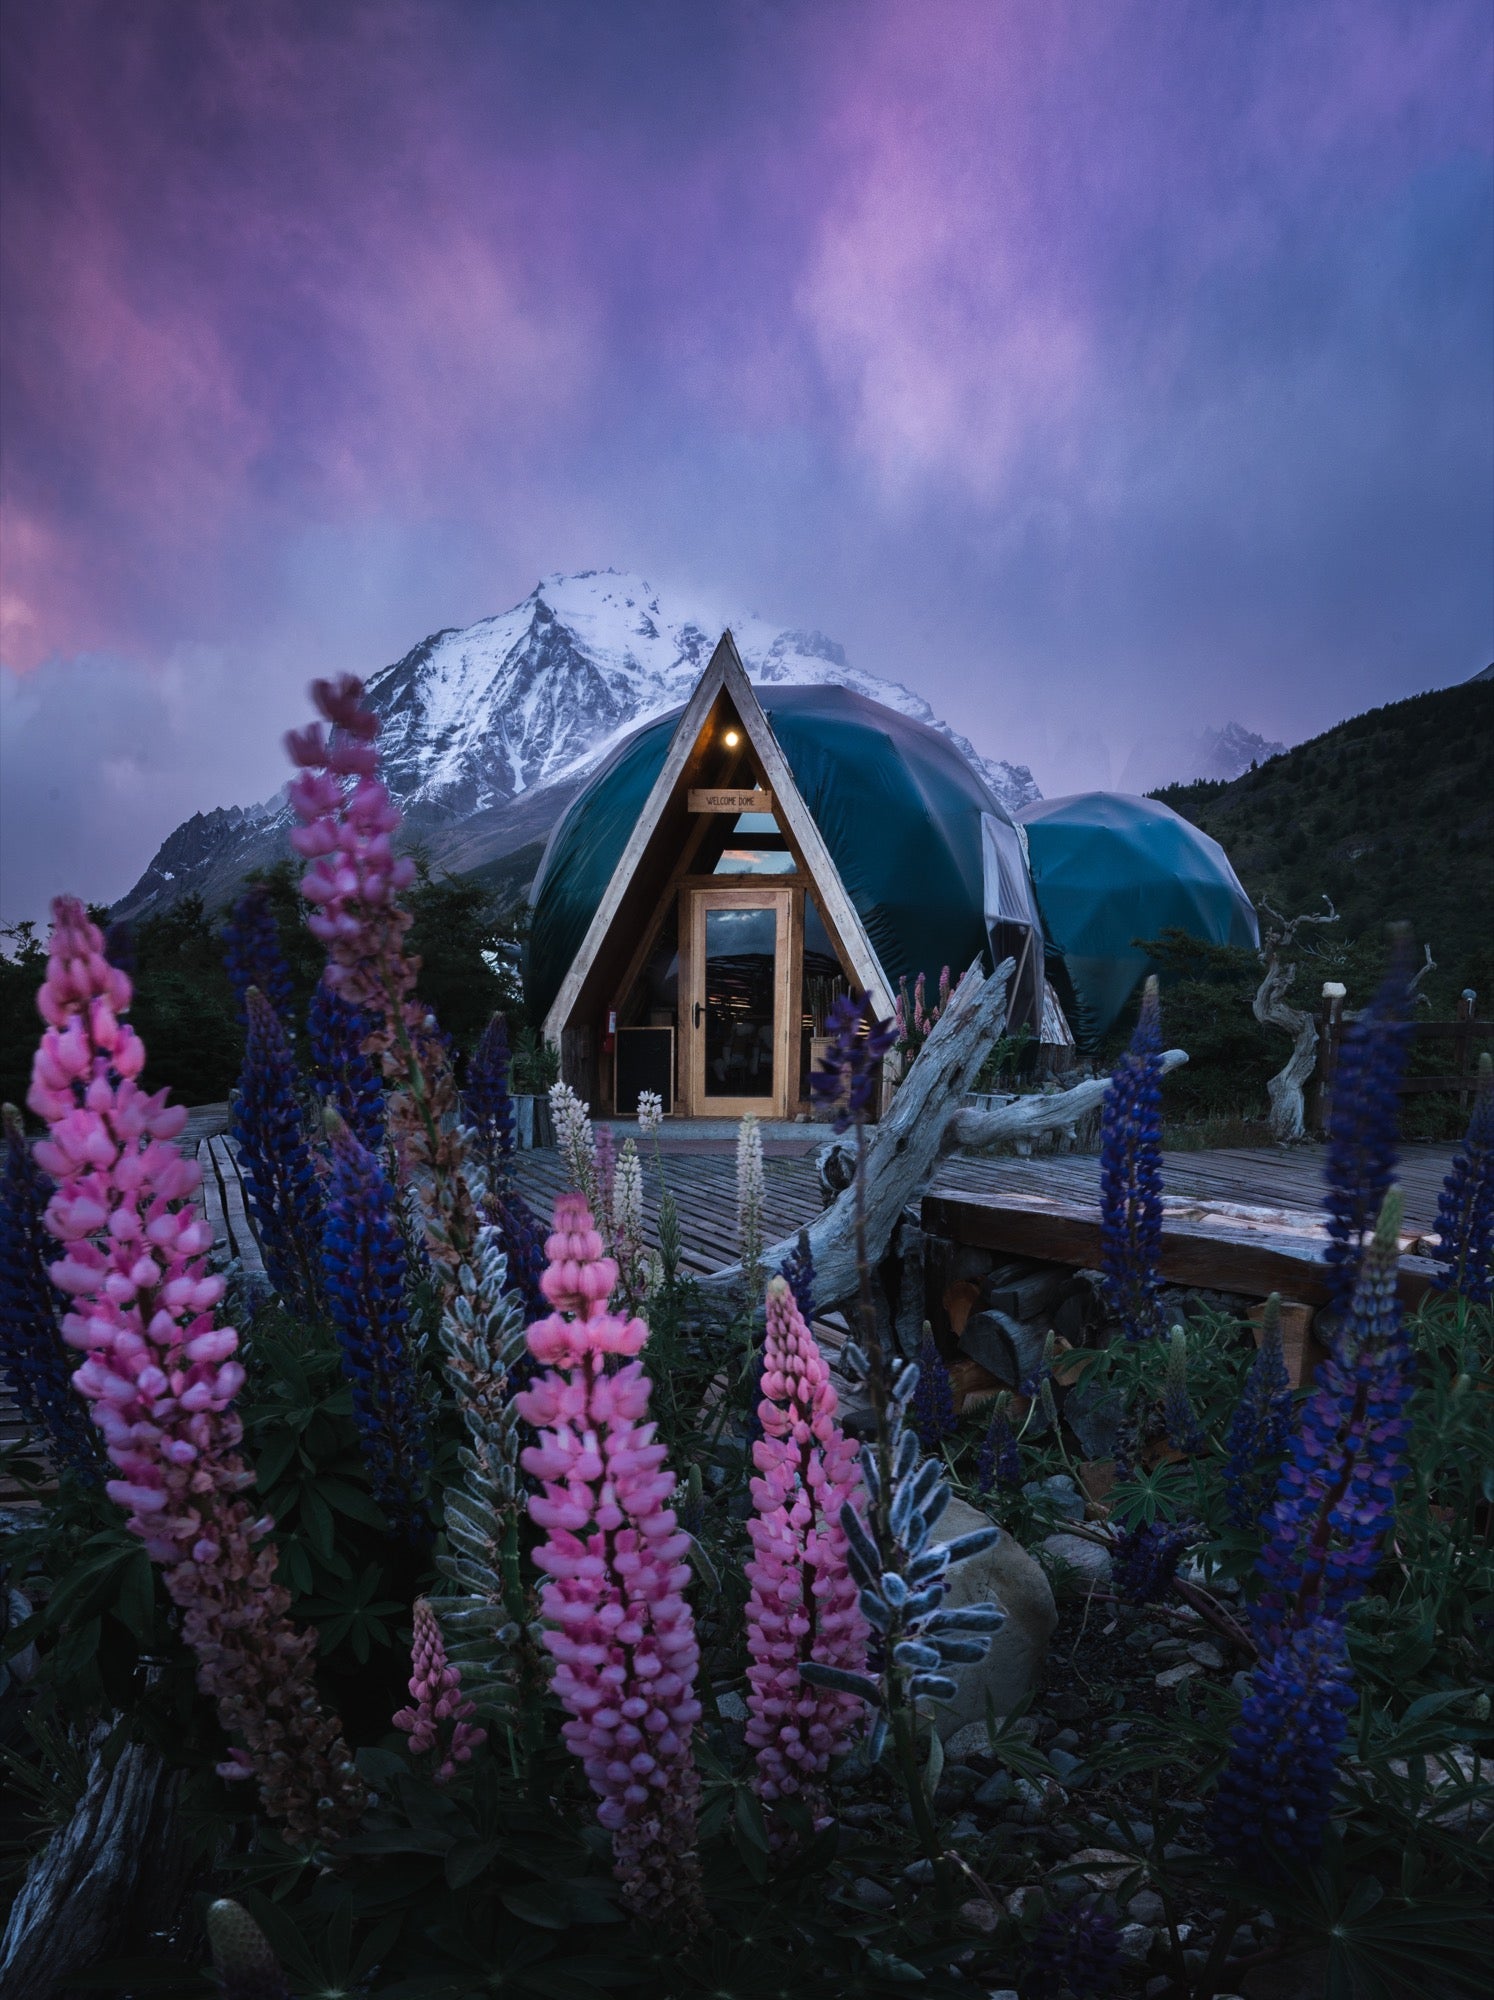
Eco Camp - Torres Del Paine : Sony α7R II, Sony FE 16-35mm f/2.8 G Master lens at 16mm. 0.8-sec, f/16, ISO 400
I arrived in Punta Arenas, picked up my rental car and drove all the way up to Torres del Paine where I stayed for two weeks. One of the must-dos in the park is the W trek. The campgrounds usually need to be reserved at least six months in advance, so be sure to plan ahead.
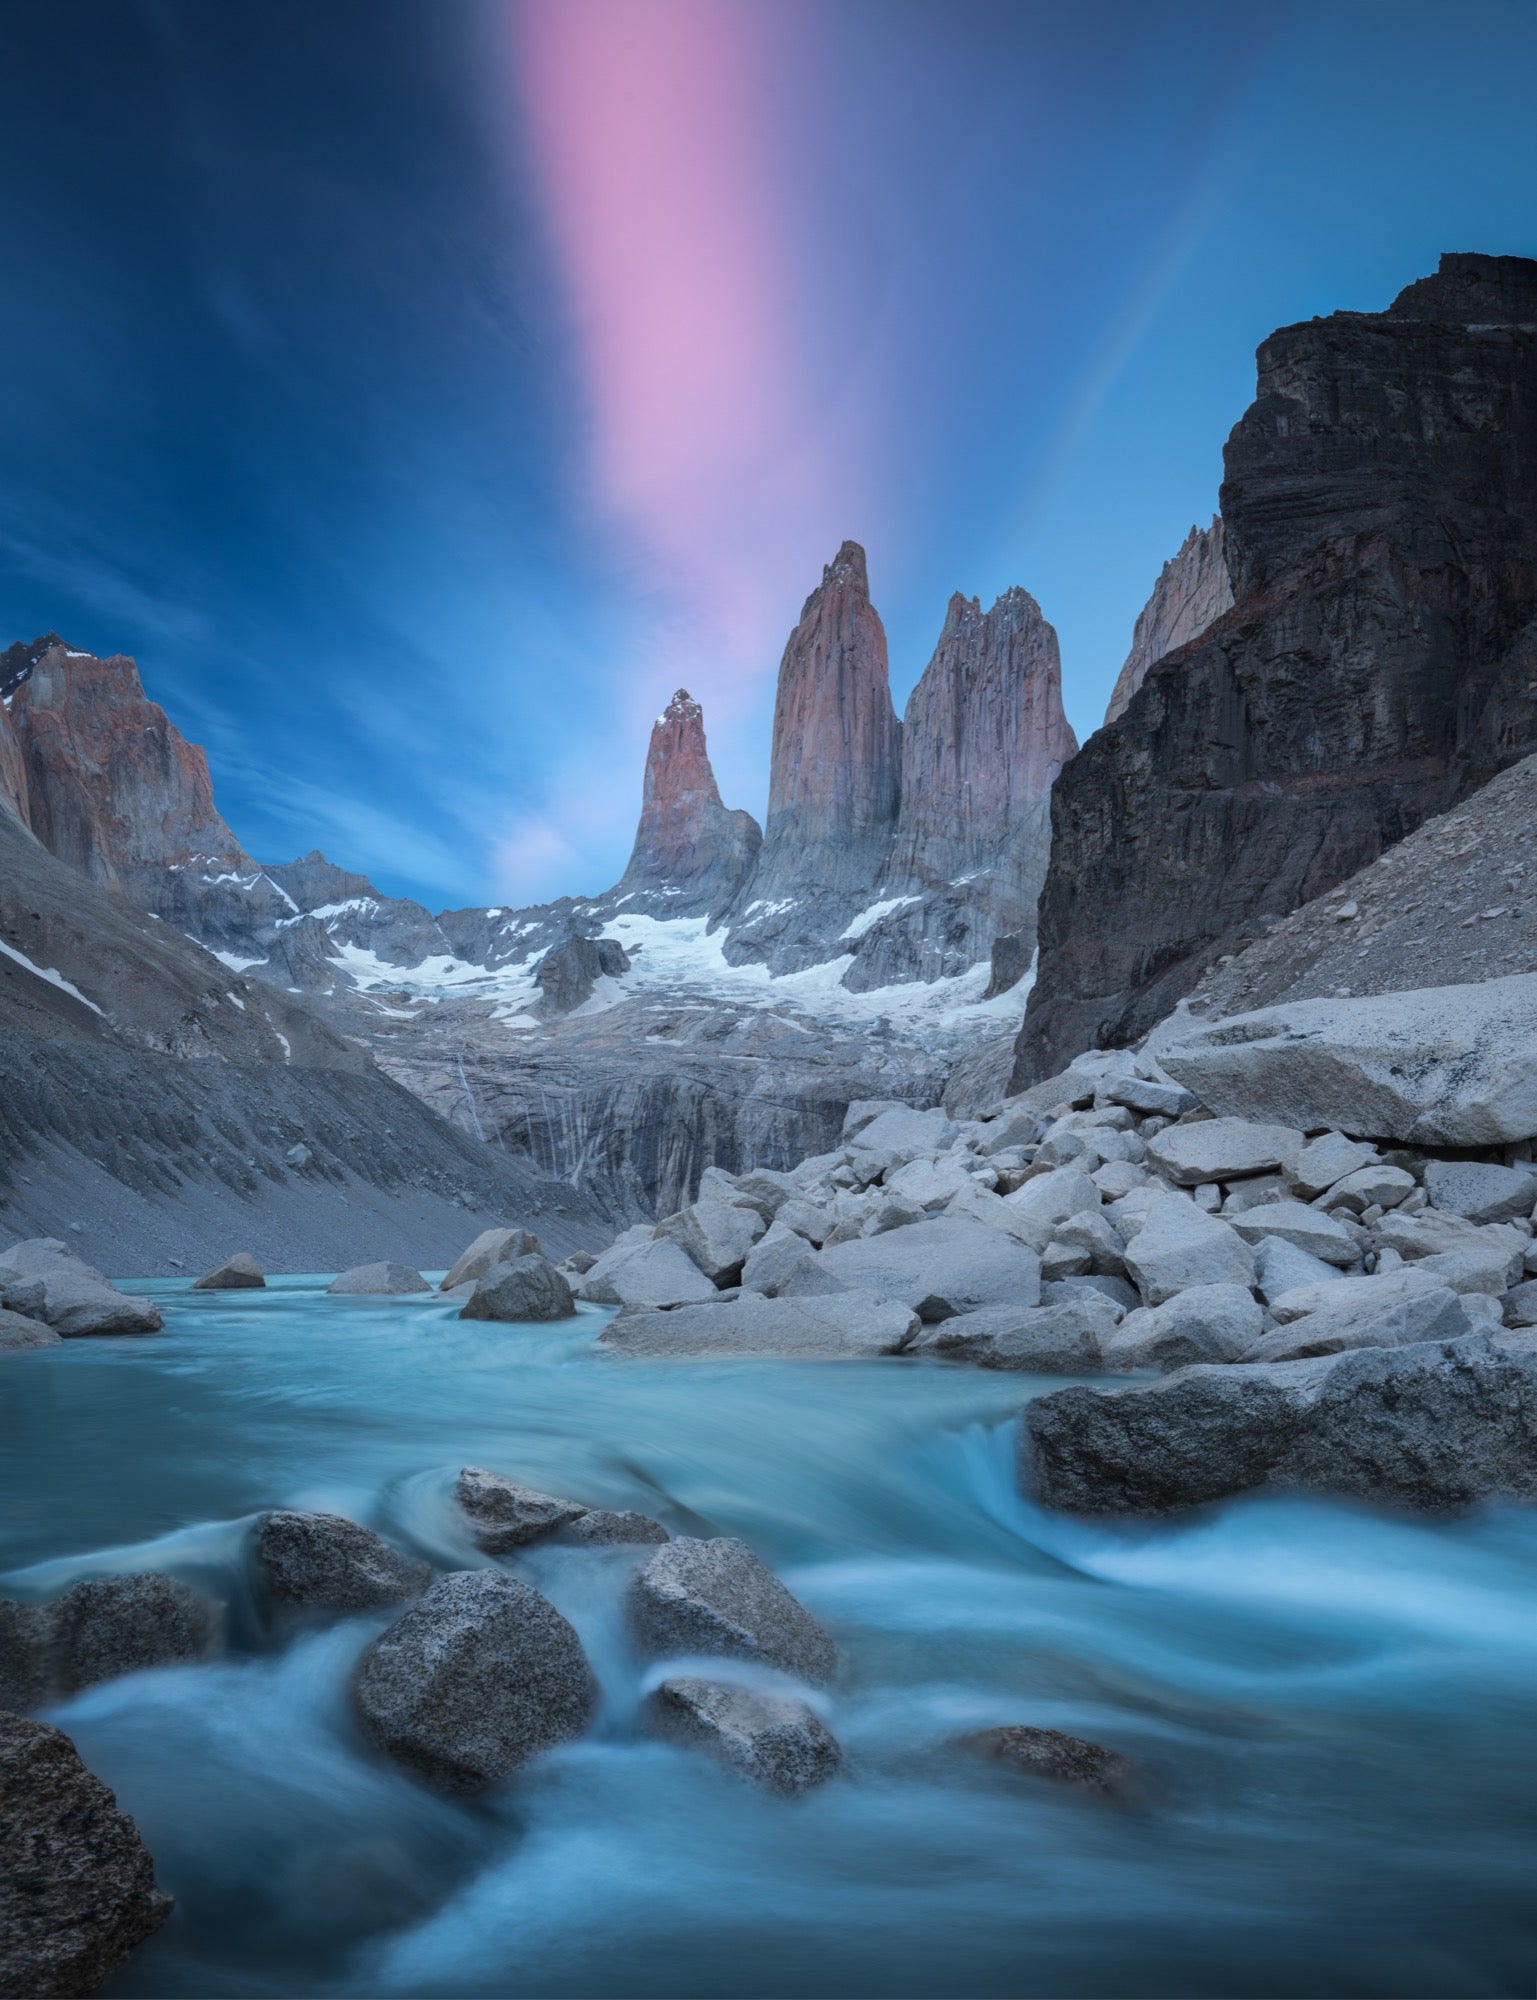
Base de Las Torres – Torres Del Paine. Sony α7R II, Sony FE 16-35mm f/2.8 G Master lens at 16mm. 1.6-sec, f/14, ISO 64.
Don’t worry, if you can’t manage to book the W trek, you still have the option of doing a day hike to Base de Las Torres or taking a boat trip to see the impressive Glacier Grey. I highly recommend the Mirador Condor for a sunrise hike, Laguna Azul for a different perspective on the towers and the Salto Grande Waterfall for sunset. The Lago Pehoe campground is the most scenic in the park and offers a great range of compositions that are just short walks from your camp.
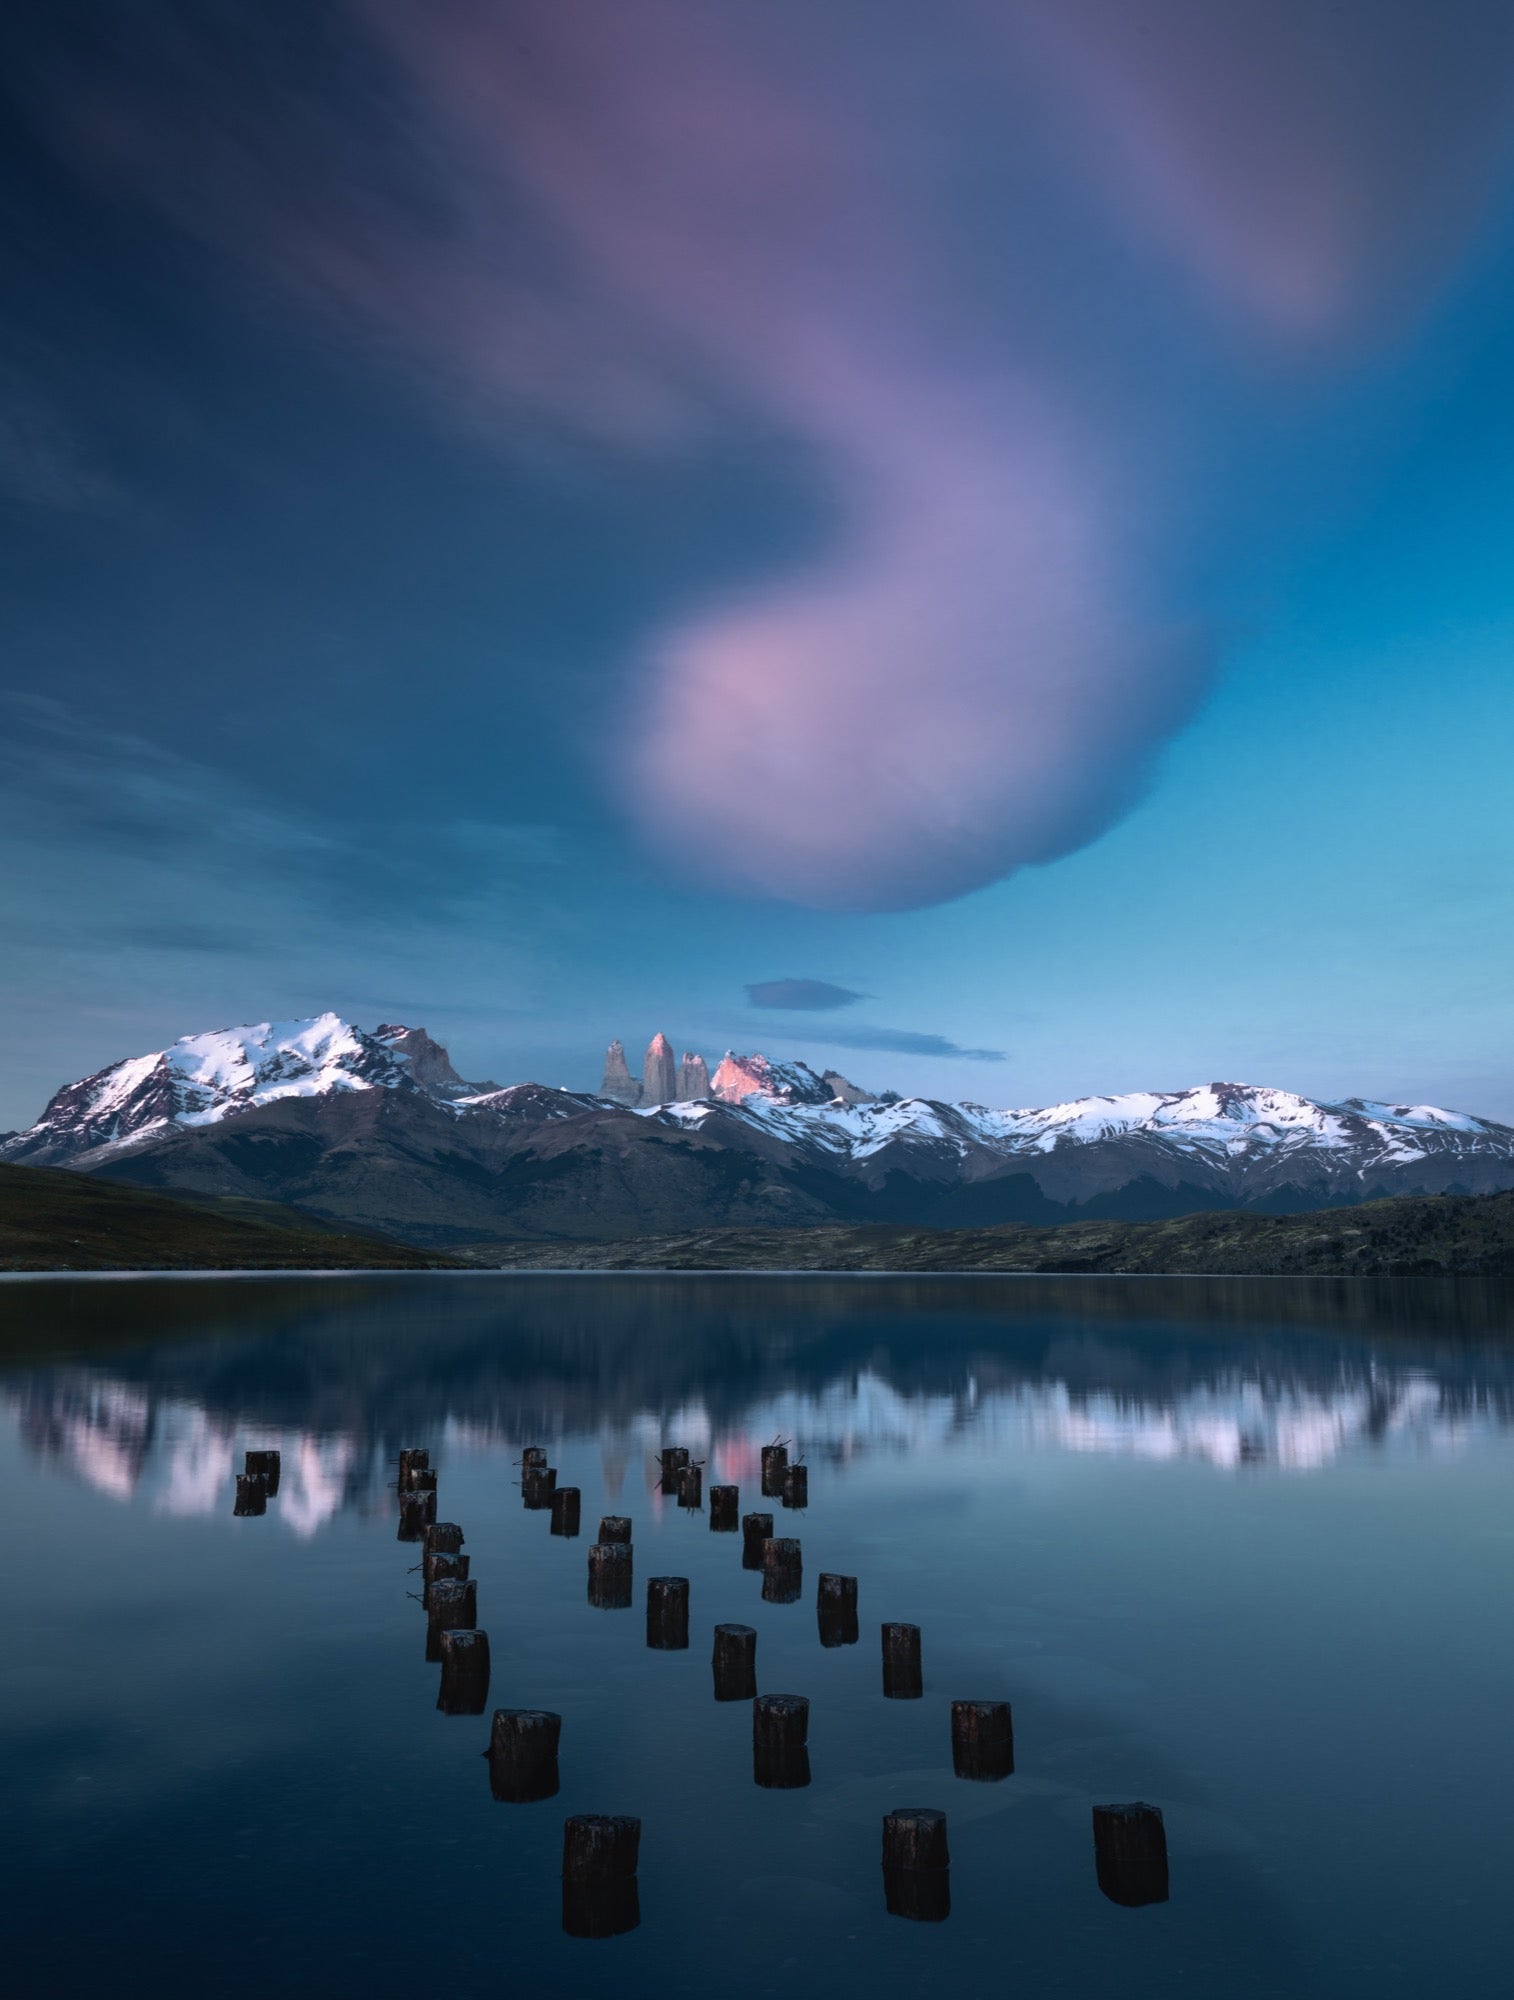
Laguna Azul - Torres Del Paine. Sony α7R II, Sony FE 16-35mm f/2.8 G Master lens at 35mm. 4-sec, f/16, ISO 64
I hit the road and drove to El Calafate which is a necessary fuel stop on the way to Perito Moreno Glacier. The best time to visit the massive glacier is in the afternoon, when you can hear the thunderous sound of the cracking ice that has been warmed up during the day. The light is also great around sunset and most of the crowd is gone by then.
El Chalten
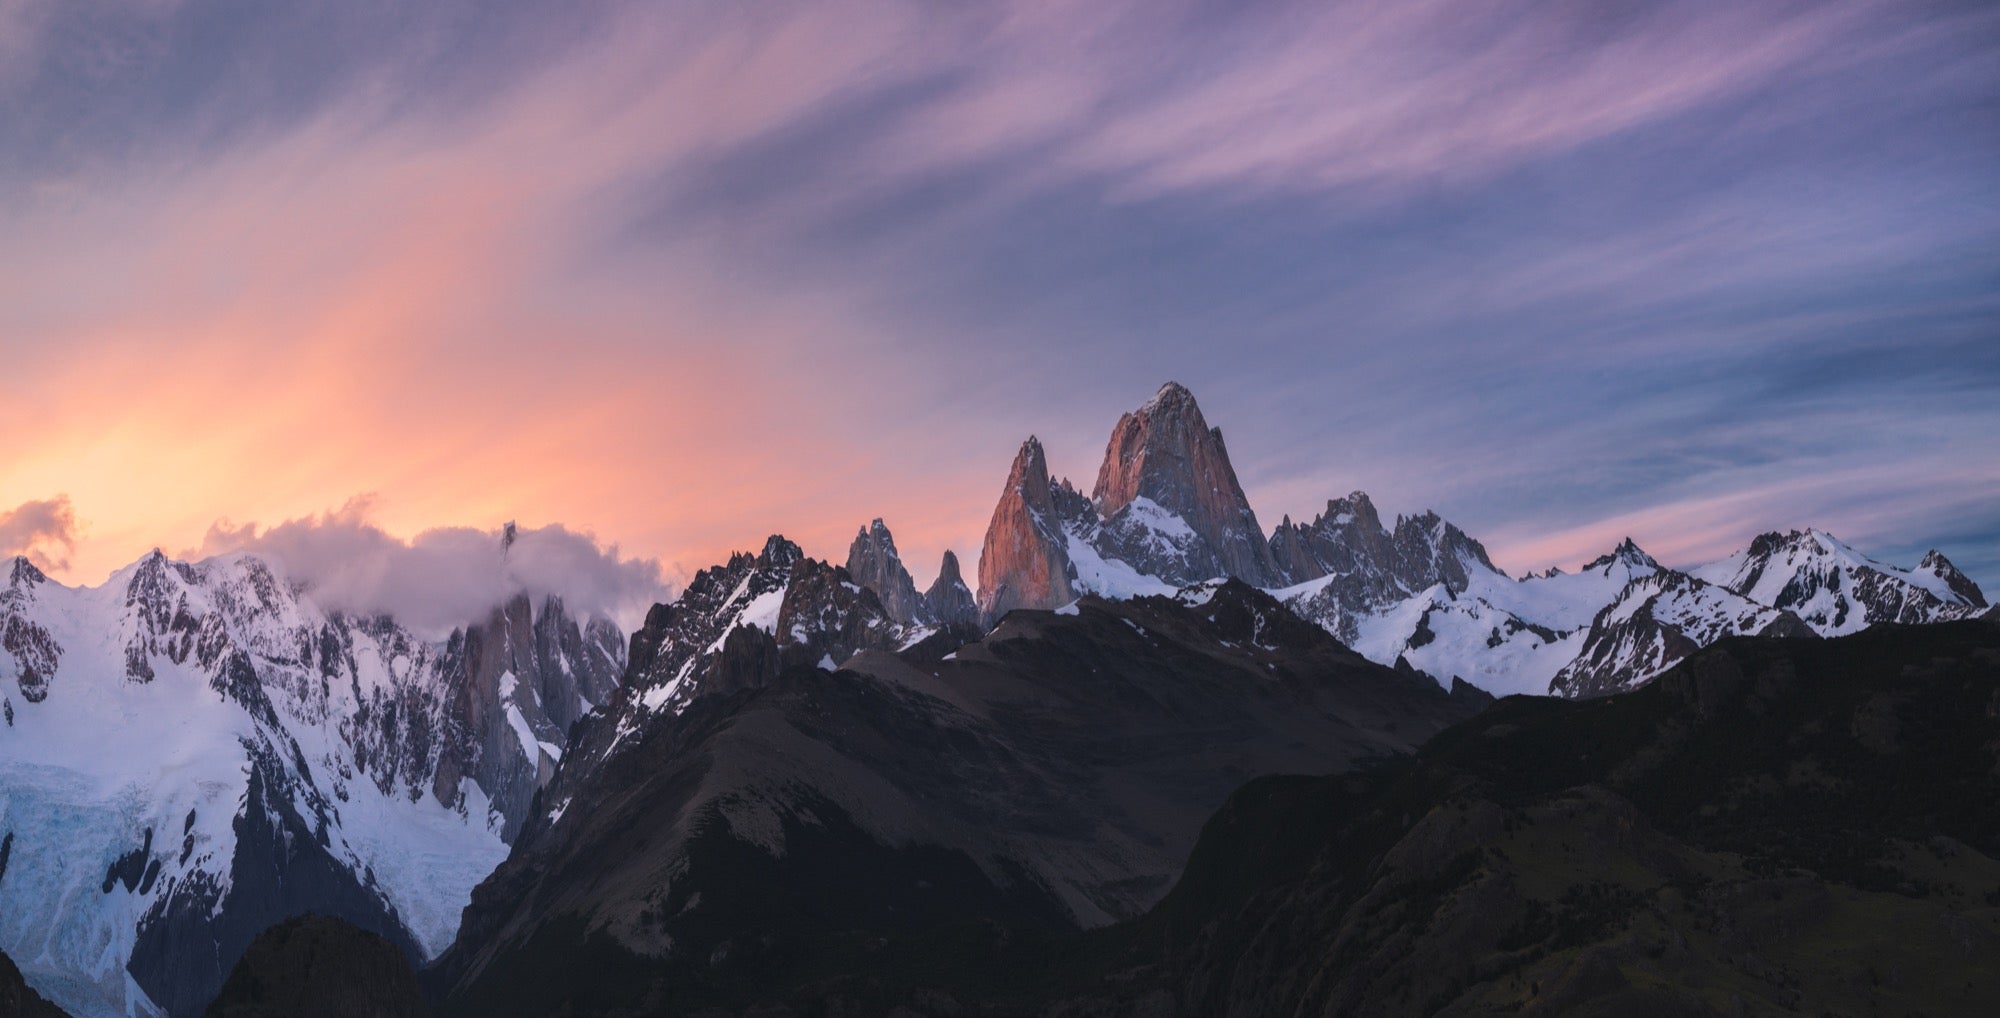
Mountain Range in El Chalten. Sony α7R II, Sony FE 100-400 f4.5-5.6 G Master OSS lens. 14 shot panorama, shot at 100mm. 1/125-sec, f/4.5, ISO 640
From El Calafate, it’s a three-hour drive to the most scenic area of Patagonia near the mountain village of El Chalten. While approaching El Chalten, be prepared to pull over at anytime as the whole drive is exceptionally scenic. The very small town is quite convenient and perfect to make your base camp. All backpacking trips and hikes start from there and most of the the trail system connects so you can make your hikes almost any length. I personally opted for a sunrise at Laguna de Los Tres and a two-day backpacking trip to Laguna Torre. Based on my experience there, I suggest you make it three days if you can. There are plenty of off-trail secret spots you can access but most of them are kept quiet and are not indicated on the map. Don’t be afraid to ask around!
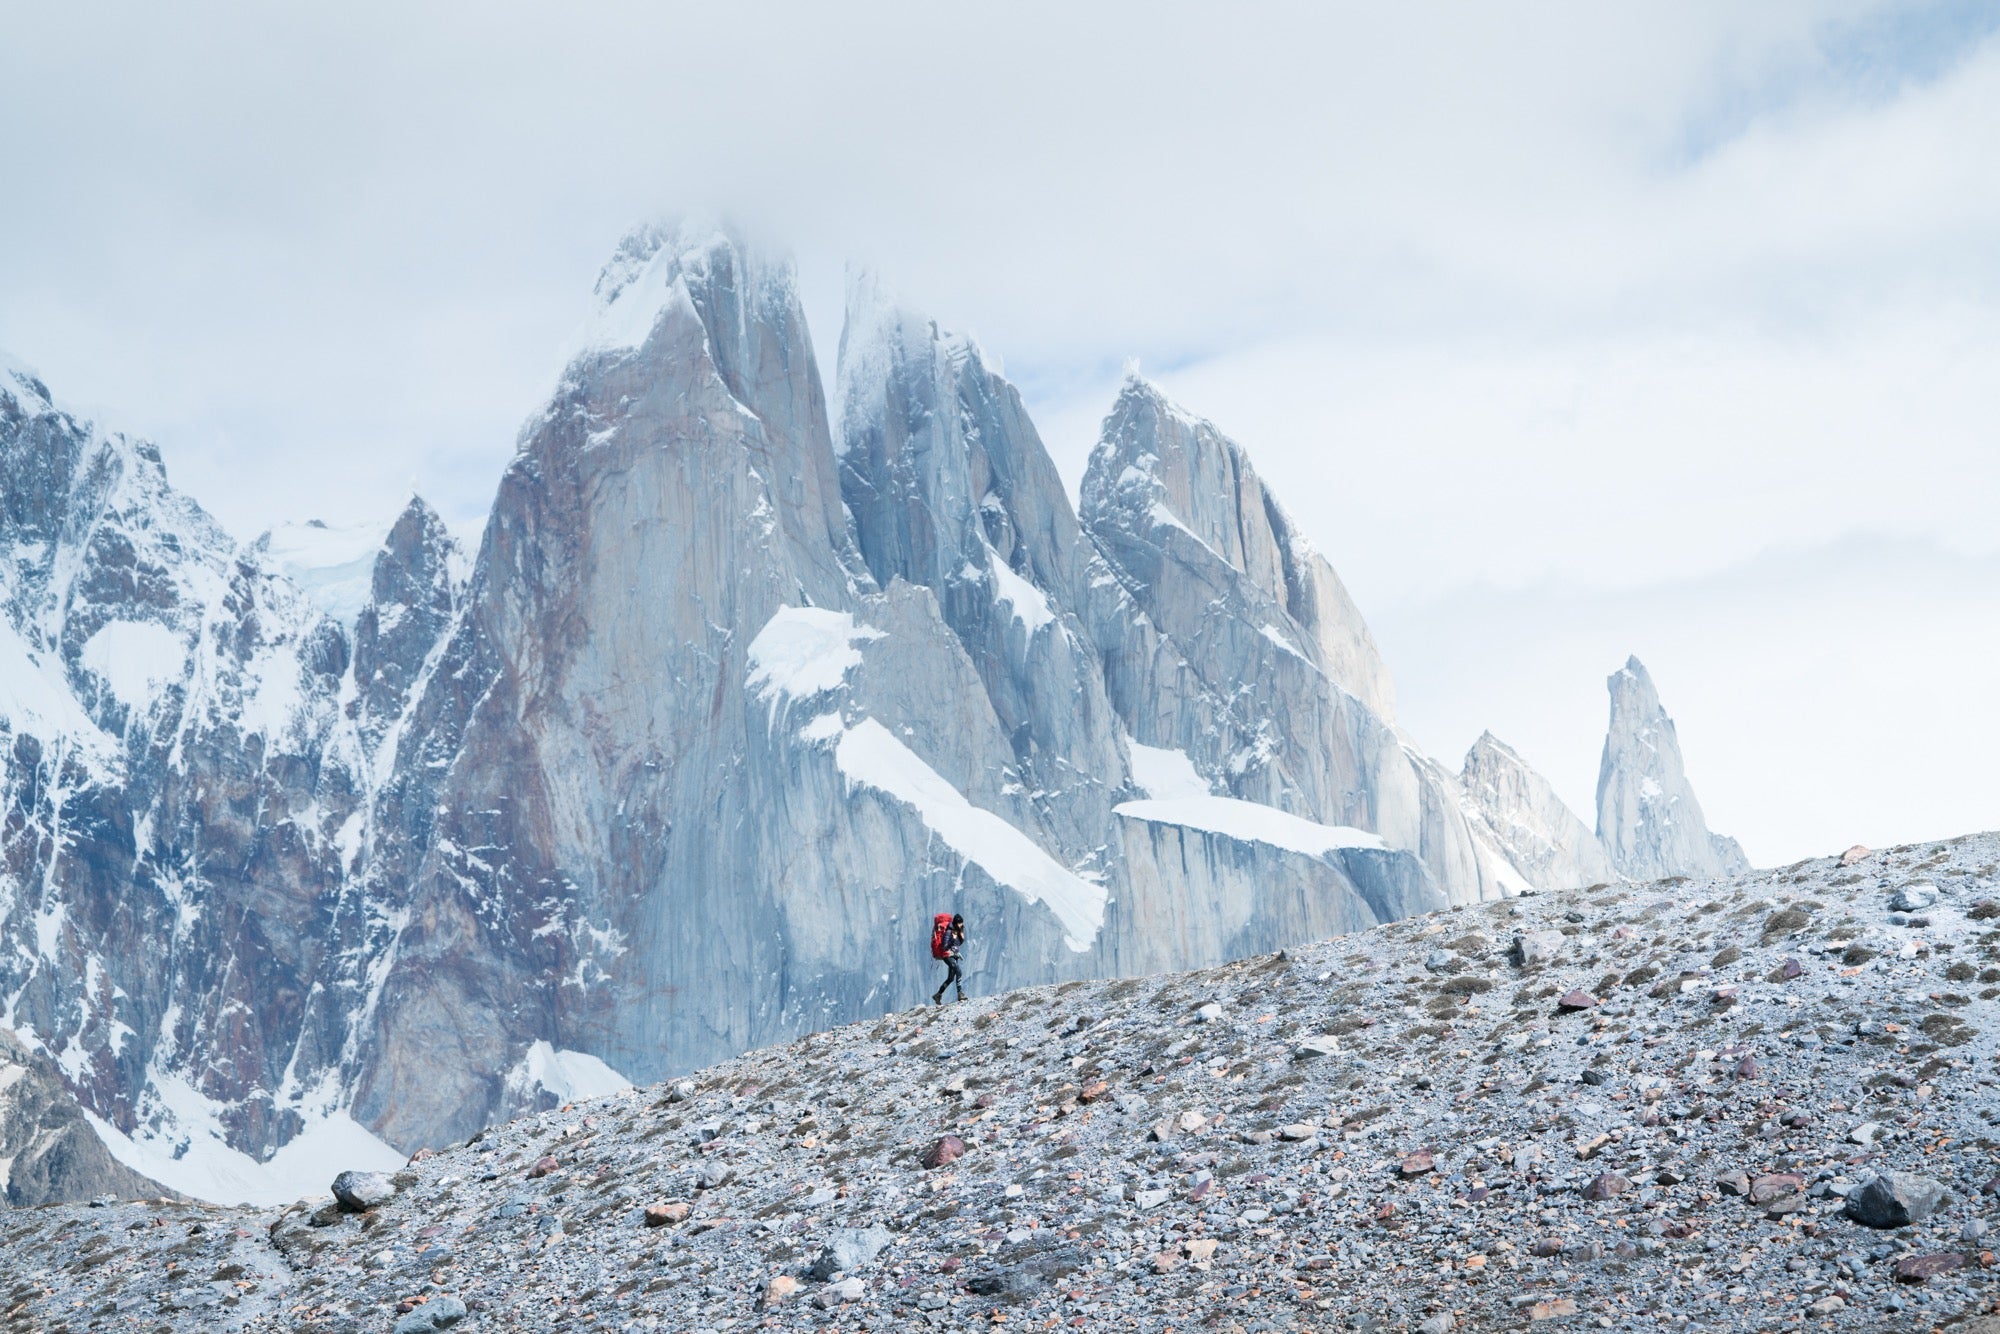
Laguna Torre – El Chalten. Sony α7R II, Sony FE 100-400 f4.5-5.6 G Master OSS lens at 145mm.1/1250-sec., f/5.6, ISO 125
.
My gear for Patagonia
Sony α7R II: For these dramatic landscapes, having a high-resolution camera that generates beautiful, noiseless image files is essential.
Sony 16-35 f/2.8 G Master: This one was a must-have to capture the immensity of the Patagonia landscapes. Since you can get really close to the peaks for many locations, it’s important to have a lens wide enough to capture the scene entirely and even incorporate interesting foregrounds to step up your composition.
Sony Zeiss Planar T* 50mm f/1.4 ZA: I love this lens for shooting outdoor products, lifestyle mountain shots, portraits and behind-the-scenes. I also use it for multi-image panoramas because it eliminates any visual distortion and stitching problems. Multi-shot panoramas give me very large final images. Trust me, you’ll want to do a large print of your favorite image!
Sony FE 100-400mm f/4.5-5.6 G Master OSS: A long telephoto is definitely a must to get in tight on the towering mountain peaks and create a feeling of proximity. When the weather was stormy or there was not time to hike to a vantage point, the 100-400mm lens saved the day. It helped me capture moody scenes, clouds slowly morphing, the occasional bursts of light and peaks turning pink.
Sony 24-70mm f/2.8 G Master: This is a lens I didn’t have with me, but I’m including it here because it’s the lens I most wished I had. There were a couple of times when I think having this lens would have saved me time and sweat, running up and down in order to get close enough to my subject. Its versatility is also a huge plus and I would have been confident on my backpacking trips only with this one.
My 10 essential tips for landscape photography in Patagonia.
- Get a steady tripod: The winds in Patagonia often go up to 60 miles per hour, so you’ll want to have a good tripod that’s light for backpacking and that you can hang your bag on for more weight and stability.
- Turn on Optical Steady Shot on your lens: Even if I’m shooting on a tripod, I turn on the Optical Steady Shot (OSS) on my Sony lenses. The high winds hitting the side of your camera and lens will cause a small vibration that creates blurry images, especially if you’re shooting with a telephoto. So don’t take a chance, just turn it on!
- Shoot at sunrise and sunset: If you want to make the most of your trip photographically speaking, you’ll have to prioritize the times when the light is at its best. At sunrise, skies are typically at their clearest and peaks get painted red. Sunset is usually cloudier but if you’re lucky they’ll catch the light behind the peaks and display beautiful colors.
- Long exposure: One of the best ways to illustrate the moody weather of Patagonia is through long exposure. With the fast moving clouds, rushing water on cascades and rivers, waves crashing on lakeshores, slowing down your shutter speed with the use of ND filters will help create stunning images that really translate the whole essence of the area.
- Use polarizers: One thing I’ve noticed in Patagonia is the wide range of colors displayed on the mountains at dusk and dawn. Using a polarizer filter really helped me catch all these pastel tones that weren’t visible without it.
- Always have your camera ready: With fast-changing weather conditions, you never know when a peak that’s been hiding for days will stand out. Rainbows come and go fast, and sometimes a guanaco can step in the perfect spot for a great composition.
- When in doubt, just go: When many landscape photographers will tell you that it’s best to save your energy and be patient when the weather conditions or weather forecasts are bad, I’ll tell you the opposite. Patagonia has some of the fastest-changing weather in the world, it can go from hard rain to sunny within minutes. It’s better to go and come back with nothing than to stay in the comfort of your room and miss a shot. More often than not, I’ve found that even in the worst conditions, there will be a window when you’ll be able to shoot.
- Dress properly: Even if it looks sunny, always bring a waterproof layer and warm clothing. Shooting at sunrise and sunset means drastic changes in temperature. You want to stay fully functional and focused on your photography.
- Go off-trail: The best way to find new, original compositions you haven’t seen everywhere on social media is to go off-trail. Don’t be afraid to explore, find new angles, but always stay safe, get informed about the areas you can and can’t venture in and let the park rangers know about your hiking plans.
- Embrace being off-line: Hiking in Torres del Paine and El Chalten means complete disconnection from your electronic existence. While you can still access Wi-Fi and charge up your computer and batteries at some hotels, you won’t get a phone signal on the trails and at most areas of the parks. It’s the perfect excuse to completely immerse yourself in nature, get deeper in your art and get inspired by the diverse landscapes of Patagonia.


