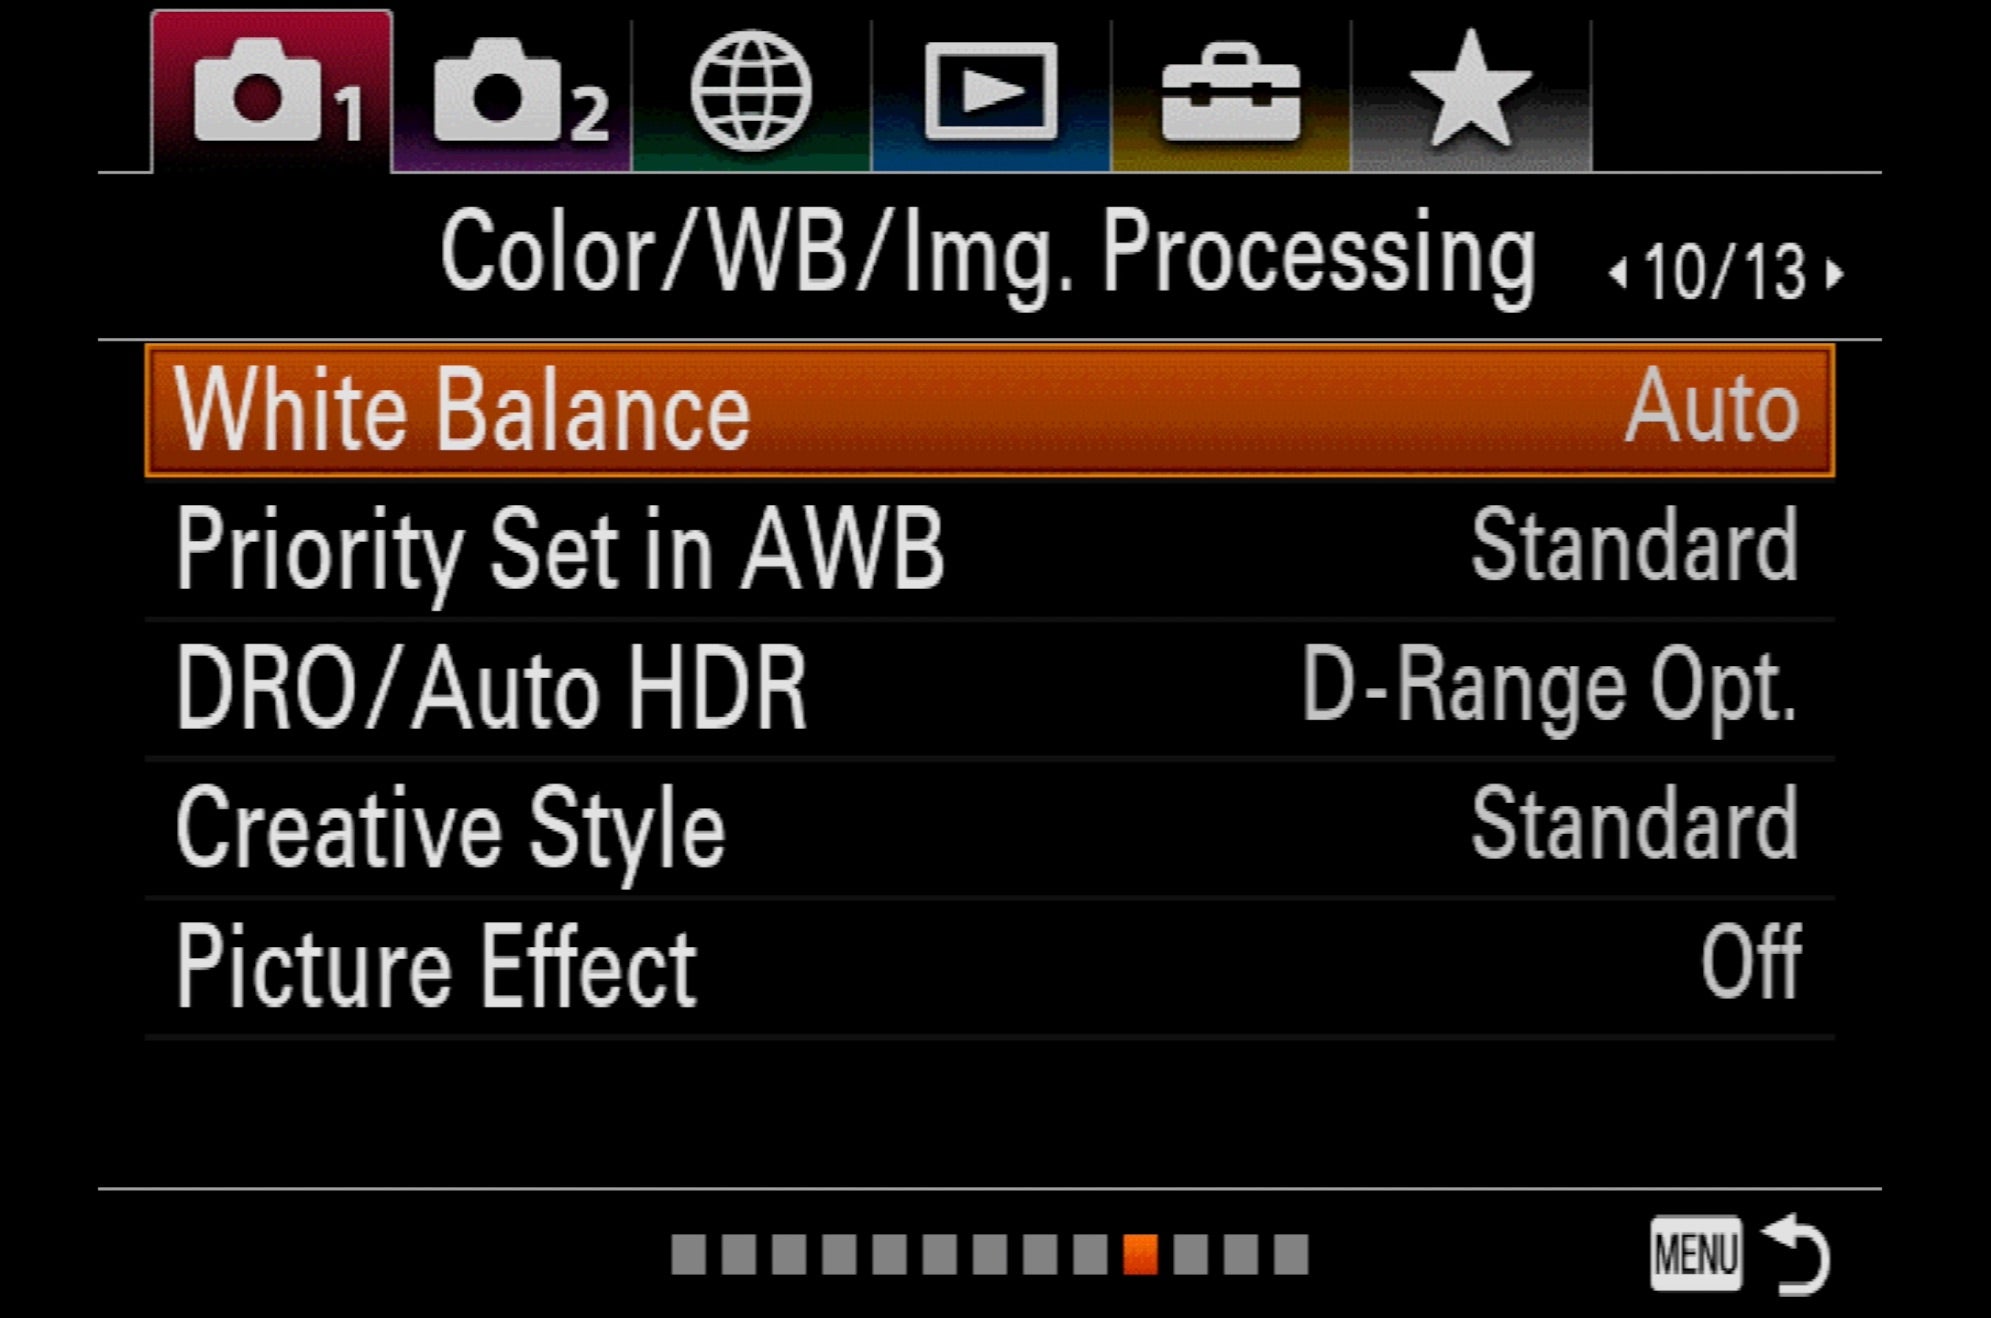
What’s the first thing you think of when you think macro? For most photographers, it’s the lens, but before she even contemplates framing up a macro photo, Sony Artisan and macro photographer Caroline Jensen gets her Sony a7R III camera set up for the task. Macro photography takes precision and by getting some lesser used features dialed in, Jensen gets more images that are sharp, properly exposed and ready to share or print.
Zebra Stripes To Manage Highlights
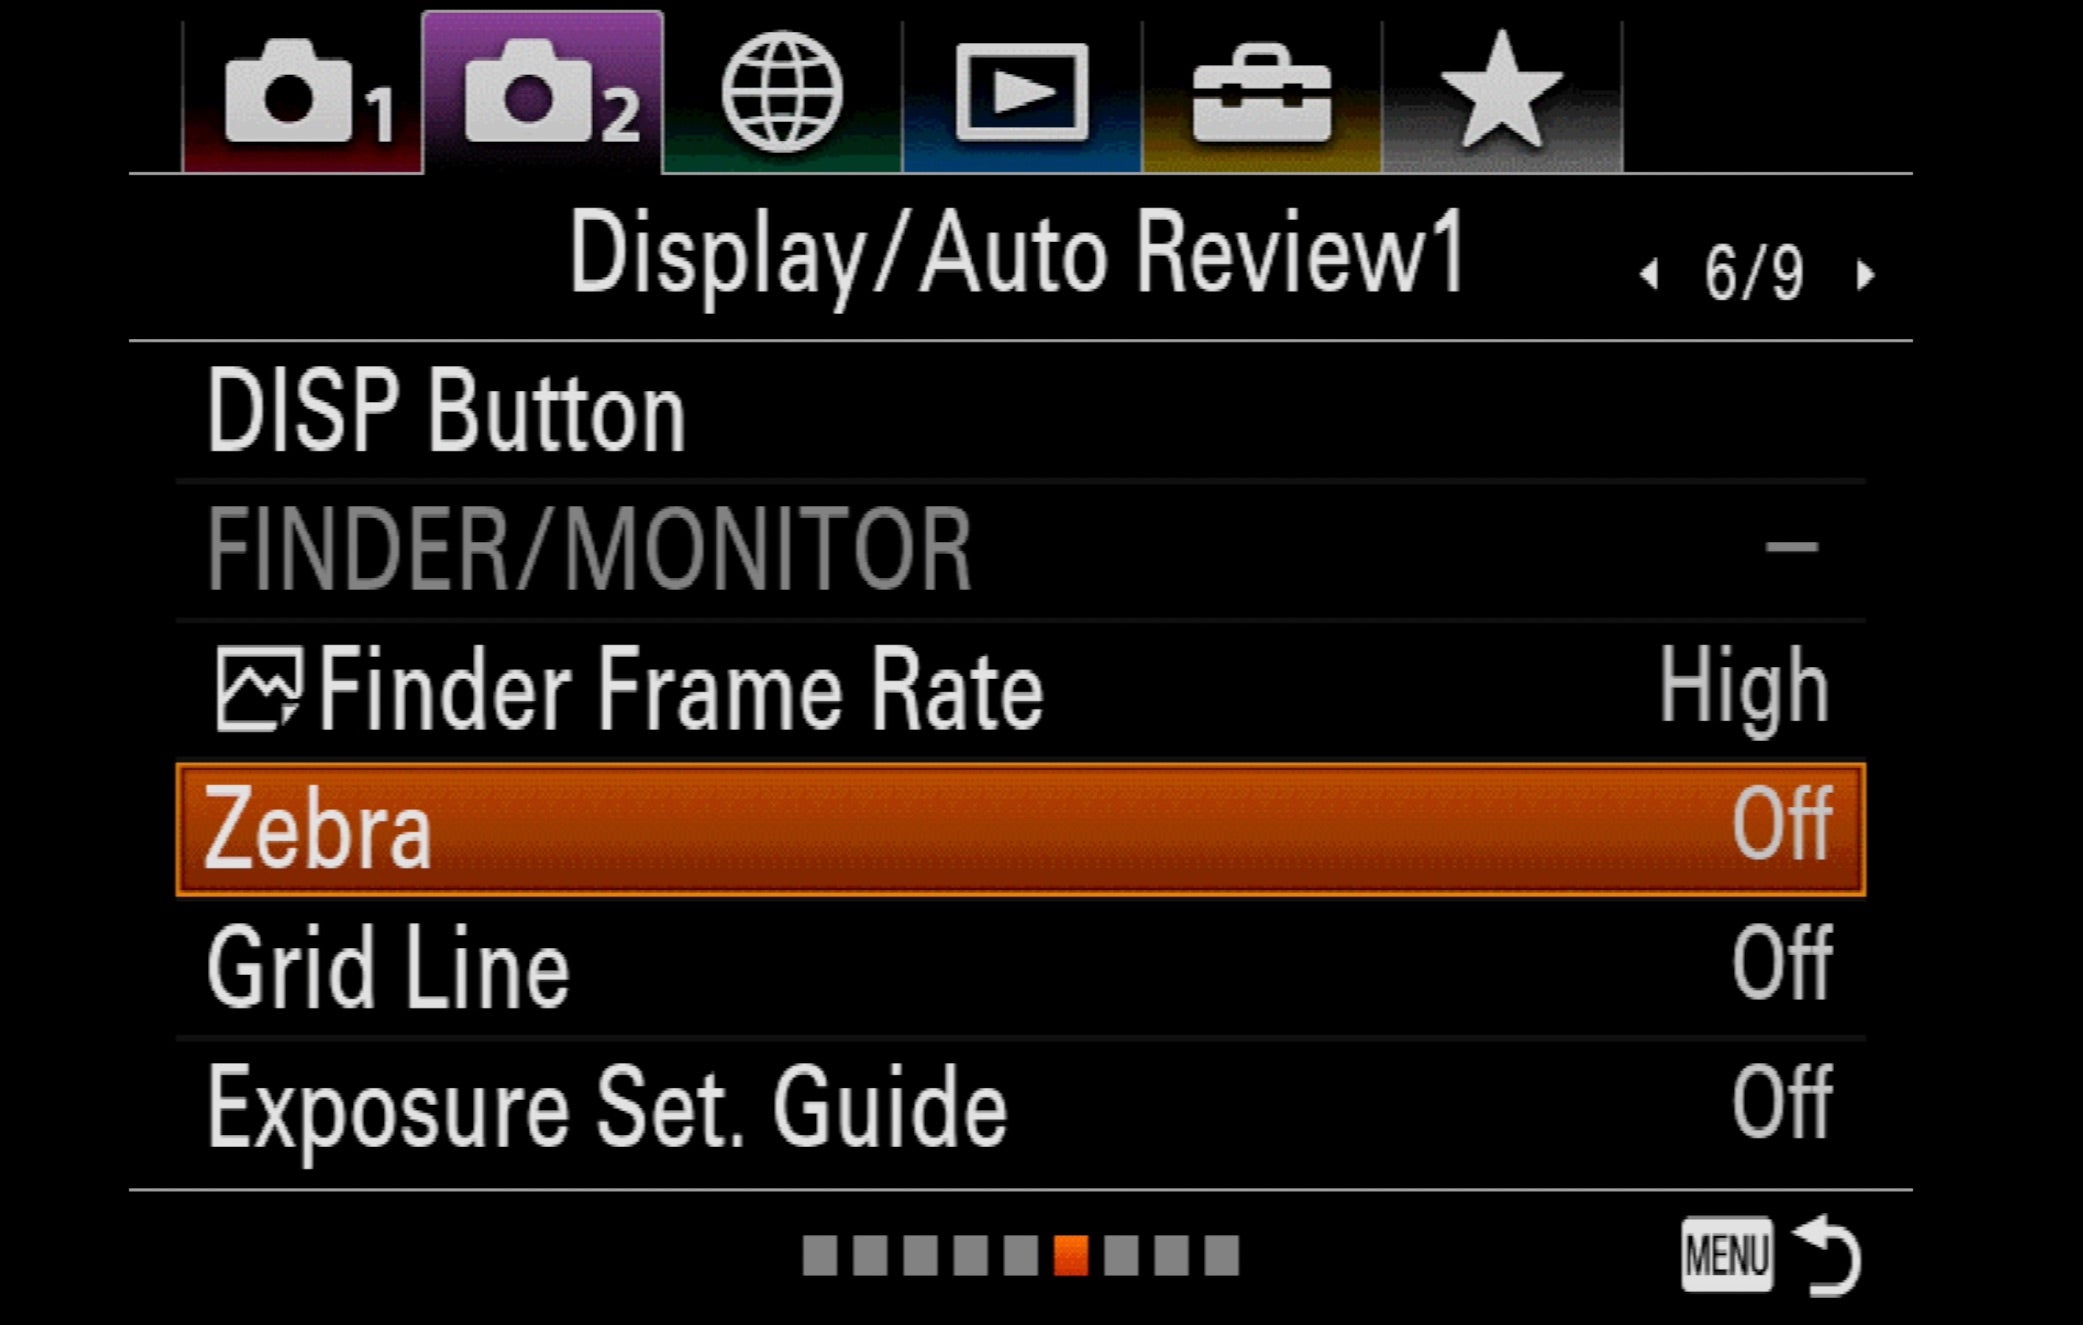
First Jensen sets her zebra stripes to keep control of the highlights in the frame. “If you have specular highlights in a macro photo, it absolutely can wreck it,” she says. Setting Zebra Stripes to 100+ in her menu, Jensen frames her shot, then adjusts exposure to see the zebra stripes in the viewfinder. “[I] expose it so I see the zebra stripes on my subject” she explains. “Then, I tick back the exposure until those zebra stripes go away. This ensures that I have a solid image, with everything important properly exposed.”

Focus Peaking And Manual Focus
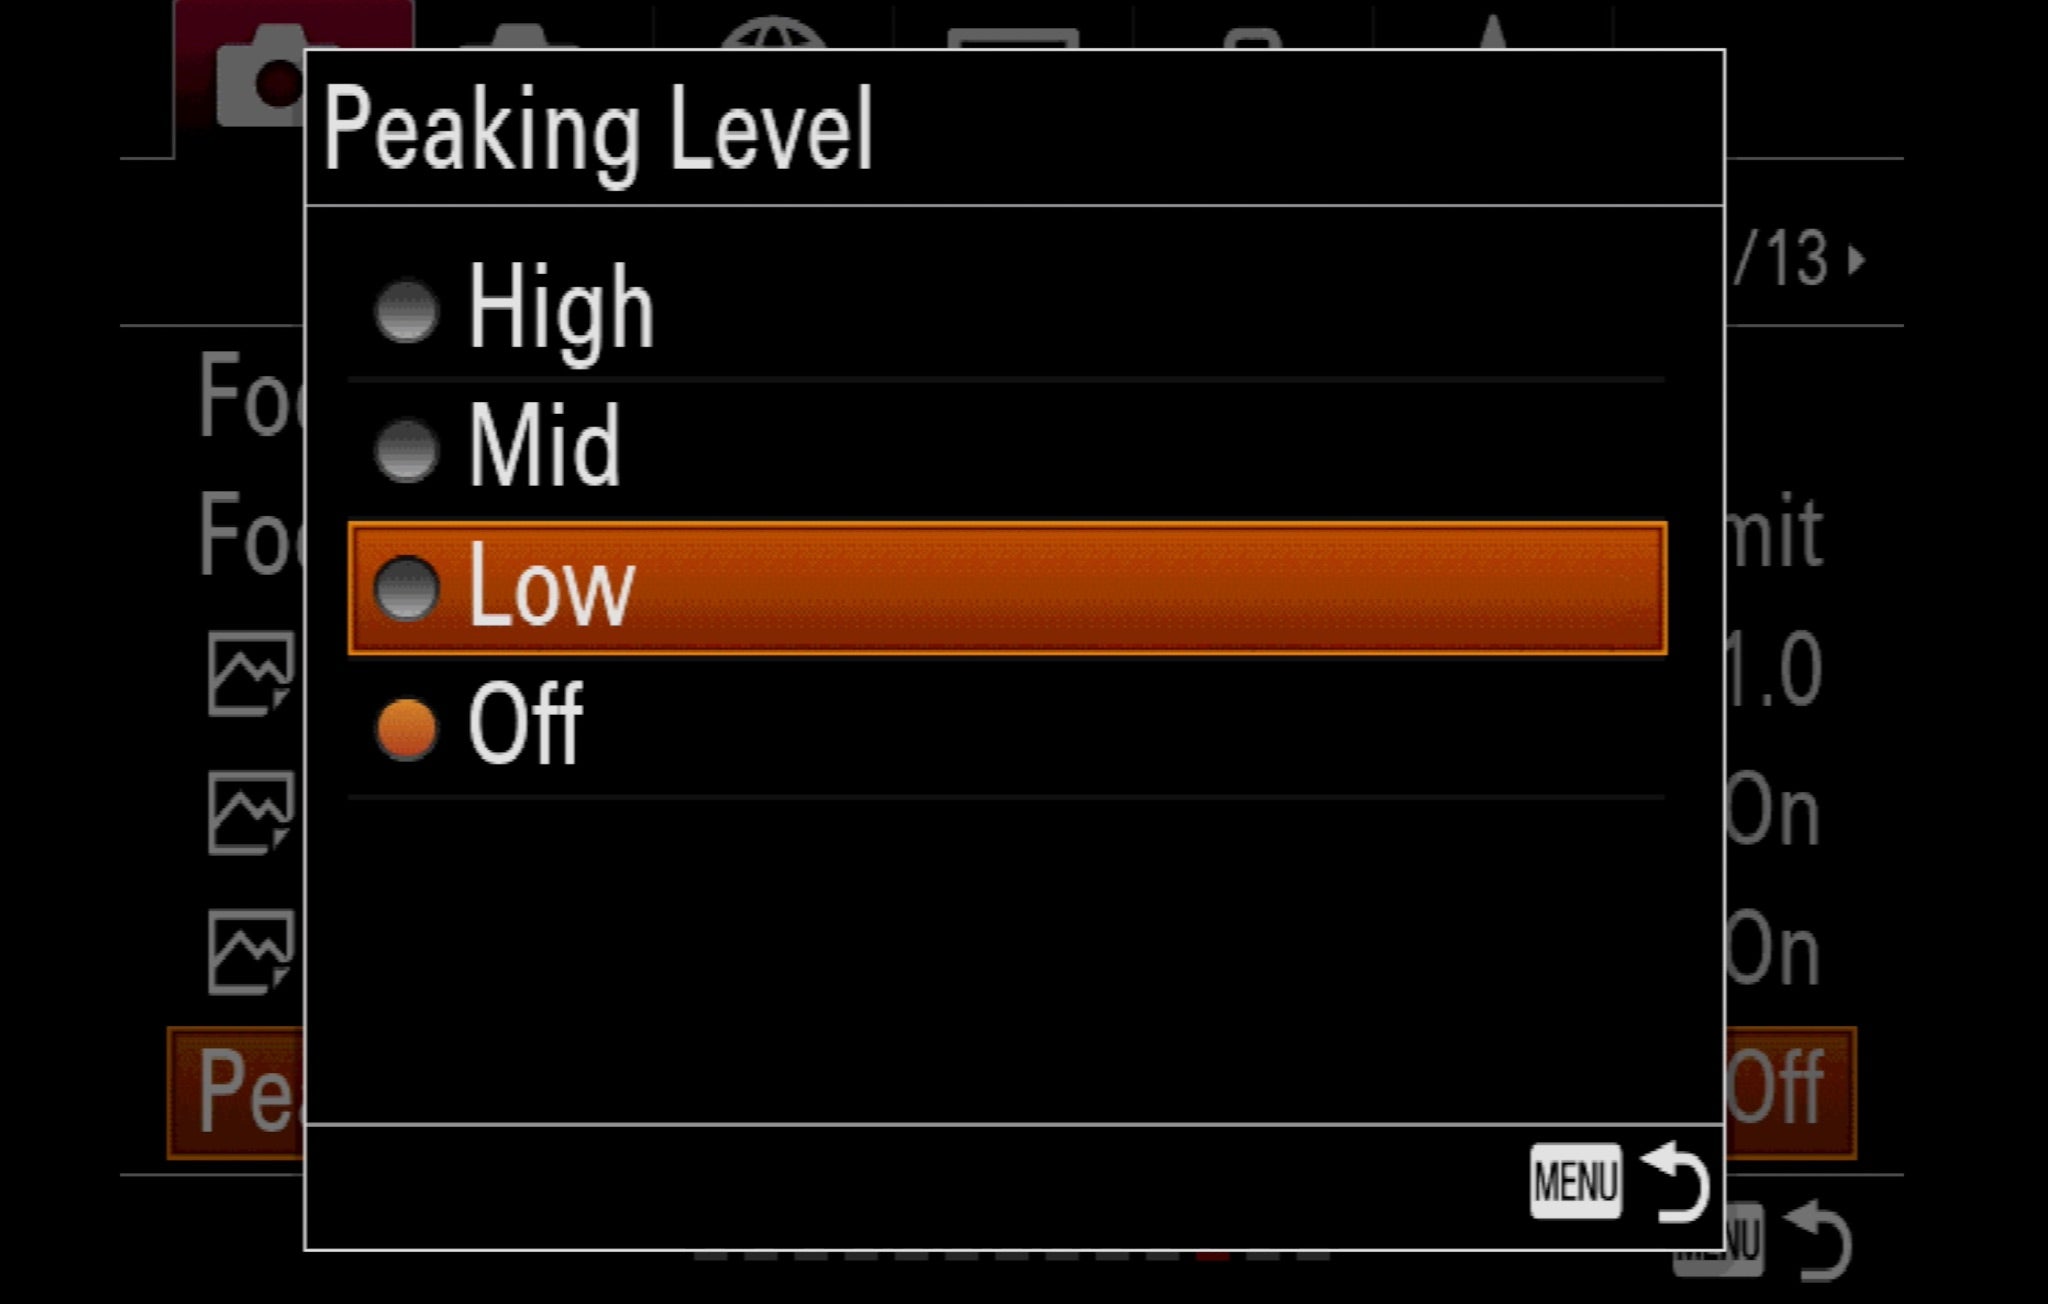
More than anything else, absolute tack sharpness makes an impact in a macro photo. And the best macro photos often employ selective focus in the frame, letting some areas of the subject be soft and accentuating the sharpness in others. Jensen sets up Focus Peaking to get absolute control over the zone of focus in her macro photos. “This is critical. Macro photography uses manual focus, a lot. Manual focus can be extremely difficult, if you're looking through the viewfinder, or the LCD. So, focus peaking alerts you to the area that is sharply in focus. I like to set it to low, because it's actually more accurate.”
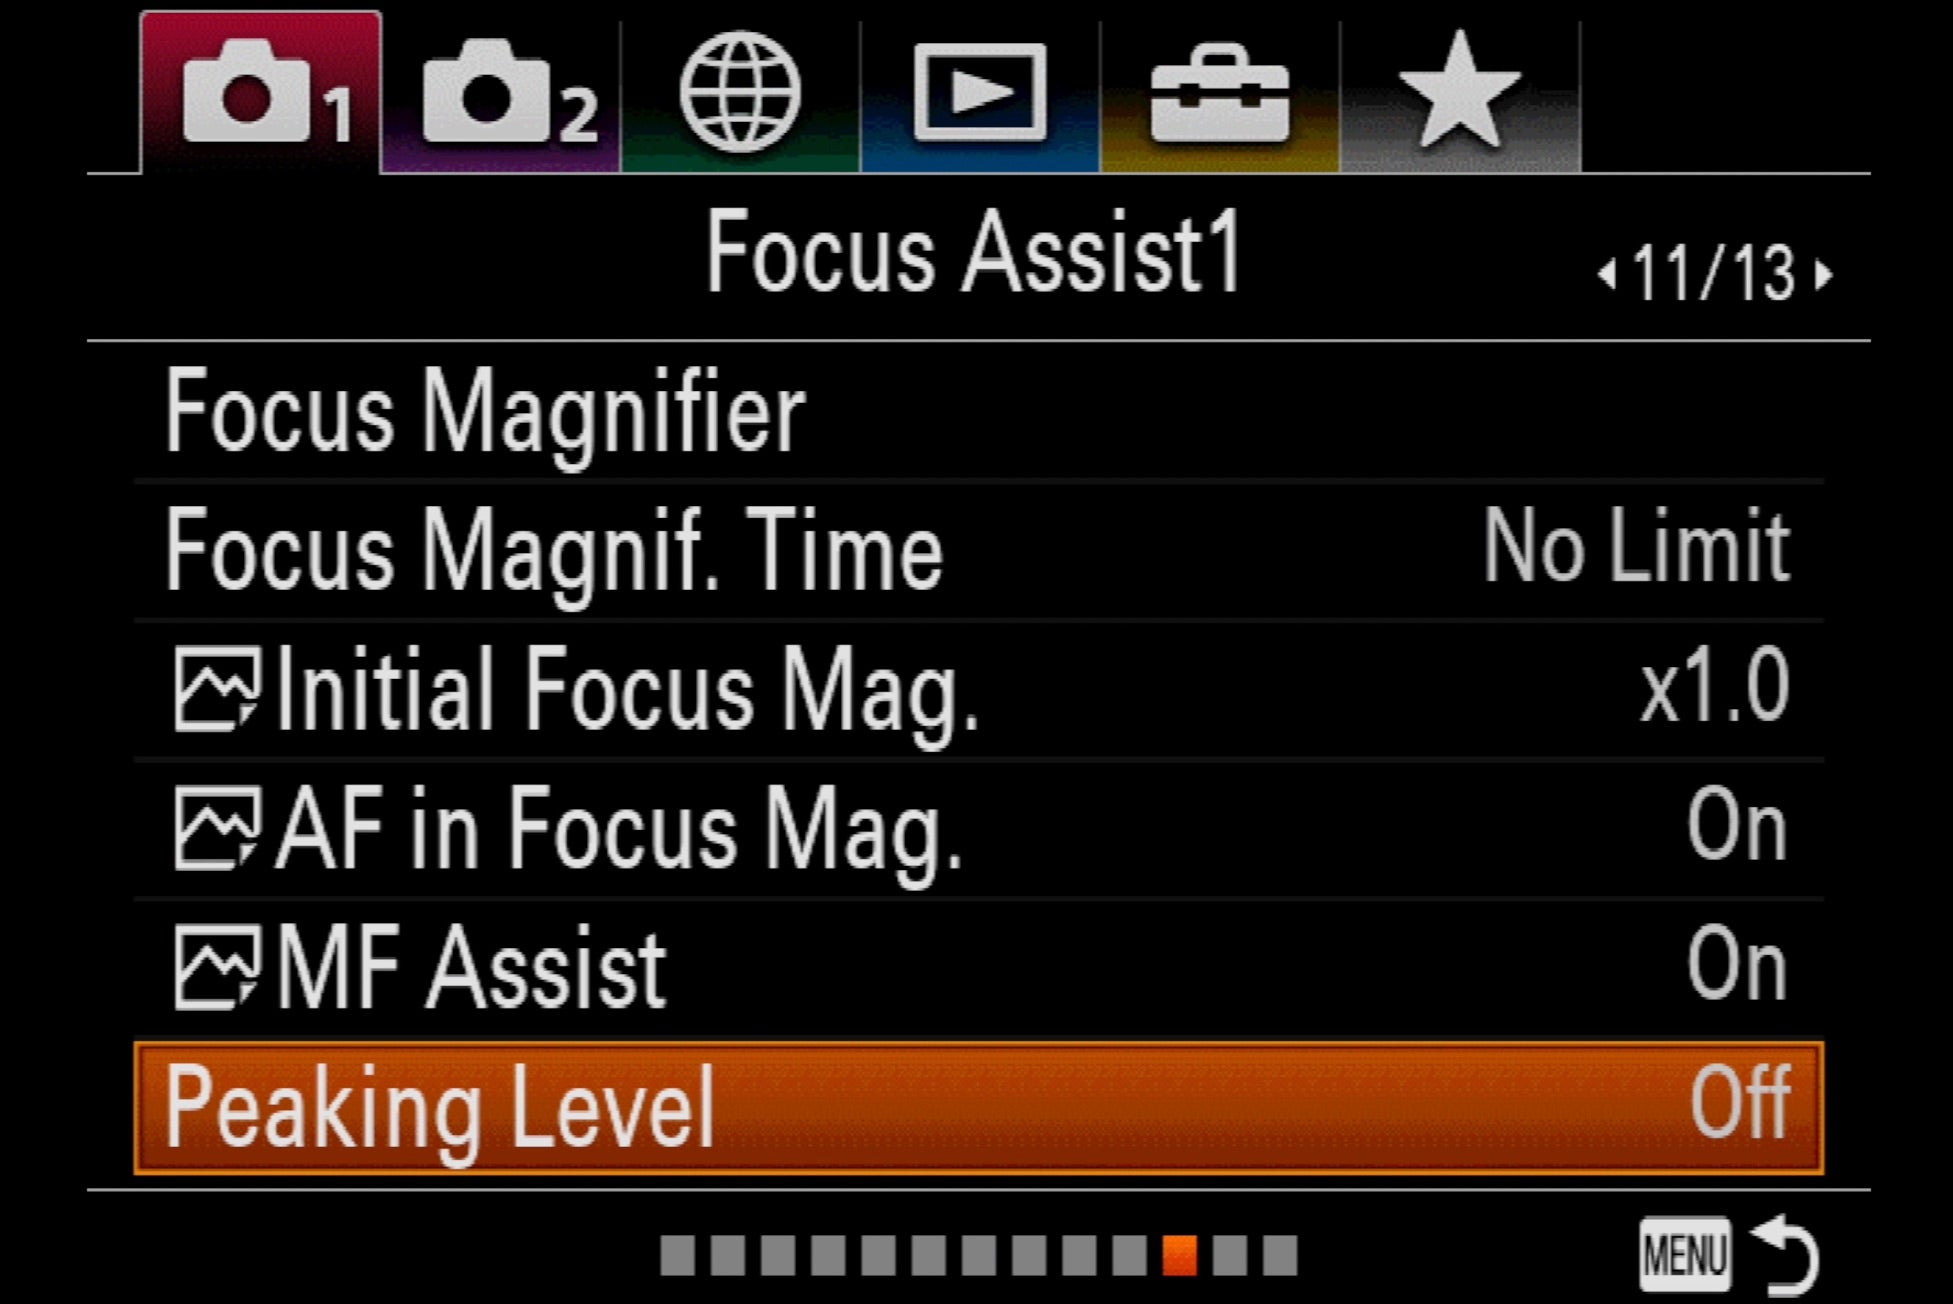
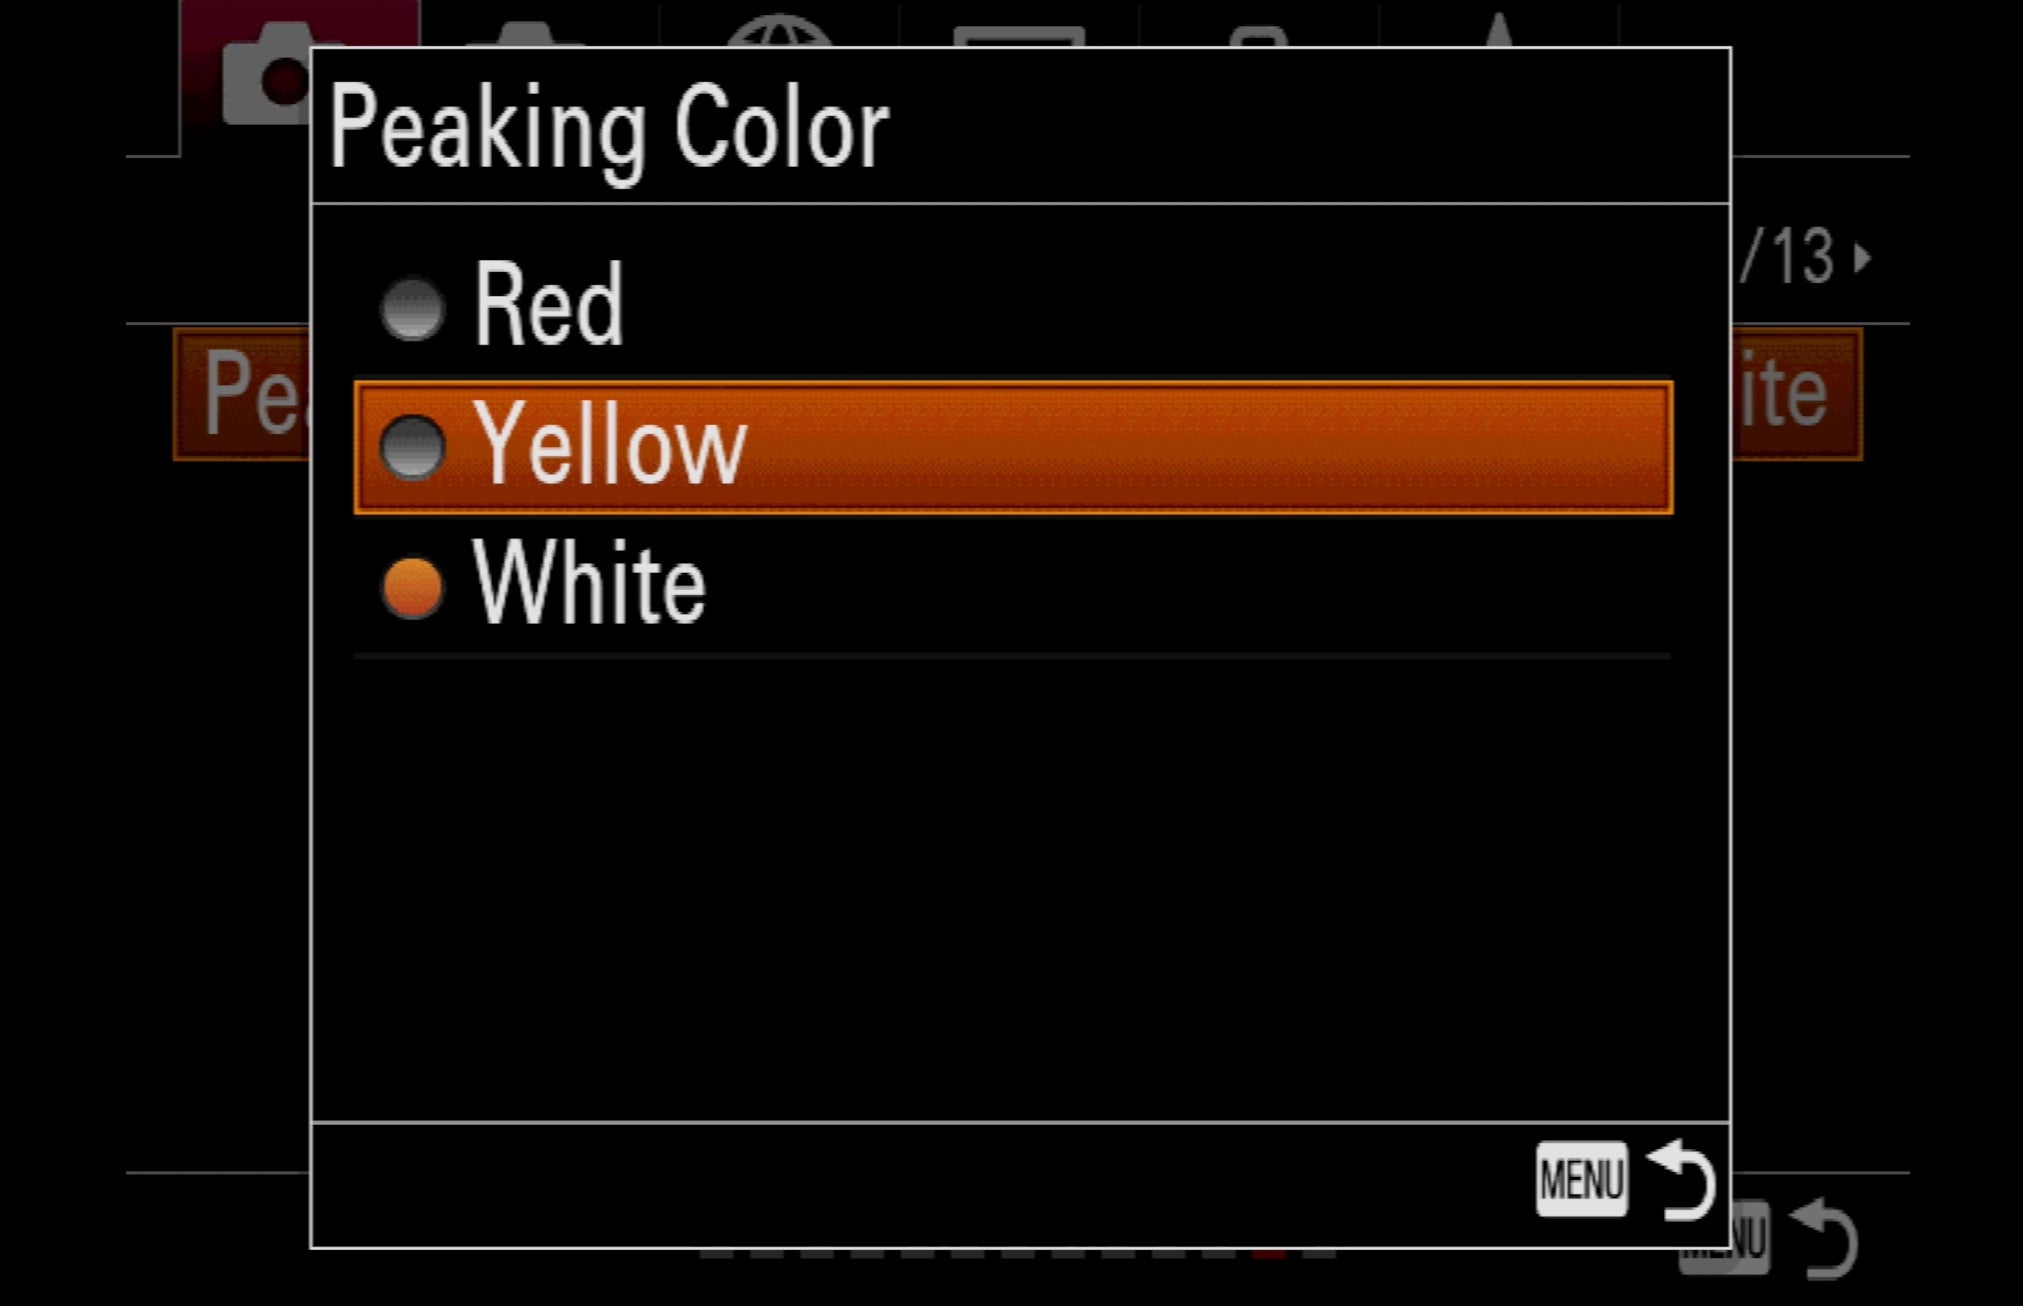
Everyone has a personal preference as to the peaking color and Jensen suggests changing it up based on the actual subject. “I often prefer, to use yellow,” she says. “If you're shooting red things, choose yellow. With a yellow subject, choose red. You want it to contrast as much as possible, so that you can see the focus peaking grazing across the frame."
Punch In For Critical Focus
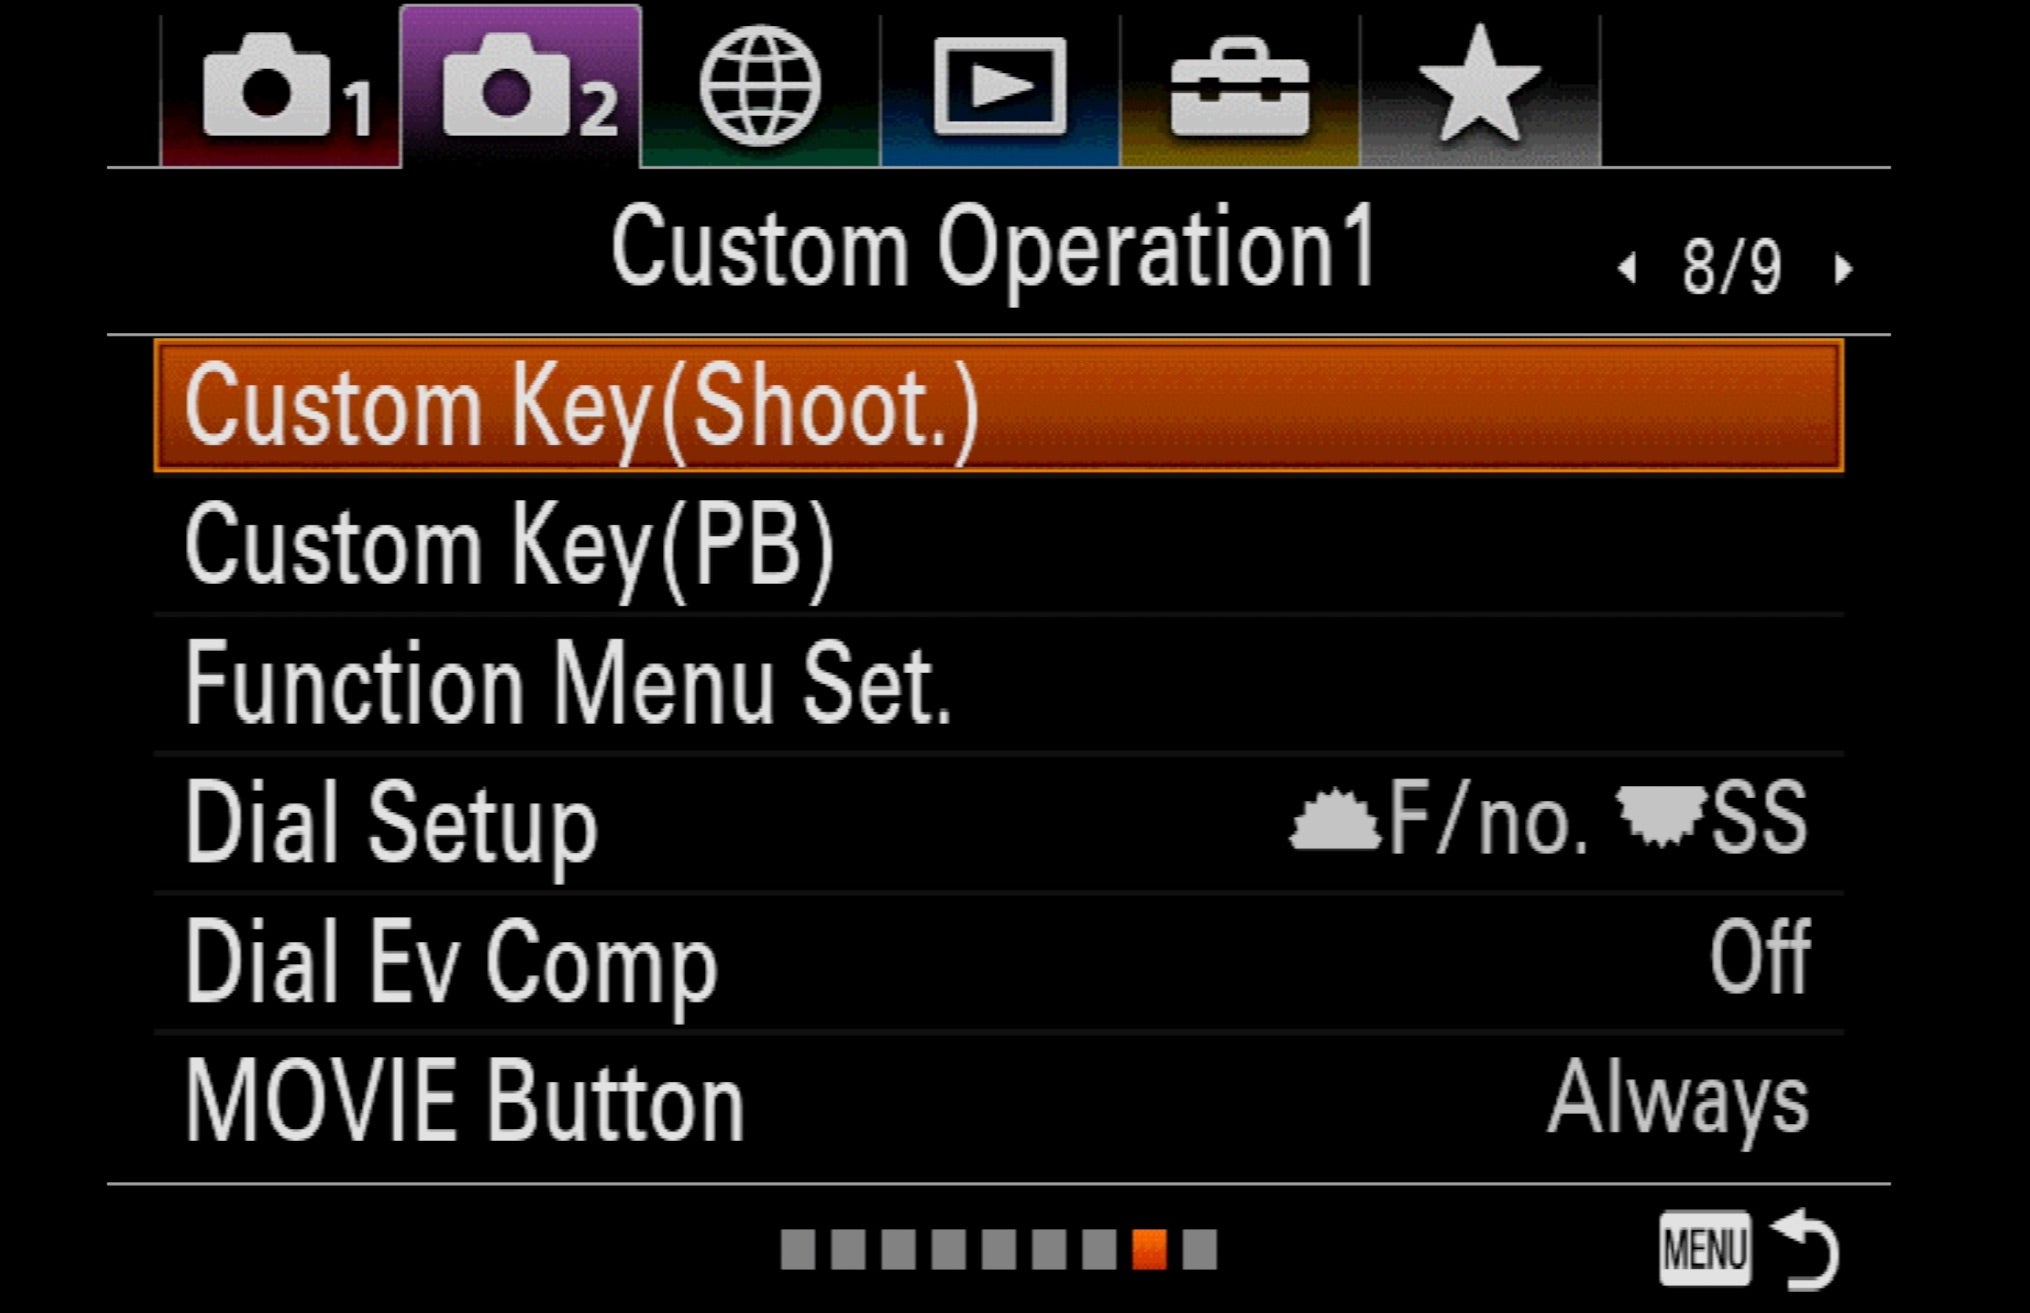
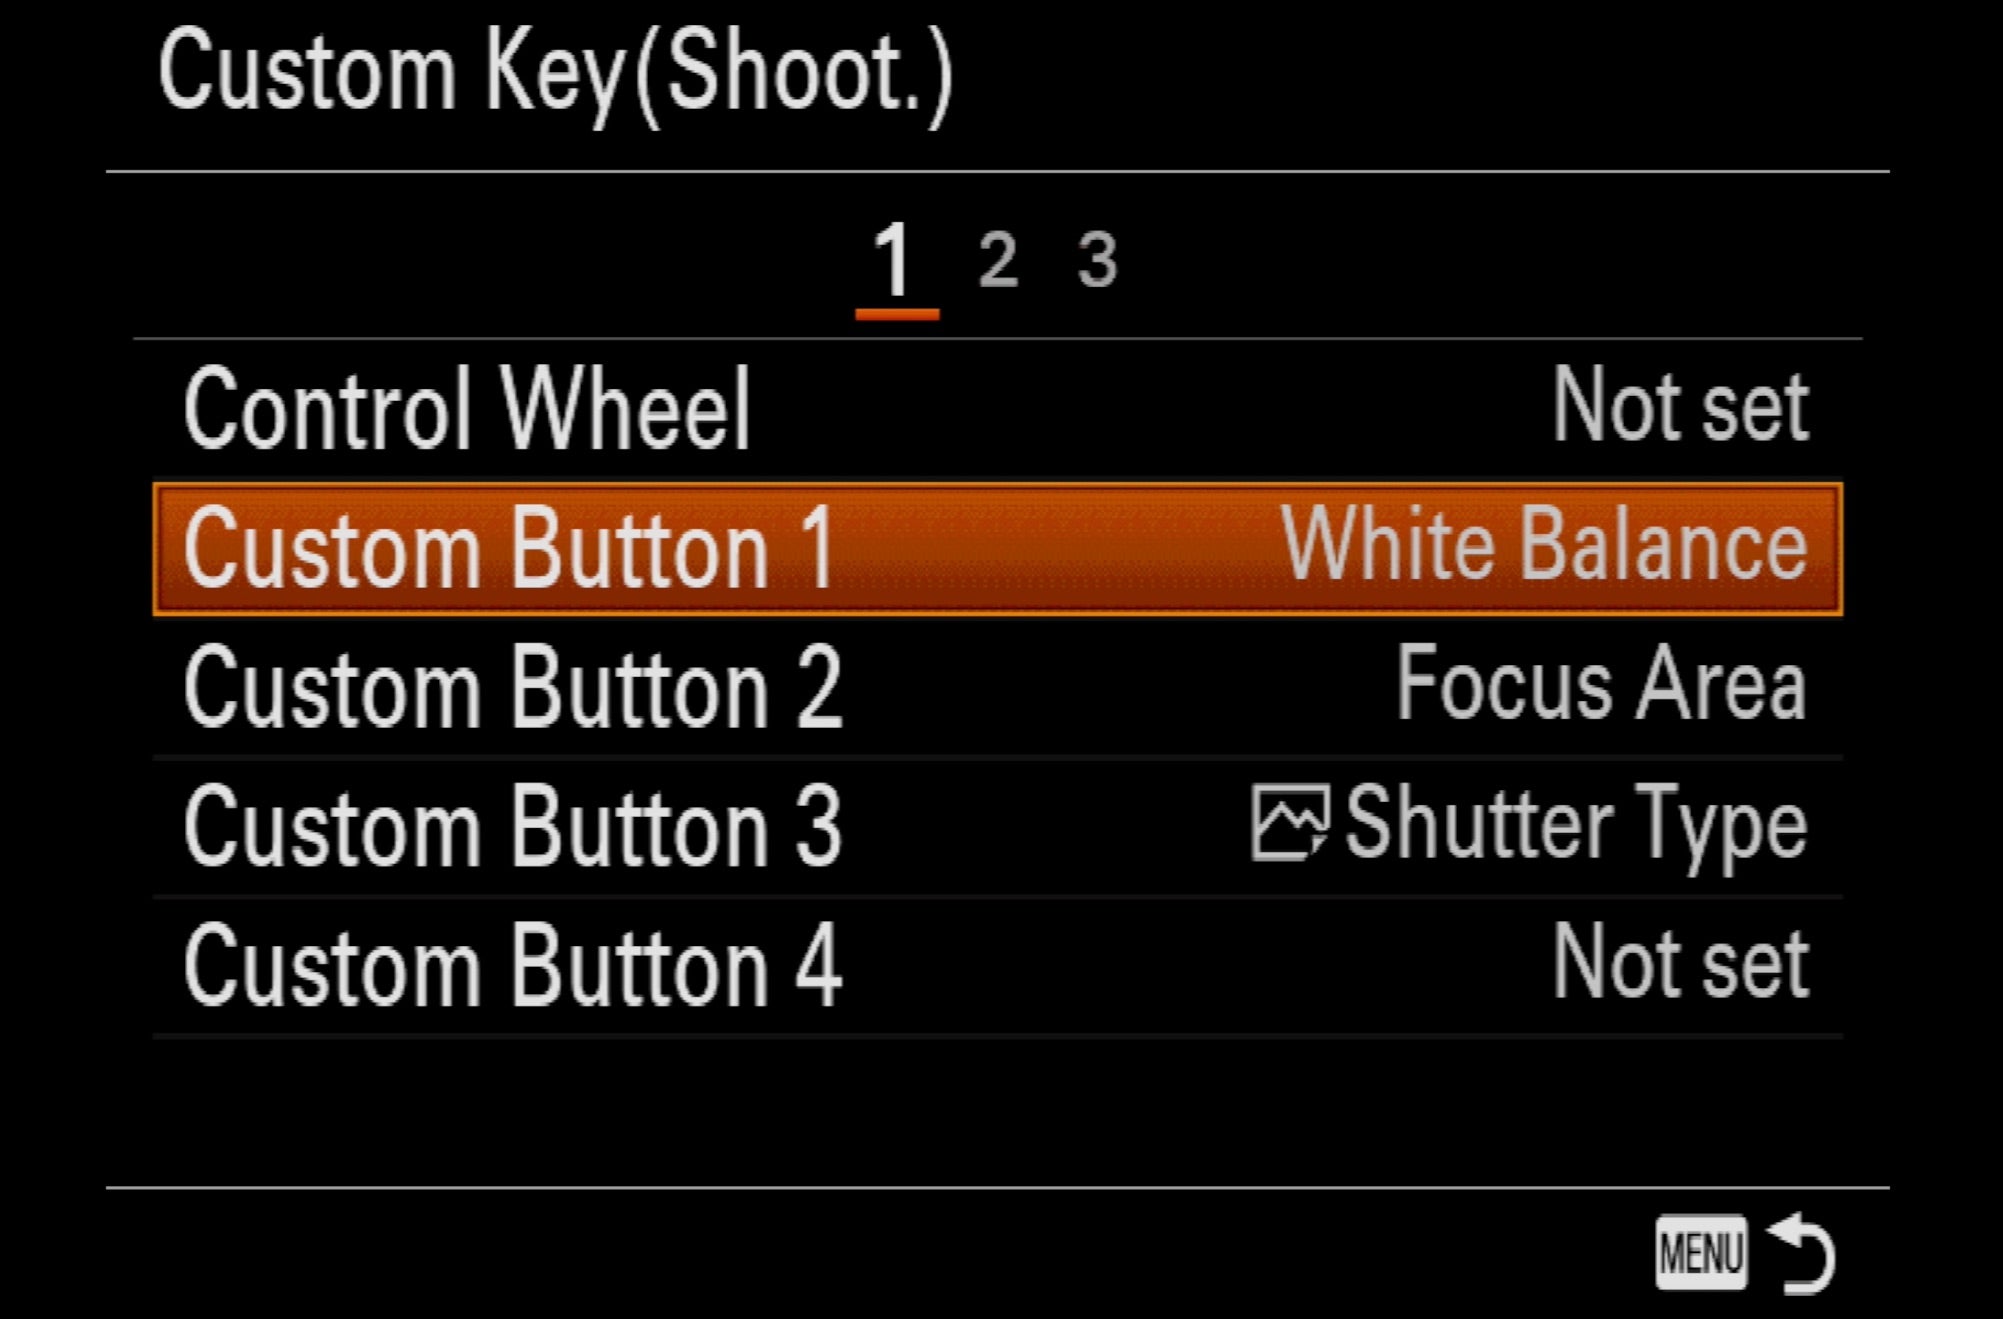
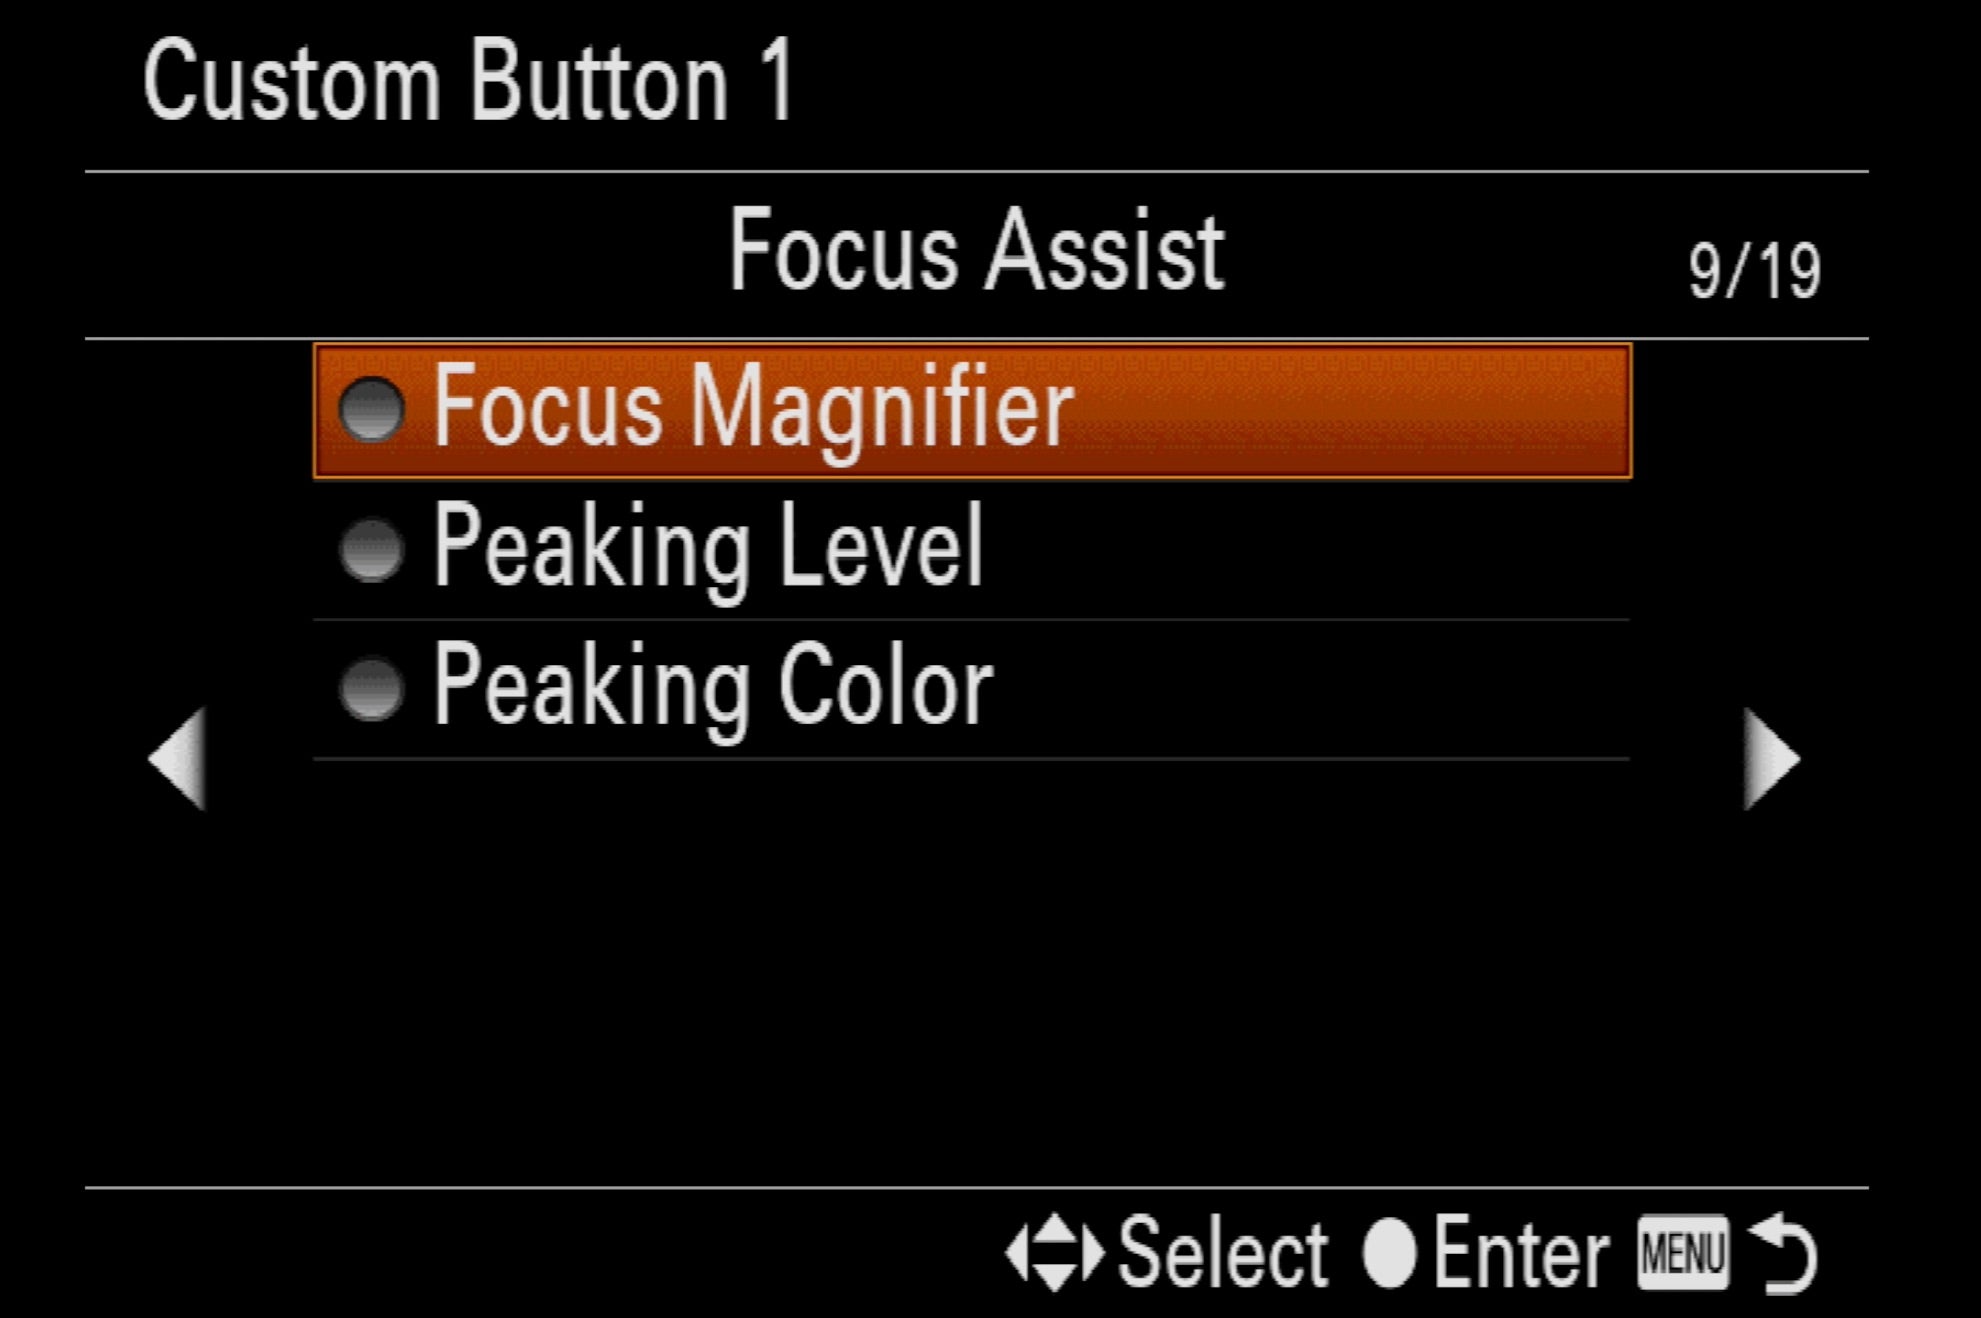
Because tack sharpness is so essential in macro, Jensen has Focus Magnification mapped to a custom button for instant access. “Focus magnification is already on in the camera, but I like to map it to the C1 button,” she explains. Custom Button 1, by default, is set to White Balance. I change that to Focus Magnifier. This allows me to punch in, and get that focus peaking very precisely on the area, as I turn my focus ring.”
Autumn Leaves Isn’t Just For Autumn Leaves
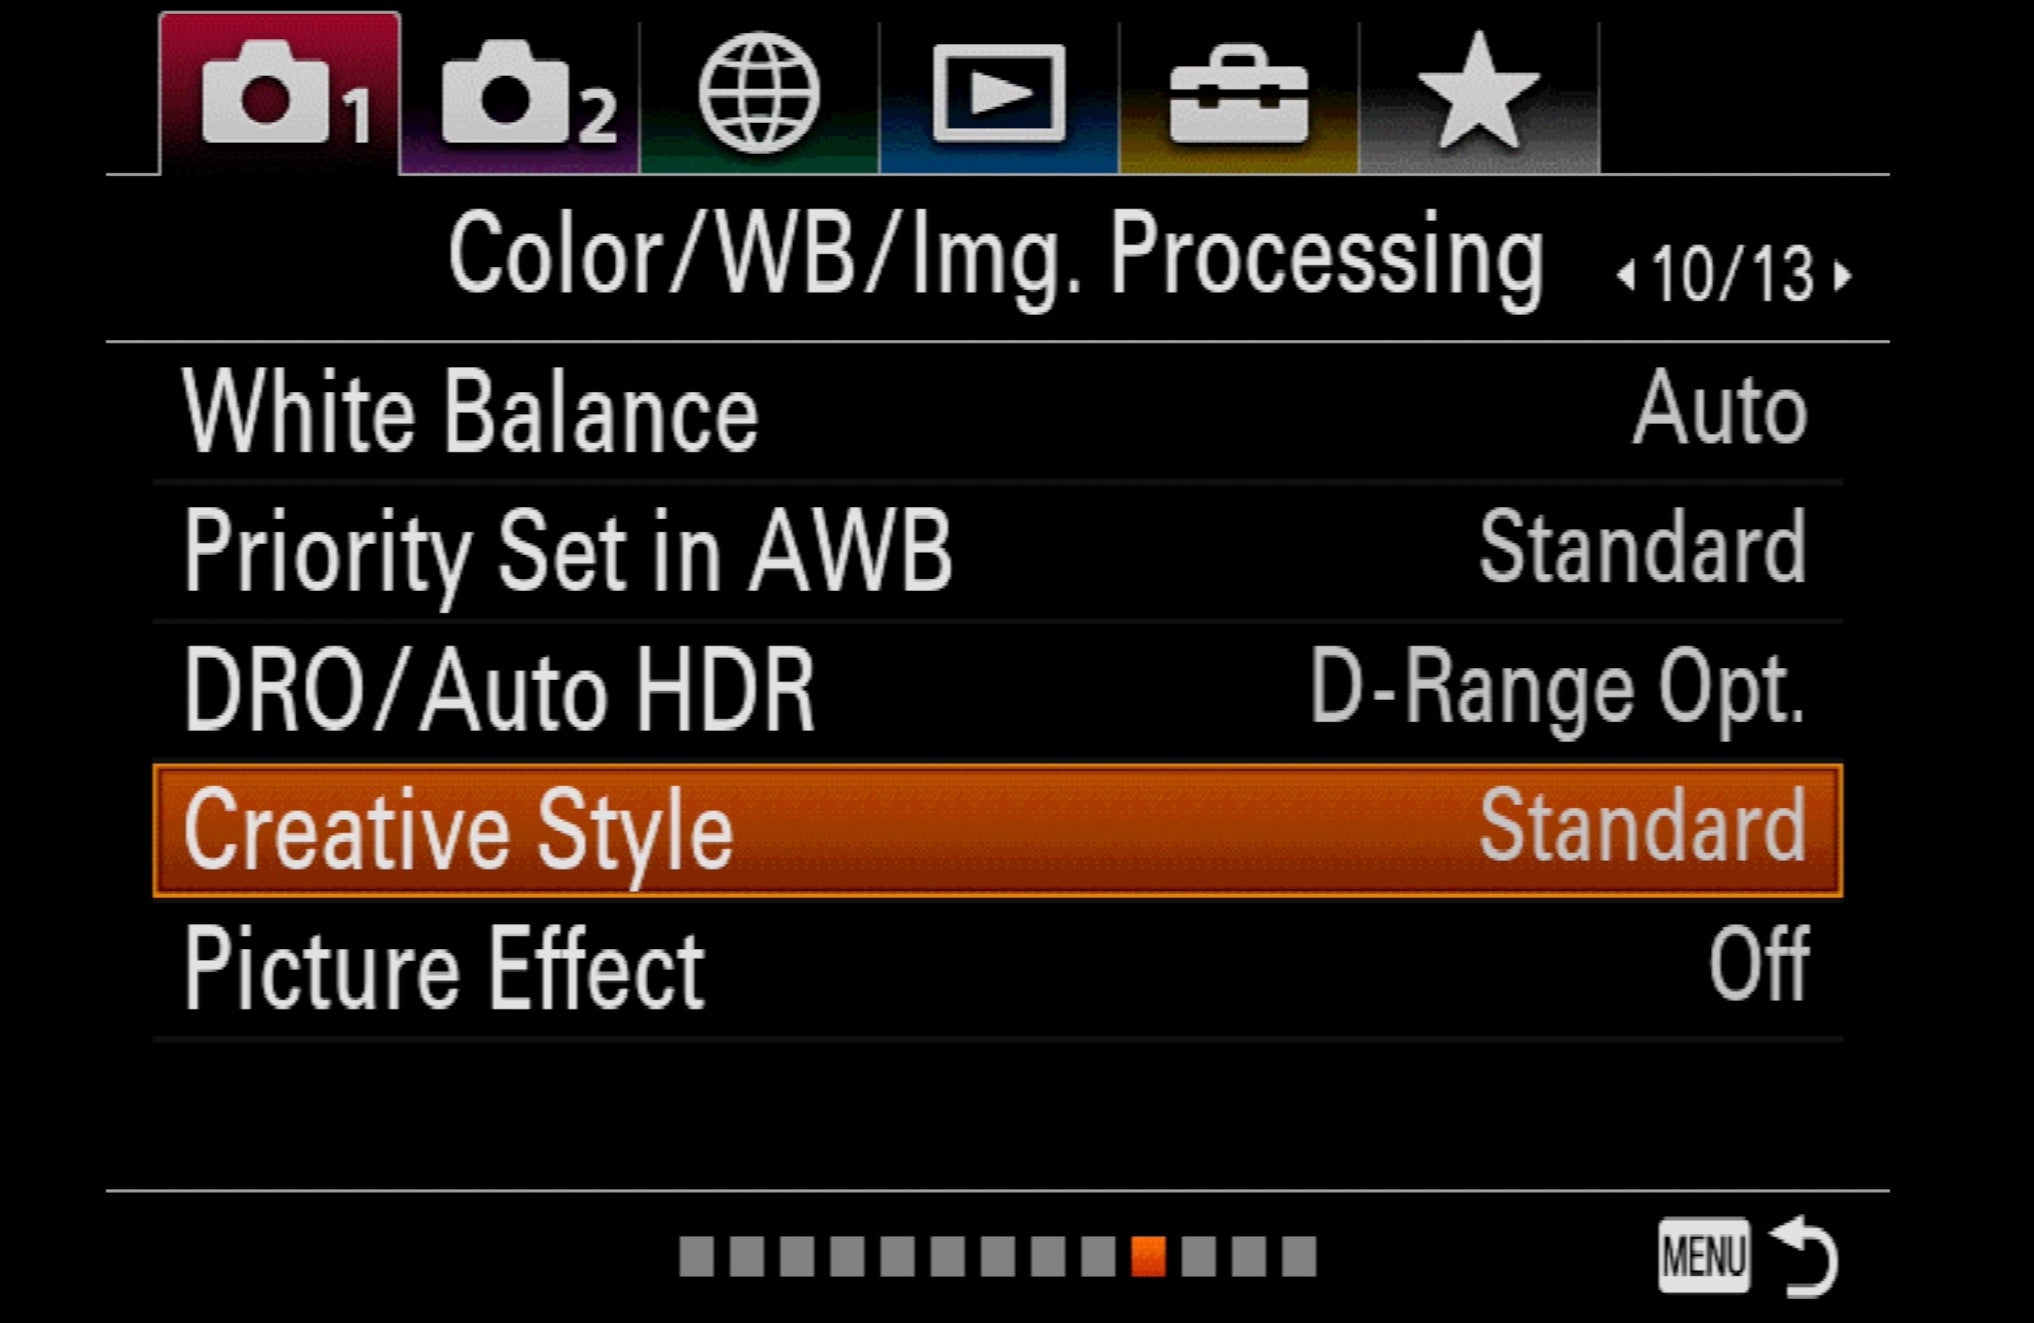
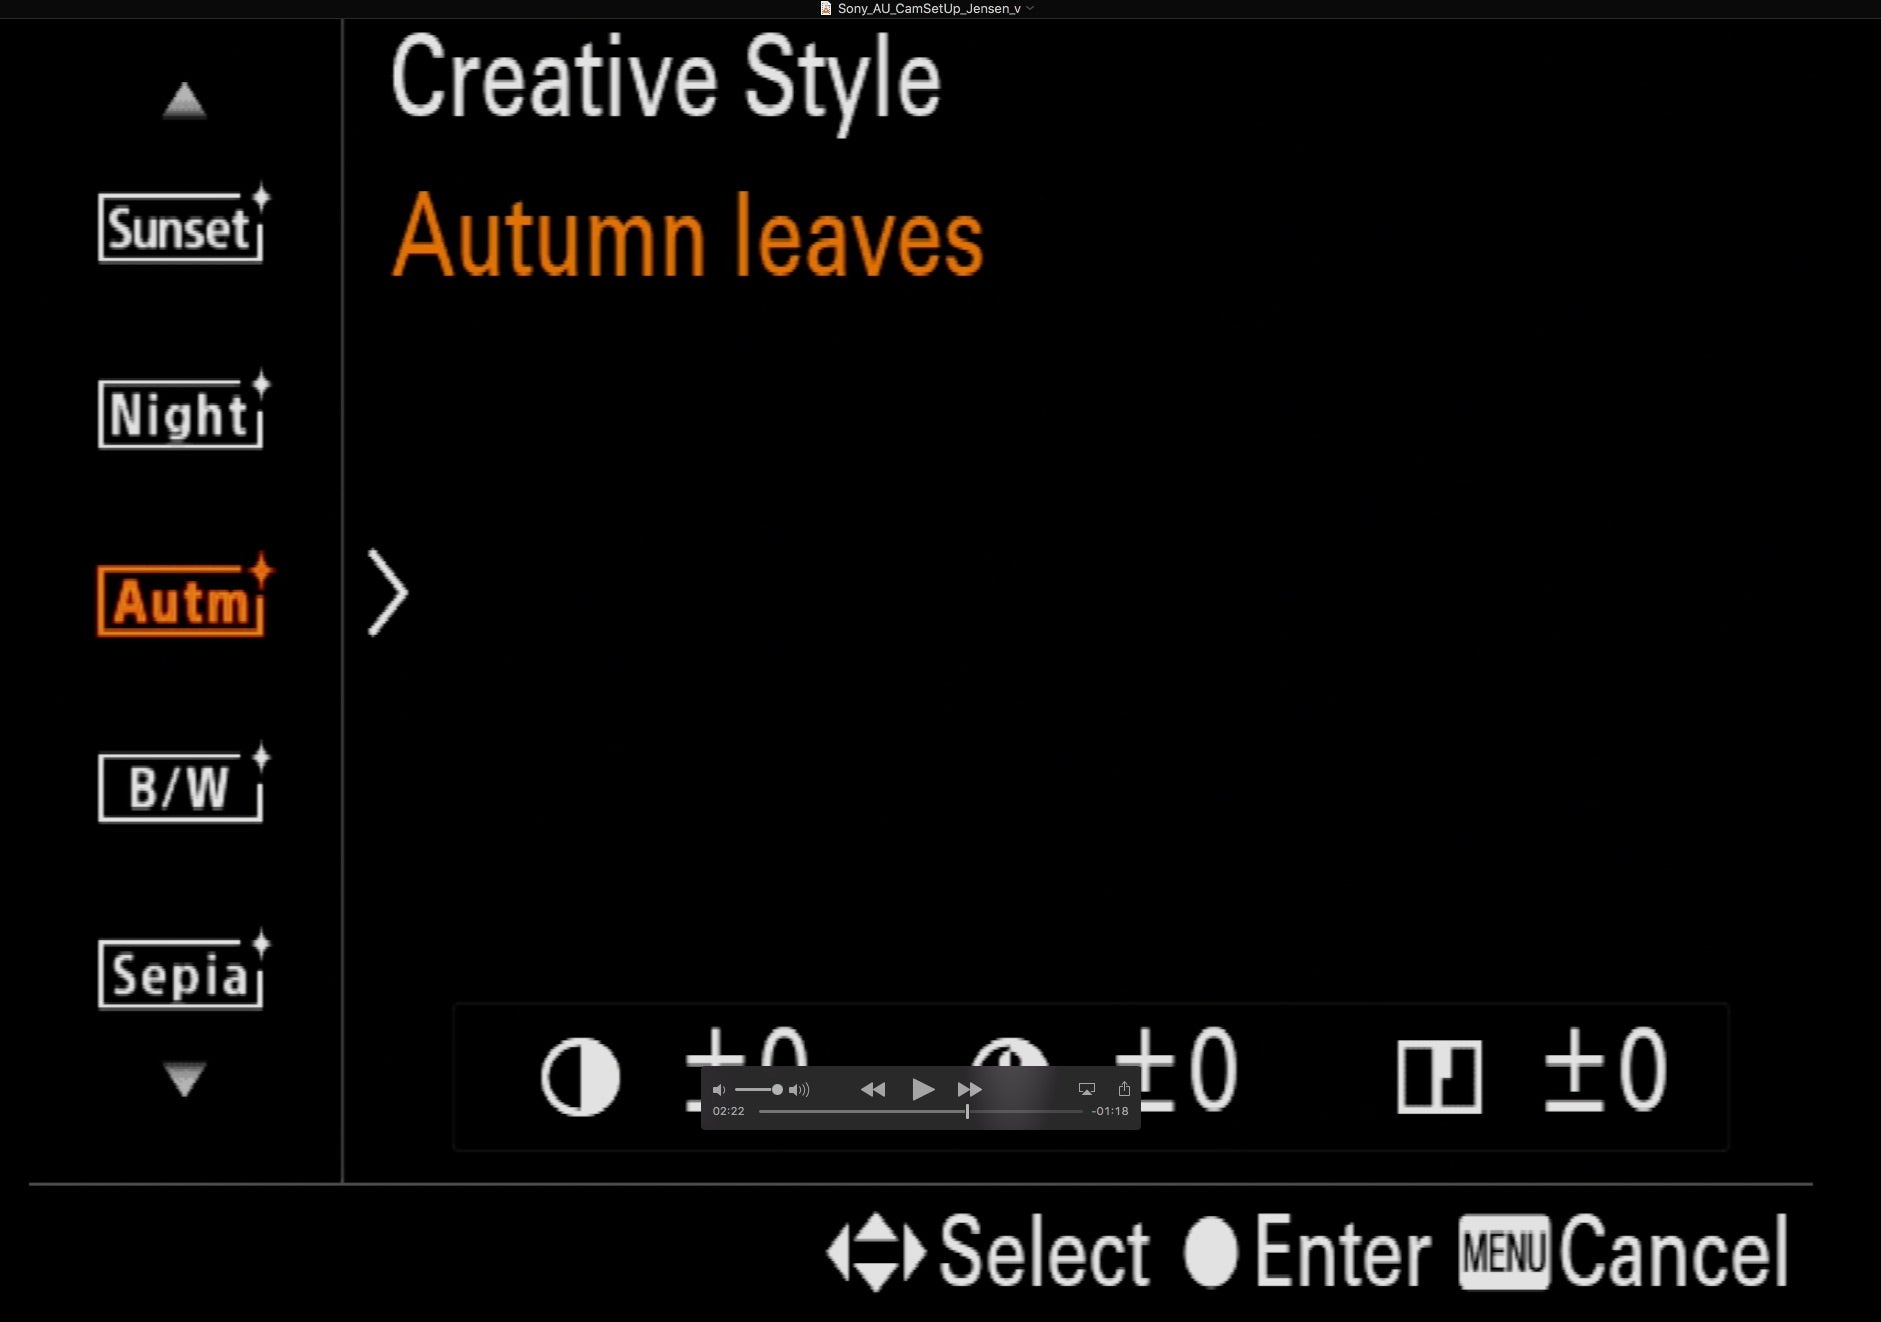
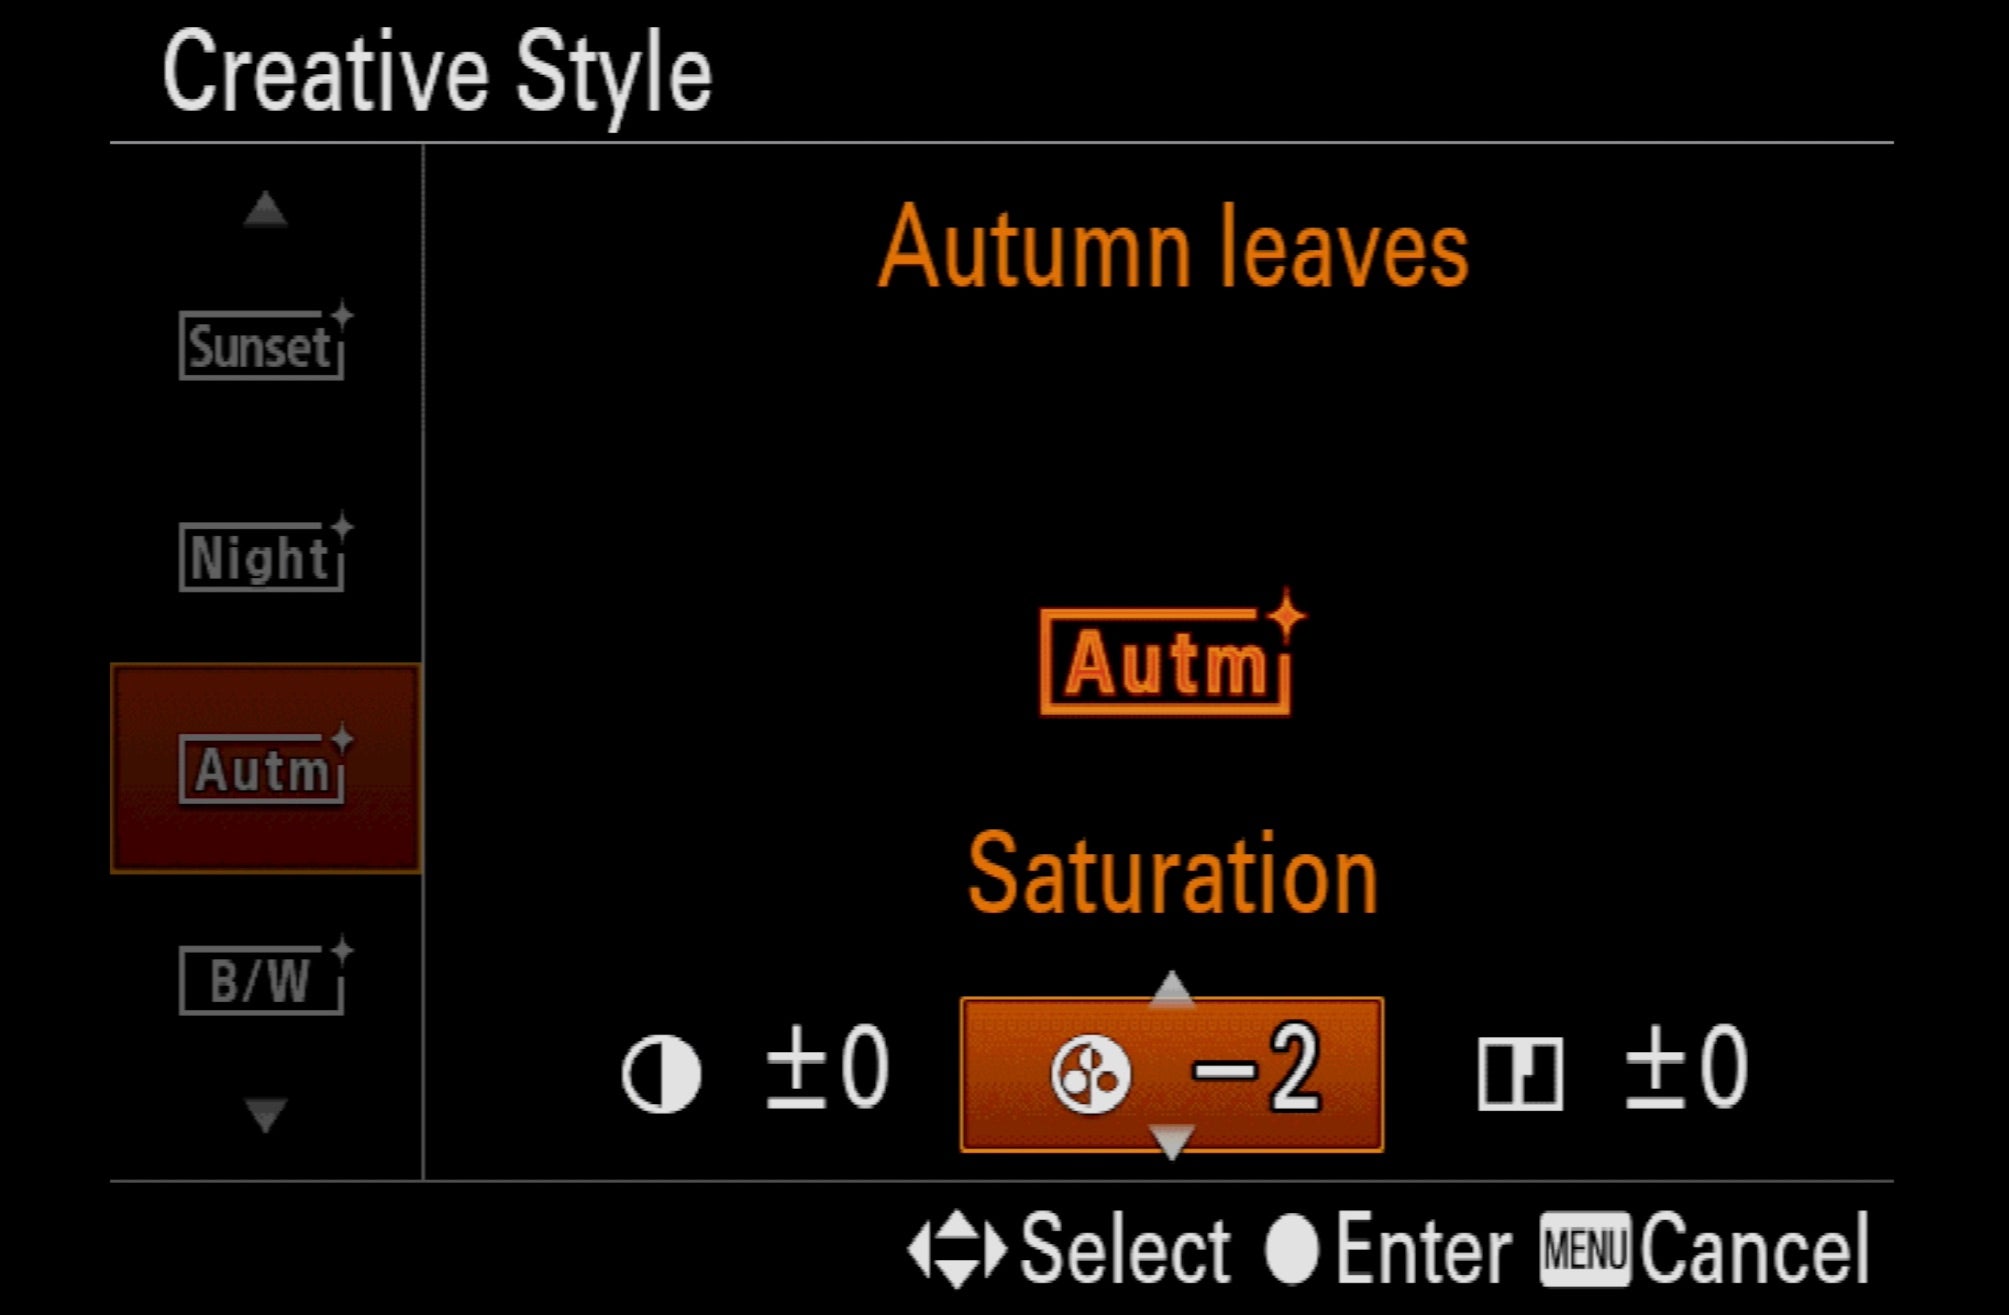
Sony mirrorless cameras have a number of presets built into them, particularly for color control. For macro shooting, regardless of the season, Jensen uses the Autumn Leaves Creative Style. “First I set the color to Adobe RGB, and then I choose the Autumn Leaves in Creative Styles. It’s a great starting point for macro images. ” She continues, “Then I customize the Contrast, Saturation, and Sharpness settings within the Autumn Leaves Creative Style based on the subject. Sometimes I have a very saturated subject, and I can tick the saturation back. Other times, I might have a washed out scene, and I'll increase the saturation. Saturation is one that I adjust most. I don't usually adjust sharpness too often.”
Warm Up With White Balance
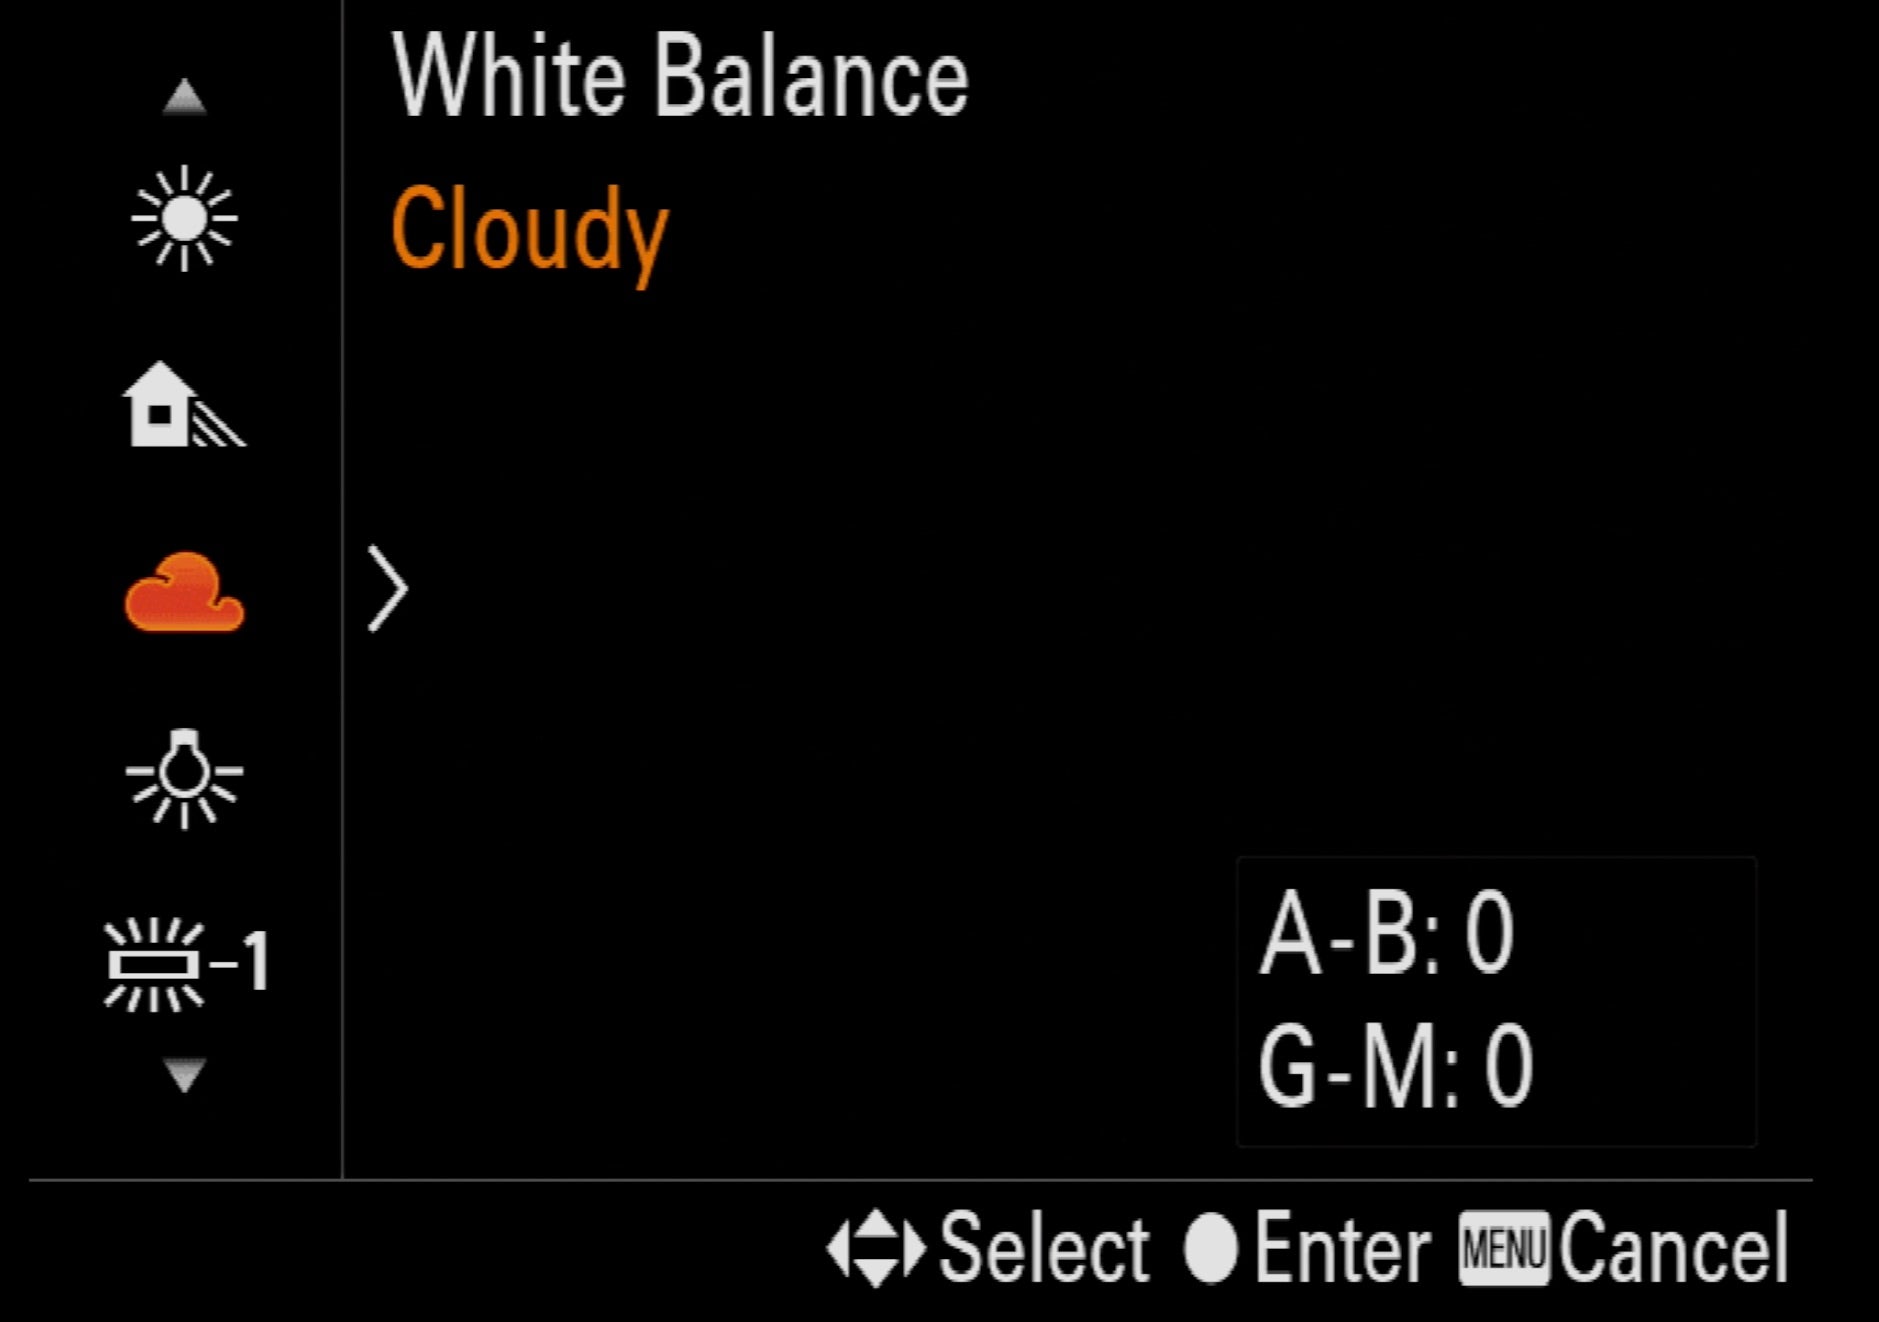
The last of Jensen’s top five macro settings is White Balance. “Probably the most important thing that I do, is manage White Balance,” she says. “For my images, I absolutely love the Cloudy White Balance. I like warm images. I don't like cool images. Cloudy White Balance seems to play well with daylight images, interior images, and it actually works really well with both continuous lighting and strobes, as well. It gives just enough warmth, so the image doesn't seem cold and sterile, and also not too warm. I find the Shade setting to be over the top. For years, I custom white balanced, but I've been really happy with Cloudy. The people I've recommended it to, have been, as well.”
