The shutter clicked, bringing me back to reality. A reality that found me hundreds of feet below the Vietnam jungle, in a cave so large it has a jungle within it! I lowered my camera and enjoyed the moment. Hearing the echo of water dripping from the ceiling. Smelling the fresh air mixed with the subtle earthy aroma of the rocks and minerals. I took a deep breath and…

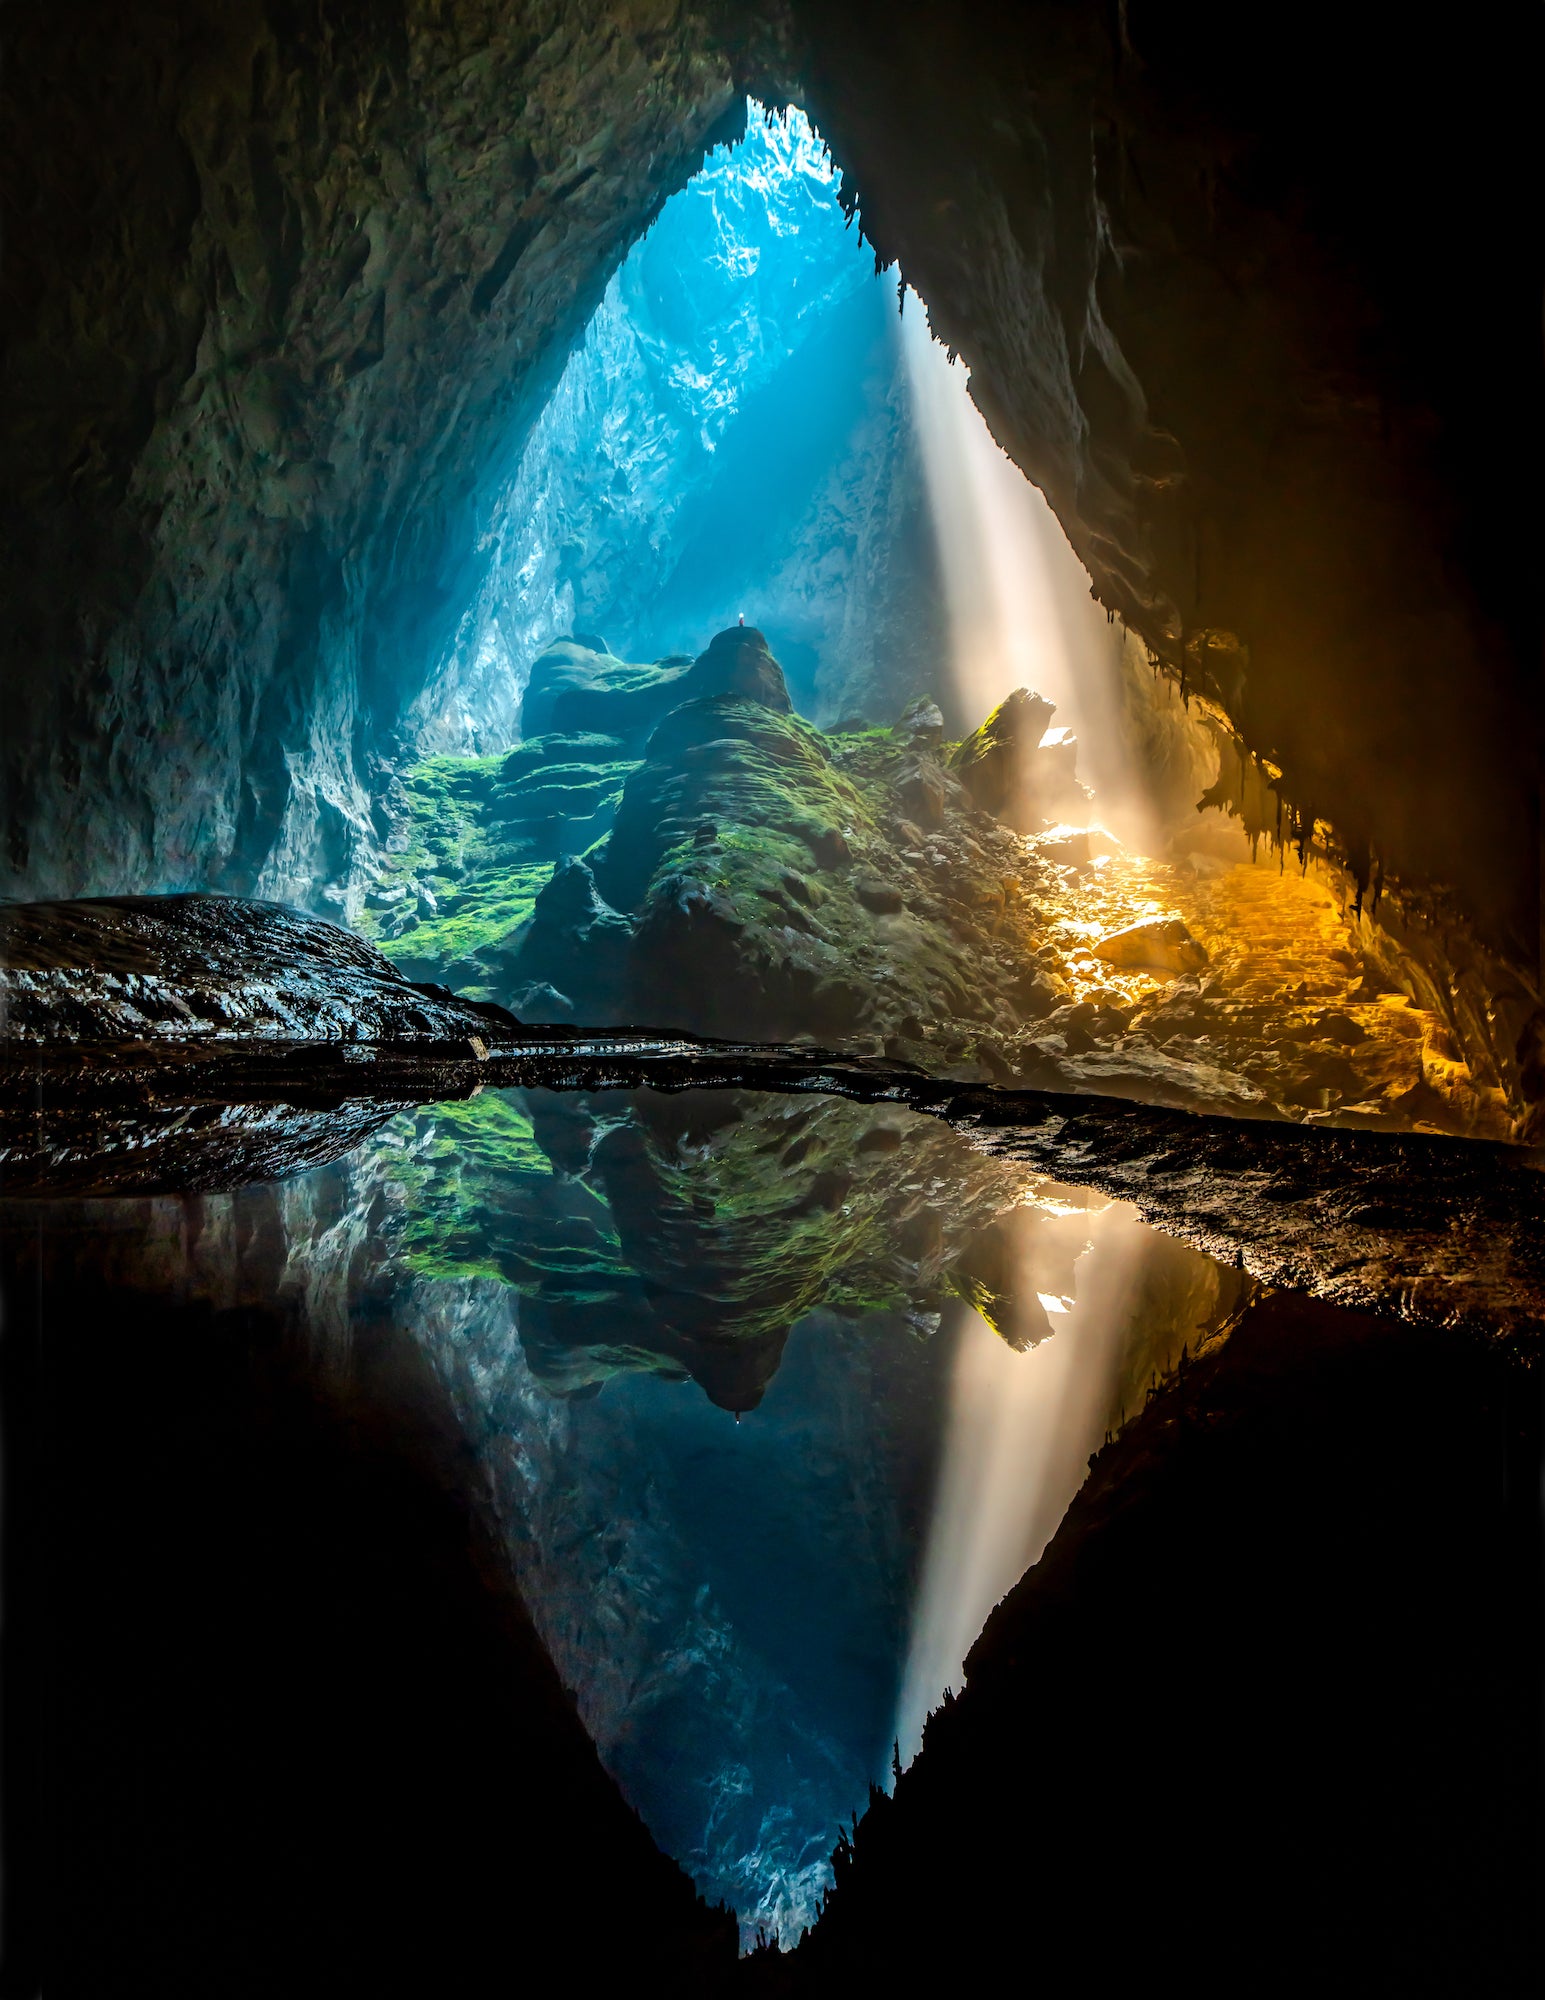
Photo by Wyatt Peterson. Sony α7R III. 1/125-sec., ISO 800
How an adventure & landscape photographer pushed a Sony Alpha camera's abilities to create an epic series of images from inside the world's biggest cave.
Before we do, I want to backtrack a little and share who I am and how and why I ended up in Hang Son Doong, the world’s largest cave. My name is Wyatt Peterson (@wyattpetersonstudios). I am an adventure/landscape photographer based in Northern Utah. For the last four years, I have made a goal to capture the wilderness in a way that captivates and inspires others to get outside to find their adventures. Despite being an avid explorer, I had never left the United States until the beginning of 2020, which led to the shot you see today.
Inspiration & Planning
About a year ago, my wife and I were told about this mystical cave by my father-in-law. It had been on his bucket list since he had heard about it some six years prior. He was going to make it a reality. My wife and I were fascinated by the stories of this hidden world that fewer people have been to than have summited Mount Everest. A world that has its own ecosystem and was only discovered in 2009. We wanted to make this happen for us, so we started planning. The first step was getting my first passport!

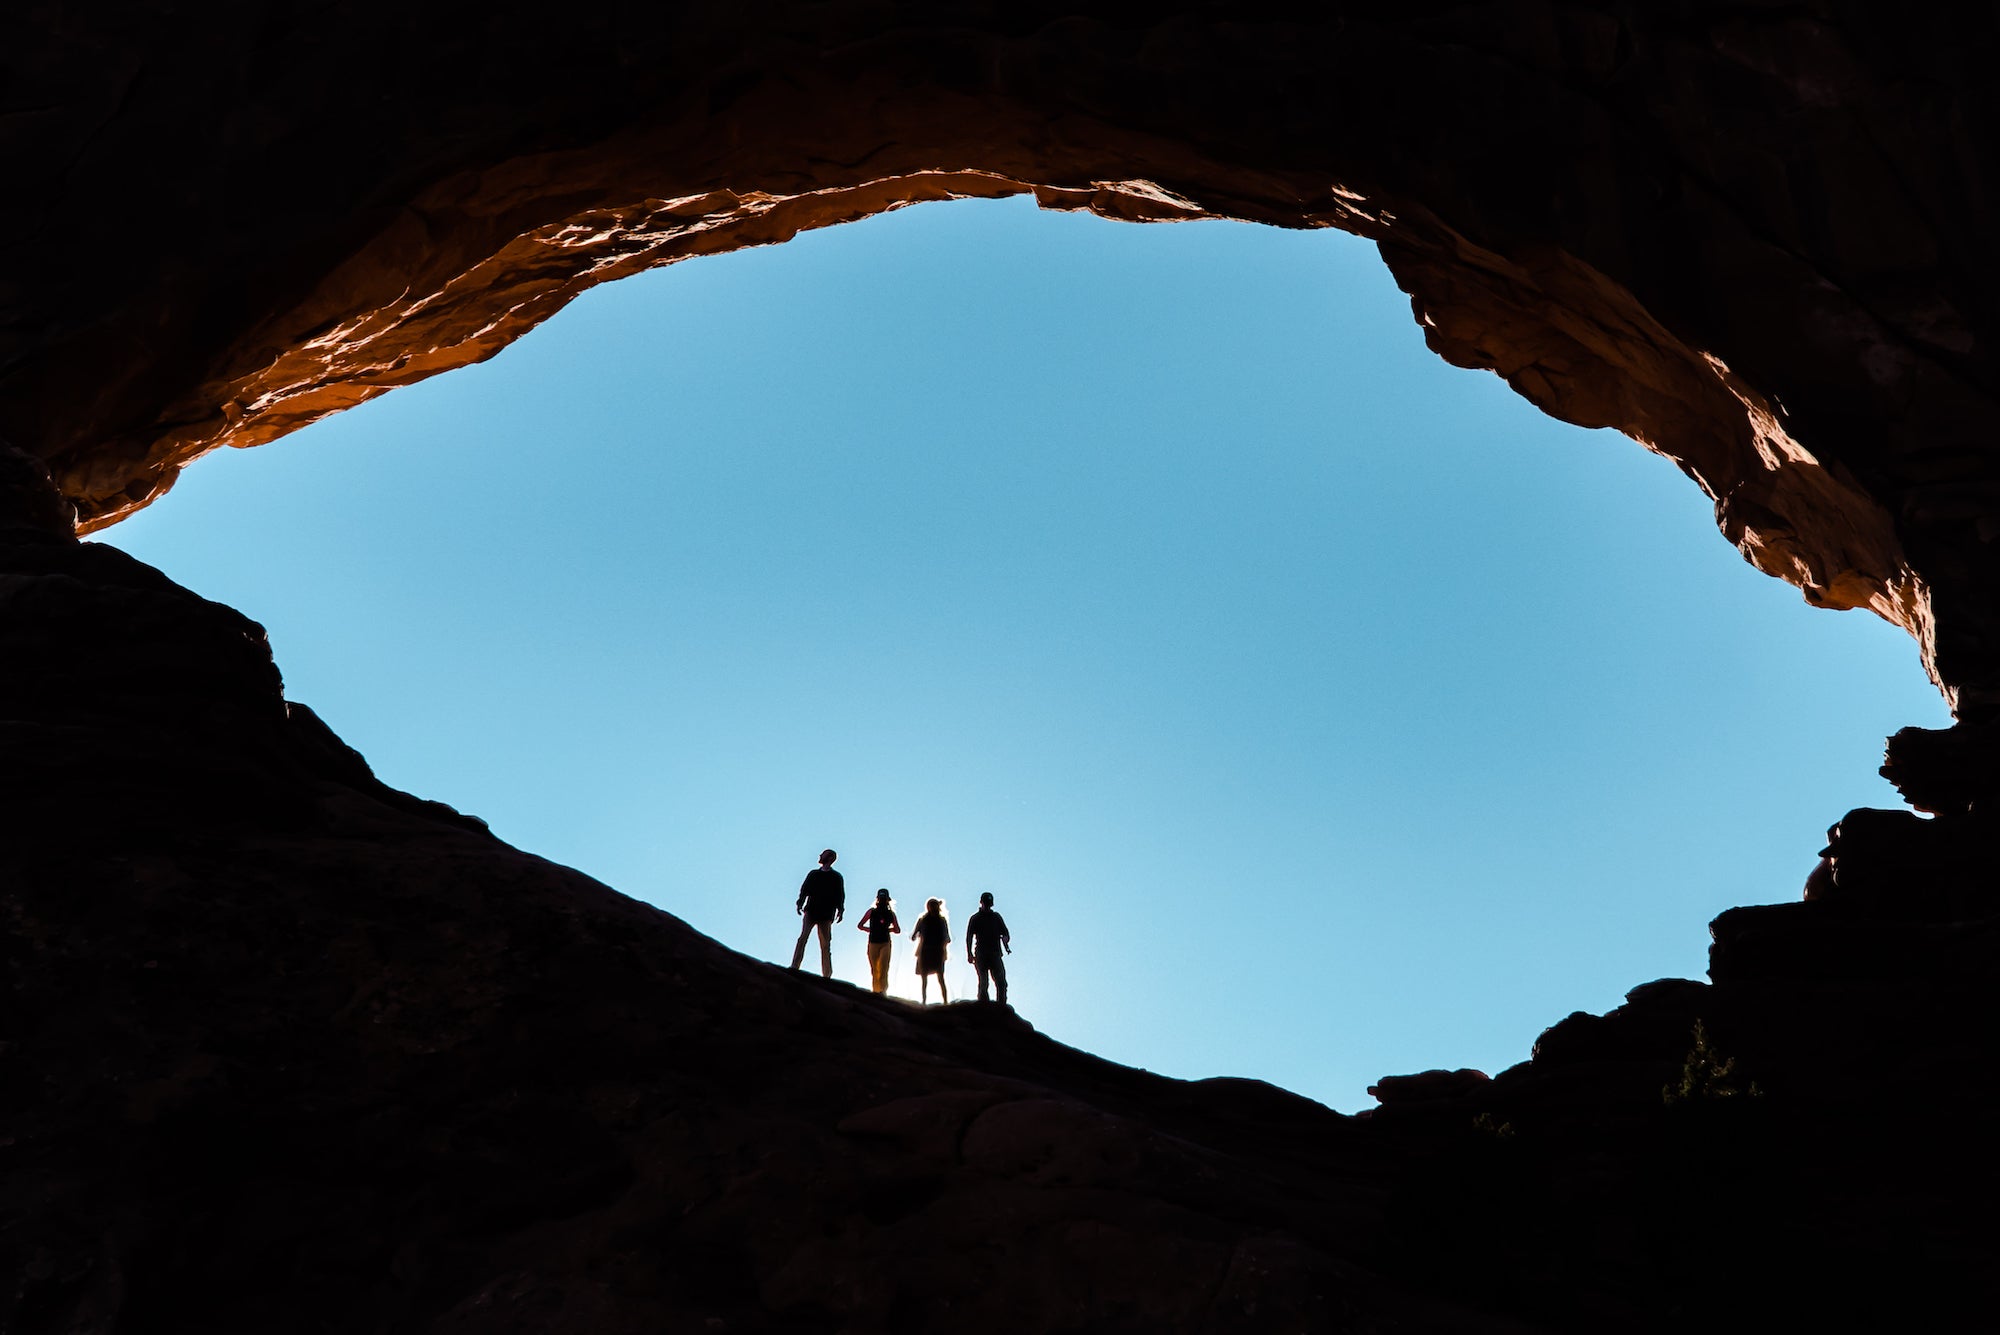
Photo by Wyatt Peterson. Sony α7R III. Sony 18-105mm f/4 G. 1/640-sec., f/13, ISO 640
As the trip drew closer, I planned out which camera gear I was going to bring. I packed according to how much weight I felt comfortable carrying through a slippery, rocky cave. My gear list included: Sony α7R III, a Sony 18-105mm f/4 G, a Sony 70-200mm f/4 G, a 14mm f/2.8, a PrimaPhoto tripod, three batteries, three portable chargers, and a dry bag to keep it all safe.
Capturing Low-Light Cave Images With The Sony α7R III
The morning of day three, I awoke early and listened to the sounds of the cave. Small traces of sunlight radiated on the cave walls outside our tent. Camp was set up near a skylight, where the roof of the cave was collapsed, called a doline. This made it possible to have some sunlight during our excursion. Soon everyone woke up, got packed, then we began trekking through the doline. Weaving in and out of boulders the size of buildings. I would occasionally stop to look up at the jungle 600 feet above me, snapping photos as I went. Before I knew it, we descended toward some ponds at the mouth of the main cavern. Within minutes we were sitting down by the ponds, gazing back toward the doline in total awe.
After a few moments of taking in the scene, I grabbed my camera and went to work. Striving to do justice to a world so sublime. A reflection shot was on the top of my list. The only problem was the constant flow of the mist. Views would come and go in a matter of seconds, obscuring the rocky features and my Vietnamese friend perched on top of the mossy tower. I knew, if I was patient, the mist would lift…even for a few seconds.
My Sony α7R III was my go-to because of its high resolution and ability to capture detail in low-light situations. This is key for cave photography. The added benefit of its battery life allowed me to focus solely on the shot.

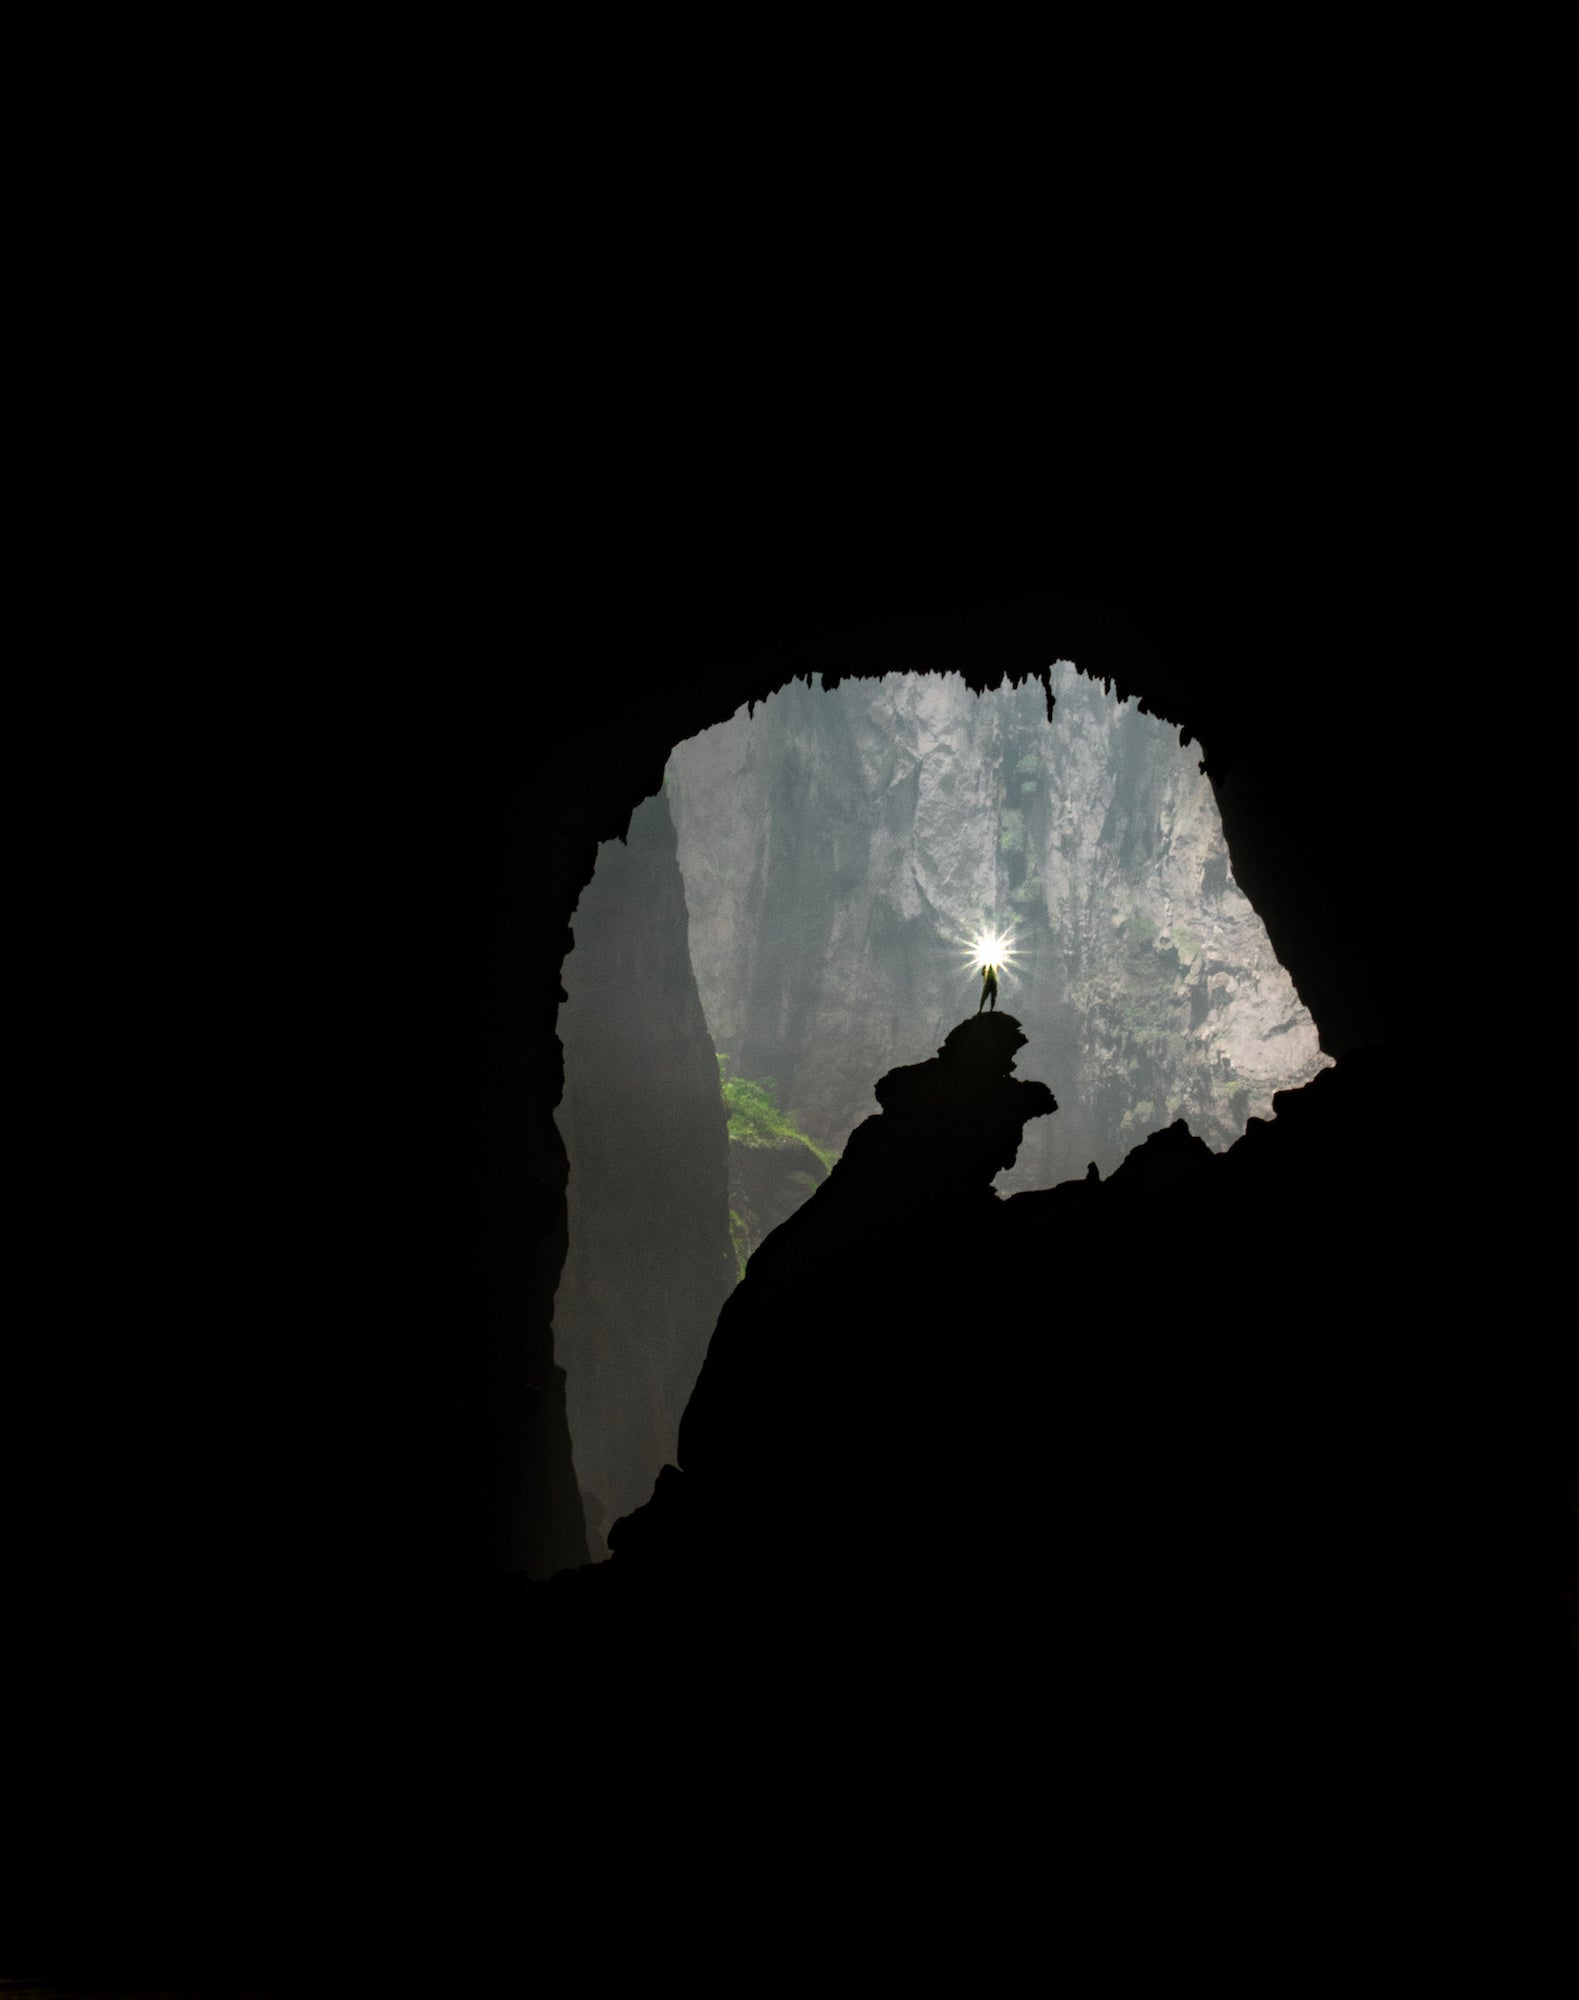
Photo by Wyatt Peterson. Sony α7R III. Sony 18-105mm f/4 G. 1.3-secs., f/18, ISO 800
The reflection I wanted required my camera to be low to the ground, so low, I had to lay on my stomach and forgo the tripod. My camera was set to shoot in RAW, to ensure I got as much detail as possible. I set my shutter speed to 1/125 sec. to compensate for not using my tripod. I opened my aperture to f/8 to bring more crispness to the image and I set my ISO to 800 to allow for the higher shutter speed paired with the f/8 aperture.
I waited until the mist finally lifted. I was then presented with the shot you see today. After utilizing the moments of clarity, the mist rolled back in, offering me a wide variety of shots to keep me busy for the next 30 minutes.
Post-Processing
It wasn’t until five days later when I was able to look at the image on my computer. I wanted to keep the image close to what I saw while adding a little flare of the emotion I felt while taking it.
I imported it into Adobe Lightroom and made the typical lighting adjustments to bring out the detail in the landscape. The sunbeam was a little blown out, so I used the Radial Filter to balance that out. I used the adjustment brush to brighten the headlamp of the individual on top of the tower. I used the Graduated Filter on all four corners to create a light fade from detail to black, drawing attention toward the center of the image. Next, I did some minor color adjustments, bringing up the saturation in the yellows and blues by a couple of degrees. I finished by importing it to Photoshop so I could make the image slightly wider by a couple hundred pixels.
Once finished, I exported the image onto my hard drive, opened it up on my computer, and checked for any final adjustments. As I gazed at the image, I would close my eyes and find myself once again in that cave lying on that damp, cold ground. Full of childlike wonder, I would take a deep breath and smile.


