Alpha Imaging Collective member Cath Simard (@cathsimard) travels around capturing some of the most stunning natural scenes in the world. On a recent trip to Iceland she had the opportunity to photograph in the challenging conditions of the country’s famous ice caves, and the results are otherworldly. Even if you’re not planning on shooting in ice caves, her techniques for getting beautiful exposures and richly-detailed images in low light and low- and high-contrast conditions can be employed to in a variety of landscape and even cityscape photography. Before she traveled back to Iceland with the Alpha Collective on their October, 2019 #AICdoesIceland adventure, we connected with Cath to learn more about her techniques and camera settings in these notoriously difficult conditions.
Alpha Collective member Cath Simard shares her tips for shooting in super-challenging scenic situations at AlphaUniverse.com!
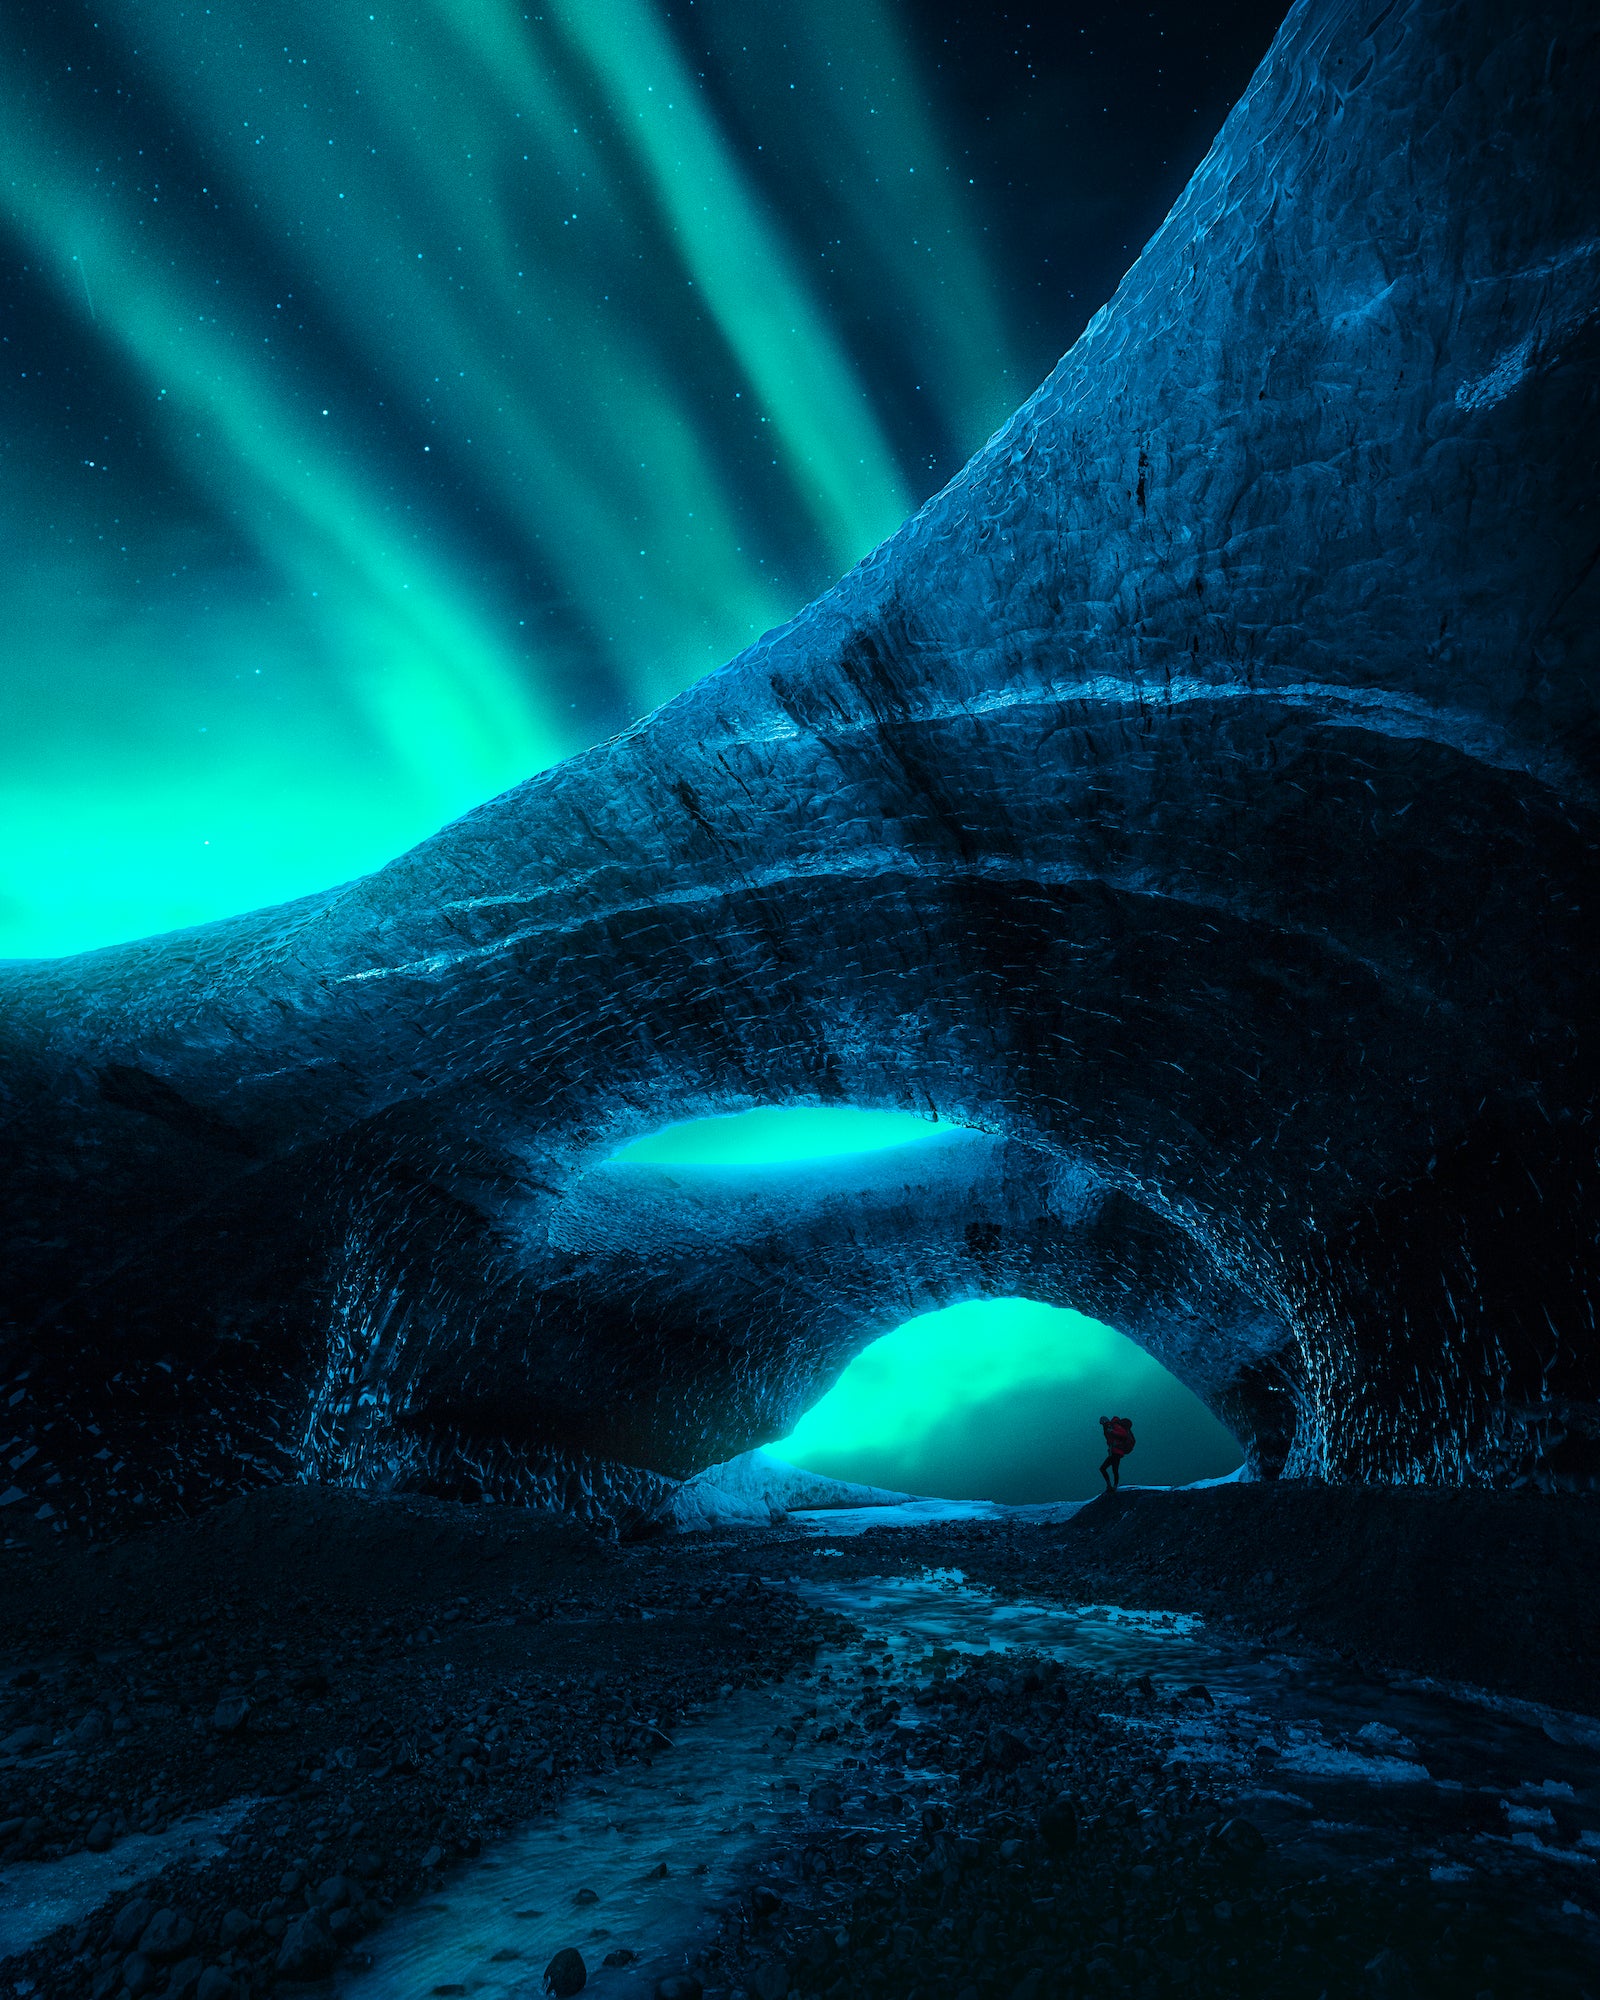
Sony α7R III. Sony 16-35mm f/2.8 G Master. 30 secs., f/4, ISO 200.
Iceland’s ice caves are among the most extraordinary wonders of nature. Their rapid change makes every composition ephemeral and every photo completely unique. During a recent trip to Iceland I had the chance to capture some of the most incredible sceneries I’ve ever seen. I decided to share with you five tips to help you get the best images possible in these conditions.
Camera And Lens Choices
I suggest a full-frame camera like the Sony α7R II, α7R III or α7R IV. Using a full-frame camera body with exceptional dynamic range such as these will help retain more details in the shadows and highlights. A full-frame is a must to get the best image quality while also providing a wider field-of-view. I also suggest the 16-35mm f/2.8 GM or 12-24mm f/4 G lenses. Ultra-wide angle zoom lenses excel at fitting all of the interesting details of the ceiling, walls and floor of the ice caves into the frame, while providing the flexibility to zoom in for tighter shots without having to switch lenses in a harsh and wet environment. "Fast" lenses with maximum apertures of f/2.8 and wider will allow you to shoot handheld in tighter areas of the cave where a tripod won’t fit.
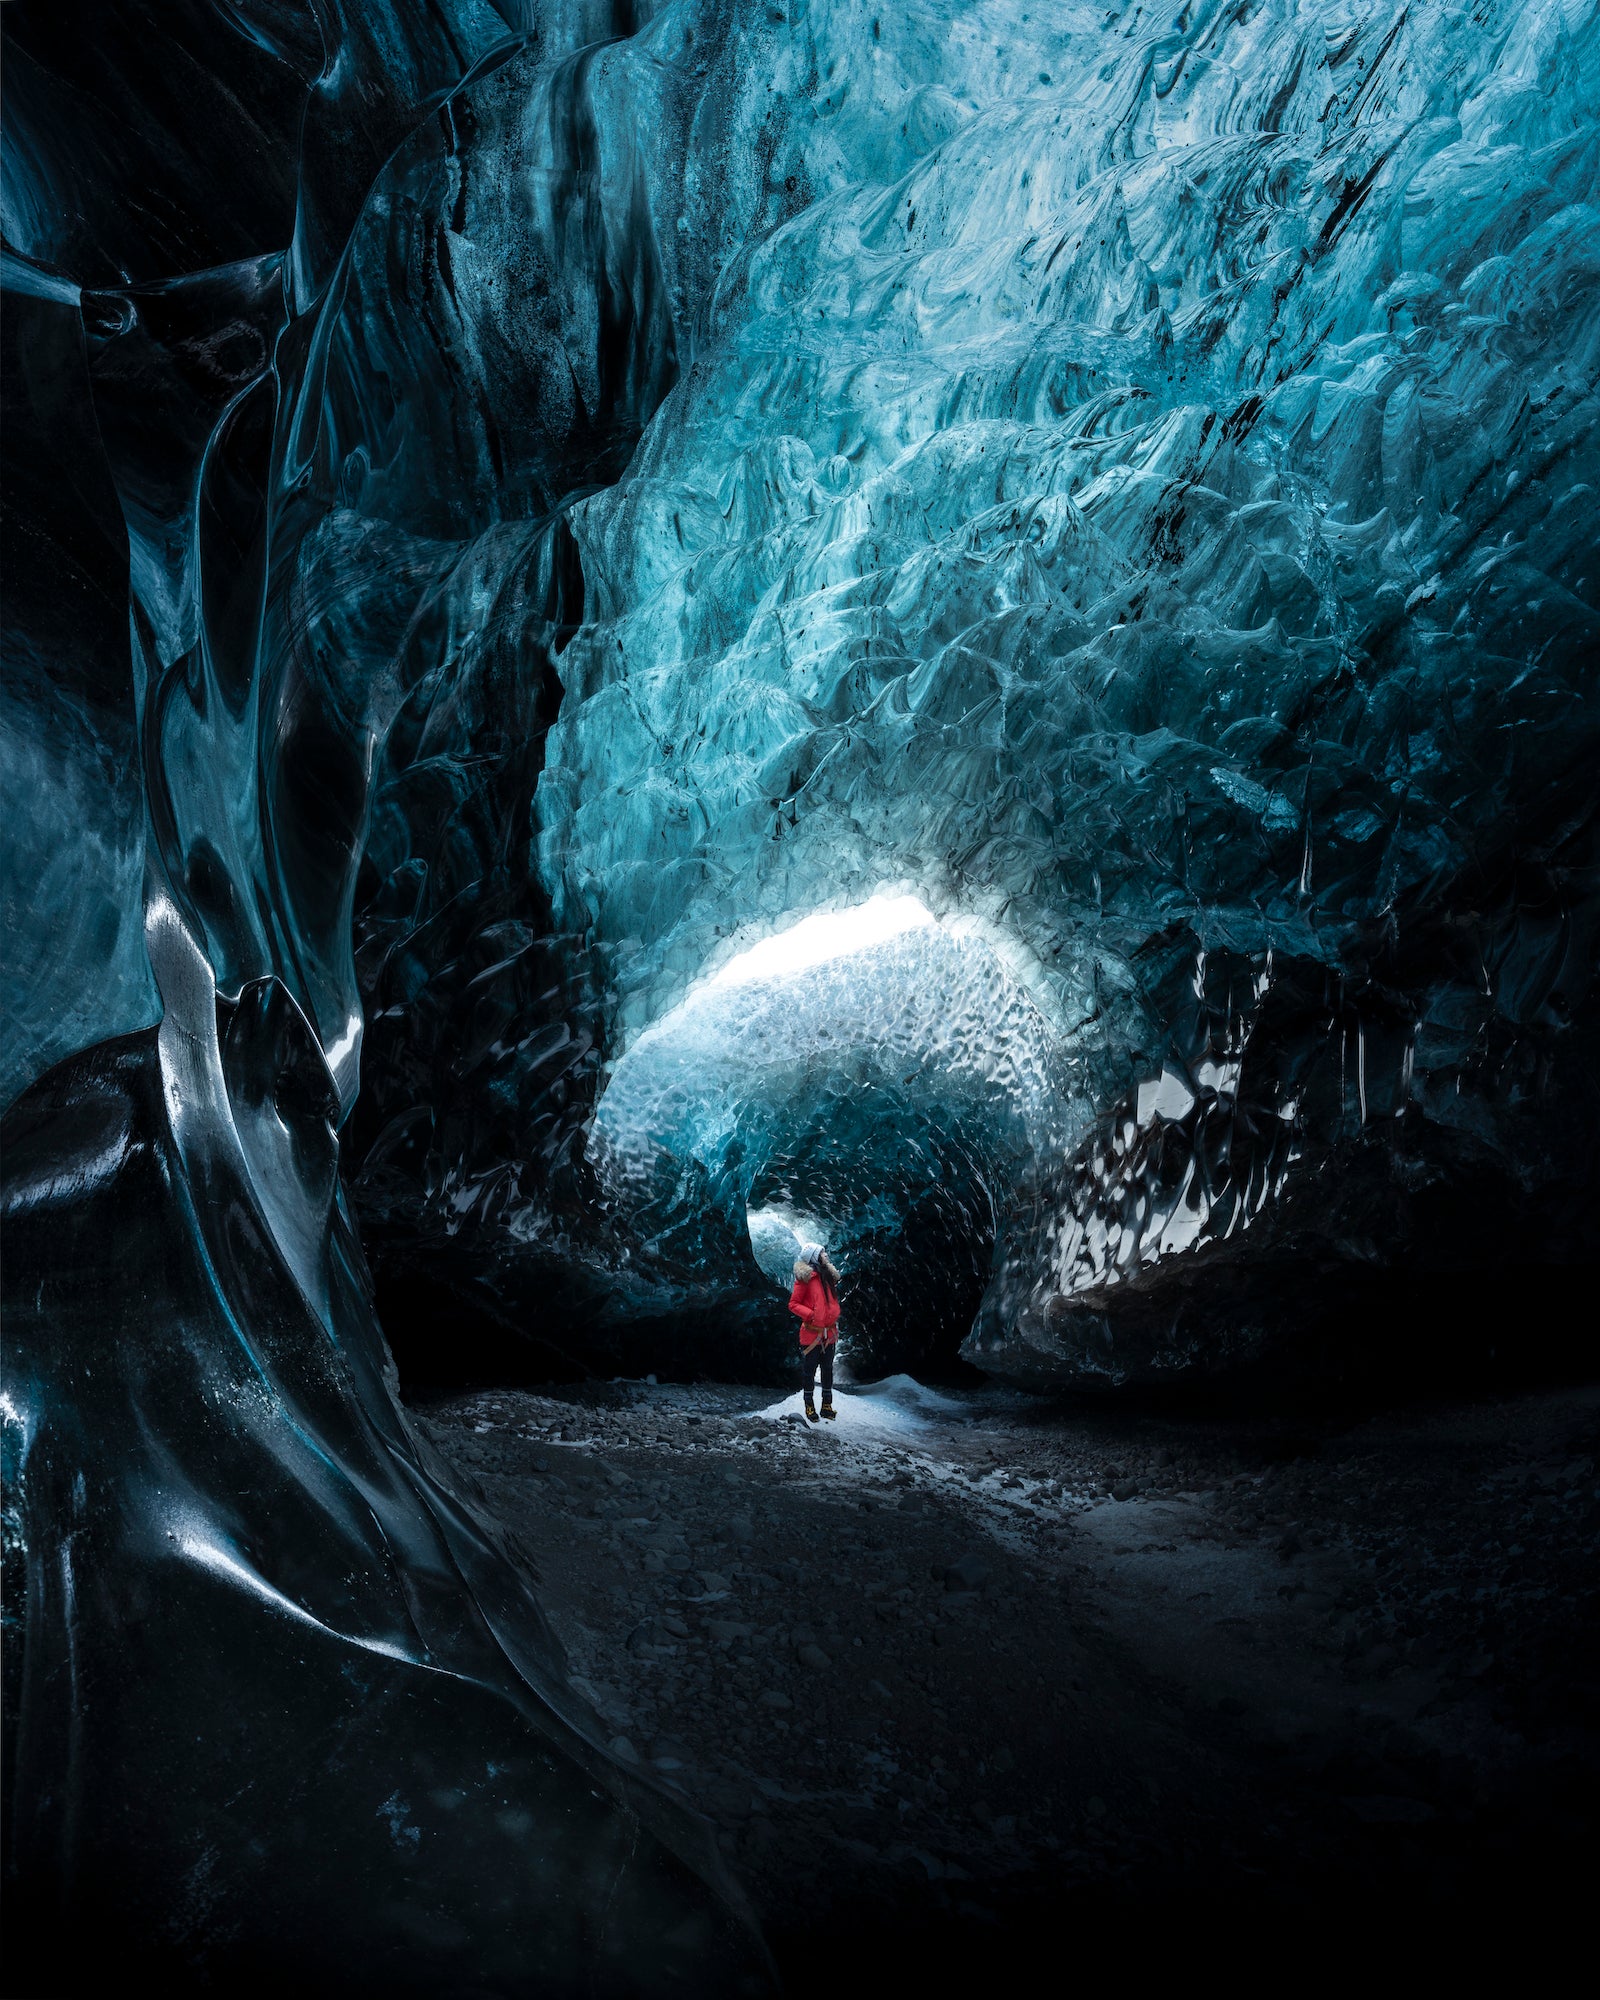
Sony α7R III. Sony 16-35mm f/2.8 G Master. 1 sec., f/13, ISO 100.
Long exposure is a necessary technique if you want to expose the cave properly while keeping a large depth of field. You’ll need a tripod to do this, so it’s a must-have if you want to get well exposed and sharp photos. For accessories, you should bring a cleaning cloth, remote shutter release, some kind of light source and a polarizing filter.
Select The Right Technique
Bracketing – A useful technique details the shadows and highlights in a cave while also preventing any highlights from being blown out. On my Sony cameras, in drive mode options, I choose the Continuous Bracket option and experiment with one-stop, three images or two-stop, three images options depending on the light conditions.
Long Exposure – If the sun isn’t shining any light inside the ice cave or if you are deep inside it, light can be very low and doing long exposures becomes necessary. This technique can also create beautiful effects if there are streams running or water dripping from the walls.
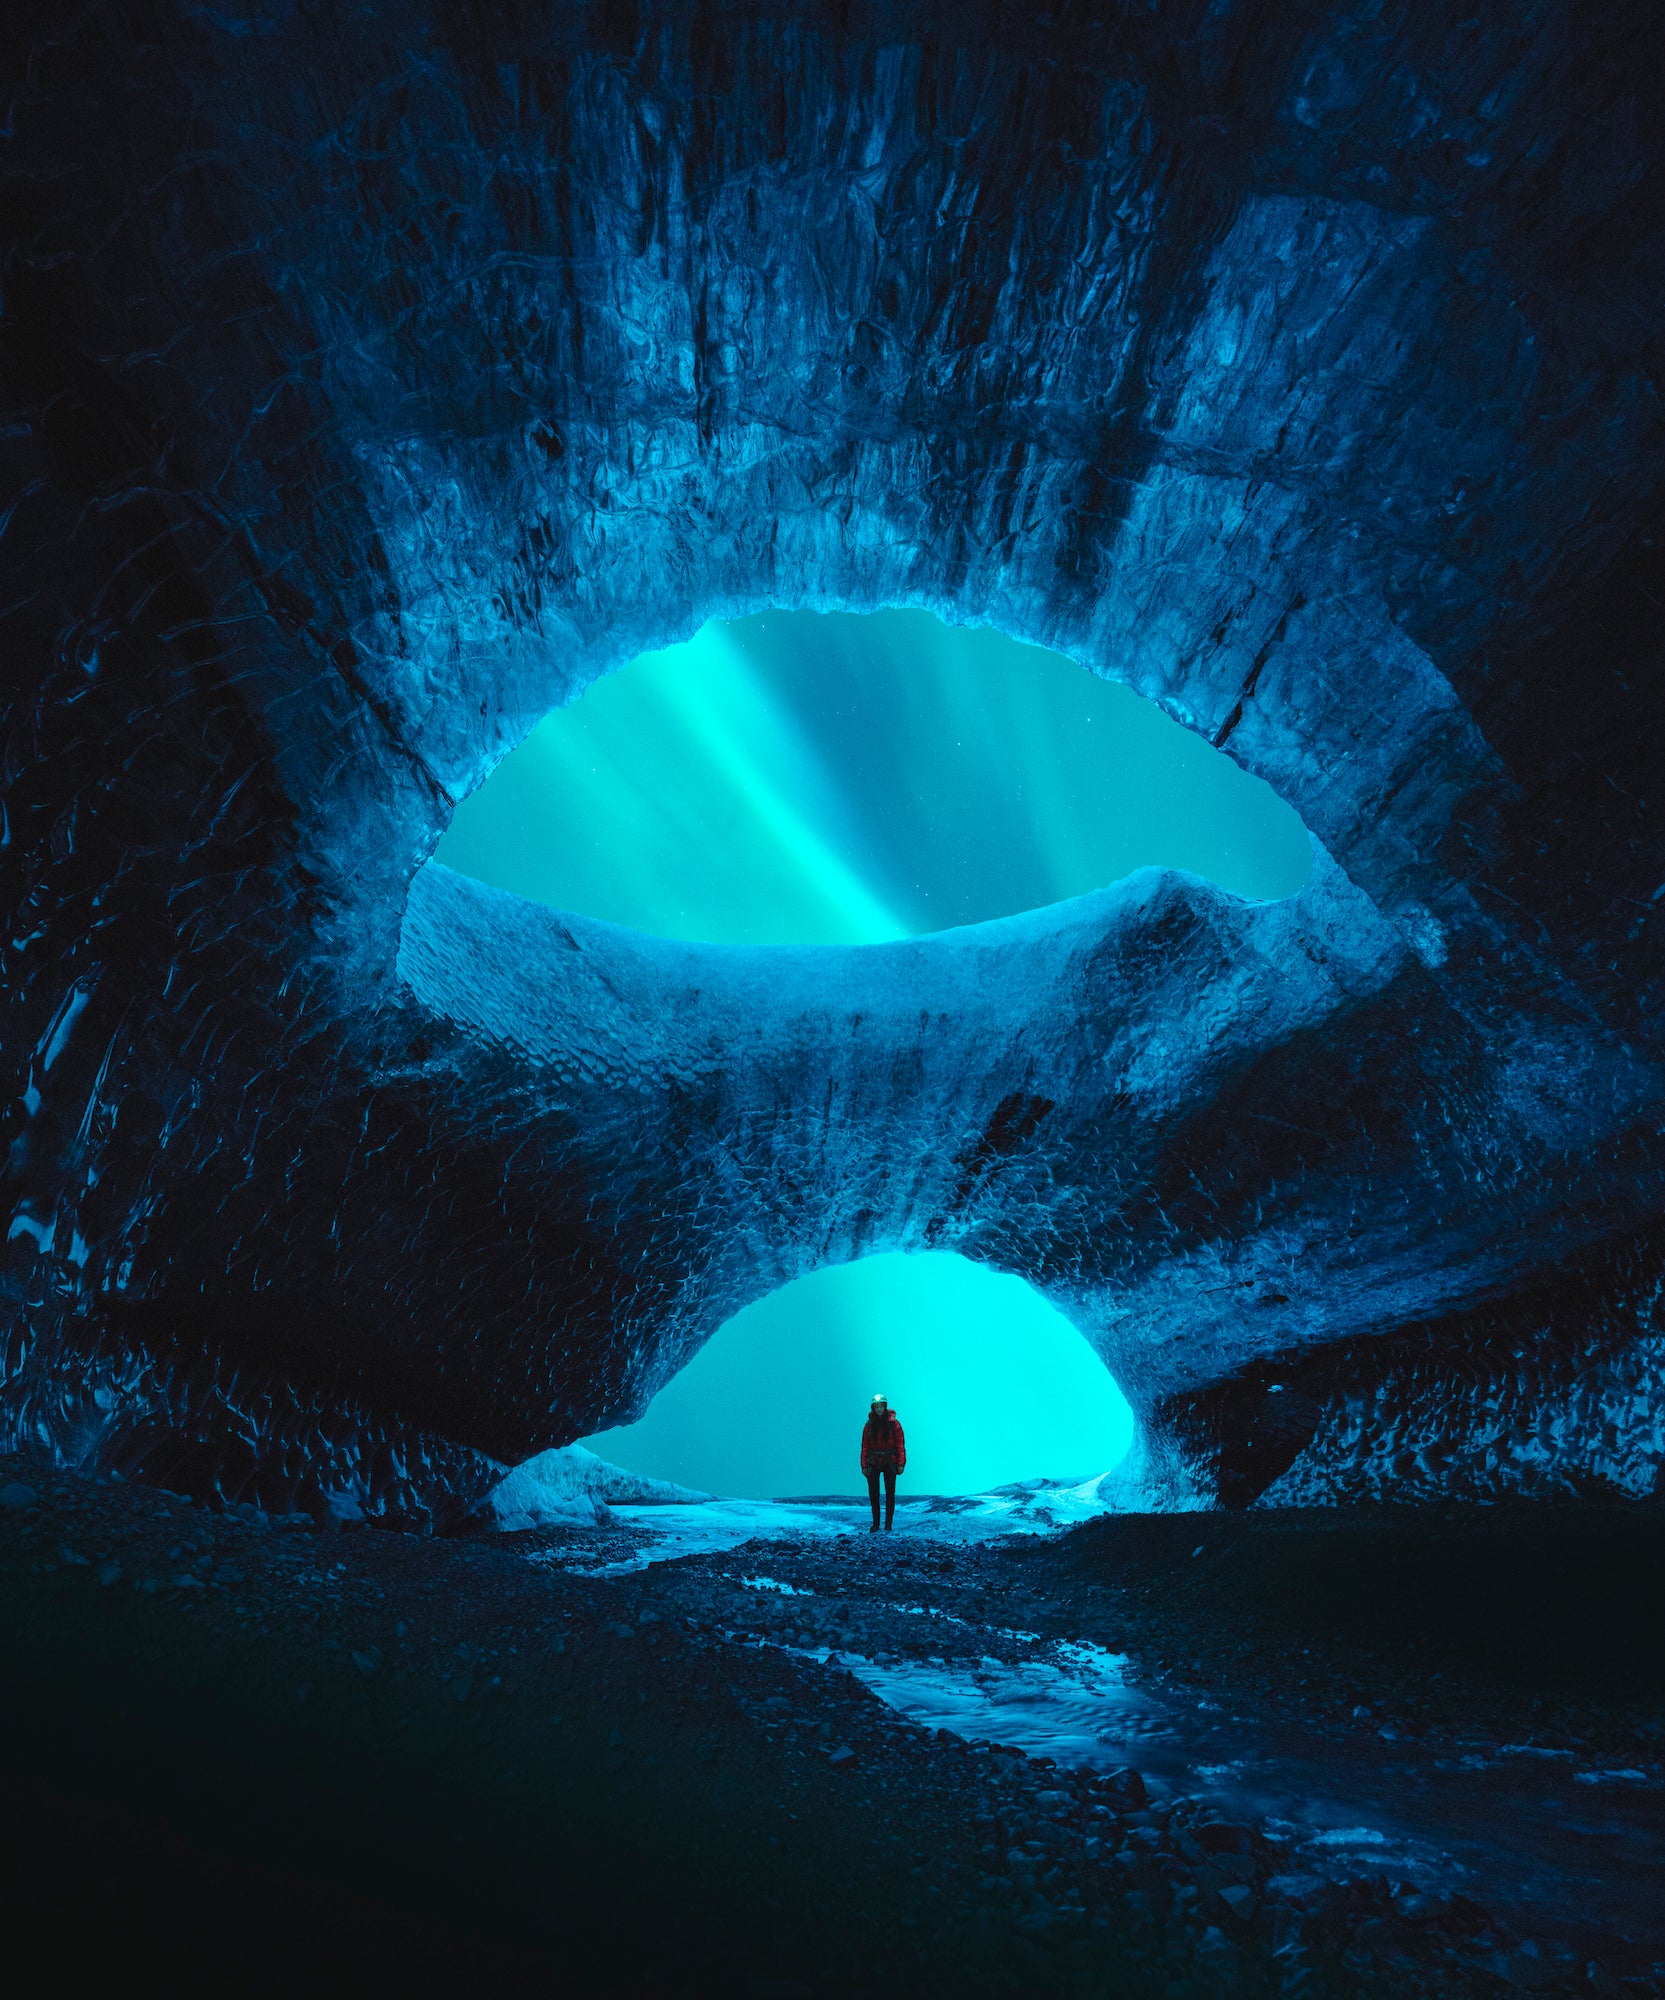
Sony α7R III. Sony 16-35mm f/2.8 G Master. 6 sec., f/2.8, ISO 4000.
Focus Stacking – This is a great technique if you want to keep depth of field and sharpness across your whole frame. This technique consists of taking 2-5 shots using a smaller aperture of around f/11, and shifting the focus point manually without changing the position of the camera. You can then easily merge the photos together in Photoshop.
Panoramas – If you don’t have an ultra-wide angle, shooting panoramas is a great technique to get more of the scene into the frame.
Try Different Compositions
It can be tempting to simply point the camera and shoot at any direction in front of so much beauty, but if you want to get an original and eye-catching image that tells a story, you need to get creative. My advice is that you first shoot an obvious and classic composition and once you’ve nailed that shot, you move around and try at least four or five different ones.
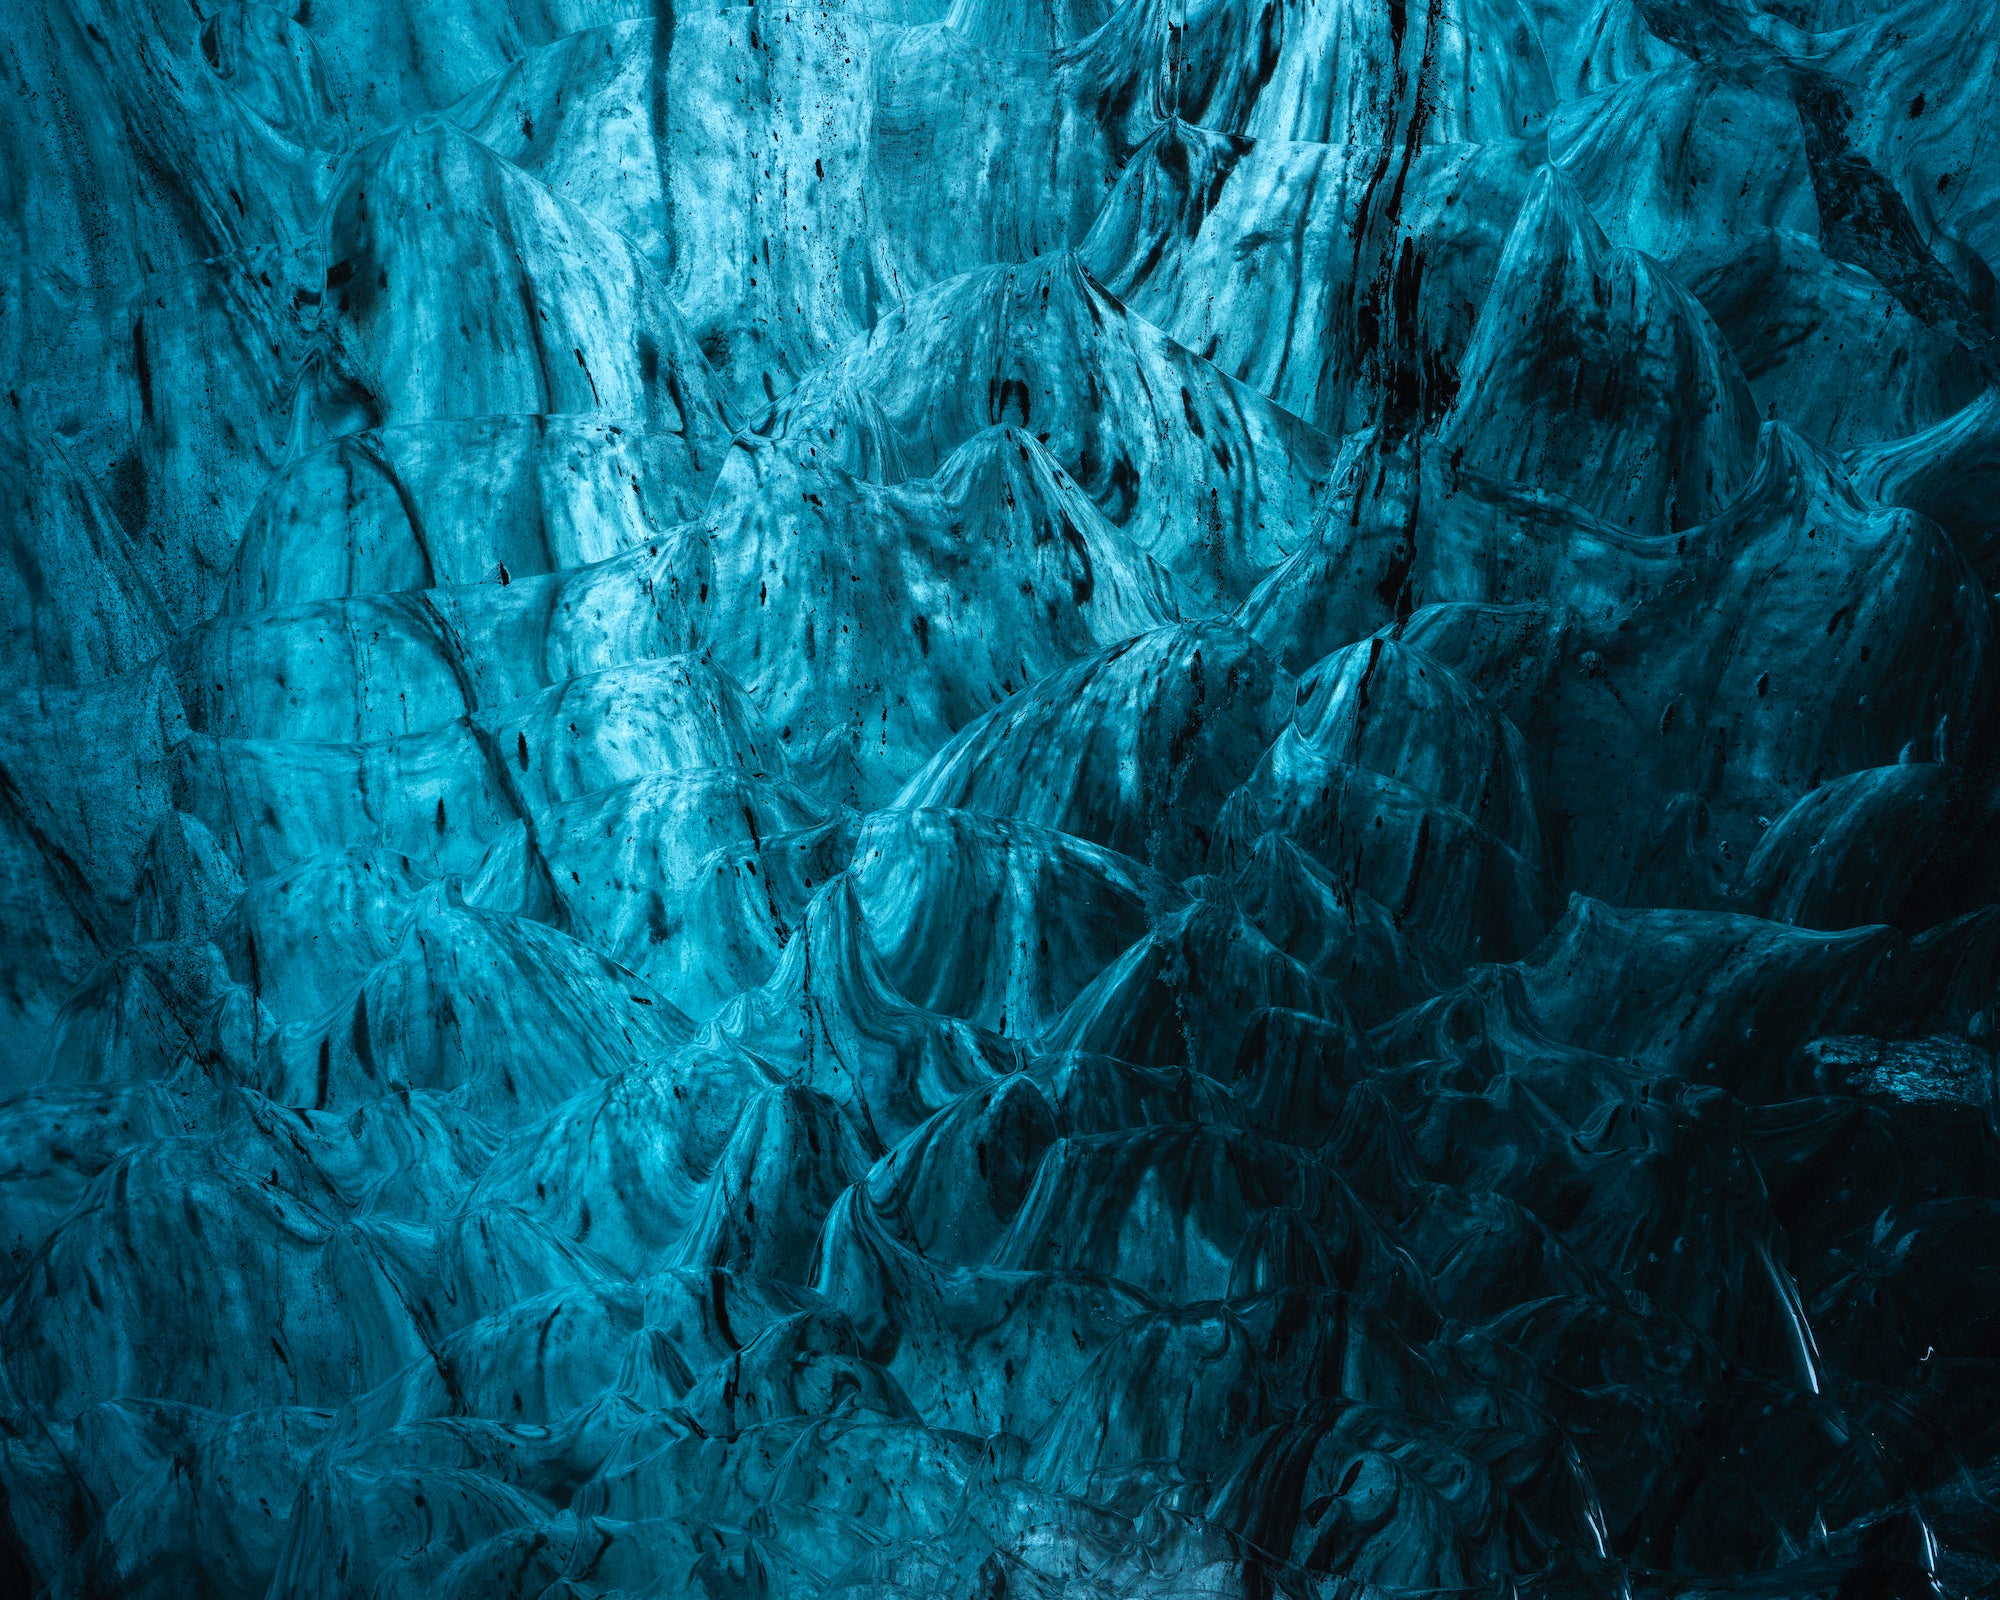
Sony α7R III. Sony 16-35mm f/2.8 G Master. 6 secs., f/13, ISO 100.
Scale – To give that sense of scale, include a person in the frame. That way, the viewers can imagine themselves in the cave while giving a perspective to the landscape. Be mindful to the person's placement to avoid having your subject blend in with the background. Bright-colored jackets and headlamps usually help making a person stand out against the blue ice or darker areas. Back-lit silhouettes also work well against a cave entrance and against brighter sections of translucent ice.
Lines – Try to find leading lines either with curving ice or patterns that leads to your main subject of focal point. Water flowing or natural paths can be excellent leading lines as well.
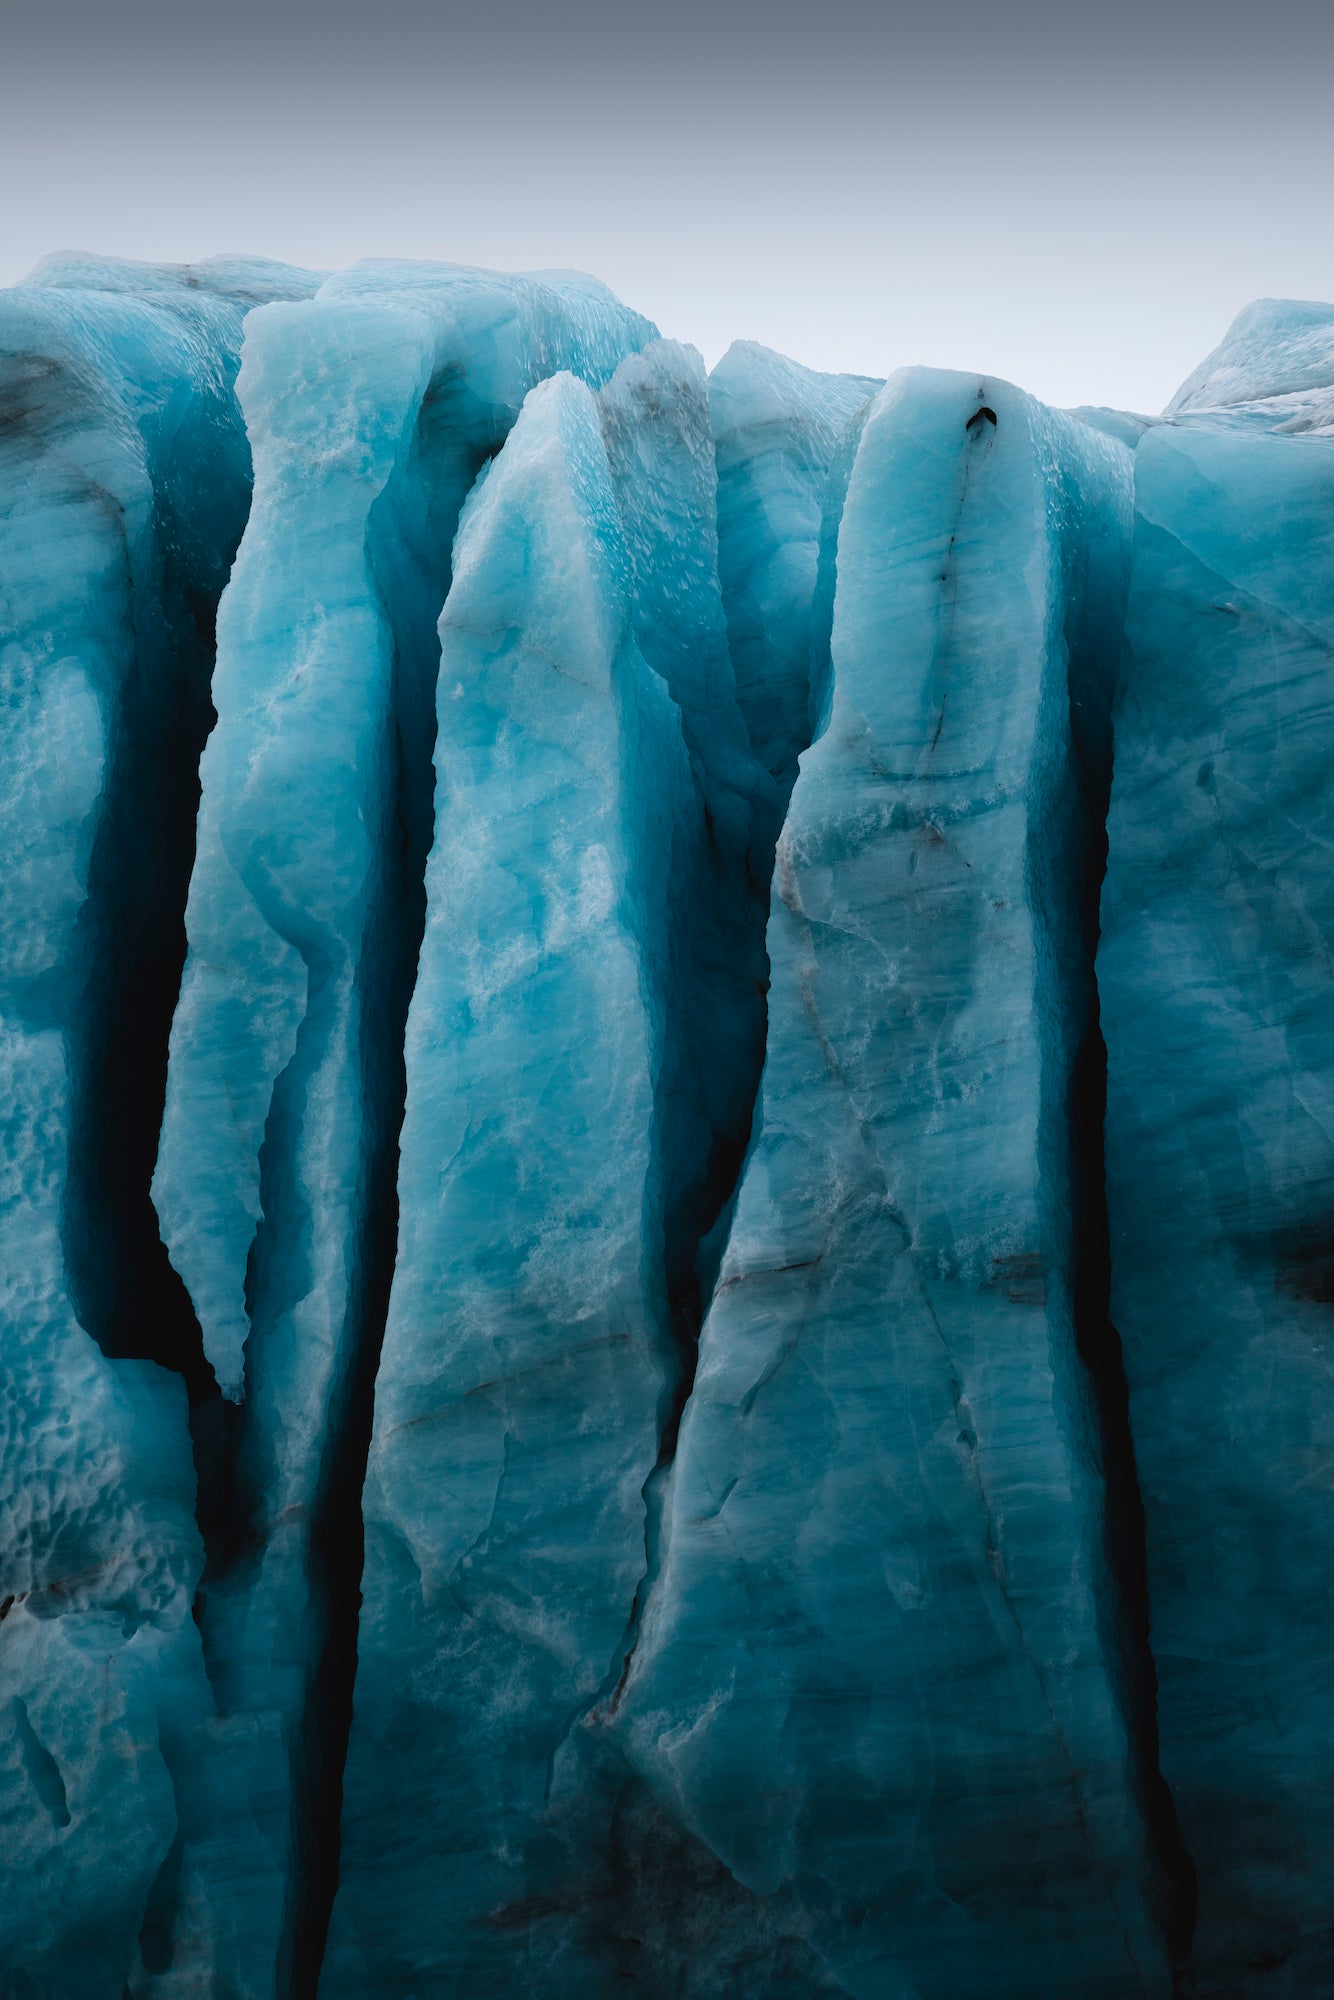
Sony α7R III. Sony 100-400mm f/4.5-5.6 G Master. 1/1000-sec., f/5.6, ISO 250.
Light – Use the ambient light by finding places in the cave it’ll enlighten interesting patterns or shapes or help guide the eye of the viewer. Use artificial light such as a headlamp or flashlight to help expose the cave properly or to create interesting effects such as light painting. Be creative and experiment!
On The Way – In order to reach ice caves in Iceland, most of them will require walking on a glacier. There can be plenty of photographic opportunities before reaching the ice caves and on the way back when the light is low. So don’t forget to keep your eyes up when you are hiking!
Have Fun With The Editing
Ice caves can be quite a challenge to edit with its harsh highlights and deep shadows. It becomes more complicated if you chose to do focus stacking and exposure blending. But to me, there are no rules when it comes down to editing, it’s only a matter of what’s pleasing to your eye and what kind of emotion you want to portray. Whether your style is more natural or artistic, don’t be afraid to experiment and get creative to portray how you felt while facing these magnificent natural phenomena.
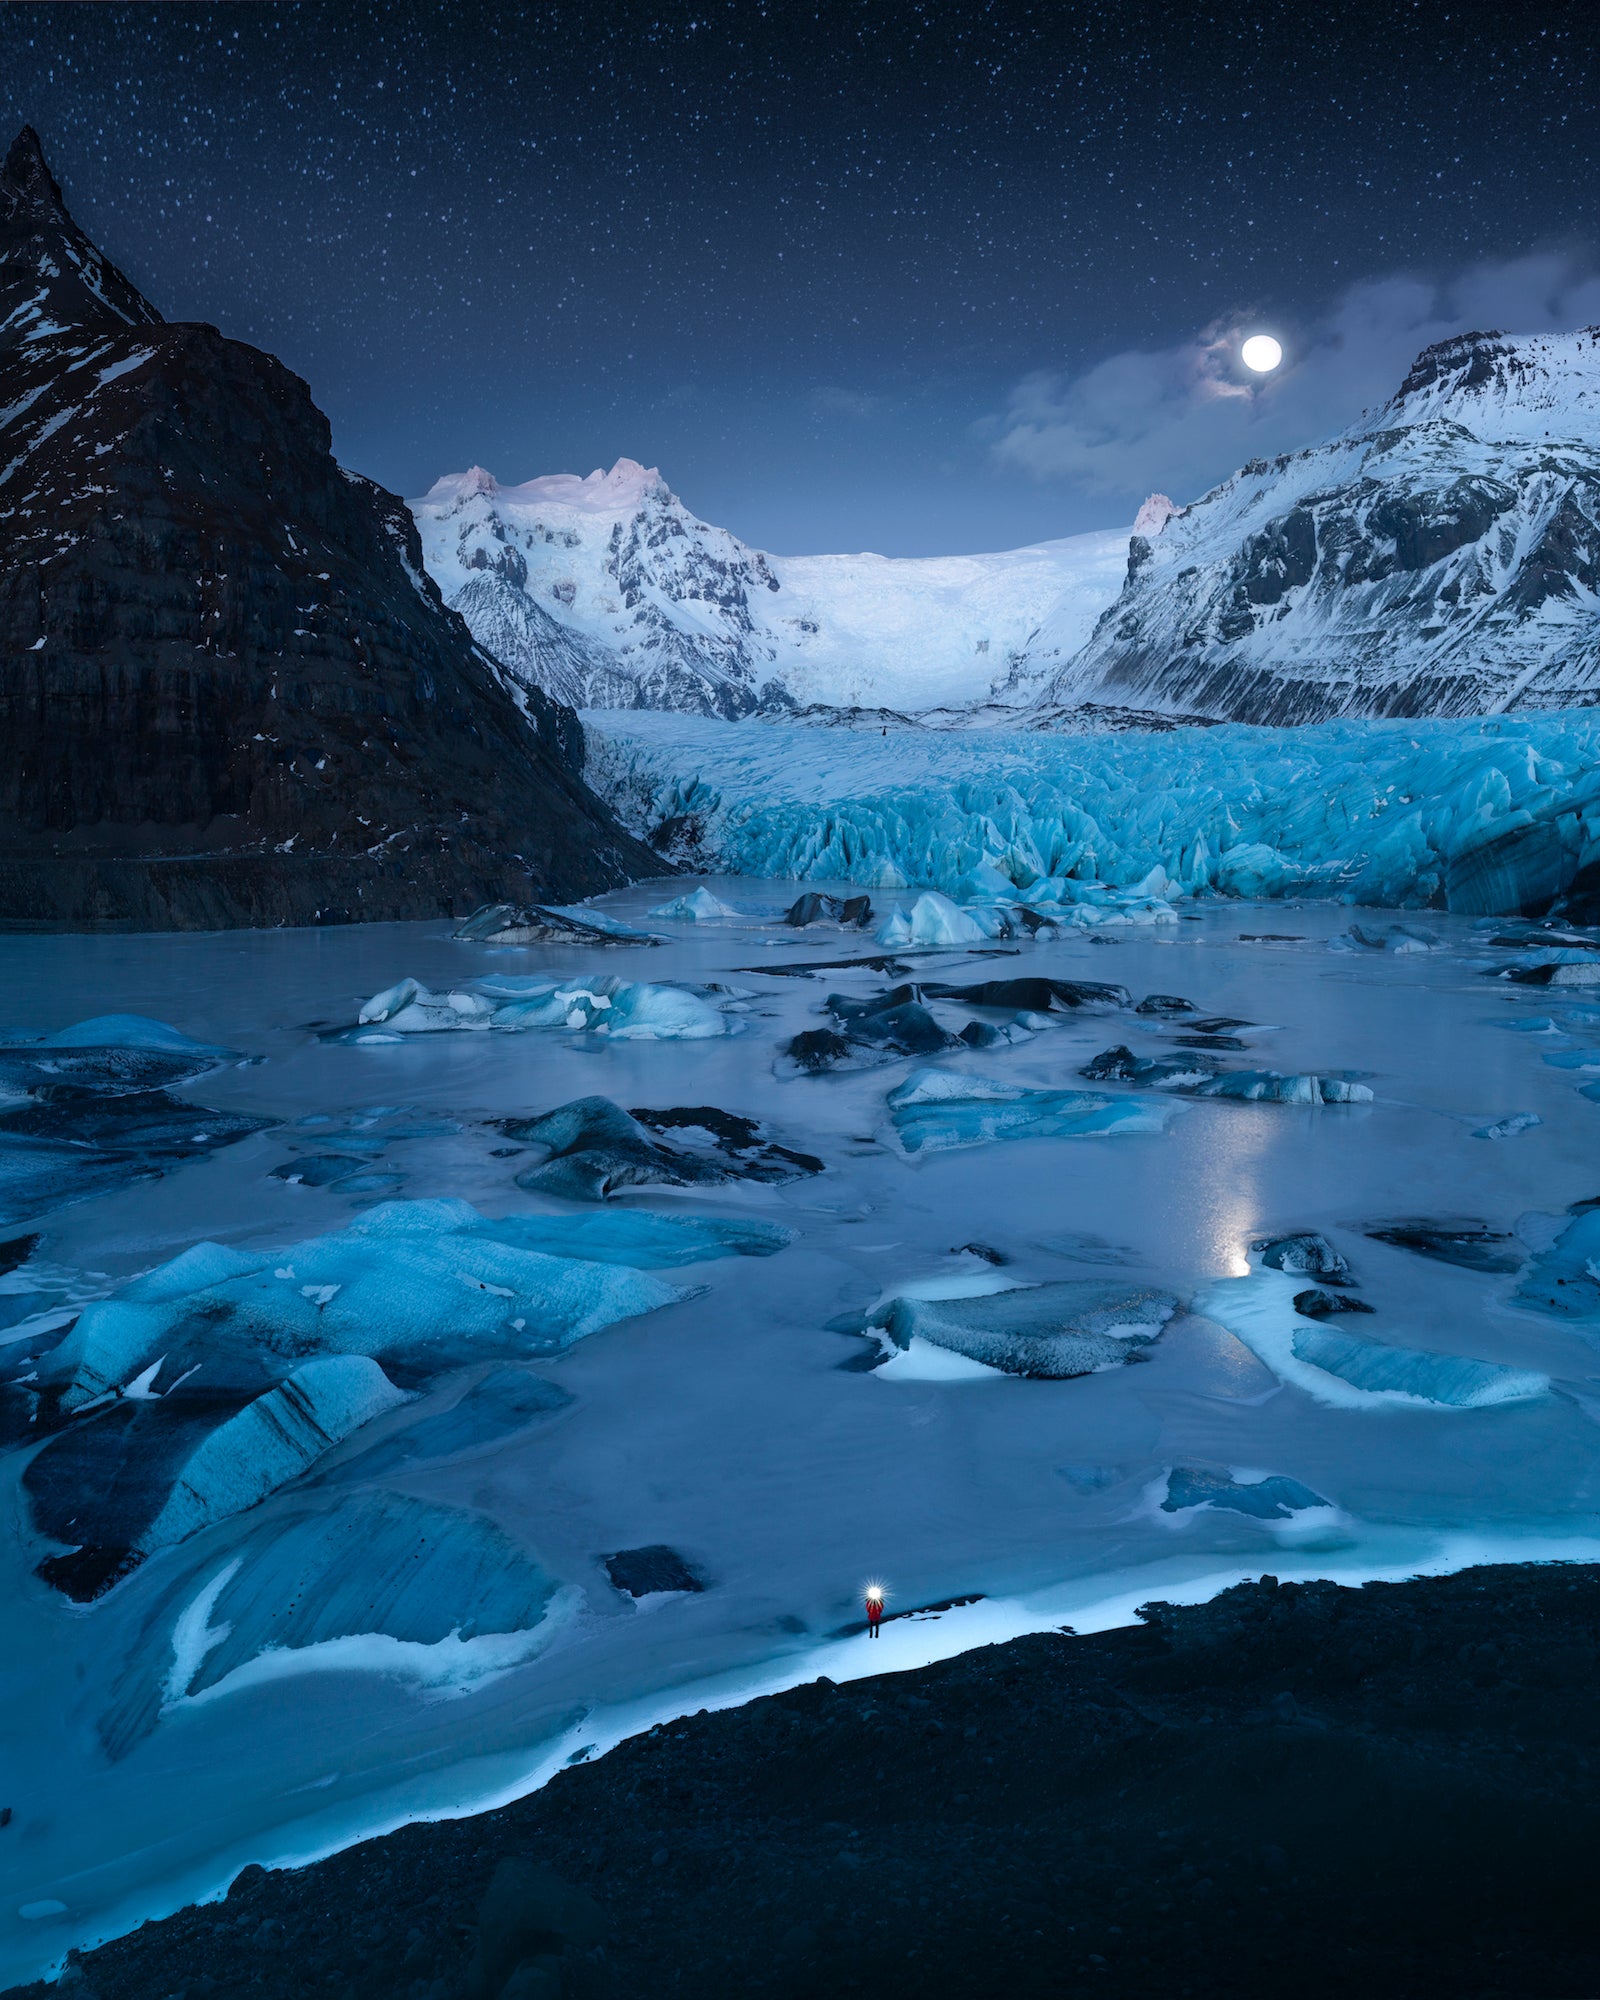
Sony α7R III. Sony 100-400mm f/4.5-5.6 G Master. 1/4-sec., f/5.6, ISO 500.


