Anyone who has ever been in a race knows this: The one thing you absolutely have to do to have any hope of winning a race is you have to finish the race. Similarly, for a landscape photographer with dreams of capturing awe-inspiring scenic images, before you even think about the camera or lens, whether to use your zoom or a prime, whether to mount the camera on a tripod or shoot handheld—before making any of those decisions, the one thing you absolutely have to do is get to the vista. And to do that, it pays to be in shape. Sure, you can go to the same parking lot overlook as everyone else and get the same picture as everyone else, but do you really want just to be doing what everyone else is doing? Do you want to be average?
By the summer of 2015, I was tipping the scale at 200 pounds. That may not seem like a ton, but it was for me. I’m 5’7” and I was sporting a double chin and a big belly. I could barely fit into size 38 pants, and I was sleeping on the couch nearly every night because of my snoring. I had the ultimate "dad-bod."
My weight gain was slow; brought on over the span of around 7-10 years of just being complacent with my health. It didn’t really hit me until I hiked to a place in Canyonlands National Park in Utah known as “False Kiva.” It’s an easy hike: just under a mile each way and around 400 or so feet of elevation gain. By the time we made it to False Kiva, I was gasping for air and covered in sweat. My calves were on fire and my back was aching from carrying my camera gear. I barely got to False Kiva and when I did, I was unable to really focus on photography as I struggled to catch my breath.
That was my wakeup call.
That hike was the slap in the face I needed to make a change. I began thinking about all the other hikes I had struggled with and how short they were, as well all the longer hikes I had passed up because I knew I wasn’t up for them. Over the next year I began working out every day (doing a mixture of P90X and Insanity in my garage), eating healthy, and getting into Brazilian Jiu Jitsu (which I’m still doing to this day).
Almost six months to the day after that hike to False Kiva, I was in Jasper National Park staring down a nearly two mile hike up to an ice cave at the foot of the Athabasca Glacier. It was around 30˚F with 30-40mph winds coming off the glacier right at my face. And to top it all off, I had to hike through waist deep snow without snowshoes! I was already down to around 175 pounds at that time and was eager to test myself.
About halfway to the glacier, my friend was ready to call it quits. He had also been on that dreaded False Kiva hike with me and had no problem with it at all. To his credit, the hike in Jasper really sucked. The high winds were blowing snow off the glacier into our faces the entire time. It felt like we were getting sand-blasted and the skin on my face burned. The waist-deep snow made progress slow and draining…and I felt great! I had a smile on my face because I knew I could do it. I gave my friend some encouragement and we kept at it. He nearly turned back a couple more times but we eventually made it. I was ecstatic and exploring and taking photographs inside an ice cave for the first time was a highlight of my life.
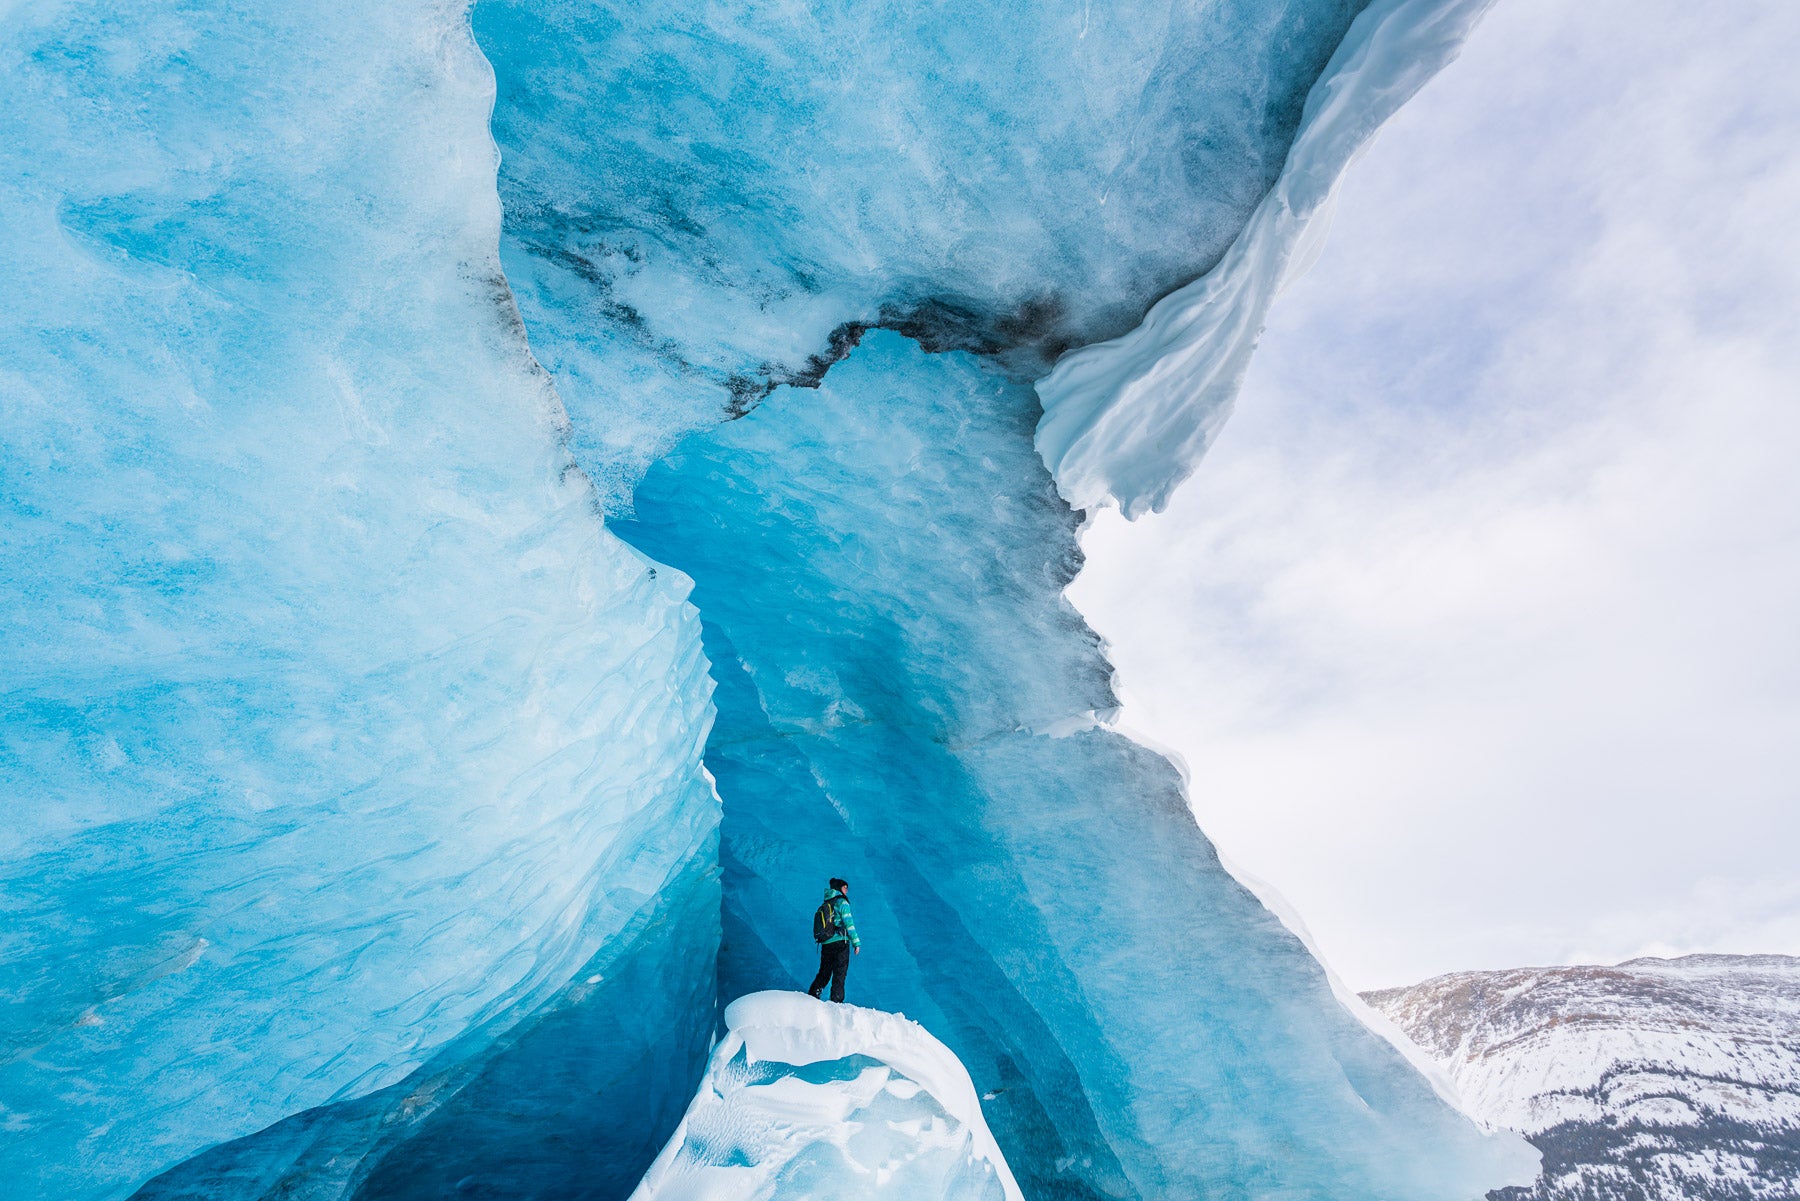
Athabasca Glacier, Jasper National Park, Canada. Sony α7R II, Sony FE 16-35mm f/4 ZA OSS lens. 1/60-sec., f/9, ISO 100
Fast forward to January 2018 when my wife and I were staring down an eight-mile round trip hike to Hanakapi'ai Falls on Kauai’s infamous Kalalau Trail. ‘Dad-bod’ me wouldn’t have even considered attempting a hike like this. And to be honest, my present day self was pretty nervous as well. The hike starts at sea level and requires a 2-mile moderate hike to Hanakapi'ai Beach which includes going up and down a 1,200 foot section of the Na Pali Coast. From there, it’s another 2 mile strenuous hike to Hanakapi'ai Falls through a muddy, winding jungle trail with several river crossings. We made it to Hanakapi’ai Falls without a problem and it was absolutely incredible. I was energized as I began exploring the scene with my camera and lenses.
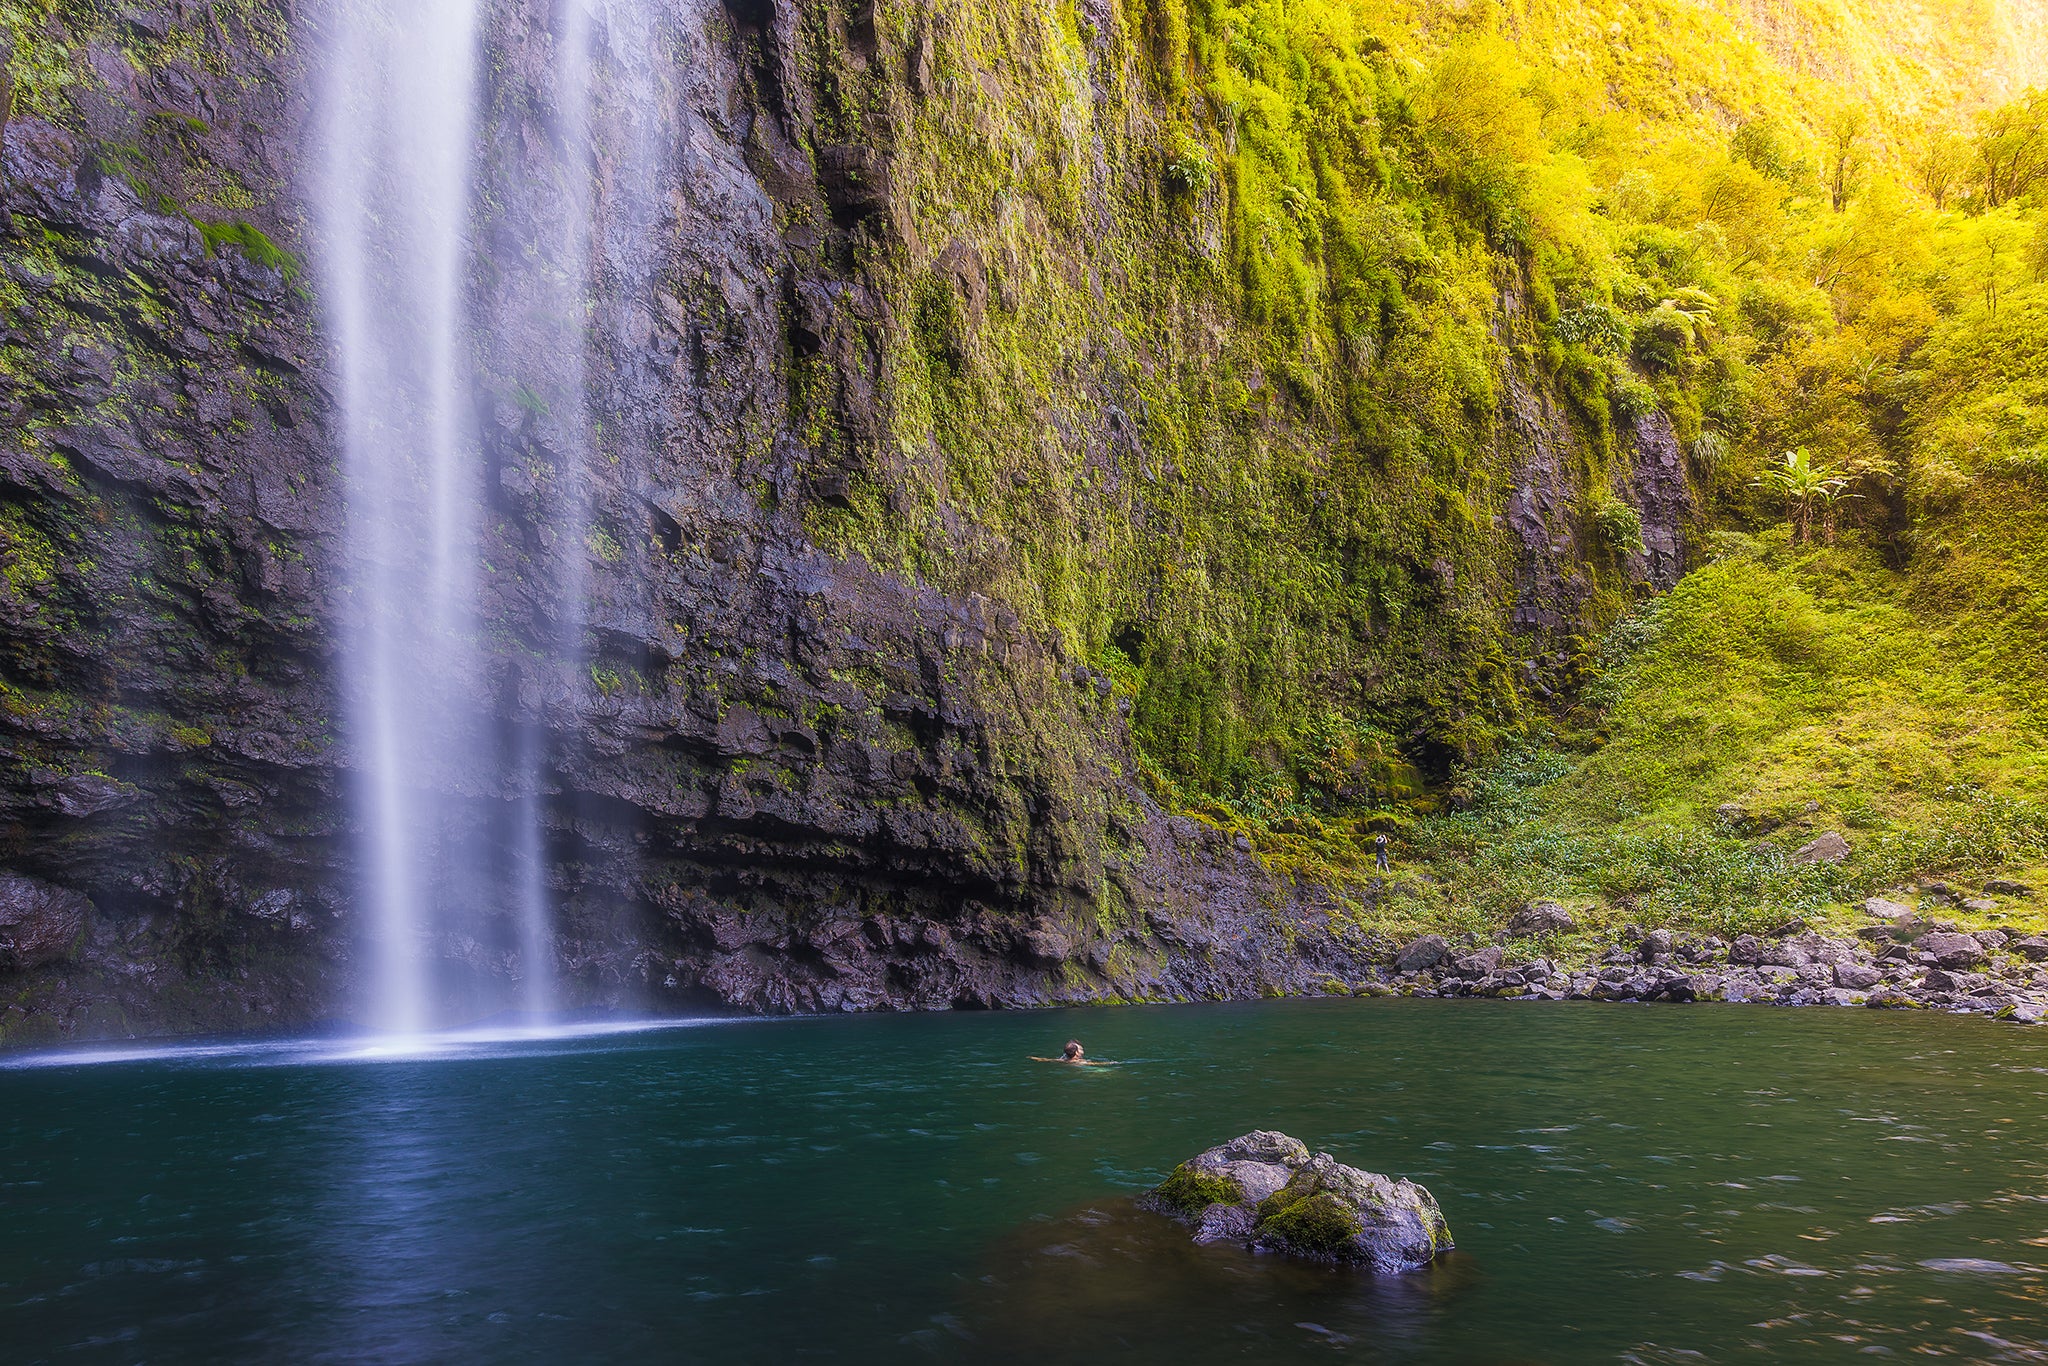
Hanakapi'ai Falls, Kauai. Sony α7R III, Sony FE 16-35mm /4 ZA OSS lens. 0.5-sec., f/6.3, ISO 50
Two days after that, I hiked Kalepa Ridge on the south side of Kauai. It was a shorter hike, but every bit as strenuous in certain parts. Again, it was worth every step when I saw that view and had the energy to take pictures.
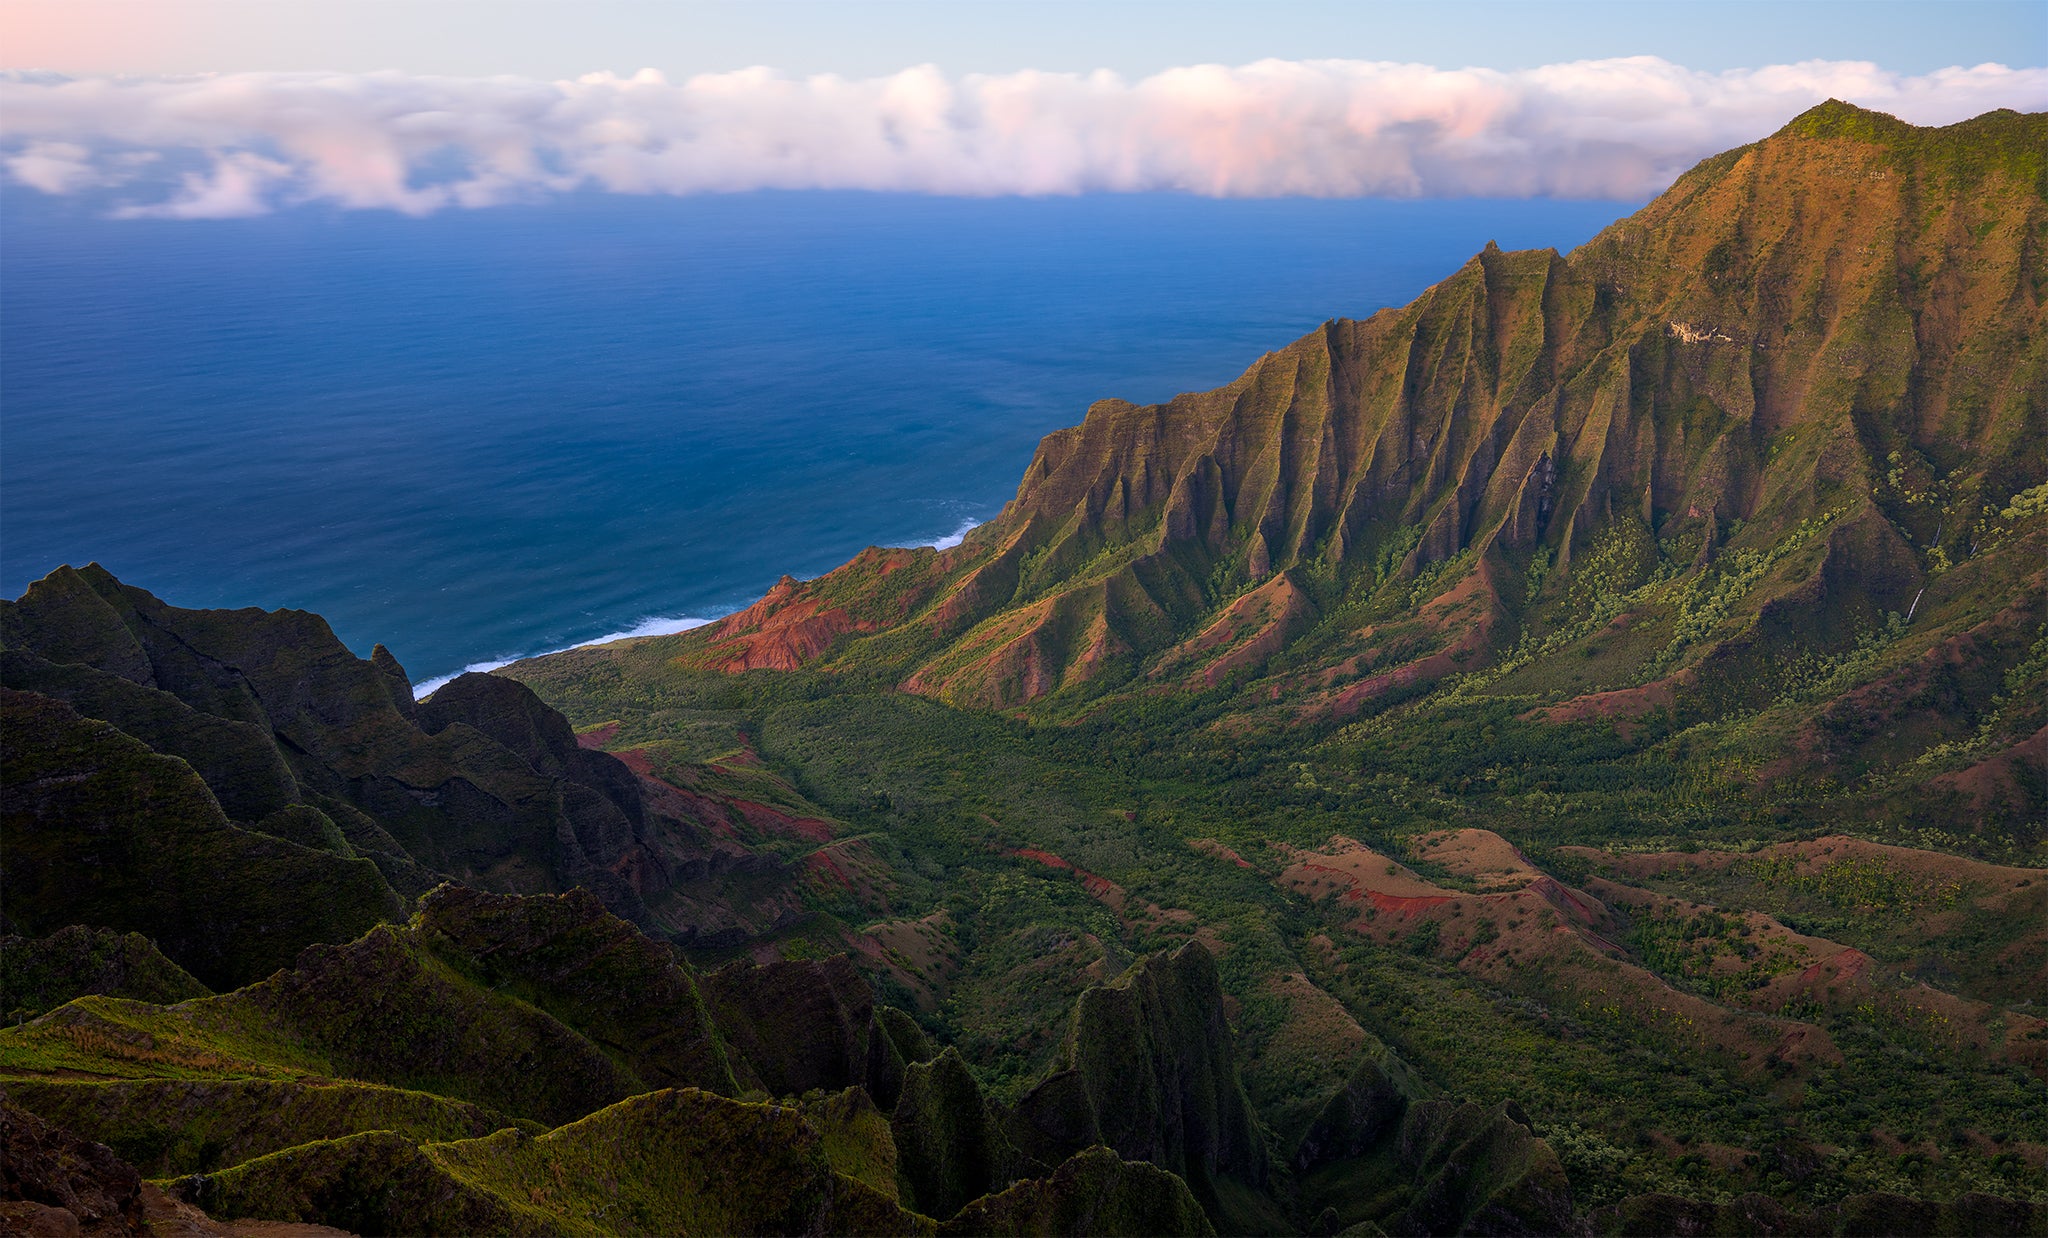
Kalepa Ridge, Kauai. Sony α7R III, Sony FE 16-35mm f/4 ZA OSS lens. 5-seconds., f/7.1, ISO 125
The images shared in this article all show places and views I never would have seen when I was out of shape. I’m not an amazing or gifted athlete by any means, and like just about anyone else, I still have plenty of progress to make toward my fitness goals. So far I can wholeheartedly say that getting in shape was one of the best things I ever did for my photography. I know some people have physical limitations they cannot overcome, but if you’re like I was (simply out of shape and lazy) I strongly recommend taking the steps needed to become physically fit and able to tackle those longer hikes. There’s a reason you don’t see a ton of pictures from places like these; the average person just isn’t up for it. Don’t be average.
About the author:
James Brandon is a travel photographer and educator based in Fort Worth, TX. Follow him on Instagram @jamesbphotos and sign up for his workshops here.
To learn more about back button focus and Brandon’s other tips and tricks for getting sharper images, check out his ebook Tack Sharp: A Step By Step Guide To Nailing Focus.

