The α7R III is a remarkable camera and judging by the pre-order numbers, a lot of photographers were lucky enough to find one among their Holiday gifts this year. If you’re one of them, you’re probably incredibly excited to get your new creative tool up and running. To help jump-start your adventure, I have put together this short list of my Top five favorite settings for the Sony α7R III.
Fully Customize Your α7R III
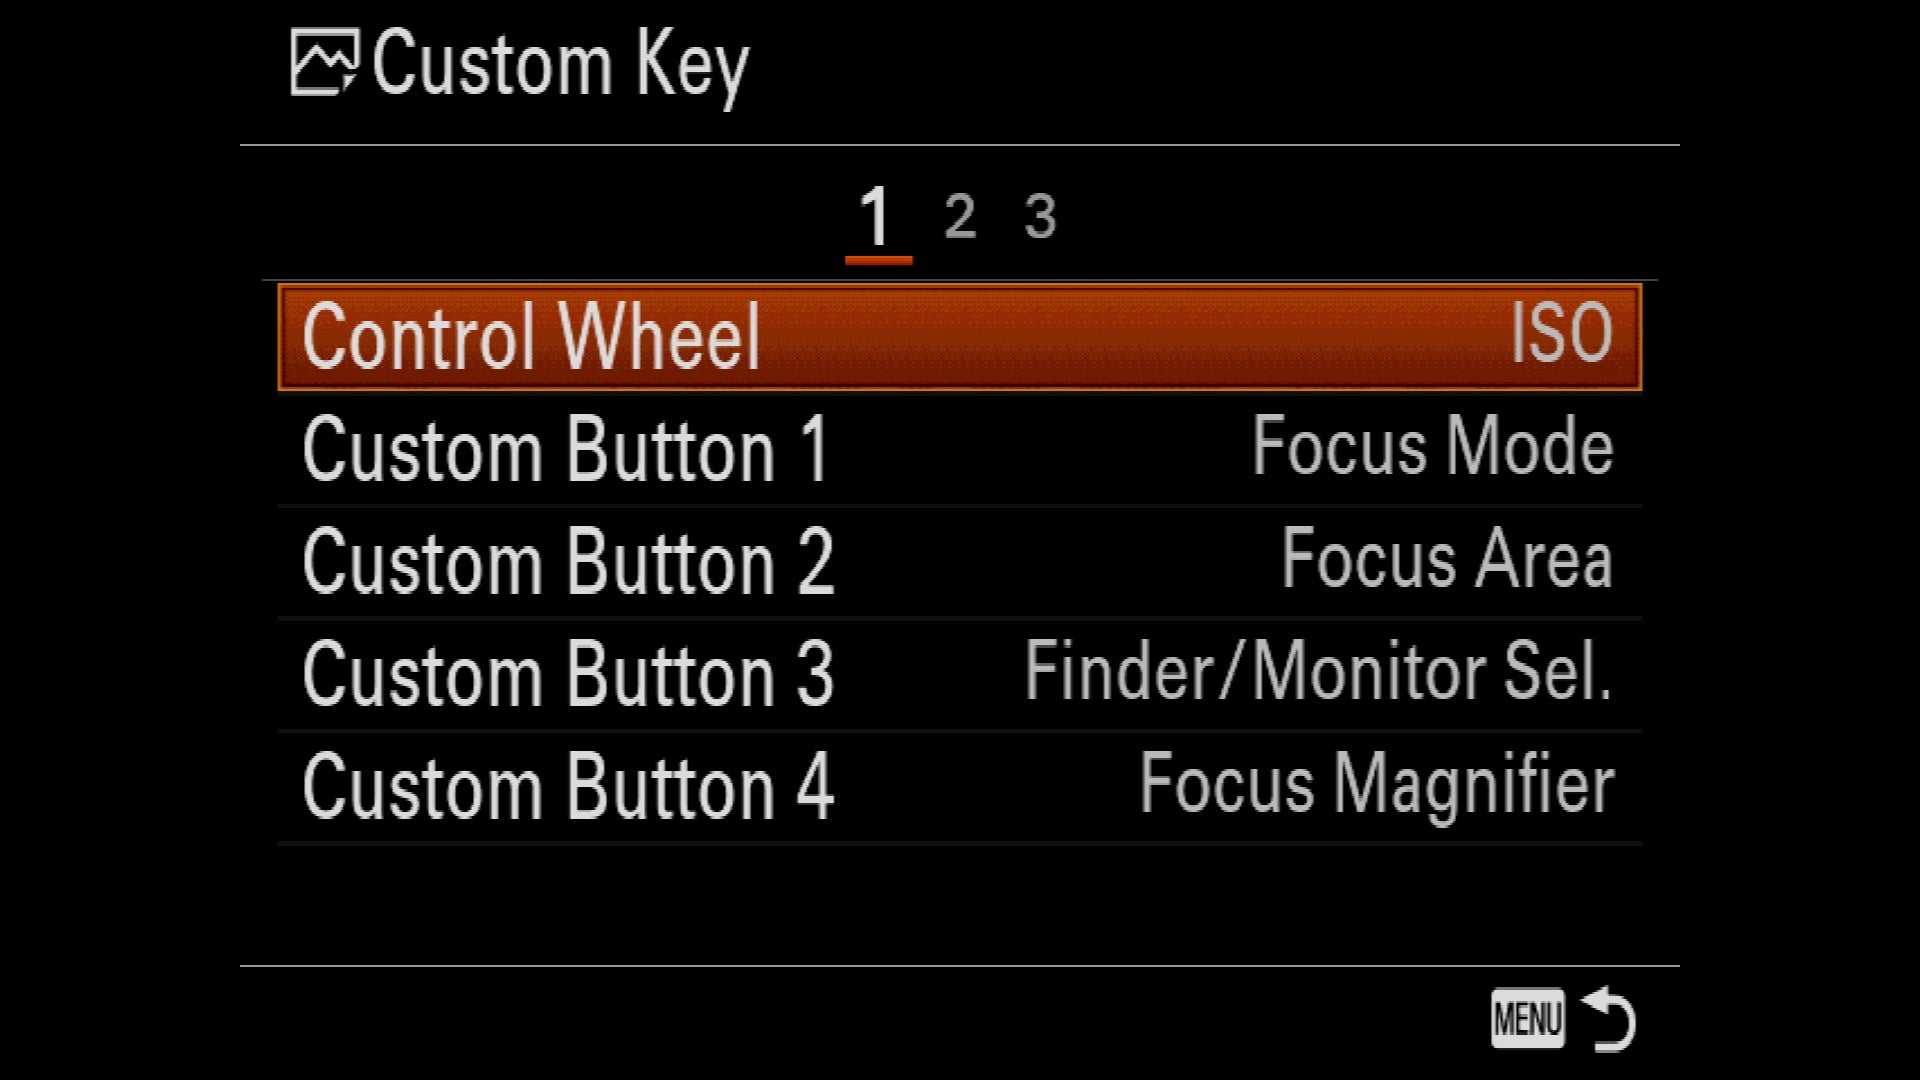
One of the best things about Sony mirrorless cameras is that you have the ability to customize nearly every button or dial found on the camera. If you don’t like how things are out of the box, just spend a little time and you customize things to fit your needs.
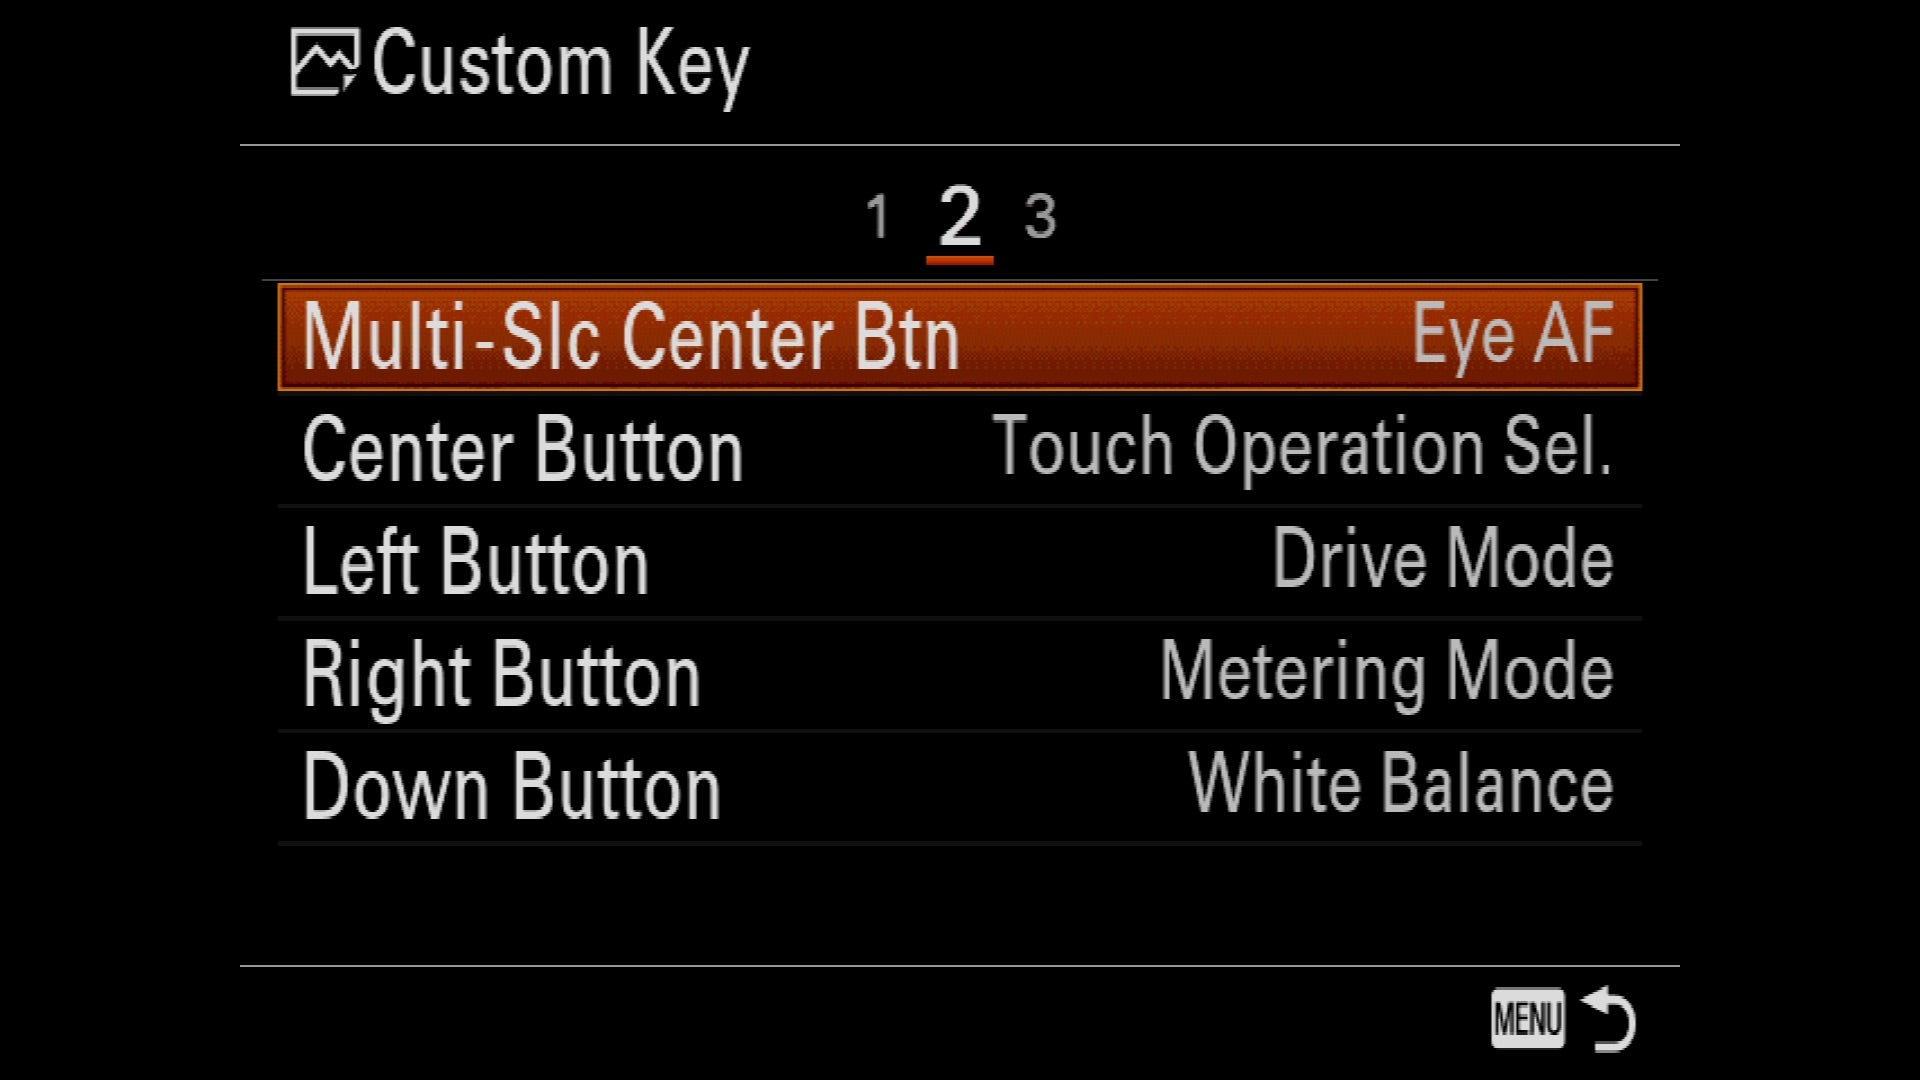
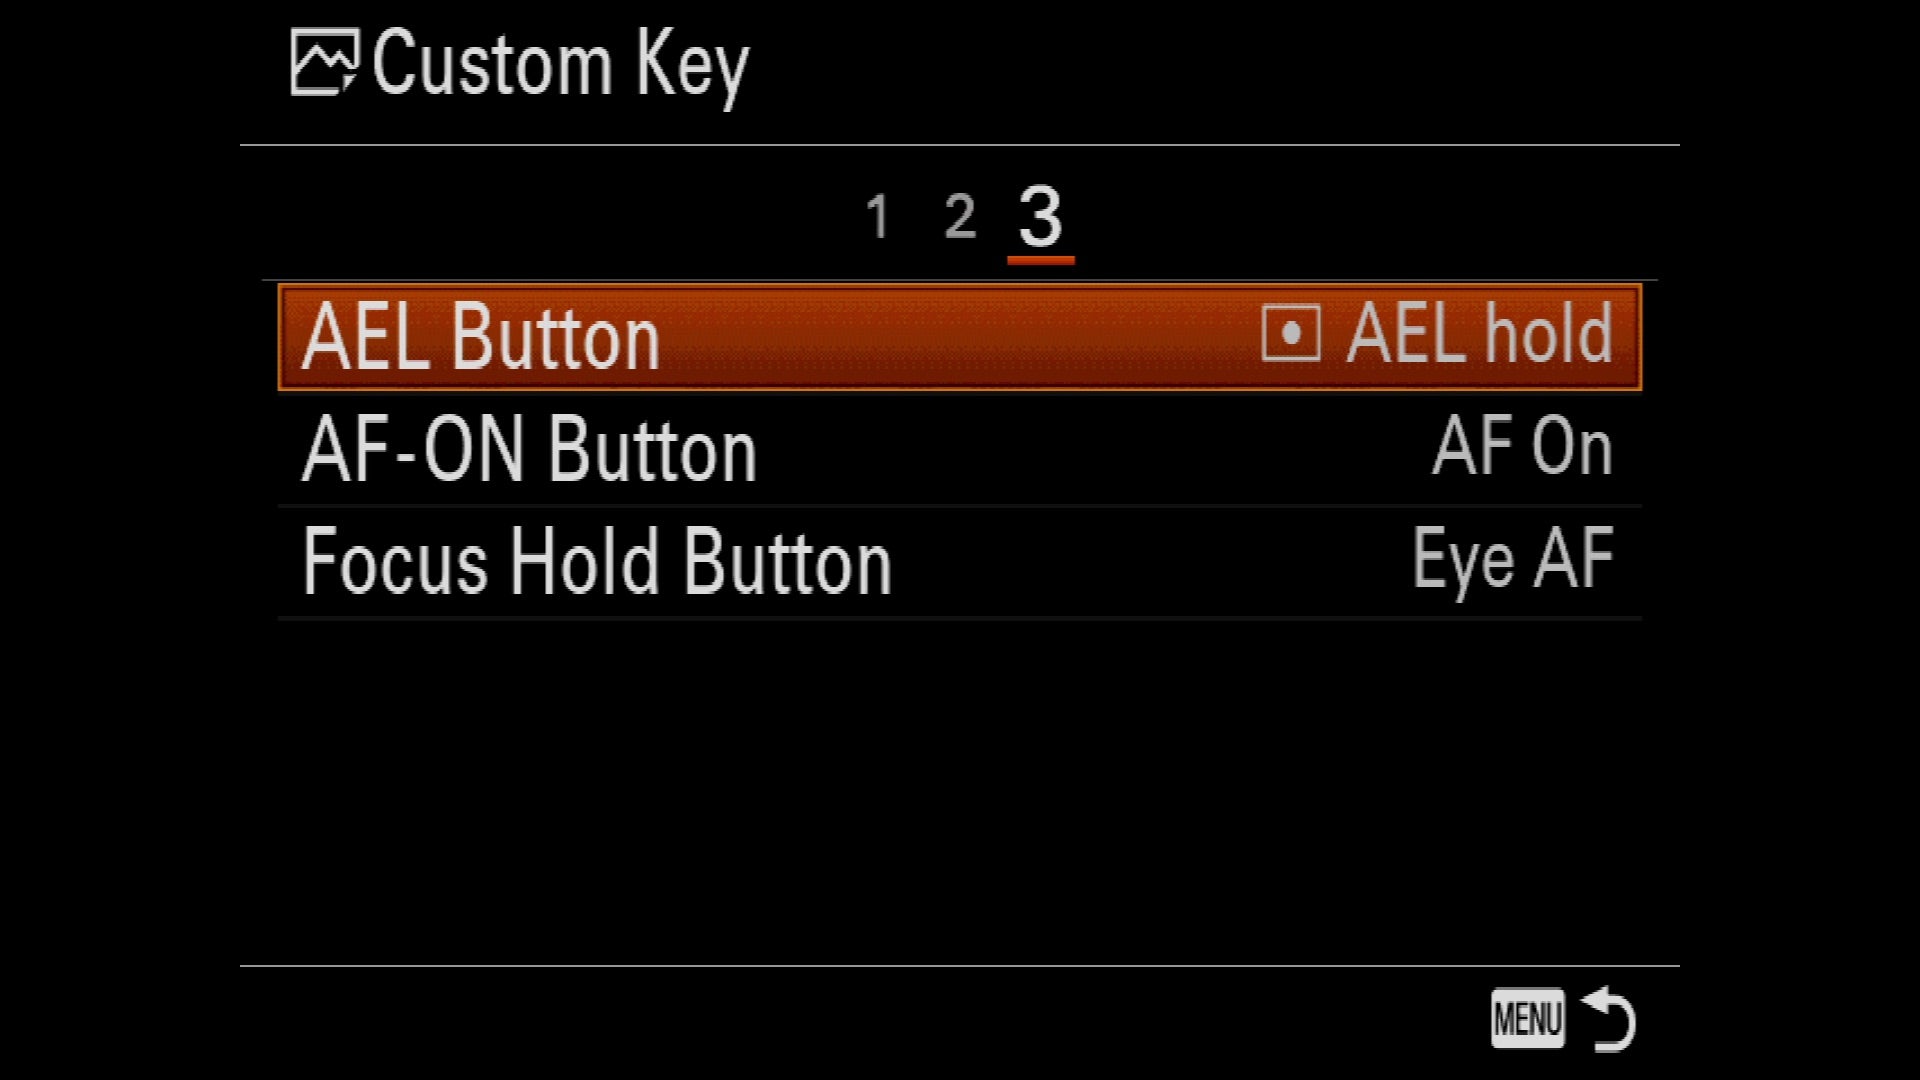
I fully customize my button layout for my α7R III as you can see in the following screens. To do this, head to Page 8 of the Camera Menu Tab.
Configure Your Multi SD Card Workflow
With the α7R III you have two SD card slots to use at any given time. While the vast majority of photographers might want to simply make a secondary backup of any images or videos you capture to a second card, there are plenty of options for you to choose from. For example, you can have photos saved to card slot 1 while videos go to slot 2.
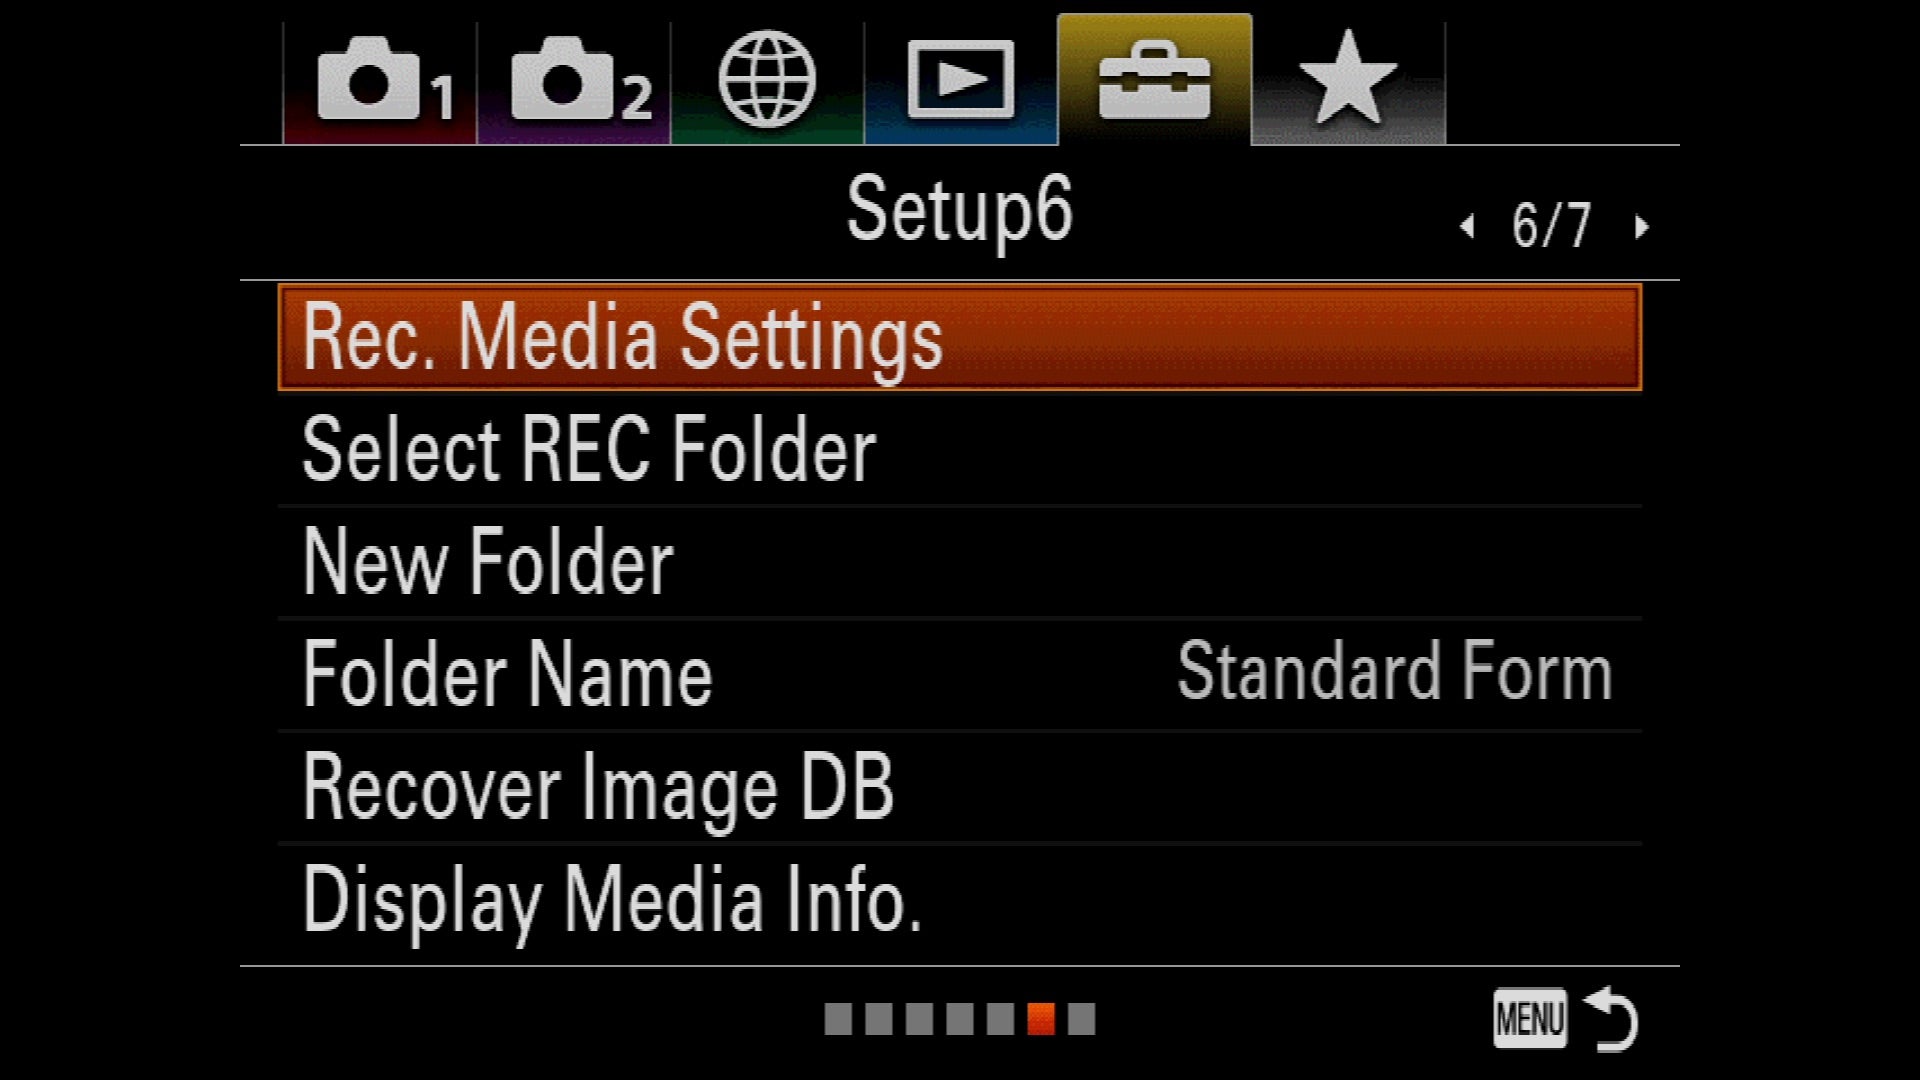
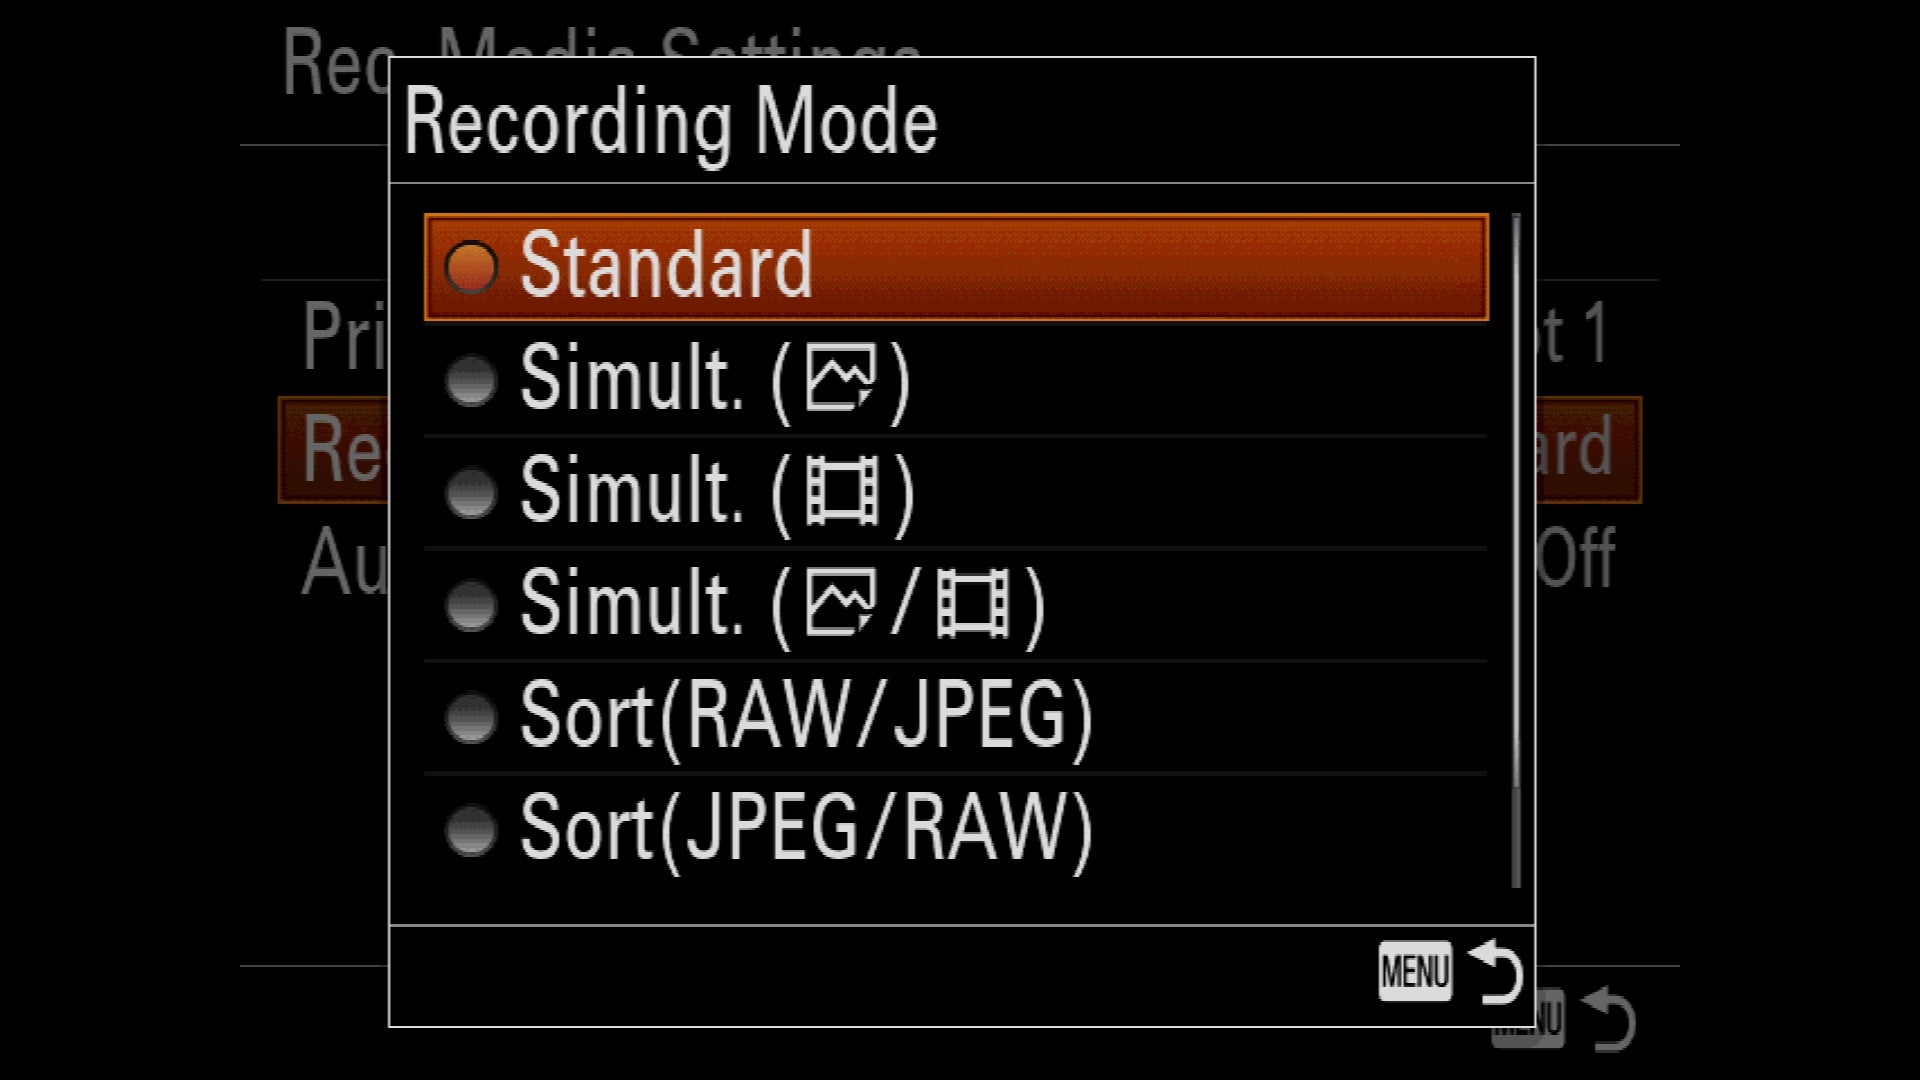
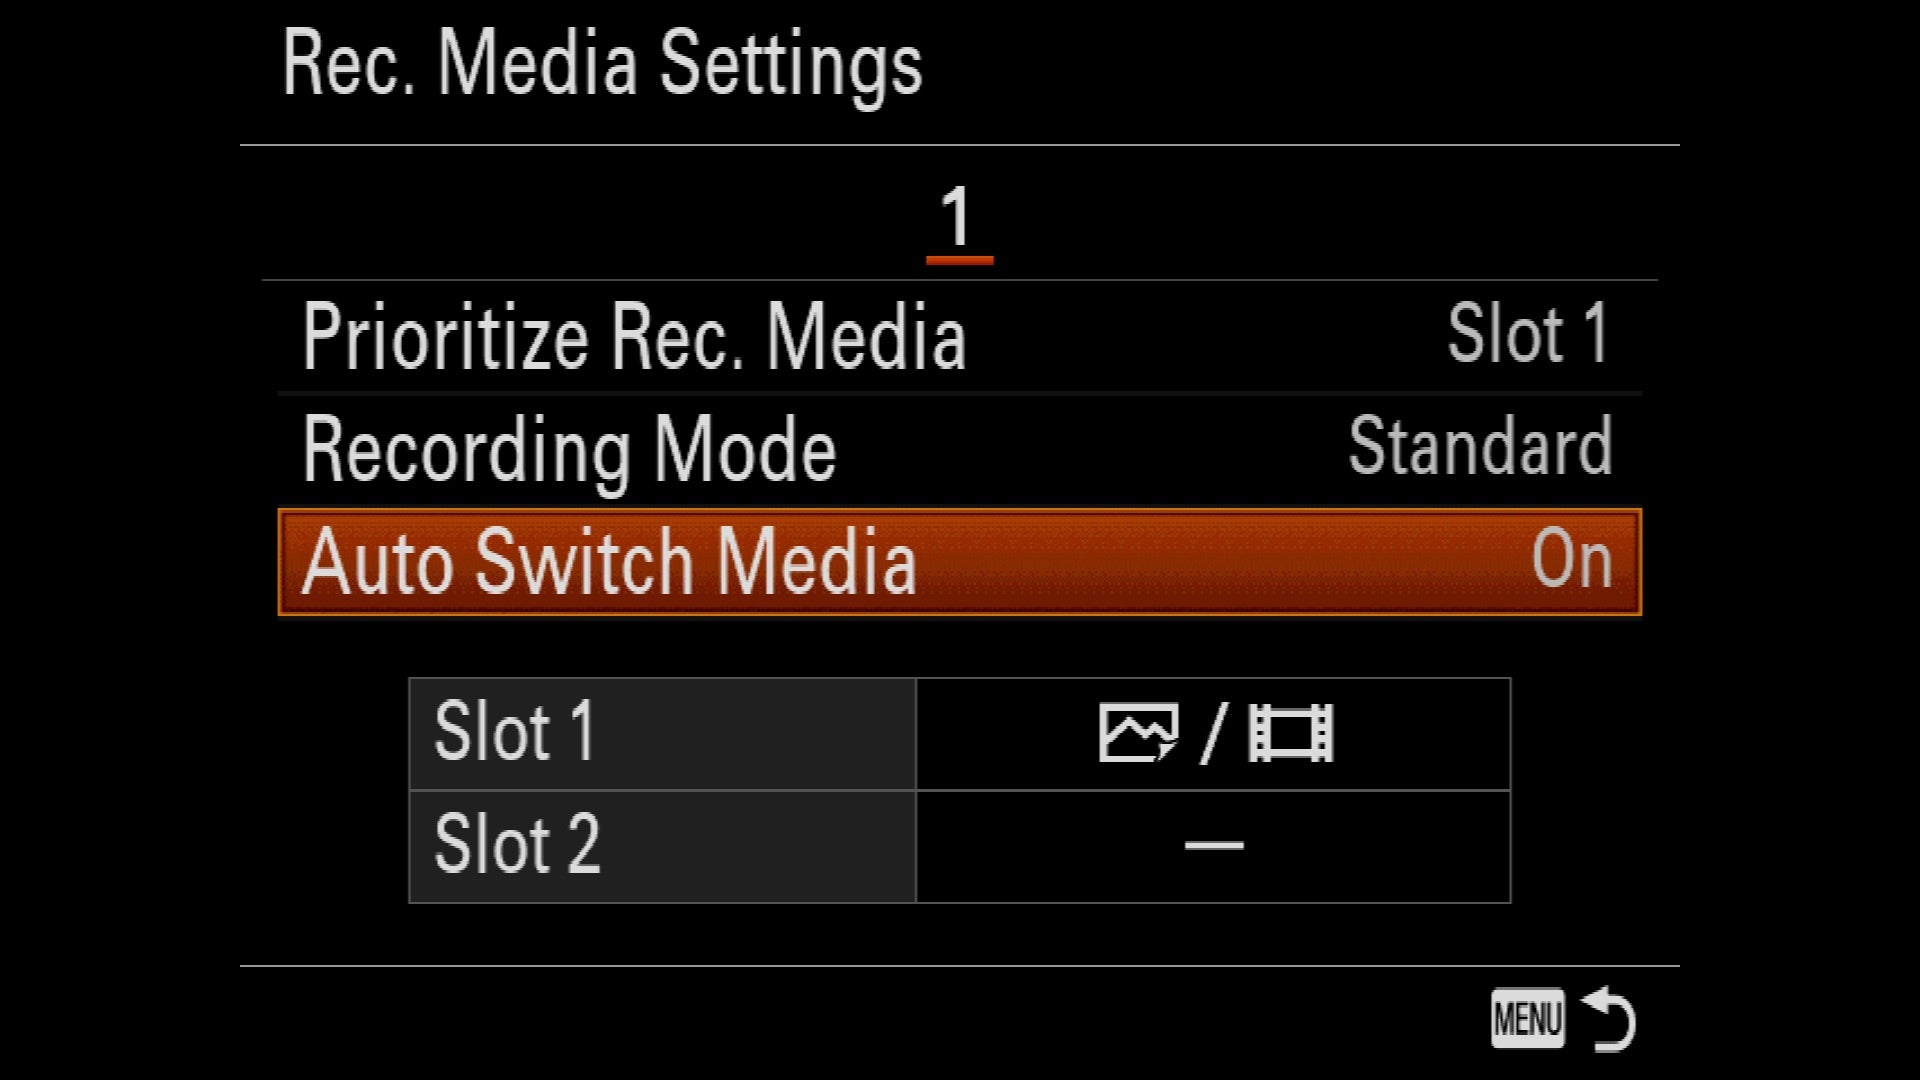
Additionally, if you are like me and you don’t care to duplicate the content you are creating, you can turn on the “Auto Switch Media” setting found under the Toolbox Menu Tab on Page 6 so that the camera automatically starts writing to the open card slot when one card becomes full. This can make the difference between missing the shot because of a full card and nailing it because you took advantage of the extra SD card slot.
Use the New Eye AF Technology
Part of the α7R III’s new AF system is new technology wrapped into Sony’s “Eye AF” function. Sony’s mirrorless cameras have always been able to find and lock the AF system onto a subject’s eye to help you achieve tack-sharp focus and now the system can track an eye that’s closed. This allows you to wait for the perfect moment when you subject looks up or looks at you rather than having to wait to lock onto the open eyes.
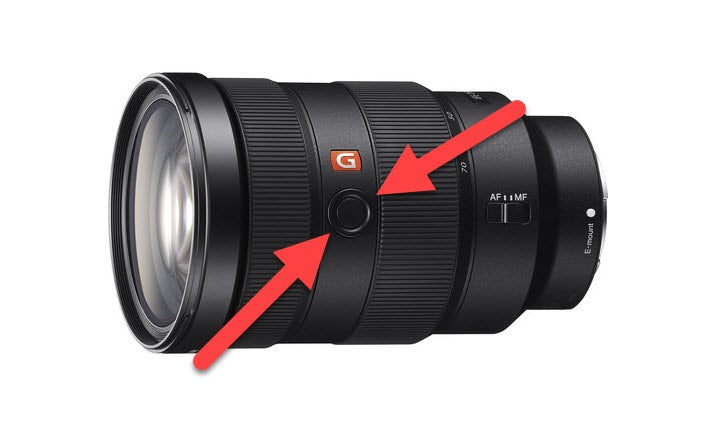
By default “Eye AF” is set to the center button found in the rear control wheel, but I prefer to set it to the “Focus Hold” button found on the side of many Sony lenses.
Enable Touch Screen Support
After many photographers reached out to Sony and requested touch screen support, Sony has delivered it with the α7R III. While you can’t use the touch screen in the cameras menu system, the touch screen does make it very easy to focus on a specific part of your frame with a simple tap on the rear LCD. This feature isn’t on by default so I enable it on my camera.
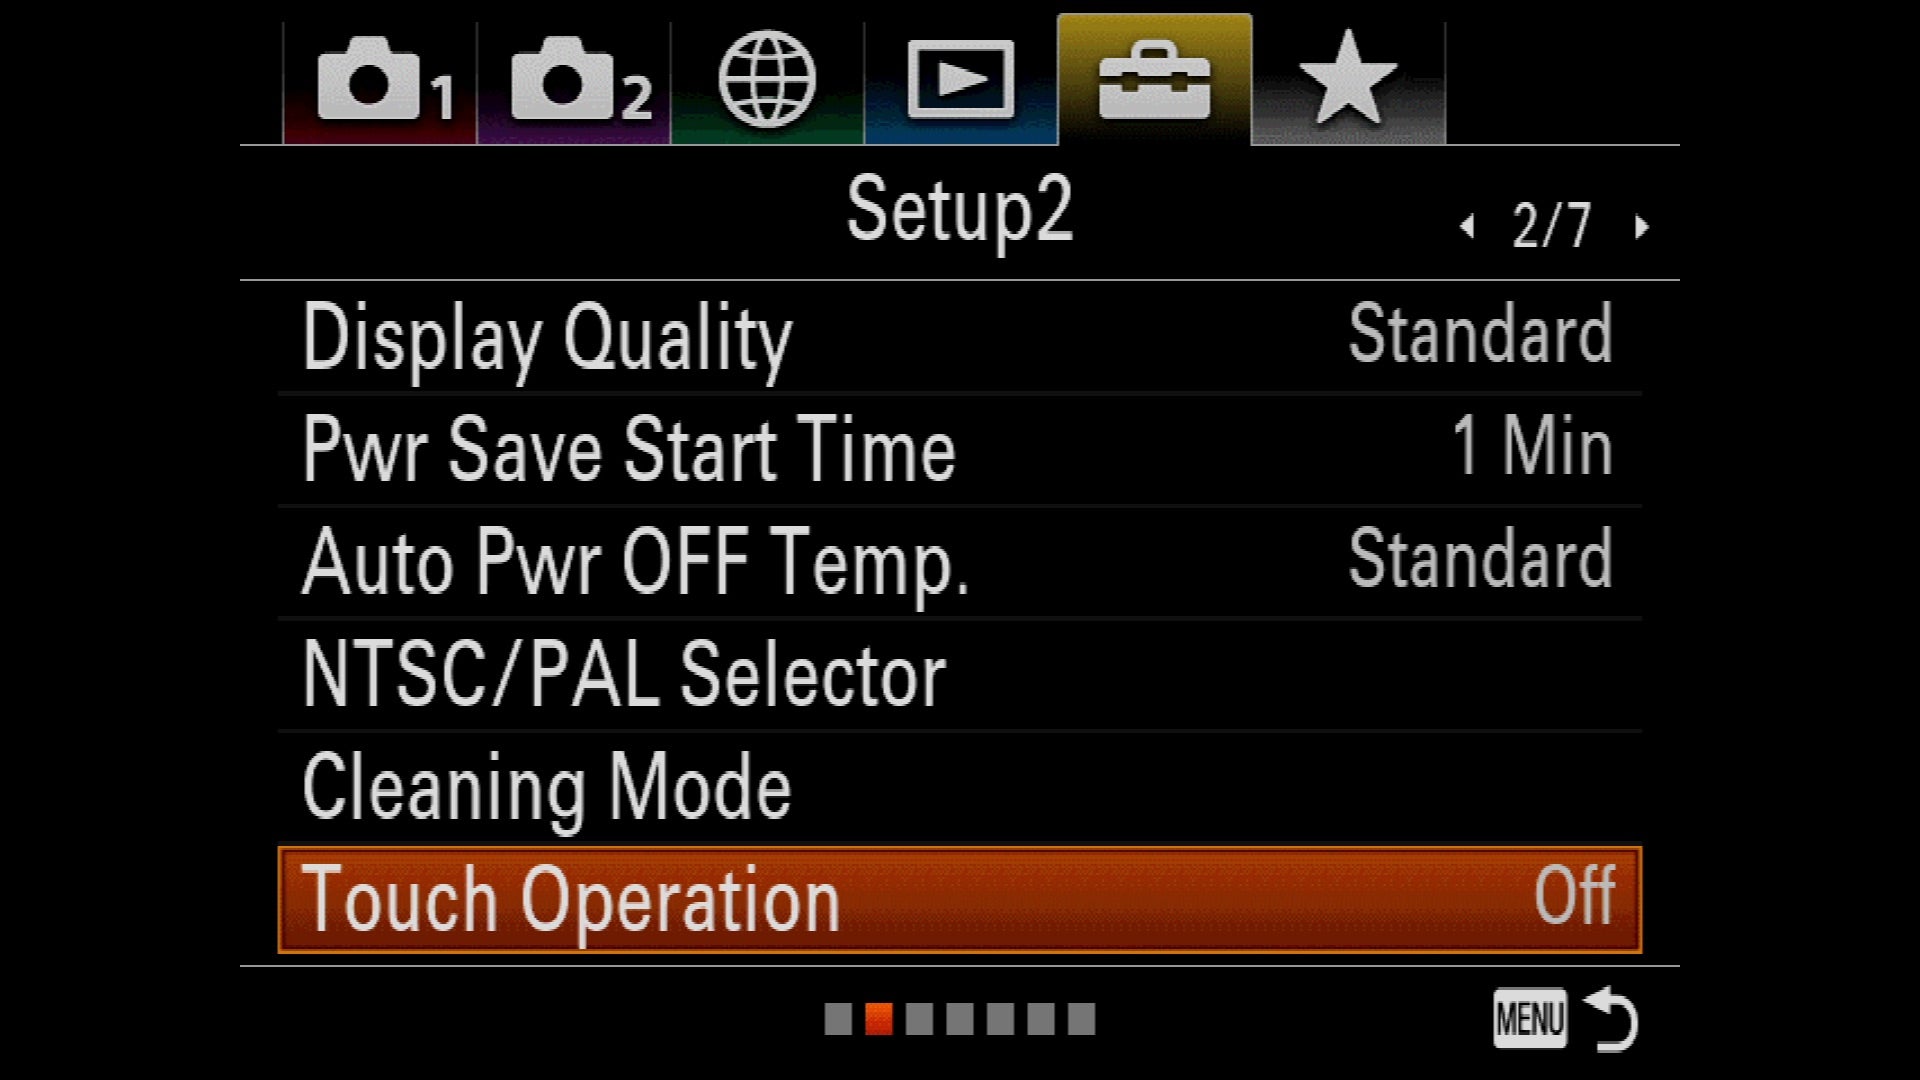
To enable touch screen support, head to the Tool Box Camera Menu and navigate to Page 2. Here you will find “Touch Operation” at the bottom of the menu. Change it from “Off” to “On”.
Embed GPS Coordinates Into your RAW & JEPG Files
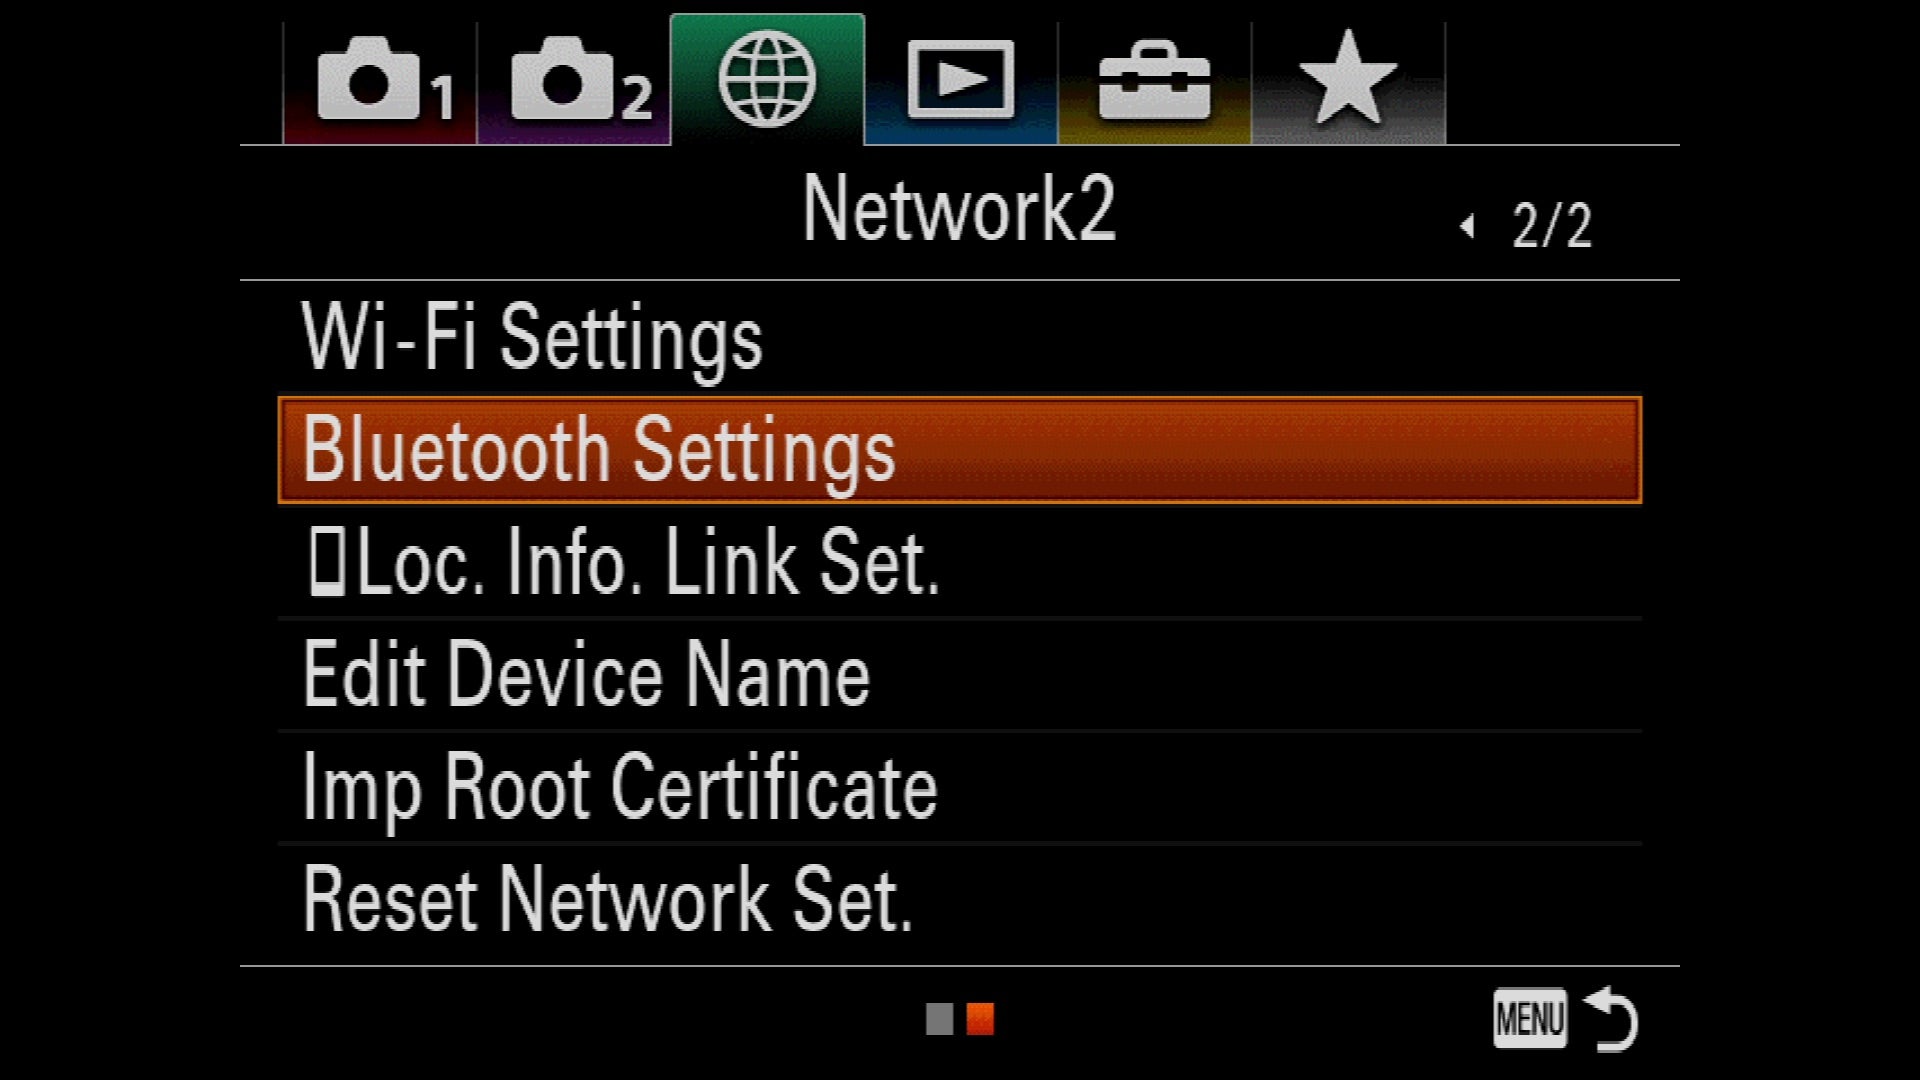
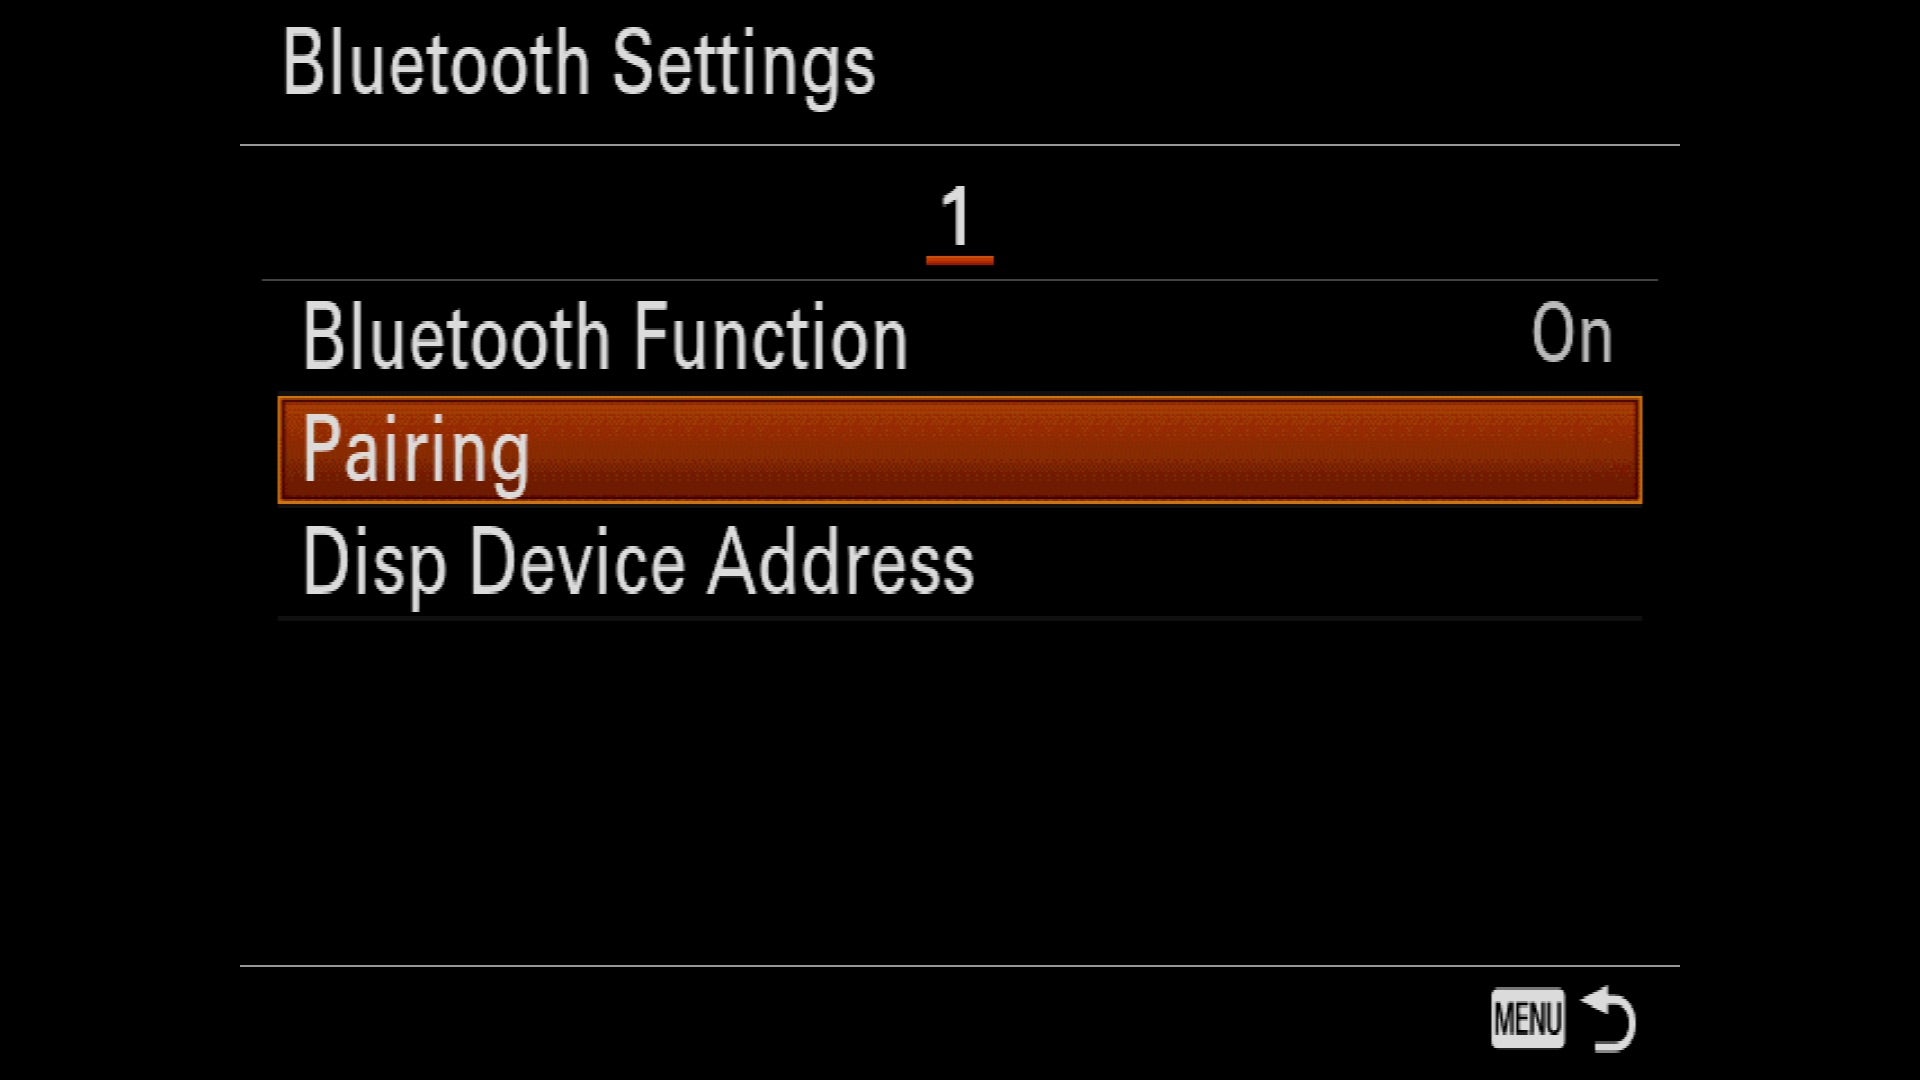
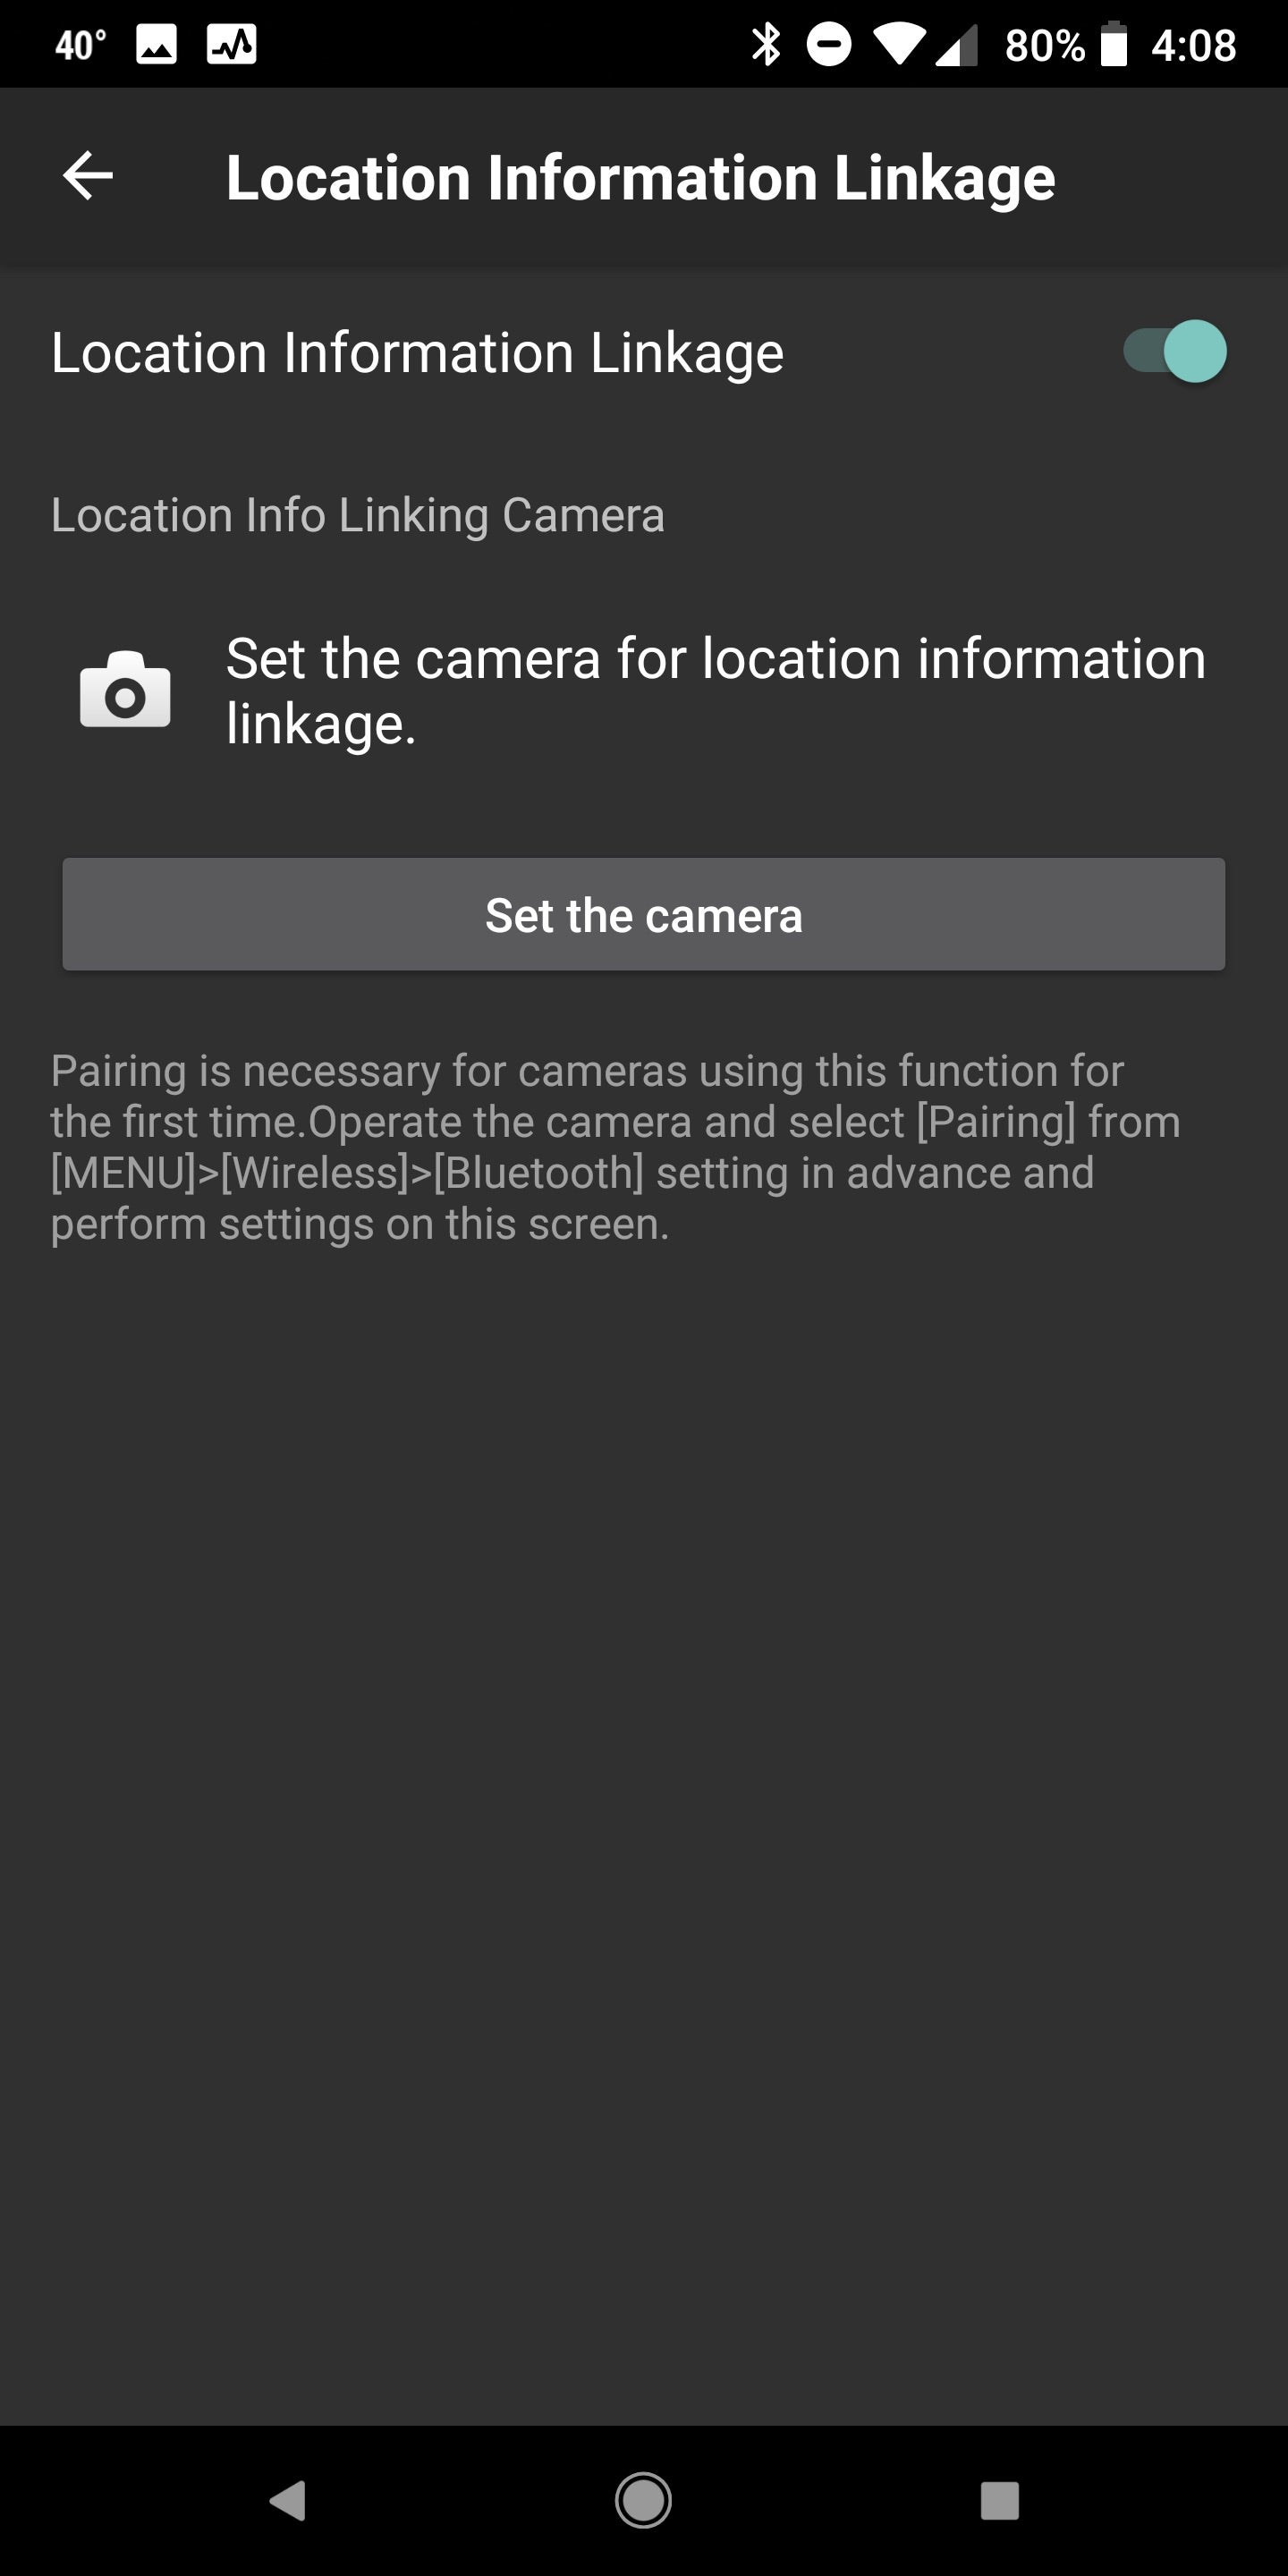
As a travel photographer, one of the more important updates to the Sony α7R III is having the ability to geotag my images with GPS coordinates so that I know exactly where I took them. This is done via the Sony Play Memories App for either IOS or Android via a constant Bluetooth connection. You can achieve this by going into the Network Settings Menu tab and moving to Page 2. Here you will find “Bluetooth Settings” where you will need to turn on the feature on your camera and sent set the device for pairing with your mobile device.
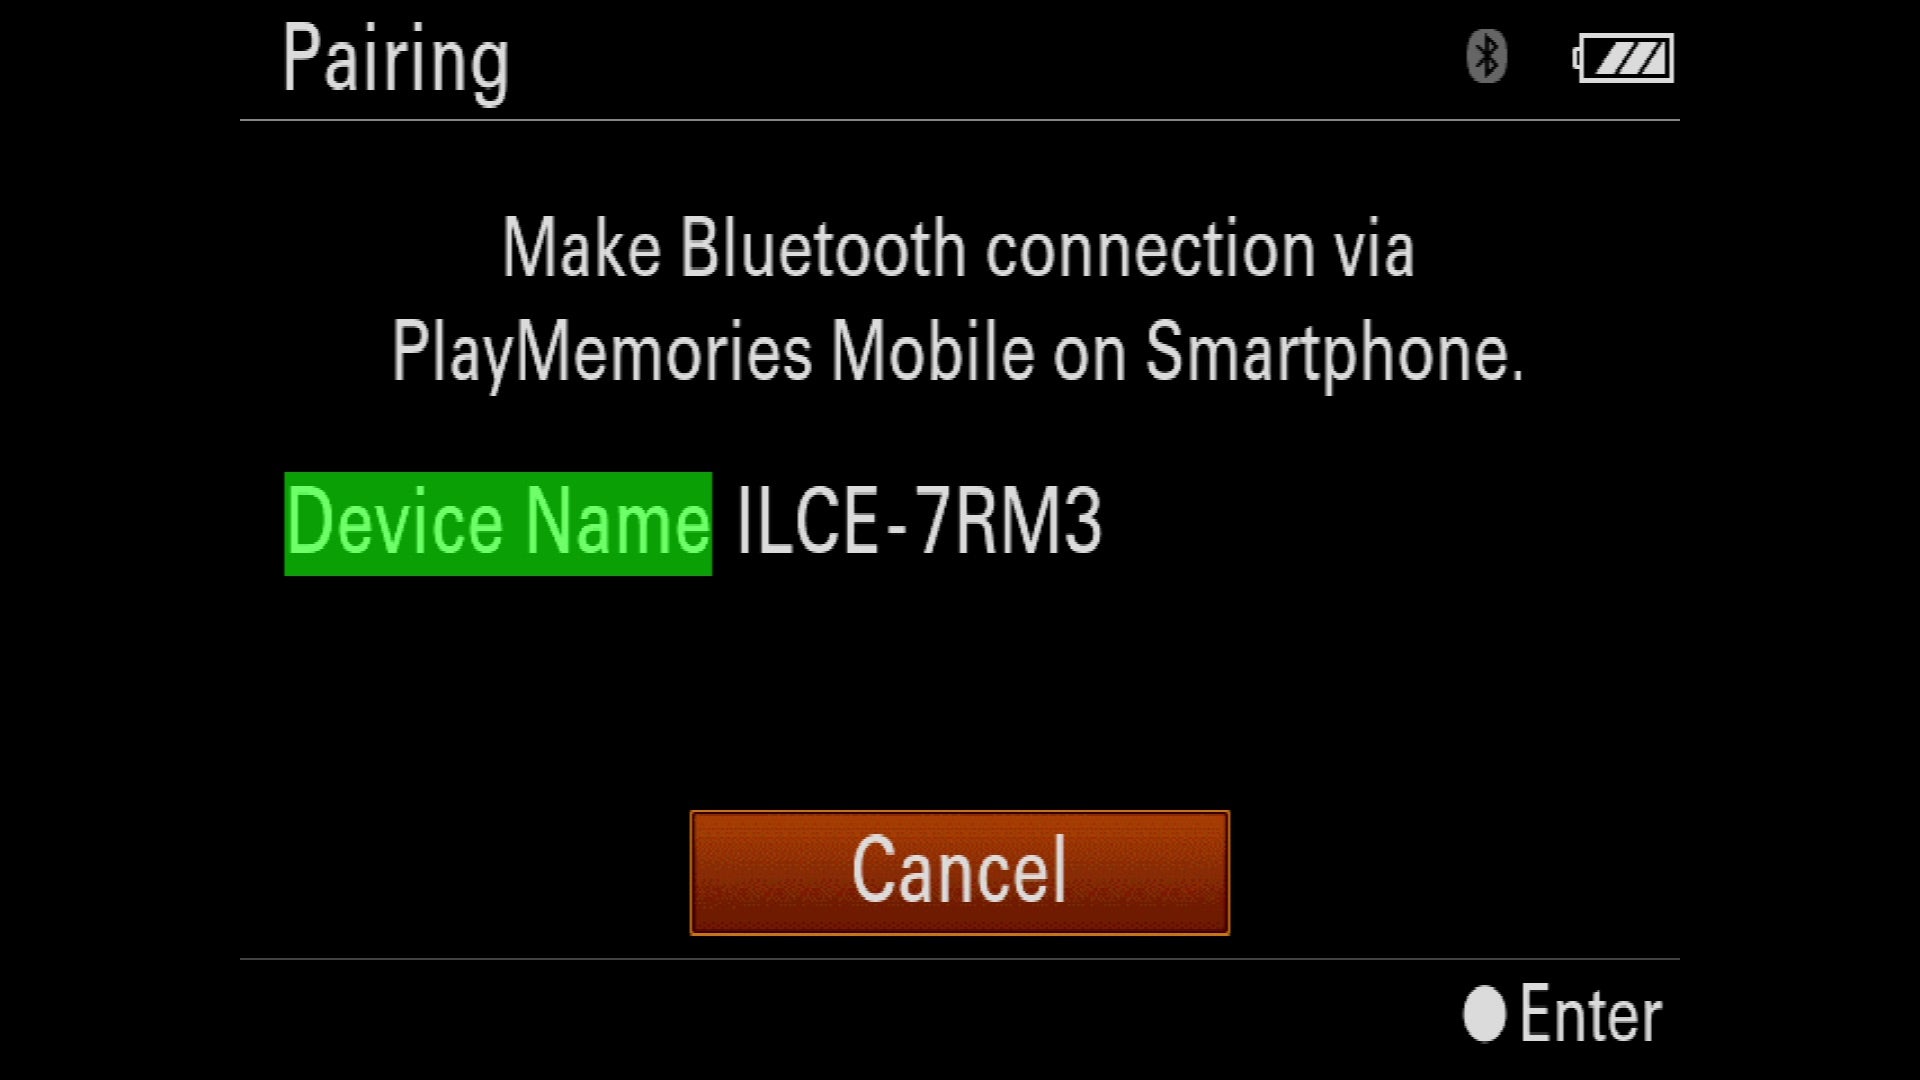
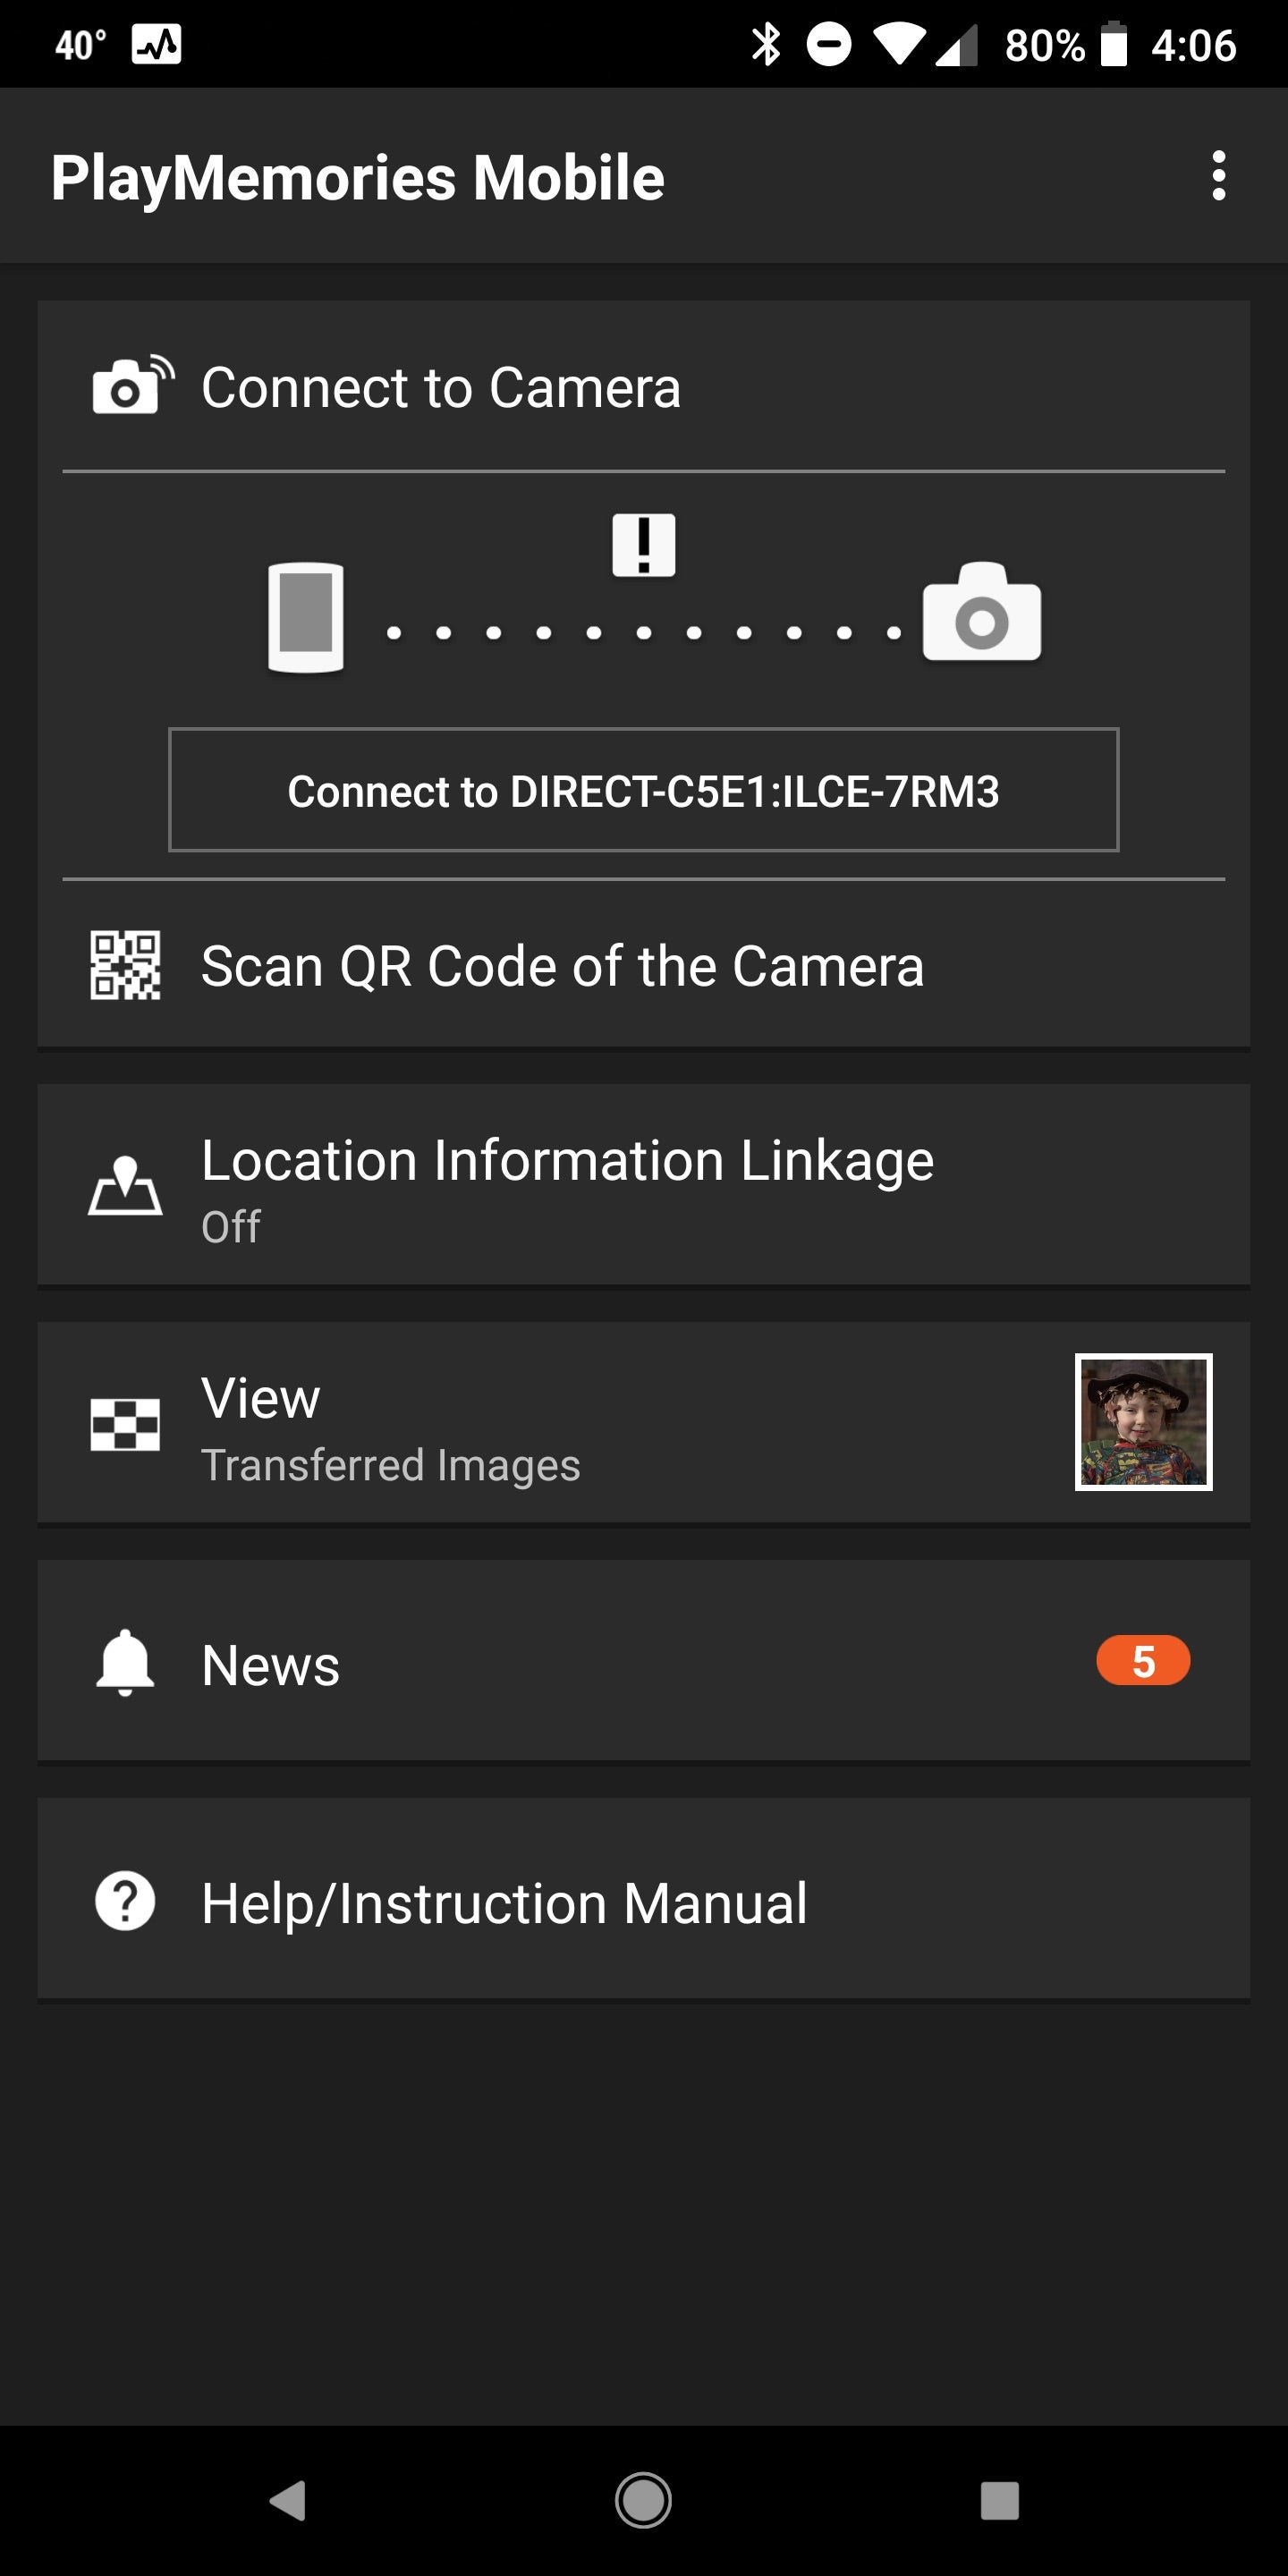
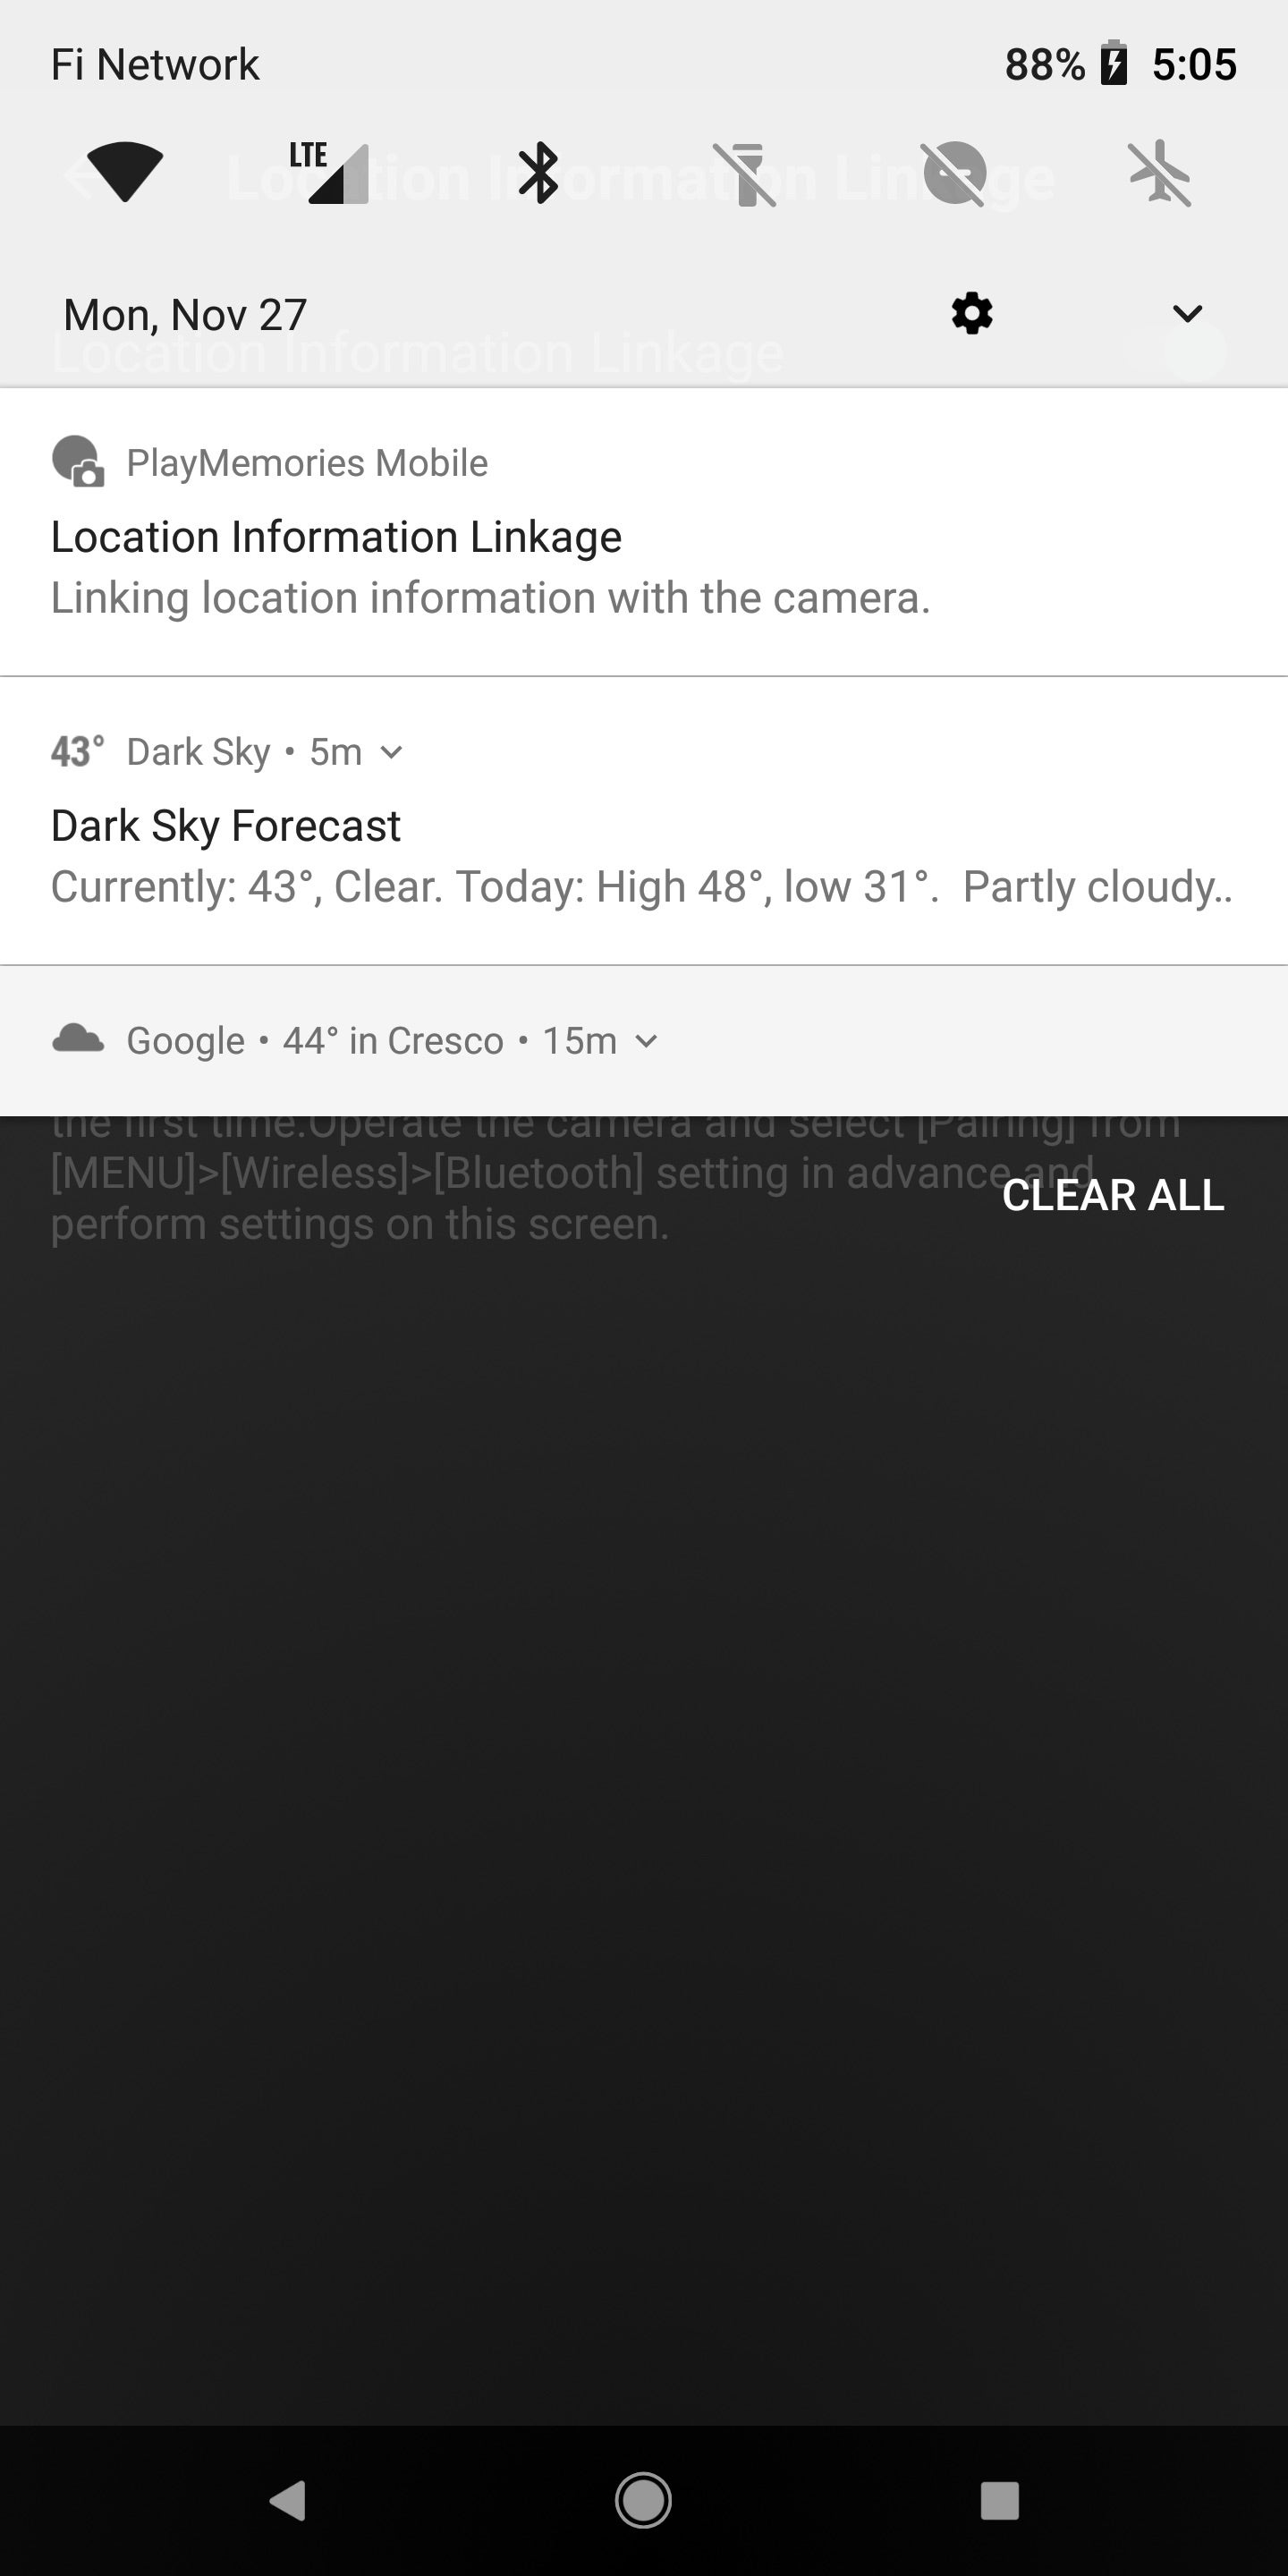
On your smart phone, open up the “Sony Play Memories” app and choose “Location Information Linkage” from the home screen. Once you engage this feature, you can ask it to find the Sony α7R III so that they can pair together. Once this connection is made, you simply need to open up the app and wait for the two to connect.
There’s More…
Now of course when it comes to getting the most out of your Sony α7R III there are many more settings, features and functions to setup and learn how to use. I have more over on my website.


