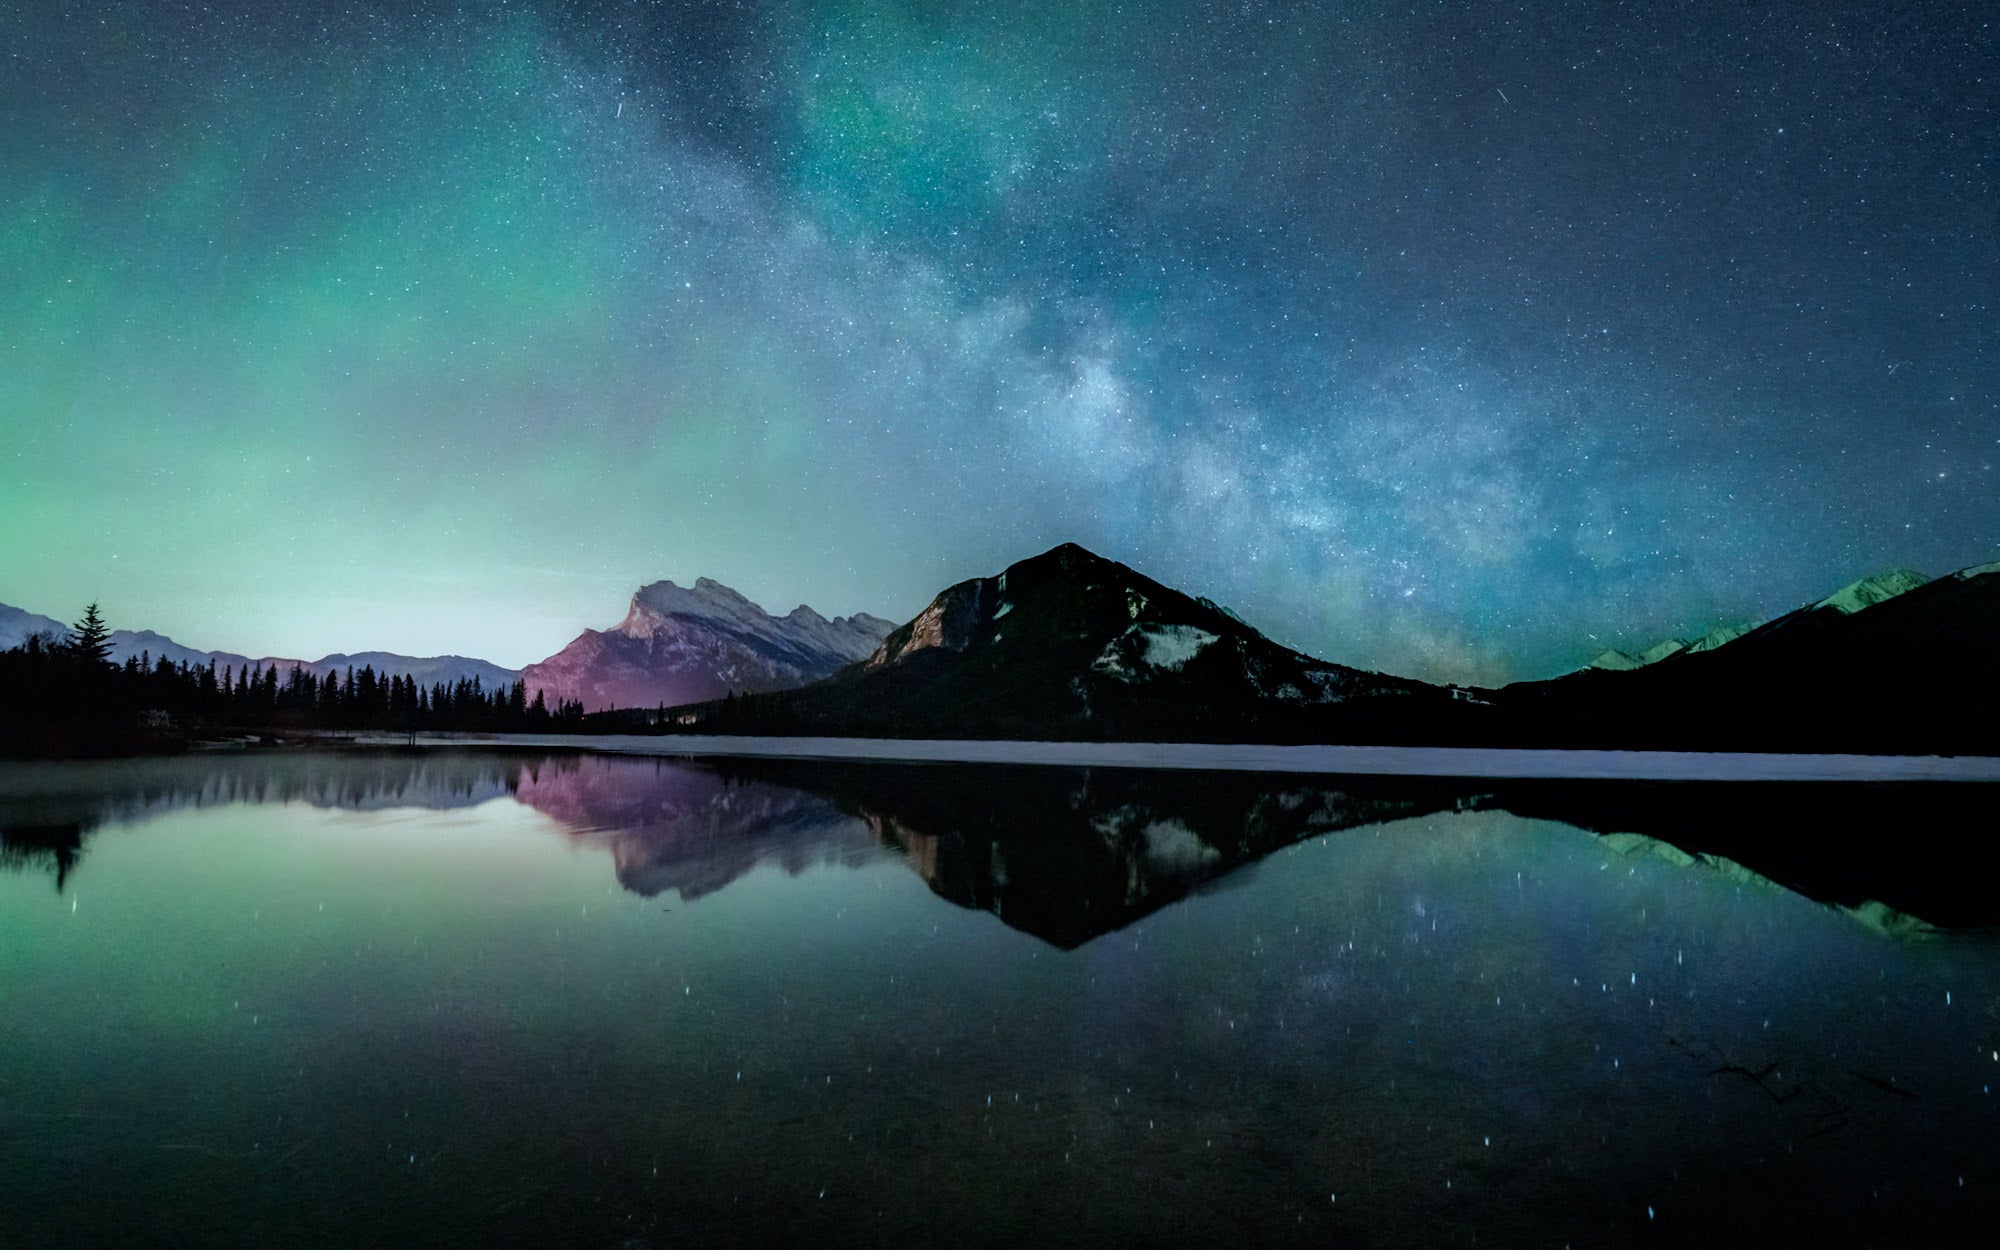
Night photography opens up a whole new world of creative possibilities by allowing you to capture the mysterious and vibrant beauty of the world after dark. Working in low light does present unique challenges that require a combination of technical prowess and artistic vision to conquer, but with a little practice it can absolutely be done by any photographer. Check out these 10 tips to help you master the art of night photography to start producing stunning images that illuminate the night.
Check out these 10 tips to help you master the art of night photography to start producing stunning images that illuminate the night.
1. Choose The Right Camera & Lens
Having the right gear is crucial for night photography. Sony's Alpha series of cameras have been used by many night photographers, and all seem to shine for their exceptional low light performance. From the Sony Alpha 7 IV, Sony Alpha 7S III or Sony Alpha 7R V to the Sony Alpha 1 or Sony Alpha 7CR, all of these full-frame cameras have an impressive ISO range to allow you to capture detailed and noise-free images even in challenging lighting conditions.
Pair your camera with a fast lens that has a wide aperture to let in more light and enhance your ability to shoot in the dark. It all depends on what you’re trying to photograph at night, but you can utilize a wide variety of Sony lenses to get the job done. Check out fast Sony primes like the Sony 14mm f/1.8 G Master, Sony 24mm f/1.4 G Master or Sony 35mm f/1.4 G Master – or you find success with Sony zooms like the Sony 12-24mm f/2.8 G Master, Sony 16-35mm f/2.8 G Master II or Sony 24-70mm f/2.8 G Master II. Learn more about these options in Best Lenses For Astrophotography With Sony Alpha Cameras.
Talented night shooter and Sony Alpha Ambassador Jess Santos is a big fan of the Sony 12-24mm f/2.8 G Master for night photography. She says, “This is and will forever be my go-to lens for landscape and astrophotography. It rarely leaves my camera and never leaves my bag. I can’t say enough good things about this lens. At 12mm I can capture everything I need to capture within a single frame, and using the wide angle to my advantage allows me to stretch and maximize foreground elements to create an image with more dimension and depth. The f/2.8 aperture makes this one of the best lenses around for night photography, especially while shooting blue hour blends.” Read more about her gear in What’s In My Bag: An Adventurer’s Kit For Dreamy Landscapes, Astroscapes & Timelapses.
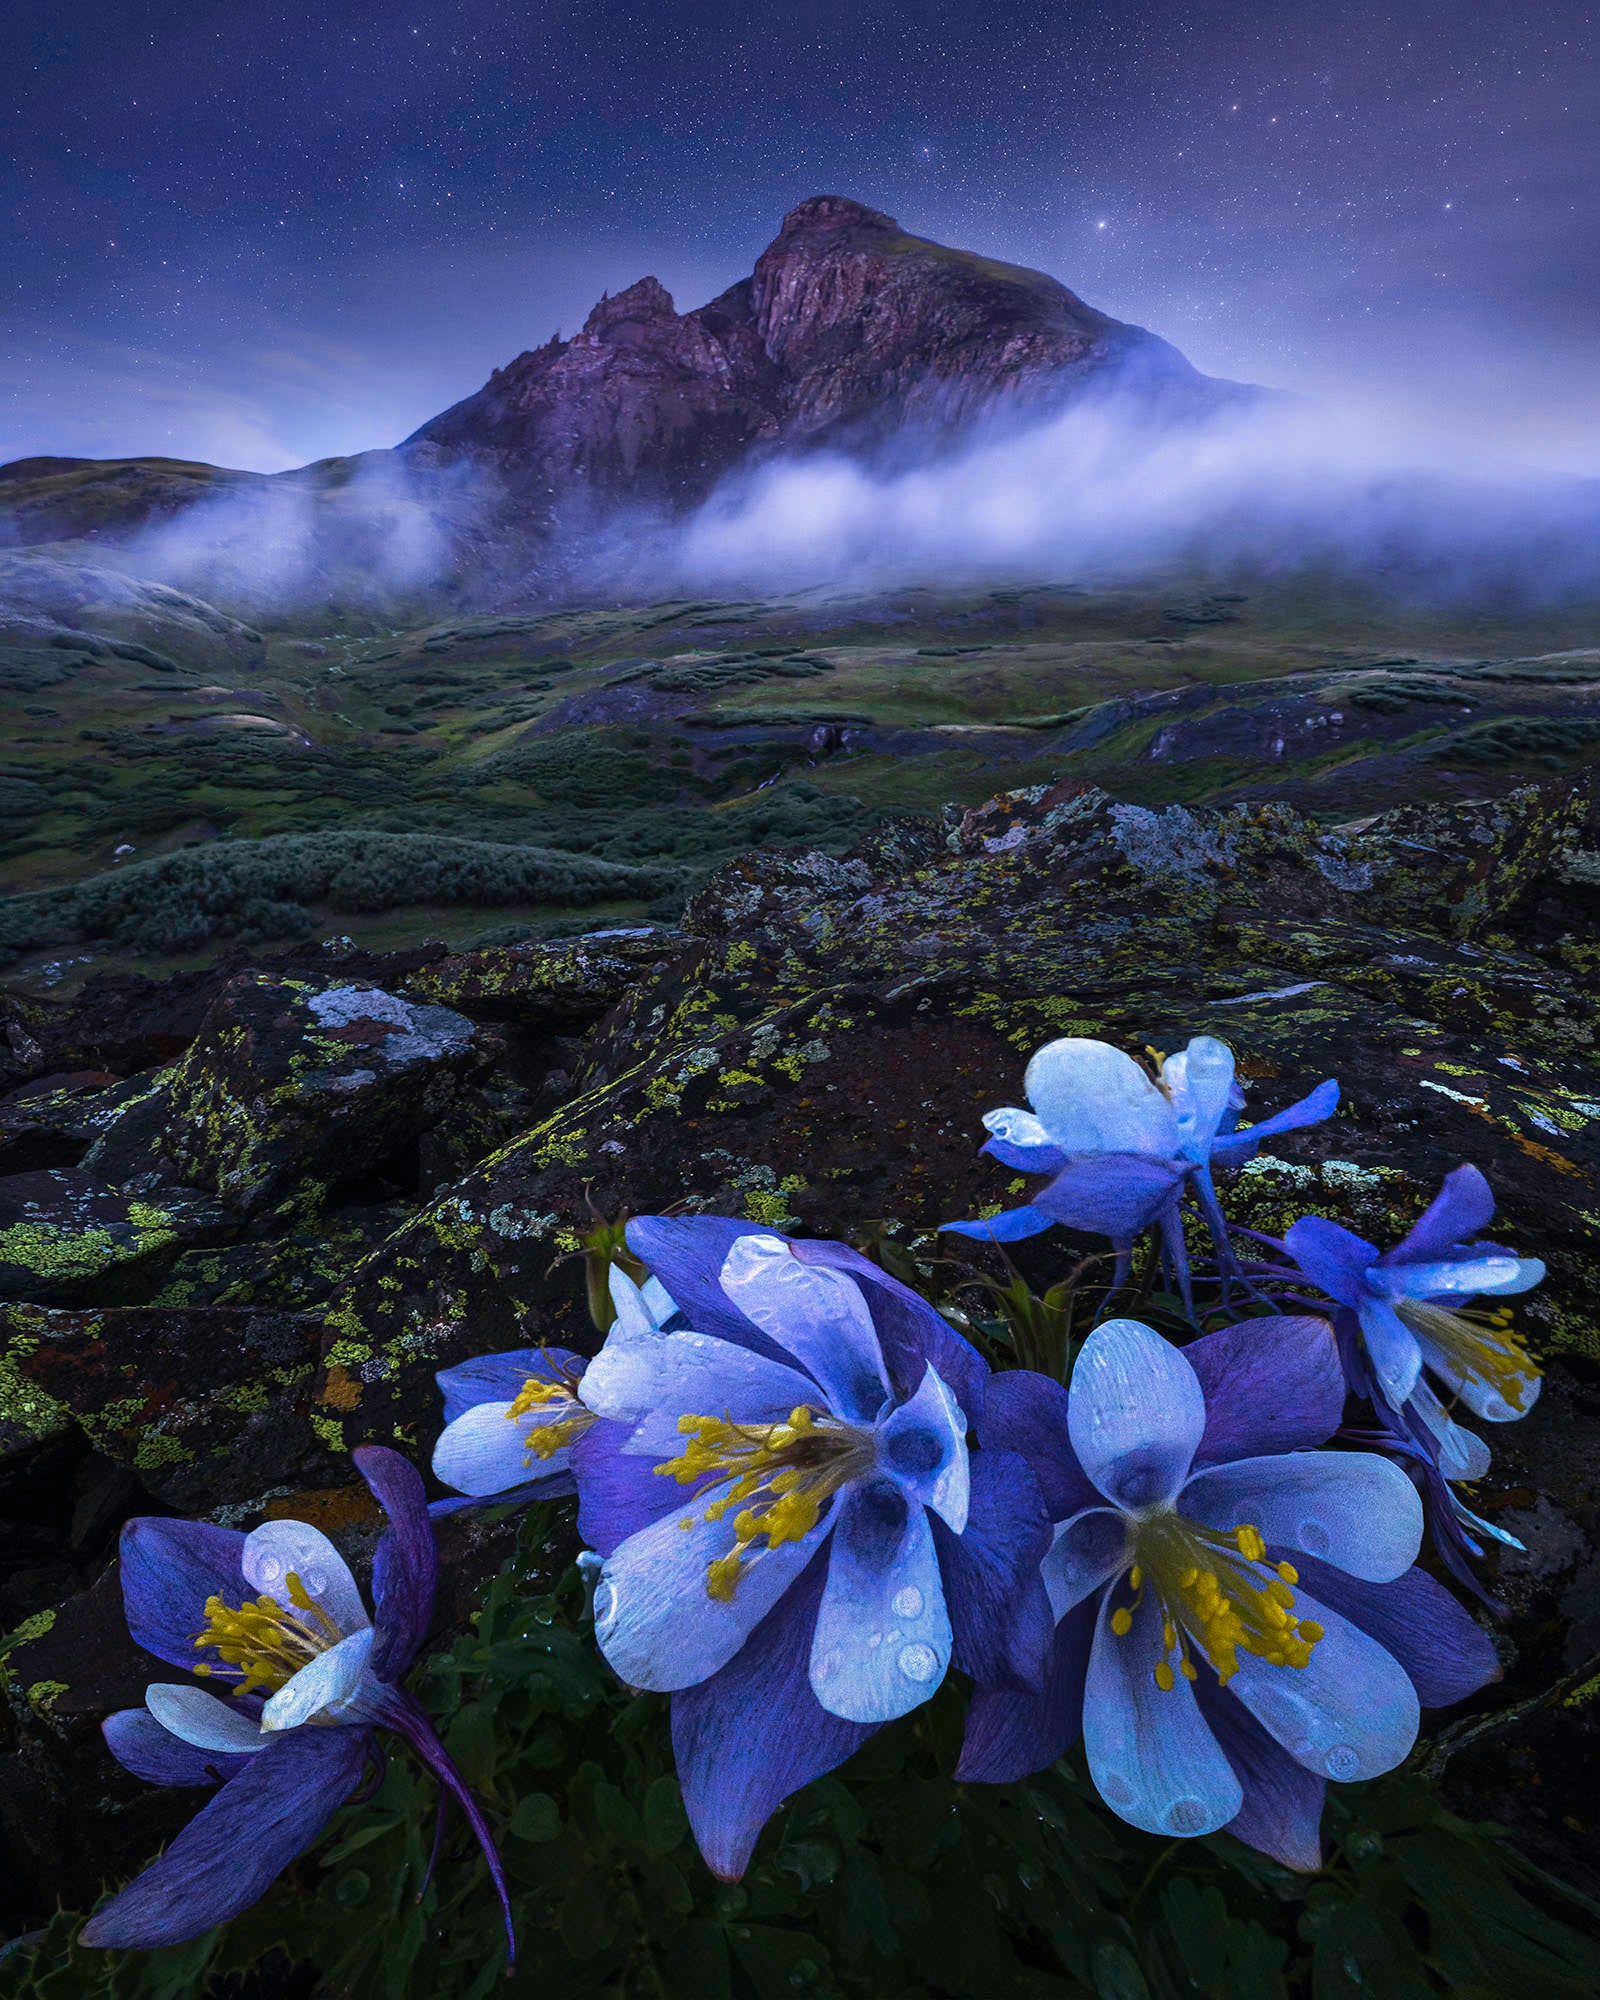
Photo by Jess Santos. Sony Alpha 7R IV. Sony 12-24mm f/2.8 G Master. 1/20-sec., f/16, ISO 1600
2. Use A Sturdy Tripod For Stability
You can have the best gear in the world, but if your camera isn’t stable at night, your images probably aren’t going to be sharp. Long exposure shots are common in night photography, and a sturdy tripod is essential to keep your camera steady. Even the slightest movement can result in blurry images. Invest in a reliable tripod that can support your camera's weight and remain stable in different shooting environments.
Some favorites from other Sony night shooters include the Slik ProCF 734 Legs with 200DQ Ballhead (Jess Santos), the Really Right Stuff Ascend 14L Carbon Fiber Travel Tripod & Ballhead (Brandt Ryder & Michael Simmons), the MeFoto Globetrotter S Carbon Fiber (Andrew Eggers) and the Manfrotto BeFree Advanced (Oscar Lindsey).
3. Optimize Your ISO Settings
ISO sensitivity determines how your camera sensor reacts to light. In low light conditions, raising the ISO can help brighten your image, but it also increases the risk of noise. Sony's Alpha cameras handle high ISO settings exceptionally well, but it's still wise to keep ISO as low as possible to maintain image quality. Experiment with different ISO levels to find the sweet spot where your images are bright enough without excessive noise.
Sony Alpha Ambassador Stan Moniz has put a lot of time, effort and practice shooting night photography, and because of that he’s refined his techniques and developed some simple camera setups. “I’ve taken from age-old formulas and tried and true methods as well as creating my own signature settings that I teach at my workshops. There’s no substitute for mastering astroscapes other than getting out and doing it, and here I’m going to share some tips to prime you for success.” Read more of his tips for camera setup in the articles Sony 24mm G Master: The King Of Night Photography, Photo Fundamentals: Astro Exposure Basics Explained and Photo Fundamentals: How To Get Sharp Stars With The 500 Rule For Astrophotography.
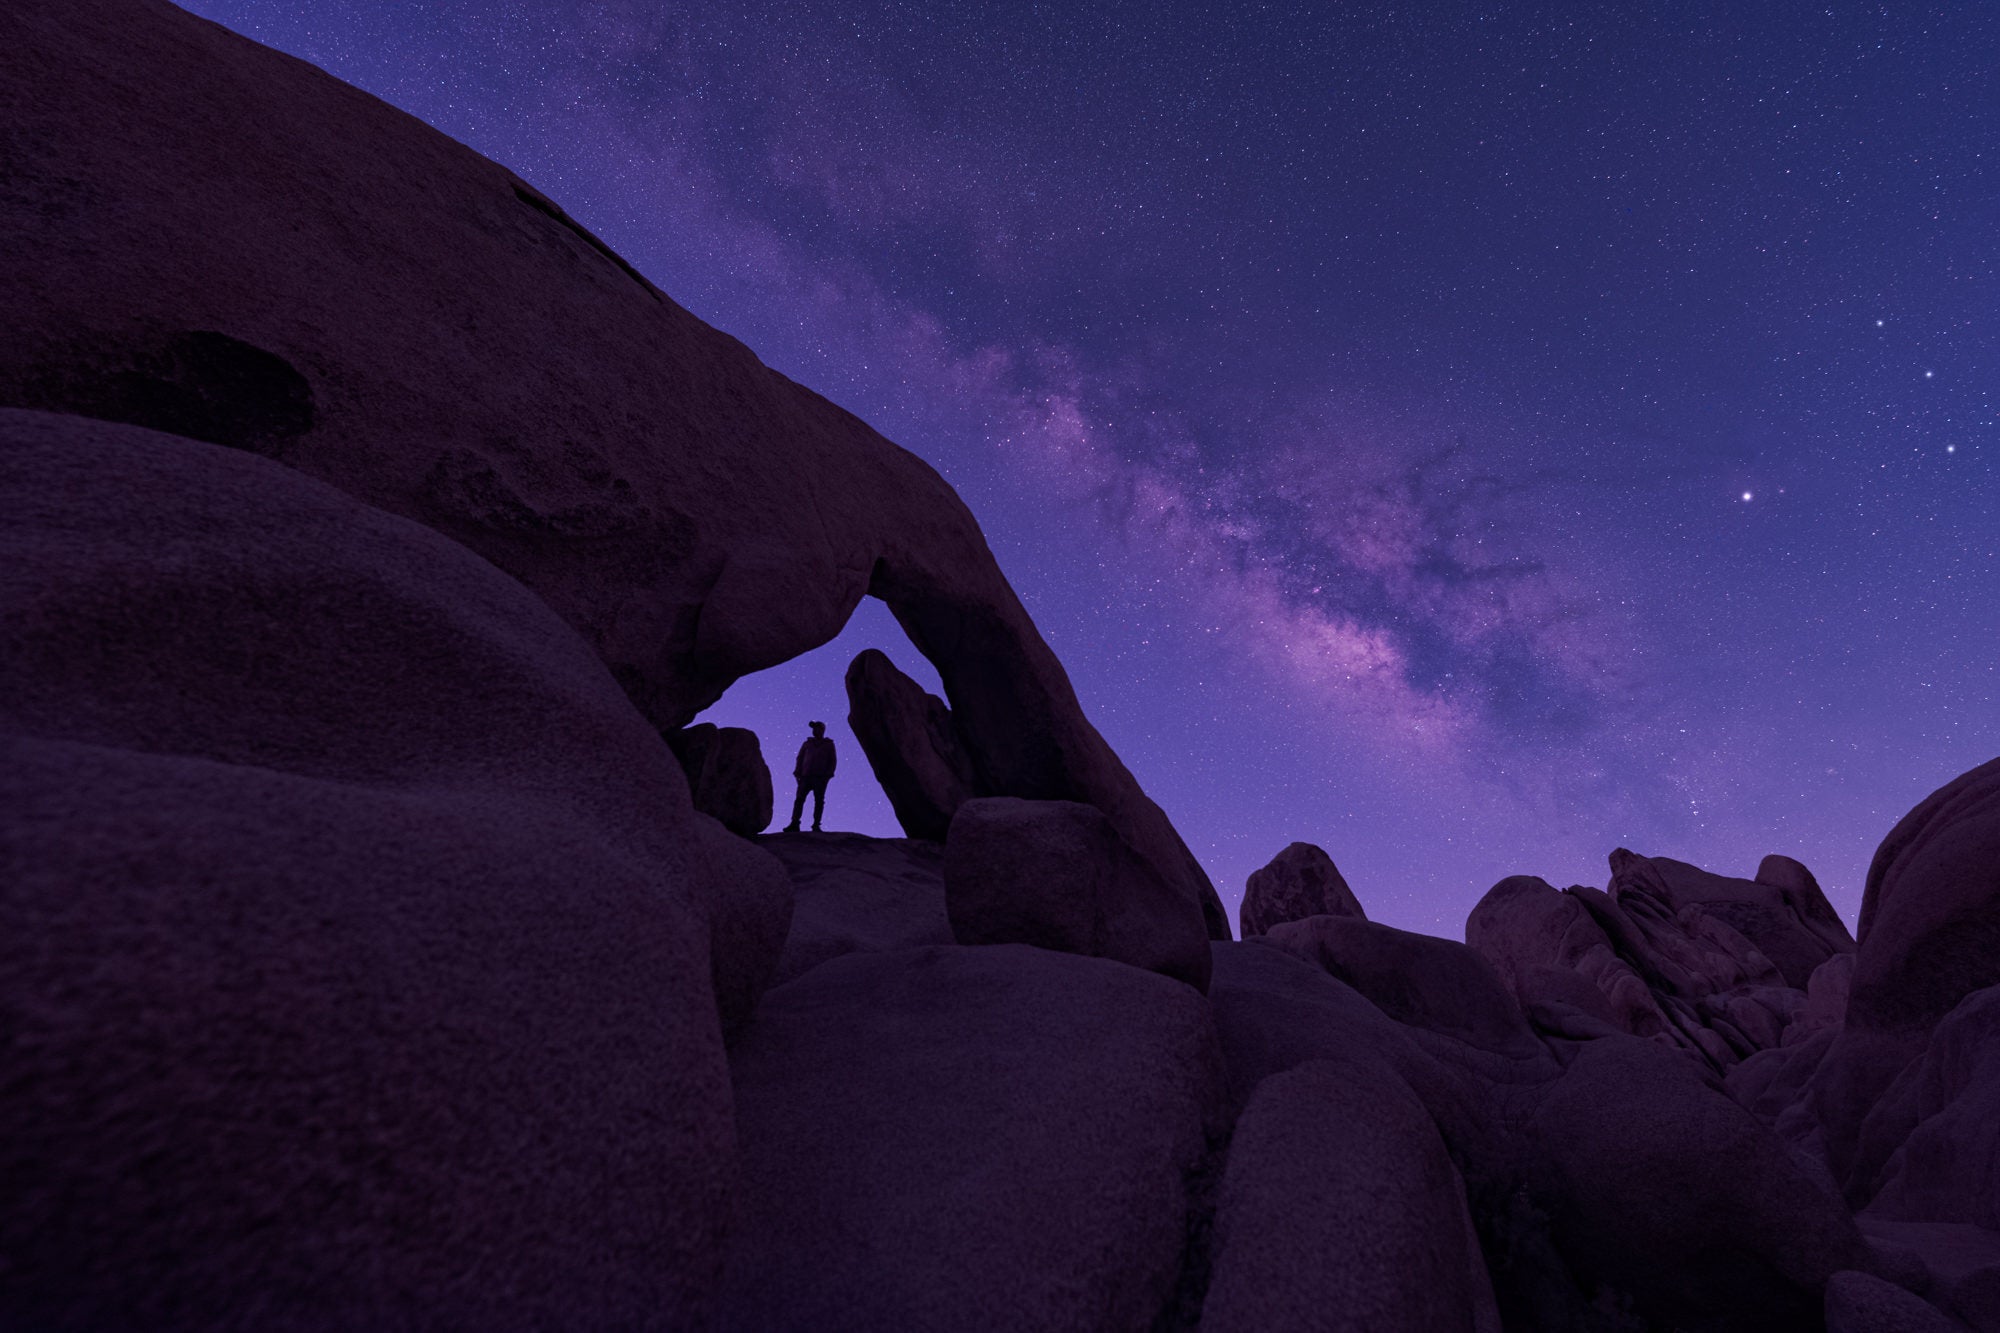
Photo by Stan Moniz. Sony Alpha 7 IV. Sony 14mm f/1.8 G Master. 10-sec., f/2.8, ISO 3200
4. Master Long Exposures
Long exposures allow you to capture more light over an extended period, making them perfect for night photography. By extending the length of your shutter speed, you enable your camera to gather more light, which is essential in low-light conditions. Use your camera's manual mode to adjust the shutter speed to several seconds or even minutes, depending on the scene. Remember to use a remote shutter release or your camera's timer to avoid camera shake when pressing the shutter button.
5. Use Bright Monitoring
If you're using a Sony Alpha mirrorless camera an advanced feature that's super helpful for astro photography is Bright Monitoring. Sony Ambassador and long-time astro-photographer Rachel Jones Ross says Bright Monitoring is a game changing feature. She explains, "I describe this function as ‘night vision for your camera.’ Essentially, it renders a live preview of your composition, which completely does away with the tedious and time-consuming task of taking test shots to find your composition in the dark. It’s so powerful that you can actually see the core of the Milky Way in real time on your live preview!" See more about Bright Monitoring HERE.
6. Experiment With Light Trails
Once you’ve mastered long exposures, creating light trails from moving vehicles, stars or other sources can add a dynamic element to your night photos. Set up your camera on a tripod, use a long exposure, and capture the movement of lights across your frame. Be creative with your composition to make the most of these striking visual effects.
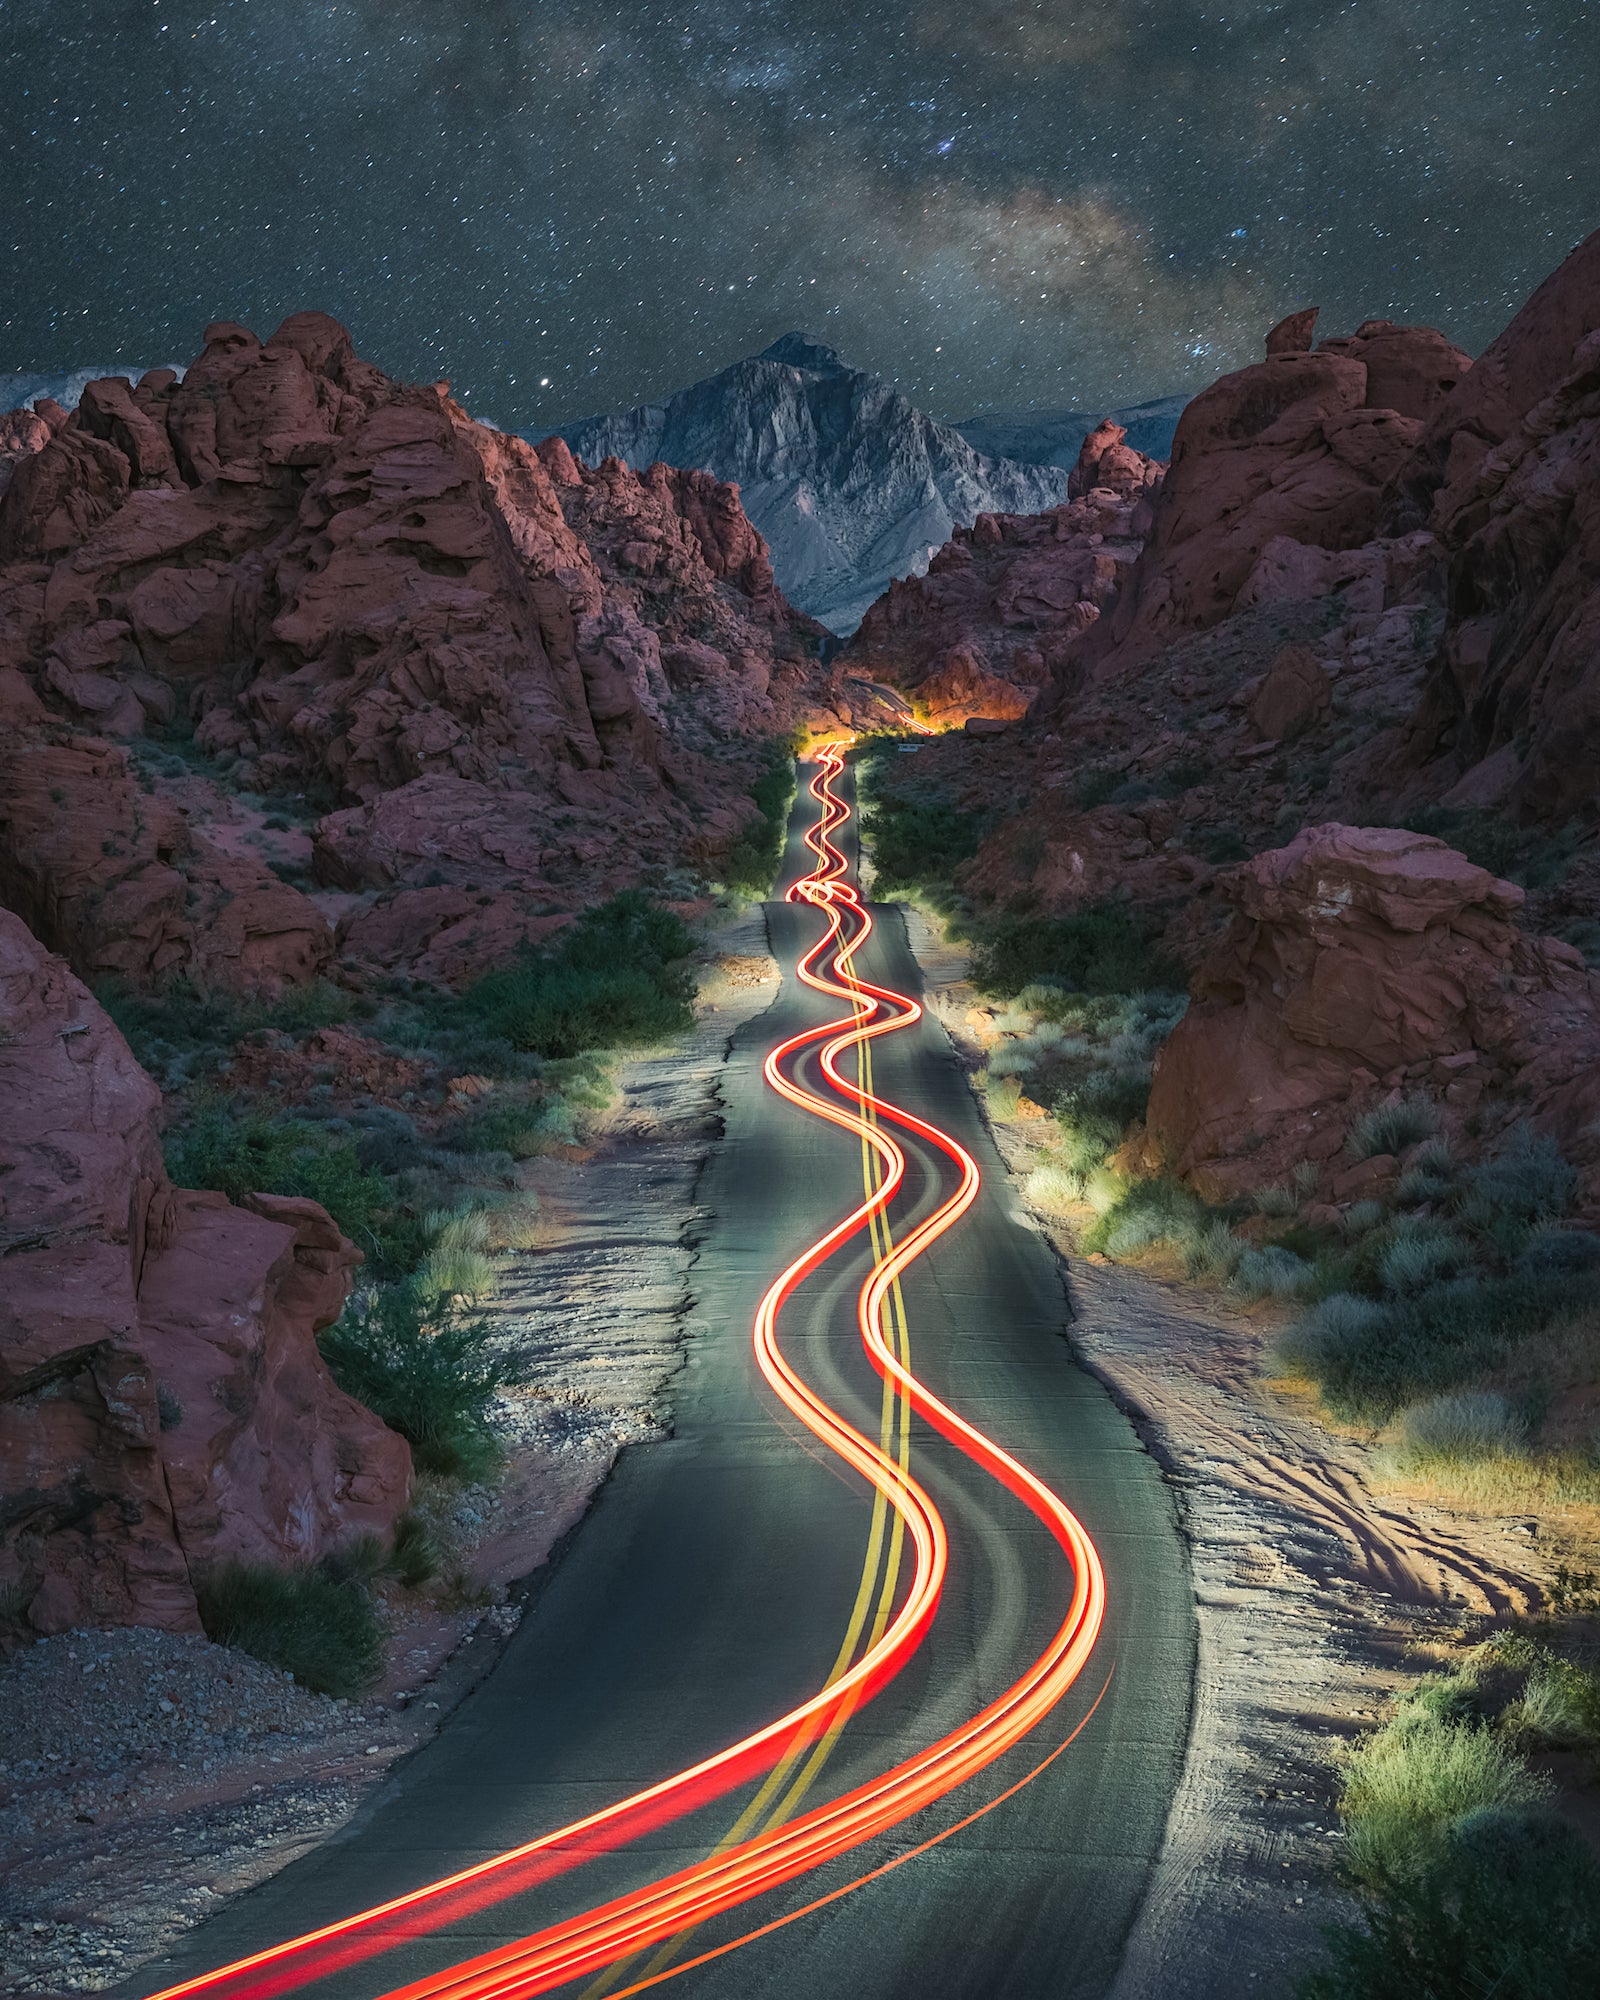
From Behind The Shot: A Long Exposure Light Trail In The Valley Of Fire. Photo by Cody Conk. Sony Alpha 7 III. Sony 24-70mm f/2.8 G Master. 30-secs, f/10, ISO 250
Sony Alpha Ambassador and light trail-creating master Andrew Eggers gives his advice for trying long exposure light trails. “First, a tripod is a must and using a two-second delay on the shutter is also. I always focus my shot first, then switch to manual focus before snapping the photo. Those are basics. To get started, I suggest finding a safe freeway overpass and shooting the light trails of cars at blue hour or at night obviously. Practice shooting for shots within 10-20 seconds and adjust your shots so that you underexpose just a touch.”
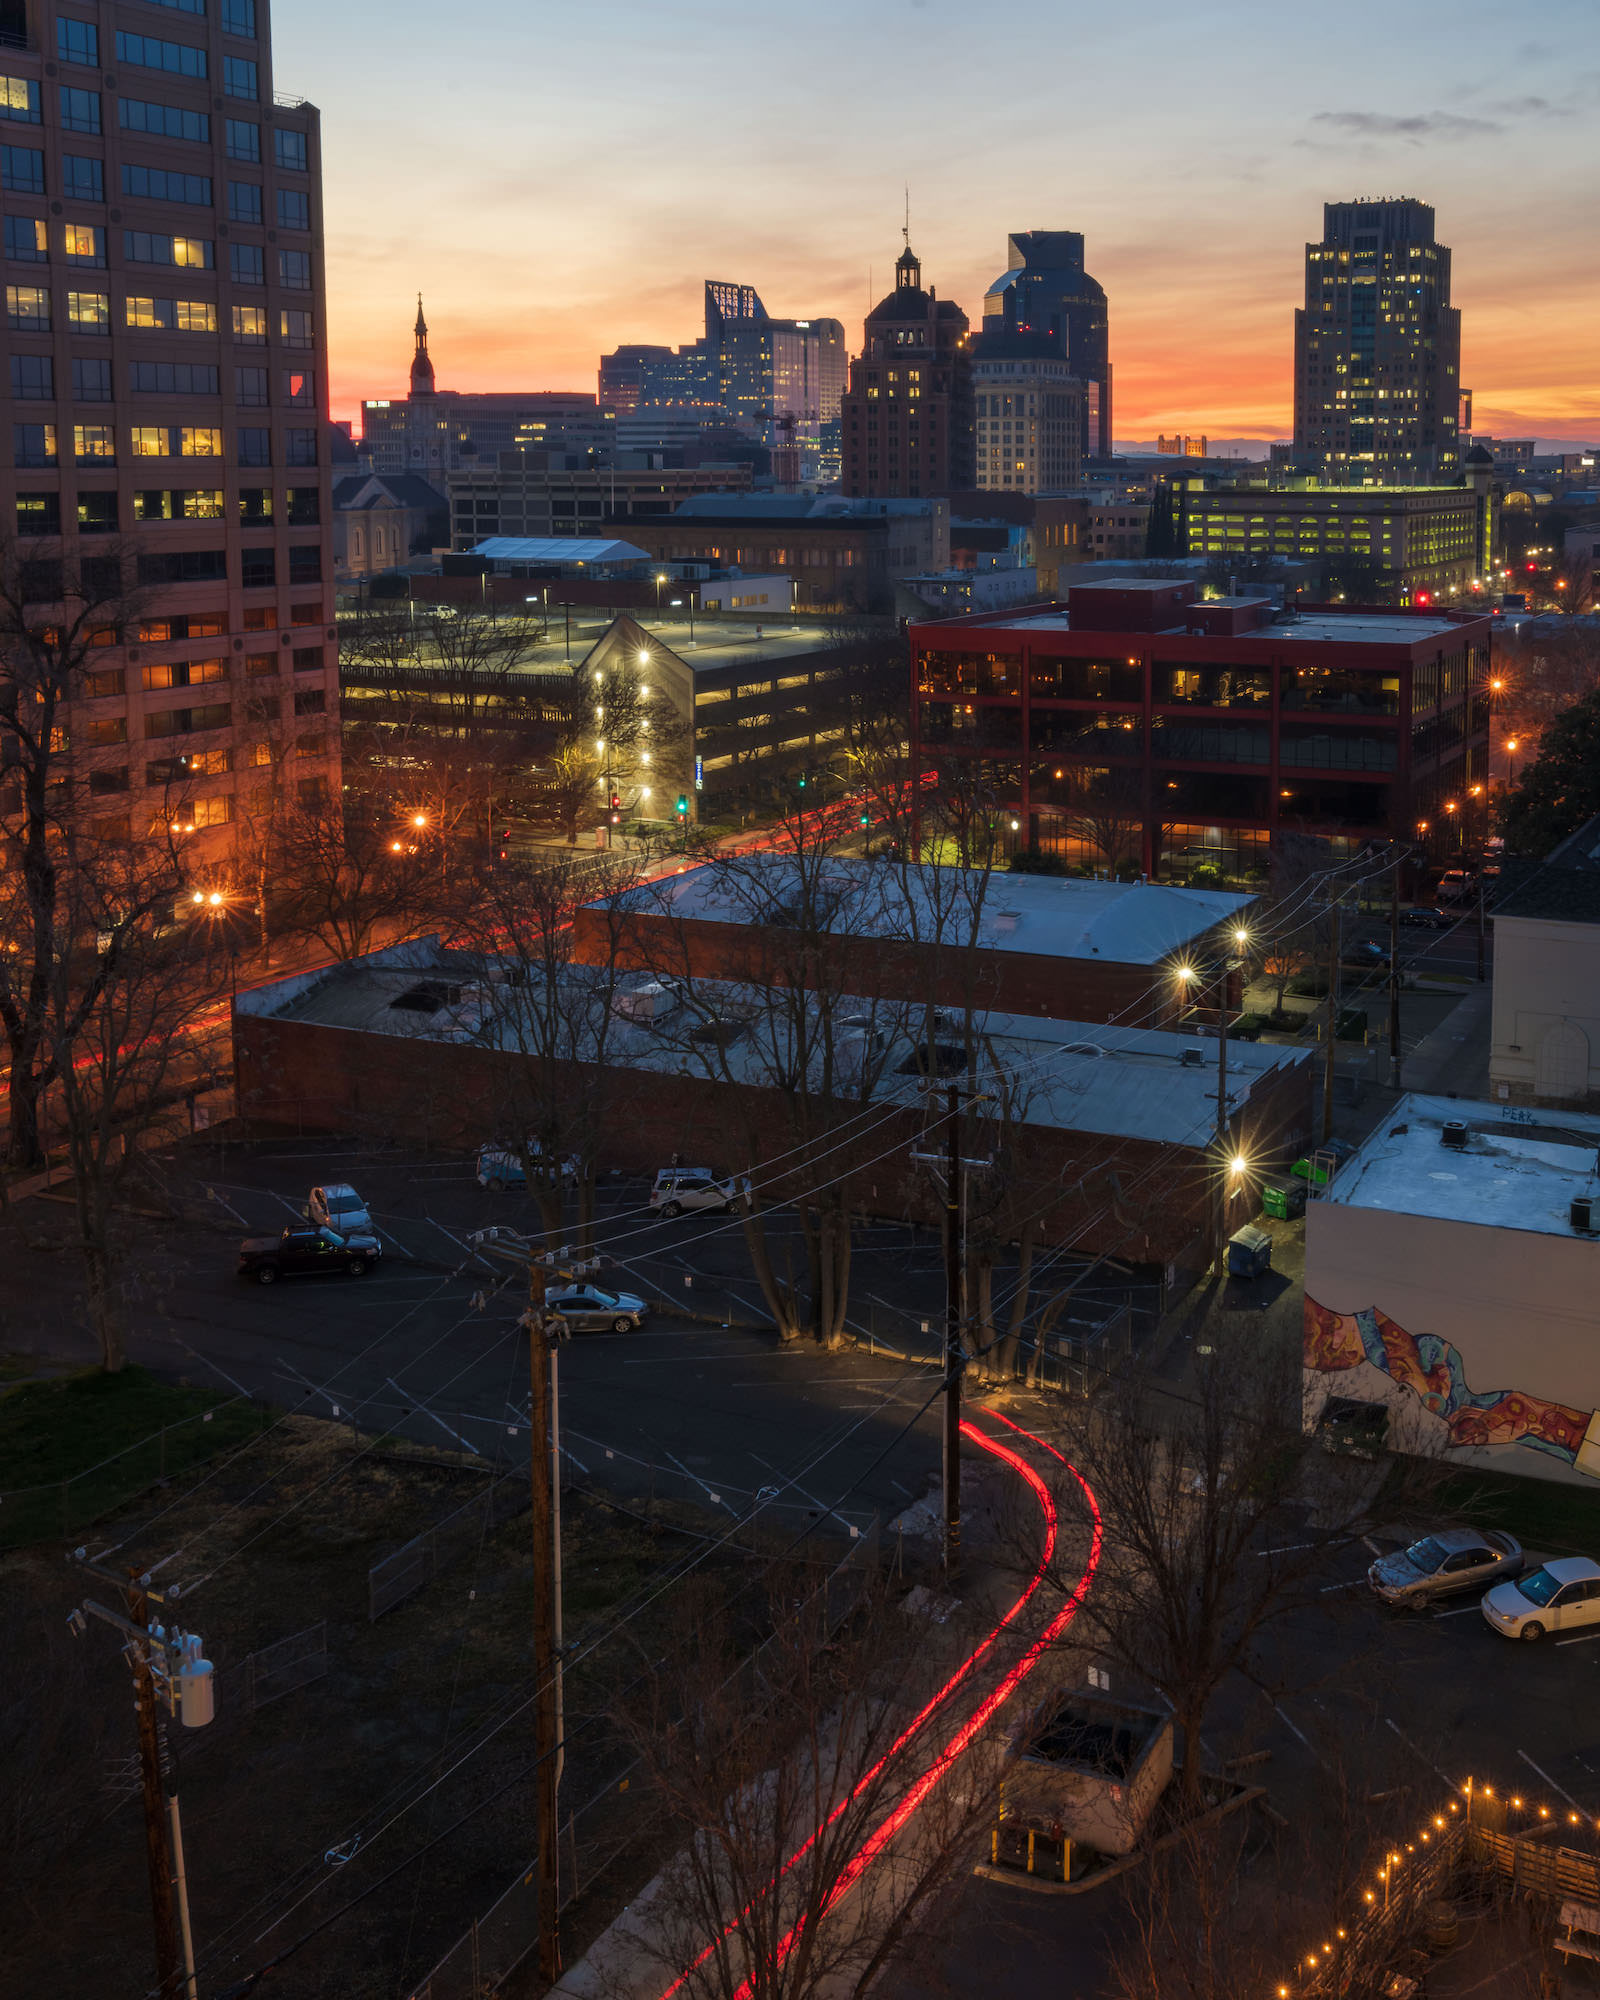
Photo by Andrew Eggers. Sony Alpha 1. Sony 24-70mm f/2.8 G Master. 10-sec., f/16, ISO 50
7. Shoot in RAW
Shooting in RAW format gives you more flexibility in post-processing. RAW files retain more data than JPEGs, allowing you to recover details from shadows and highlights more effectively. This is particularly helpful in night photography, where you might need to adjust exposure and contrast to achieve the desired look. The dynamic range of Sony Alpha cameras also give you a lot to work with during the edit, so you can ensure you get the image you envisioned from the start.
8. Plan Your Shoot
Scout locations in advance and plan your shoot to make the most of available light sources, whether it's street lights, the moon or ambient lighting from buildings. Consider the time of night and weather conditions, as these can greatly influence your results. Apps like PhotoPills can help you plan your shoot by providing information on the position of the moon and stars, as well as the best times for shooting.
Sony Alpha Ambassador and inspiring night photography Rachel Jones Ross says PhotoPills is her favorite planning app. “For a more in-depth guide of how to use PhotoPills to plan this shot, check out Rafael’s tutorial, created after our joint expedition to the Canadian Rockies,” she shares. Get more of her pointers for night photography in Pro Tips For Creating The Ultimate Dreamy Nightscapes.
Photo by Rachel Jones Ross. Sony Alpha 7S III. Sony 12-24mm f/2.8 G Master.
9. Use Noise Reduction Techniques
Even with the best equipment, some noise is inevitable in night photography. Utilize your camera's built-in noise reduction settings or apply noise reduction in post-processing software like Adobe Lightroom. Be careful not to overdo it, as excessive noise reduction can soften your image and reduce detail.
10. Embrace Creativity
Night photography offers endless opportunities for creative expression. Experiment with different compositions, perspectives and light sources to create unique and captivating images. Play with reflections, silhouettes and shadows to add depth and intrigue to your photos. If you’re struggling with this part a bit, make sure you check out our 5 Simple Ways To Reignite Your Creative Fire and spend some time exploring AlphaUniverse.com – sometimes seeing what others are creating can give the perfect spark of inspiration.
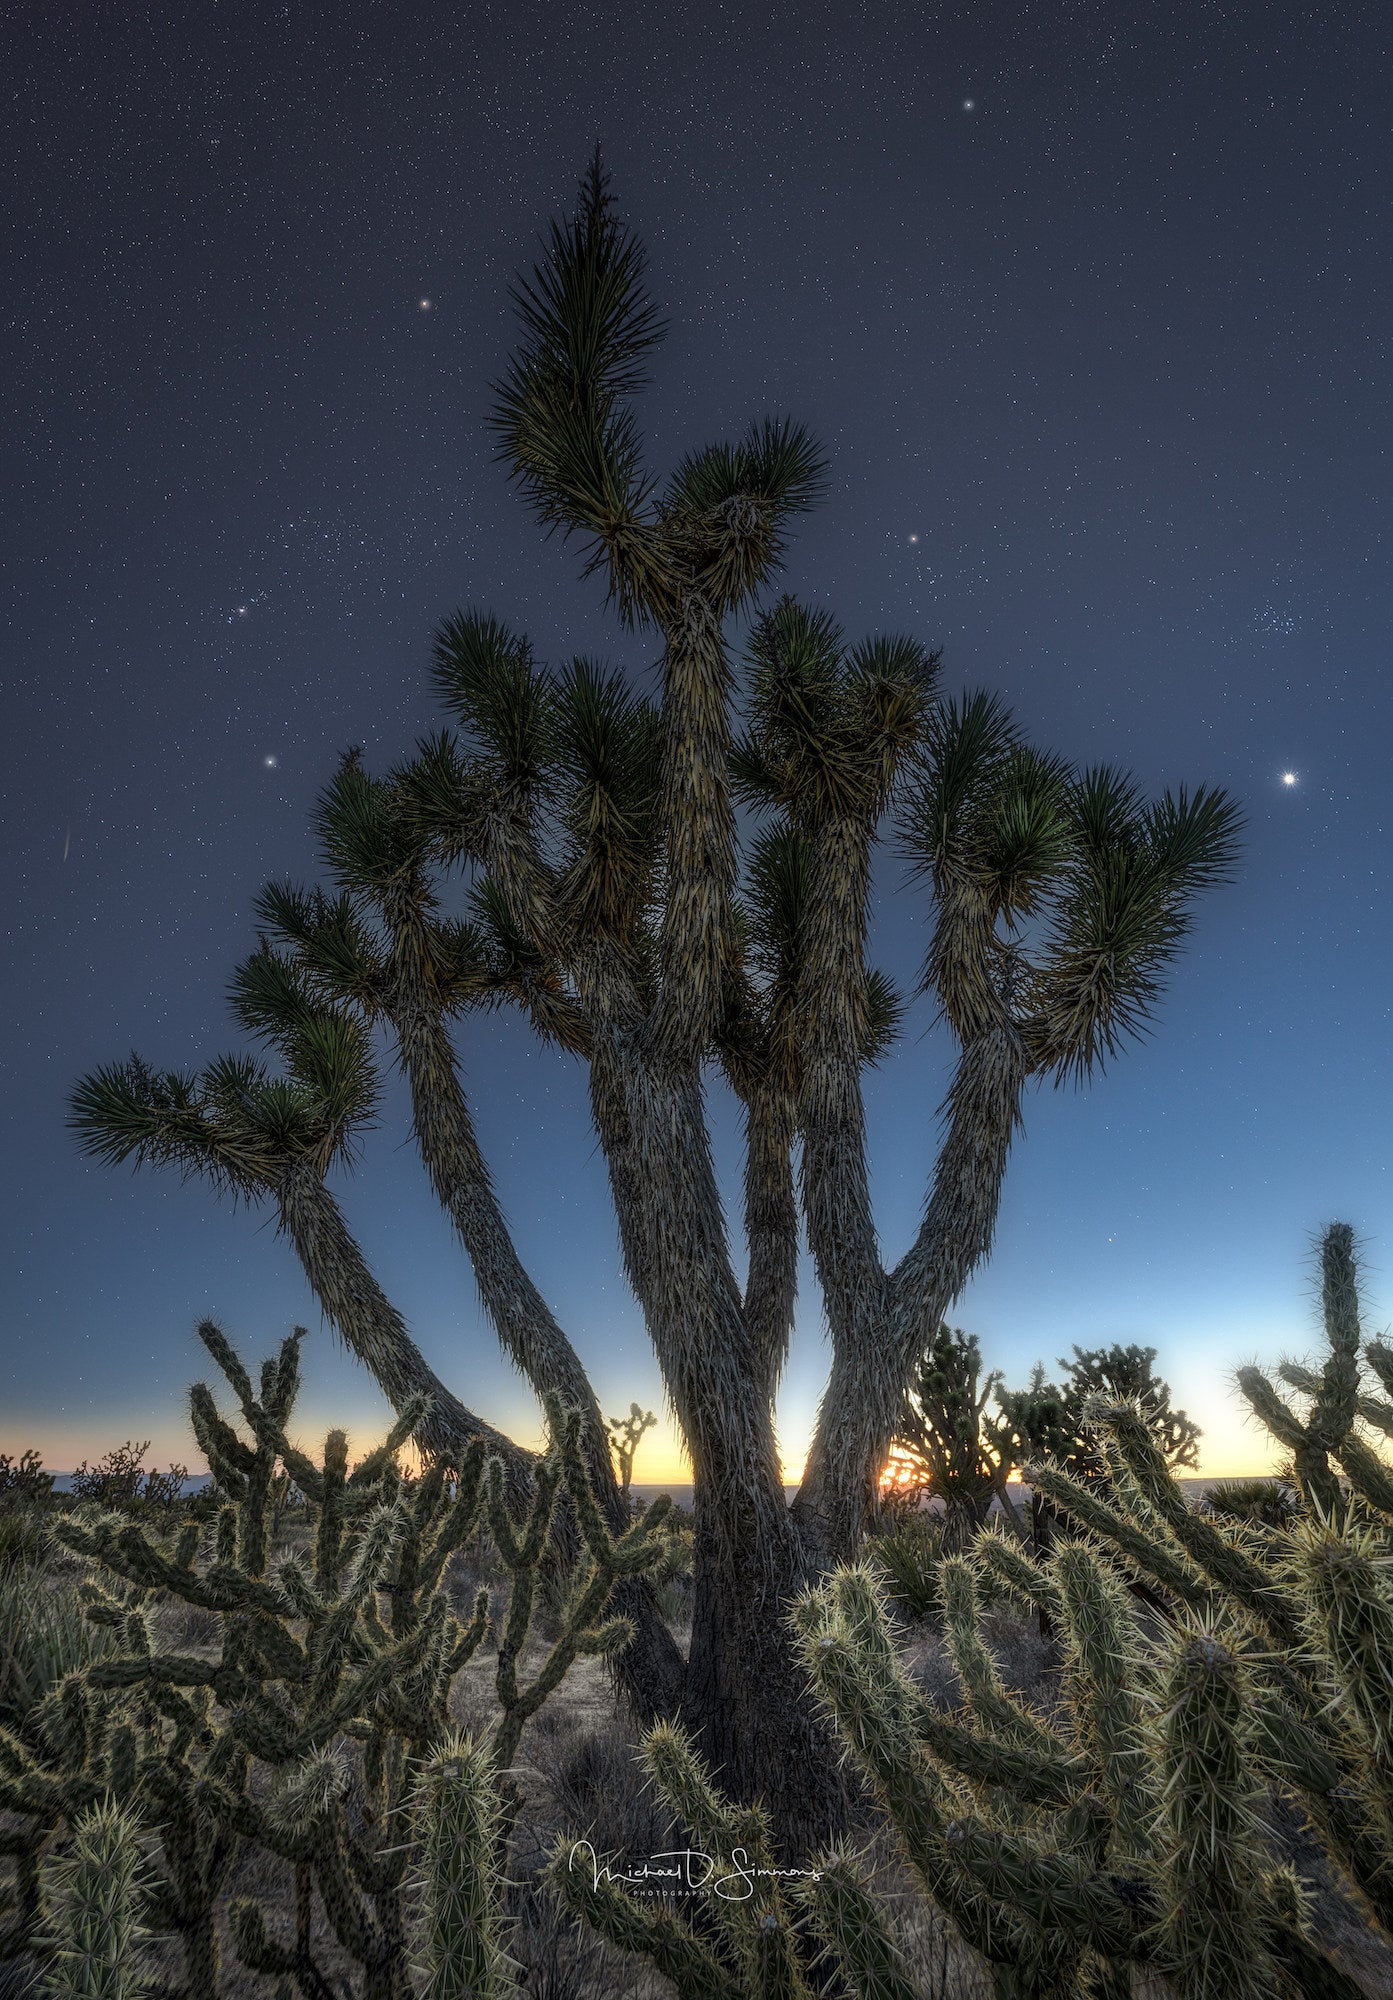
Photo by Michael Simmons. Sony Alpha 7R V. Sony 12-24mm f/2.8 G Master. 1/10-sec., f/11, ISO 80
By following these tips and utilizing the advanced features of Sony's Alpha cameras and lenses, you'll be well on your way to mastering night photography. Embrace the challenges and let your creativity shine through as you capture the enchanting beauty of the night.
