With what’s being dubbed the “Great American Eclipse” right around the corner on April 8, 2024, I (@mmeyers76) wanted to share a few tips and tricks I learned from shooting the eclipse with my friend Dan Marker-Moore (@danorst) in Chile in June of 2019 and highlight the gear to get you the best shots and footage. (You can see what we captured back in 2019 HERE.) As its name implies, on April 8, 2024 a total eclipse will be visible across 13 states stretching from Maine to Texas. There won’t be another total solar eclipse visible from the United States until 2044, so if you’ve ever wanted to see or photograph one in the U.S., now is your chance!
There are so many different ways to shoot an eclipse – but here I will just be focusing on how to capture a timelapse of the event. However, if you’re just planning on capturing photos of the eclipse, the setup and process will be nearly identical.
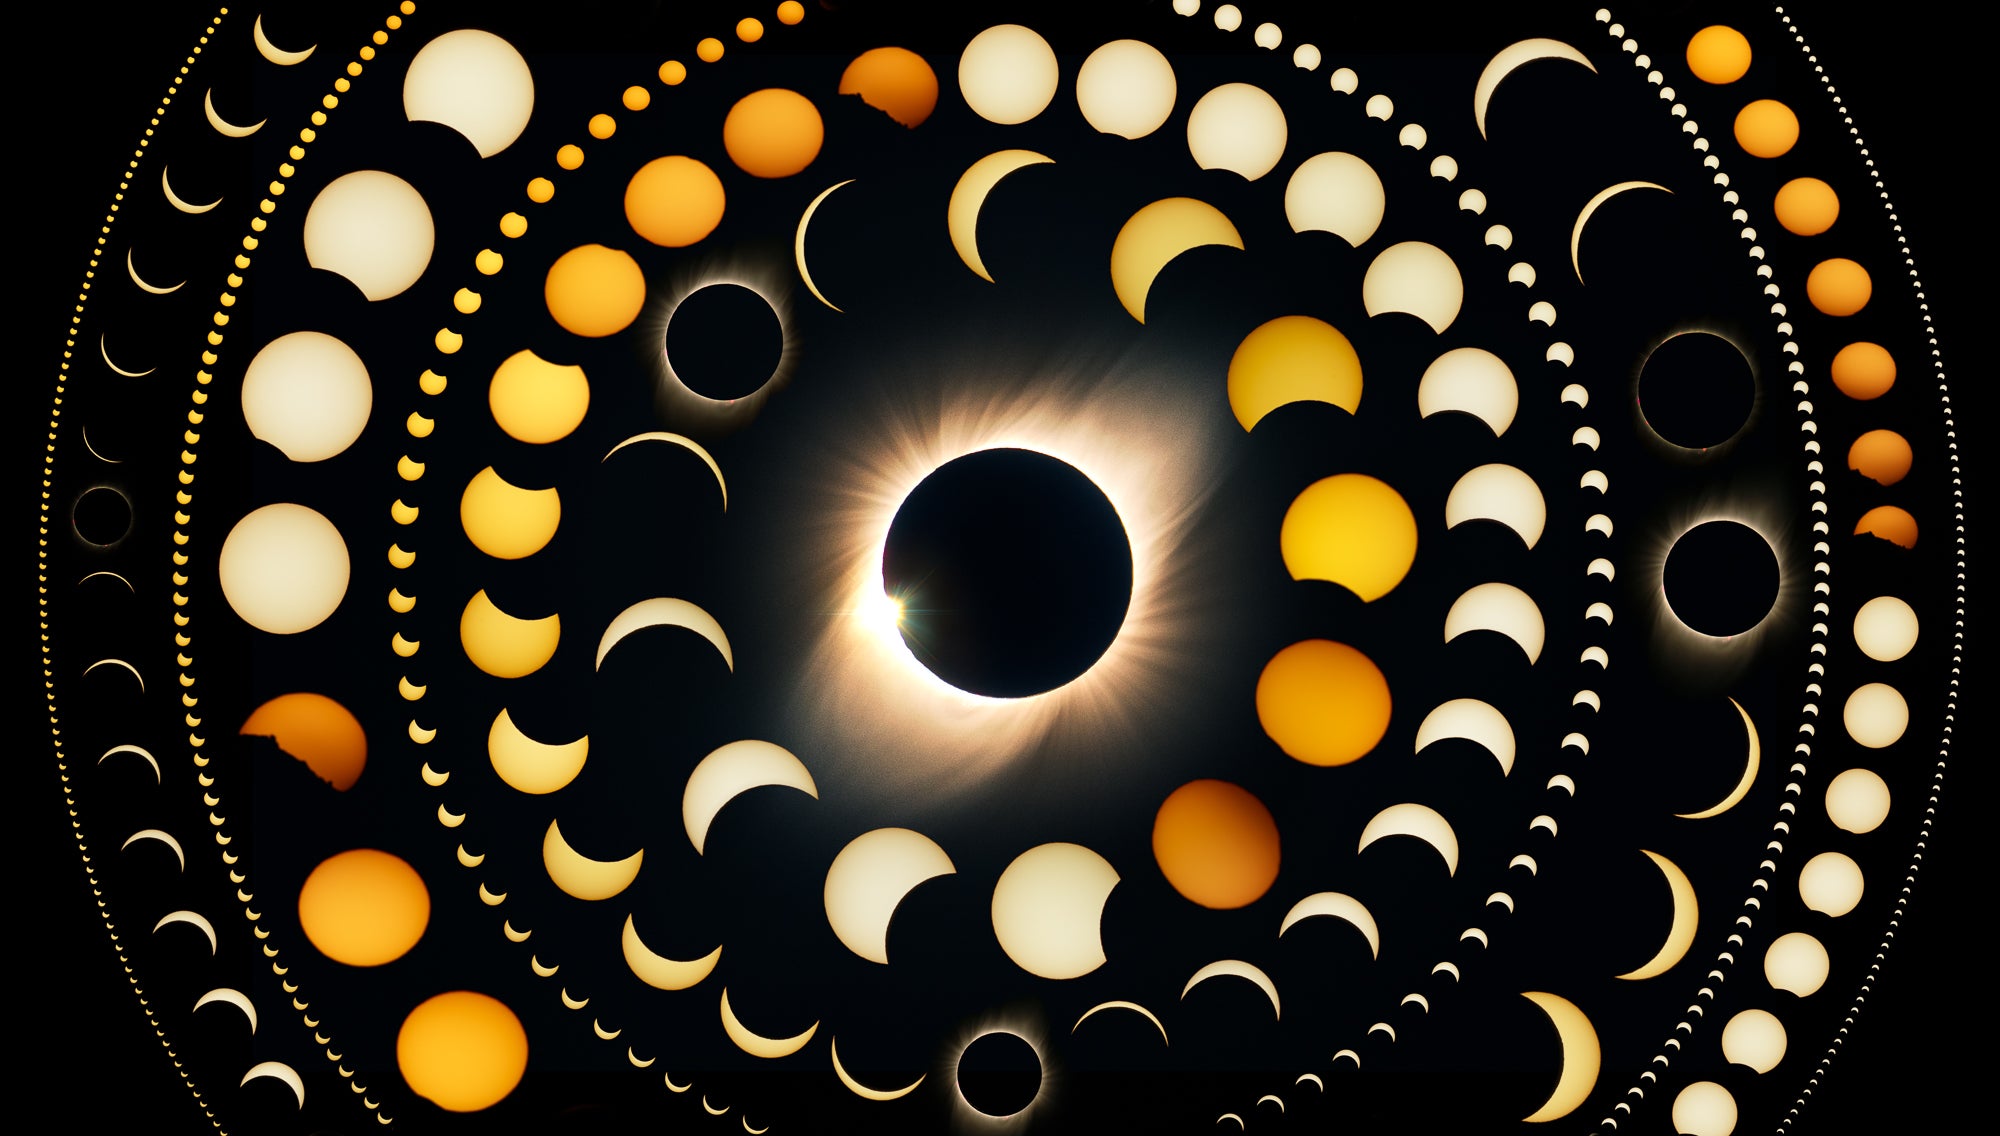
Timeslice from 2019 Chile Eclipse by Dan Marker-Moore & Mike Meyers.
A Note About Timelapses:
For those of you who aren’t beginners, you will likely want to skip ahead to “The Plan” section. But for those who aren’t very familiar with taking timelapses, a few details here might be of interest. Despite what you might think, a proper timelapse video isn’t just a sped-up video. It’s actually hundreds (if not more) photos strung together to create a video. Think of each photo taken as one frame of the video. Depending on the framerate you choose for your timelapse, there will be 24 or 30 frames per second of final timelapse video. For the purposes of this project, let’s just assume there are 24 frames for every second of the final timelapse video. So to create a 10-second timelapse video as your final product, you’d need 24 frames per second x 10 seconds = 240 photos.
The Plan
In Chile, Dan and I were a little more ambitious, bringing four camera bodies to capture several timelapses and additional video. (Editor's Note: You can see the gear they took to capture the 2019 eclipse HERE.) For this eclipse, I’ll just be using two cameras – one to capture totality with the sun and corona nearly filling the frame (very zoomed in), and another camera to capture a wider frame with foreground elements that establish the scene a bit more (a wider shot).
The Gear
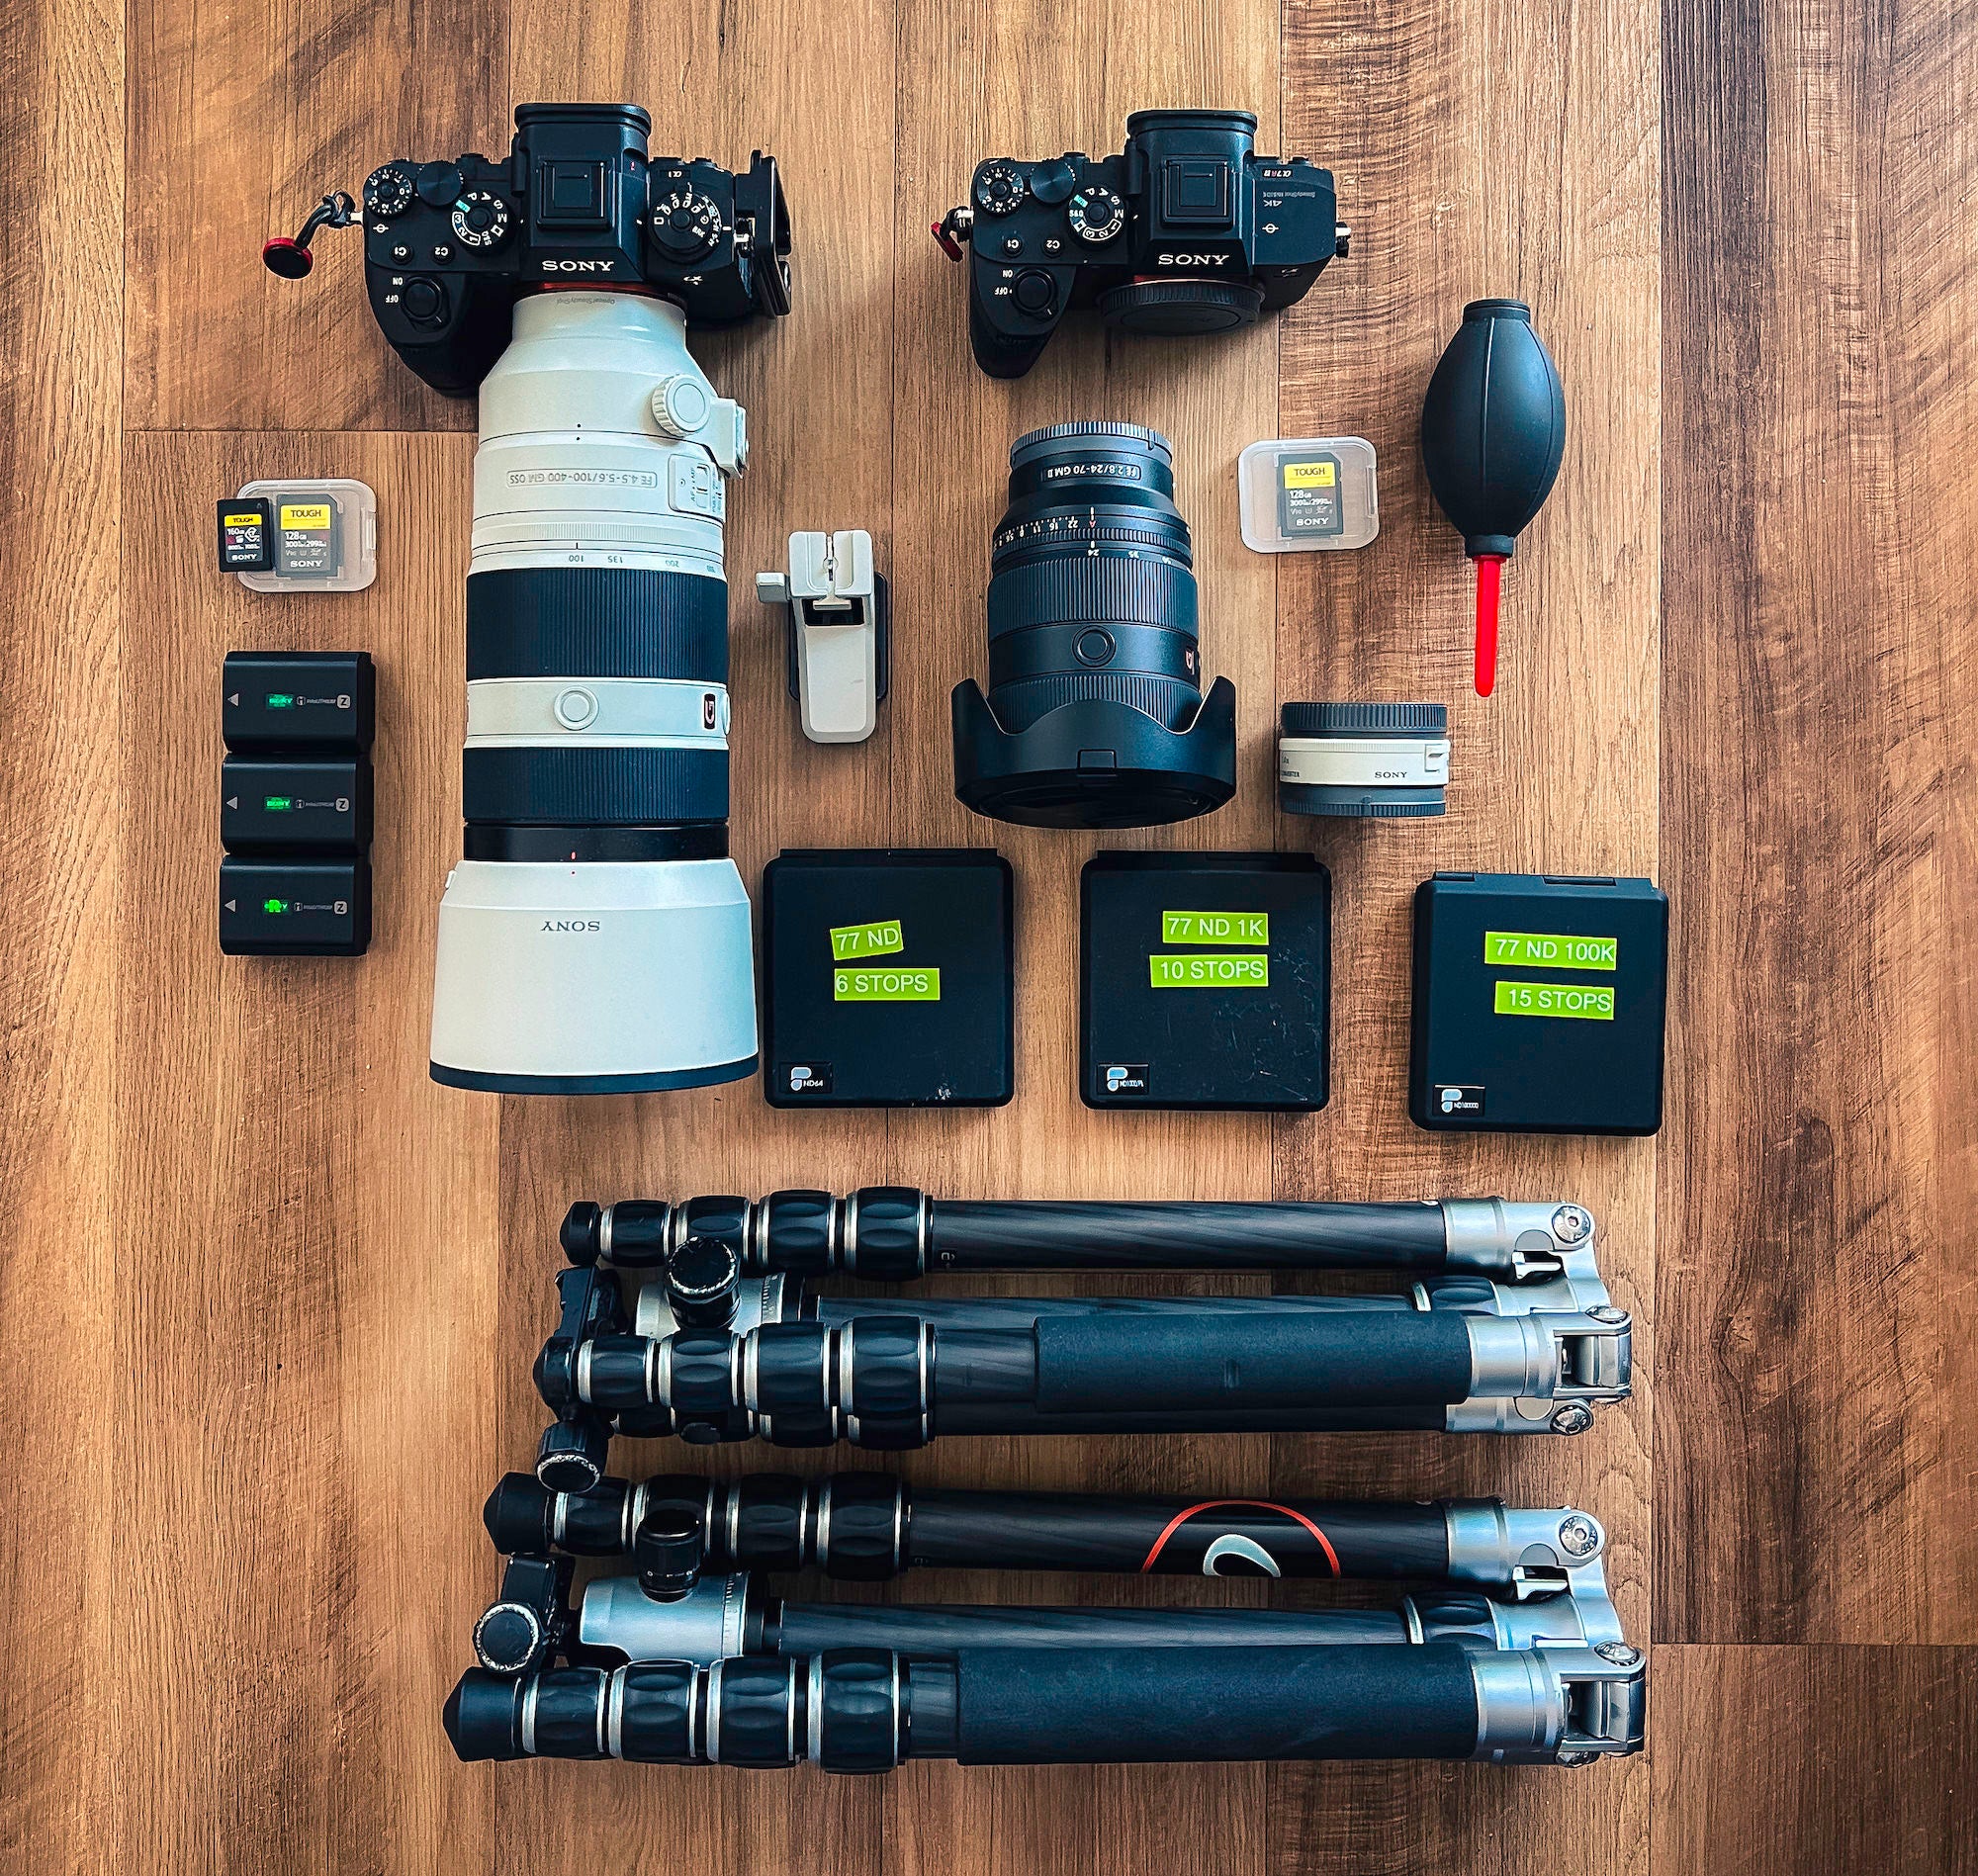
Here’s a breakdown of everything I plan on carrying in my bag:
Zoomed-In Timelapse
–Sony Alpha 1
–Sony 100-400mm f/4.5-5.6 G Master
–Sony 1.4x Teleconverter
–10-stop Polar Pro ND Filter
So many features of this camera make it the ideal tool for capturing a timelapse of an eclipse. The high-resolution 50MP sensor will give me the ability to crop in to the timelapse and see details and create movement in post if I like. The incredibly wide dynamic range is essential for controlling the massive disparity between light and shadow in the moments leading up to totality, and during totality itself. Normally for timelapses, I’d also be mentioning the built-in intervalometer, but since you’ll need to bracket your shots during totality, I will not be using the intervalometer to shoot the eclipse on the Sony Alpha 1.
Capturing totality with correct exposure is everything when you’re shooting an eclipse, and there are obviously no do-overs. Doing it properly requires bracketing your shots (shooting several continuous exposures at different shutter speeds to expose correctly for all parts of the scene).
The sun is still very bright just outside the edges of the moon. With the fastest exposure (quickest shutter speed), you can see details like sun flares and keep the detail in the highlights without blowing them out (overexposing). The rest of this under-exposed frame will be mostly black with no detail. The base exposure captures the majority of the corona that can be seen just outside of the lunar surface that’s obscuring it. The final exposure is the brightest (longest shutter speed), and captures details in the farthest reaches of the corona. When all three exposures are blended in the edit, you get a more detailed final image than would be possible with one exposure. These final blended images are what you will use for each frame of the timelapse video you create afterwards.
The Sony Alpha 1 has a bracketing mode that allows you to vary the number of exposures in each burst, and how varied from the base exposure you want the other shots to be. In Chile, we chose 3-exposure bursts with a variance of three stops. Since it worked well then, I’ll be doing the same on 4/8.
We captured all of our photos on this setup manually with a remote trigger, adjusting exposure settings on the fly as totality set in. This isn’t an exact science, so we did our best to properly expose the frames during totality "by eye" and relied on the wide range of exposures we got by bracketing to compile our final totality images and timelapse frames. The Sony Alpha 1 can be controlled remotely with your phone using the Imagine Edge Mobile app. This will allow you to take bracketed images without the inevitable camera shake that would happen from actually touching the shutter button while using a long lens. It is imperative that you use a remote shutter for taking images at high focal lengths (long lenses/very zoomed in), no matter how sturdy your tripod.
One thing to note about shooting the eclipse – before and after totality it is necessary to use an ND filter (we used a 10-stop ND filter) to prevent your sensor from being damaged while aiming directly into the sun. However, during totality itself, we removed our ND filters to allow for shorter exposure times to capture details as best we could. If you are not in the path of totality, I do not recommend taking the ND filter off your lens at any time. Just a sliver of the exposed sun could be enough to damage your sensor. Only remove the filter during totality if you are in the path of totality. Once it ends, it is imperative to replace the ND filter immediately to prevent damage to the lens and/or sensor.
Wider Timelapse Kit
–Sony Alpha 7R IV
–Sony 24-70mm f/2.8 G Master II
–10-stop Polar Pro ND Filter
To capture a bit more of the scene, I’ll be using my Sony Alpha 7R IV and the Sony 24-70mm f/2.8 G Master II lens. For this wider shot, the Alpha 7R IV’s built-in interval shooting mode is a lifesaver. You can set up for a timelapse in no more than a few seconds.
In aperture-priority mode, the shutter speed will auto-adjust to keep a proper exposure level during changing lighting conditions. This takes hours off the editing process of “Holy Grail” sunset and sunrise timelapses that would otherwise be wildly under or overexposed towards the end of the timelapse.
Accessories
(1) Sony 160GB CF-Express Type A Memory Card and (2) Sony 128GB SF-G TOUGH Series Memory Cards: The last thing you ever want is being slowed down by the write speed of your memory cards, or the read speed when you need to quickly download files and edit after a shoot (as we did). These cards are awesome and let you fire away at will to get as much content as possible during the brief window to capture totality.
The Sony Alpha 1 has a bracketing mode that allows you to vary the number of exposures in each burst, and how varied from the base exposure you want the other shots to be. In Chile, we chose 3-exposure bursts with a variance of three stops. Since it worked well then, I’ll be doing the same on 4/8.
MeFoto Roadtrip & MeFoto Globetrotter Tripods: A great mix of portability and sturdiness, I’ve always had good results with both.
Polar Pro Filters: We had a wide variety of these (15-stop, 10-stop and 6-stop) to make sure we were covered for the Chile eclipse. I’ll likely just be using the 10-stop filter on 4/8, but will bring the others just in case.
(3) Sony NP-FZ100 Batteries: The eclipse doesn’t last very long, so chances are you won’t need a lot of extra batteries, but it’s always nice to have them. Thankfully these Sony batteries seem to last forever, even after years of use.
Sony 1.4x Teleconverter: If you really want to get the details on the corona and the sun flares (and you definitely do), don’t be afraid to give yourself a little extra help with a teleconverter. That extra 40% of zoom gives you a lot more to play with.
Rocket Air Blaster: These are a must wherever you shoot, but especially if you’re planning on shooting in exceptionally dusty environments, beaches, dunes, etc.
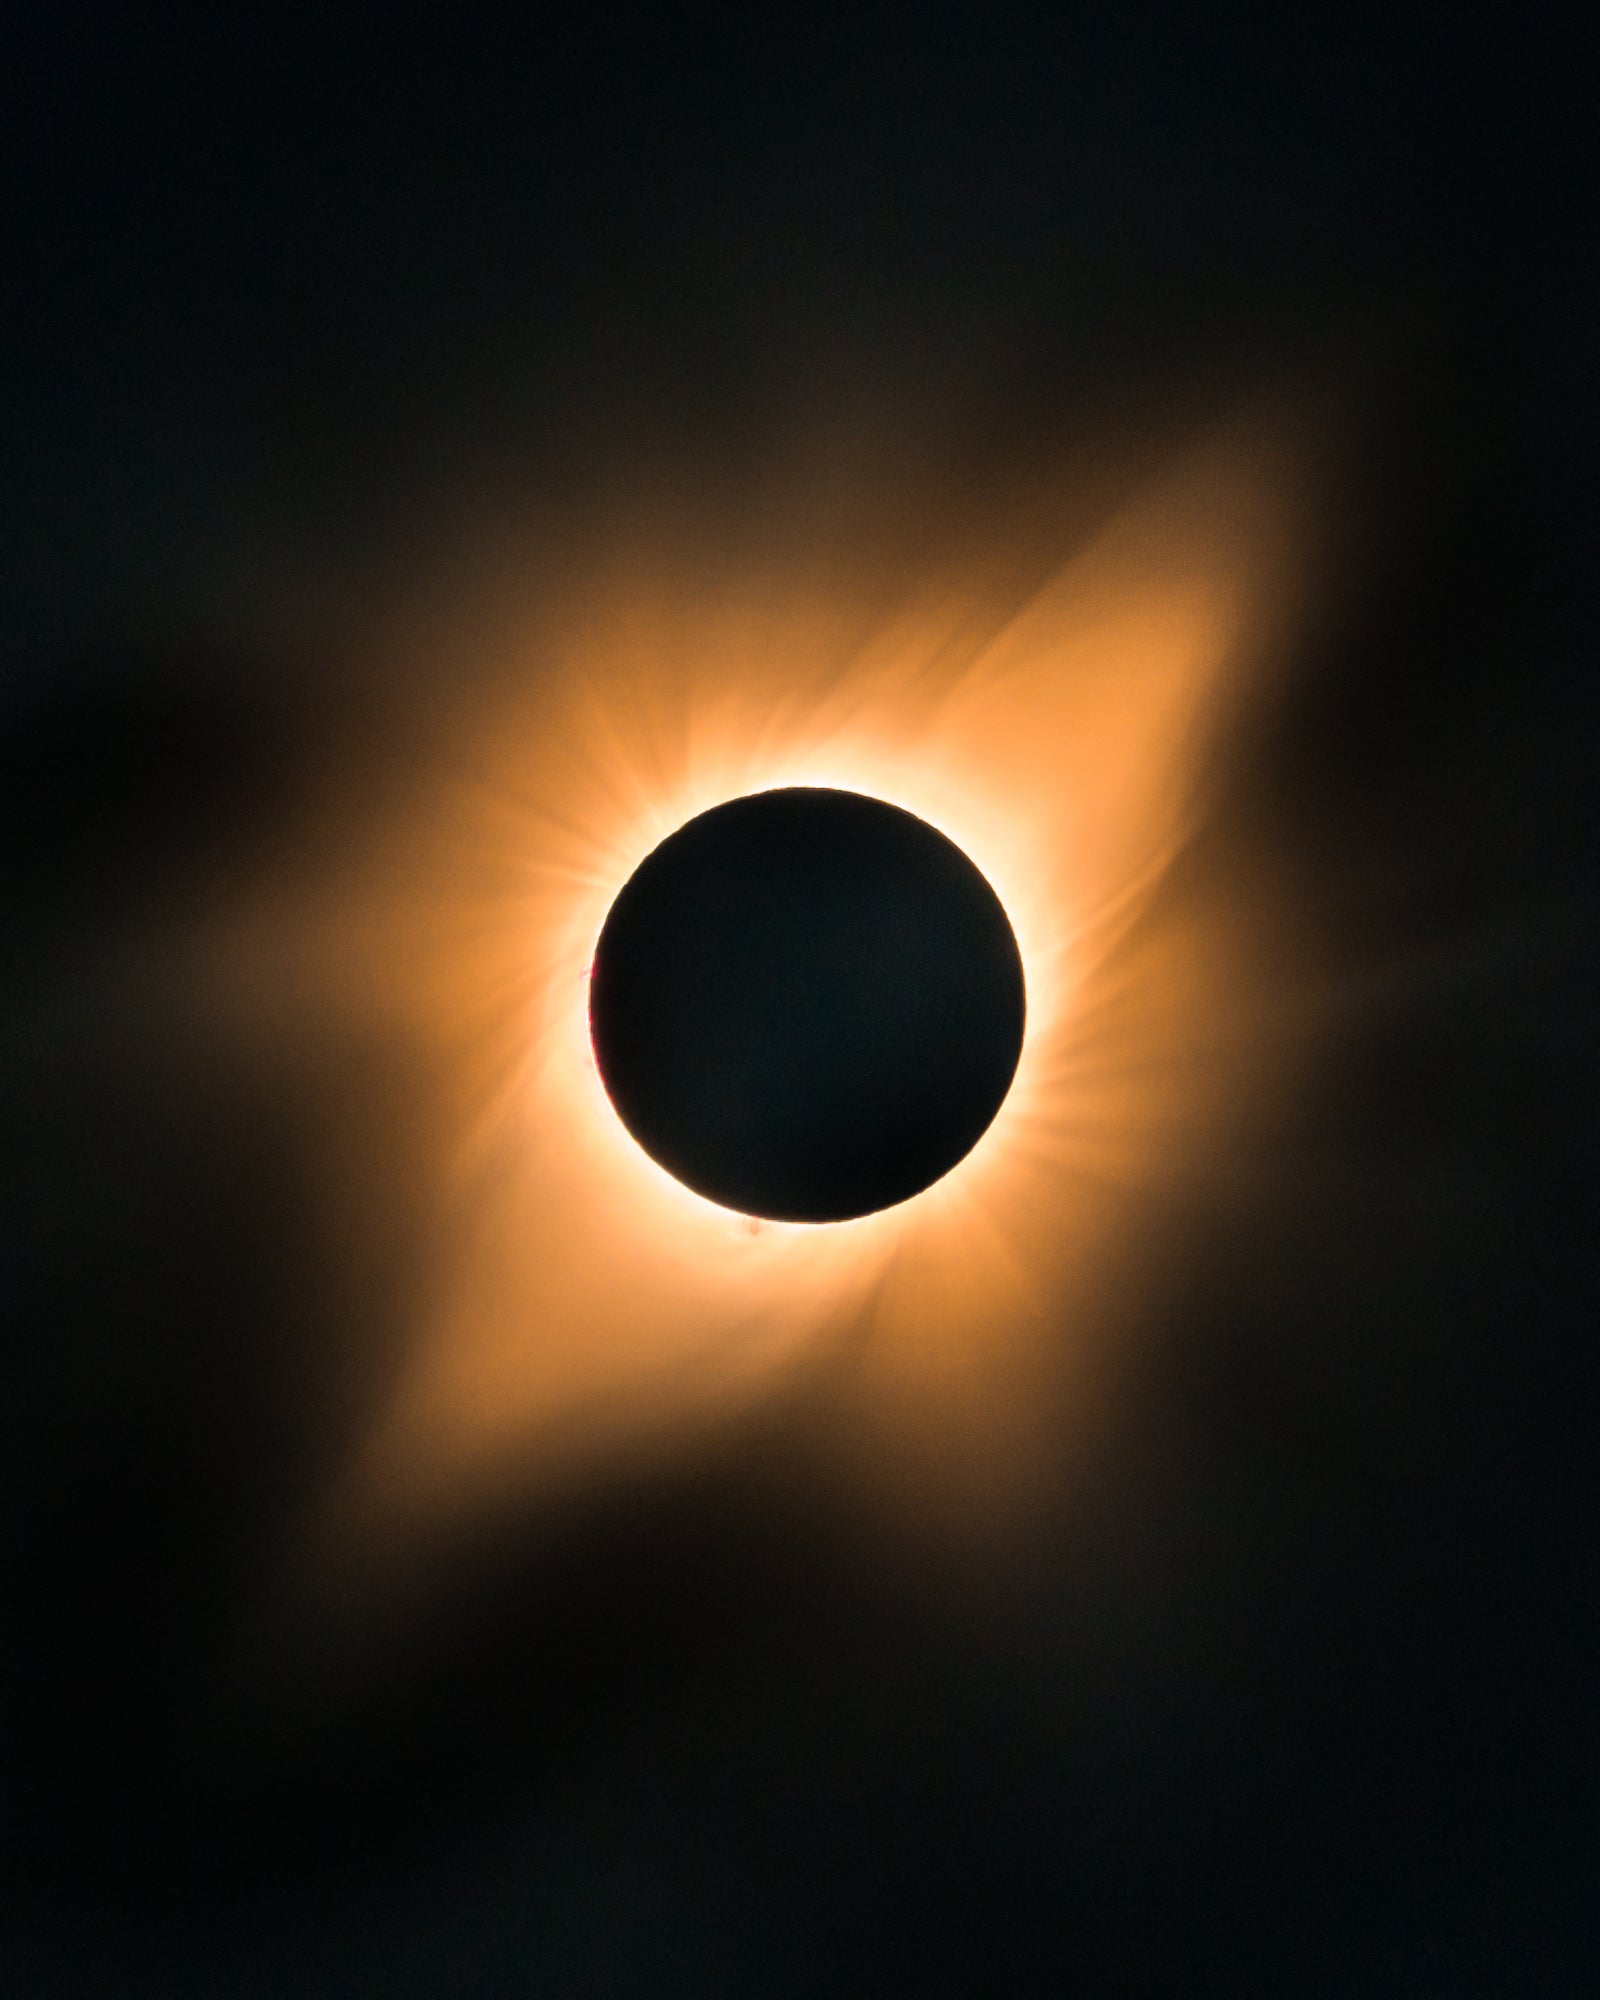
Photo from 2019 Chile Eclipse by Dan Marker-Moore & Mike Meyers. Sony Alpha 7R III. Sony 100-400mm f/4.5-5.6 G Master at 400mm. 1/25-sec., 1/16000-sec, 1/40-sec., f/5.6, ISO 1250.
One Final Note
You’ll hear a lot of people tell you it’s not the gear that makes the shot, it’s the shooter – and they’re absolutely right. Without doing proper research on how to shoot an eclipse in 2019, scouting for a week and running through our game plan together time and time again, no equipment would have saved Dan and I from disaster. We needed to be prepared to pull off a successful shoot.
That being said, properly preparing and having the best gear for the job is essential to maximizing your effort. When you want to make the most of your opportunities and have the shots you do take turn out as well as they possibly can, the best gear is always part of that equation. Dan and I were really excited with the images and video we created, and very thankful to have the Sony gear to help us realize our vision. Hopefully the lessons learned from our trip will help put you in a position to capture some incredible images and create an amazing eclipse timelapse of your own!
More Eclipse Resources From The Alpha Universe
When and where to photograph it, what to pack, and more. It's all in A Complete Guide To Photographing The April 8 Solar Eclipse.
We caught up with Sony Brand Ambassadors Nate Luebbe (@nateinthewild) and Autumn Schrock (@autpops) to get some of their quick tips for preparing to photograph the total solar eclipse in Solar Eclipse Photography Checklist: 5 Quick Tips To Prepare. You can also learn more from the duo in their AMA in the Alpha Universe Community Forum.
Capturing stunning photos of a solar eclipse with a camera can be an exhilarating experience, blending the marvel of celestial events with the power of cutting-edge technology. This guide from Sony Artisan Andrew Geraci will help you do just that. Learn more in How To Timelapse The Solar Eclipse.
Remember the August 2017 solar eclipse that crossed the country? Well, a lot of the same applies to this one. Check out our previous article on What You Need to Know to Safely Capture the Solar Eclipse.
How does a solar eclipse work? Is the weather going to cooperate? Learn more about how to answer these questions in Your Last Minute Foolproof Eclipse Guide.
As photographers know, taking the photo is only a part of the process. After you have your eclipse images, you’ll want to be able to edit them to take them across the finish line. Learn more about how to properly do so in our article from Sony Artisan Matt Kloskowski on Editing Eclipse Photos.
Sony photographers Dan Marker-Moore and Mike Meyers traveled to Chili in 2019 with a massive plan on the different ways they wanted to capture it. Read more about their plan and the gear they used in Eclipse 2019: Capturing Totality and In Search of Totality: How A Pair Of Creatives Are Capturing The 2019 Total Eclipse.
Sony Artisan Patrick Murphy-Racey photographed a previous eclipse, and he explains his complete photography approach in A Long-Lens, Three-Camera Approach To The Eclipse.

