We're working with Sony Artisan Brooke Shaden for #WhiteWallWednesdayPortraits challenges, where each Wednesday you take a portrait against a blank wall and use it to create something new. Throughout the challenge Shaden will show her own White Wall Wednesday results along with a video that walks you through her entire workflow from start to finish. Last week Shaden showed us how she edits herself onto a rooftop and we spotlighted a #WhiteWallWednesdayPortraits photo by Elizabeth Green. This week she shows us how to transform your bathroom into a surreal dark photo. Watch the video below and keep scrolling to go behind the scenes for this week's spotlight photo by Stacy Honda.
#WhiteWallWednesdayPortraits Spotlight
My name is Stacy Honda (@stacyhonda) and I’m a fine art photographer. I started about five years ago taking classes at a local photography school. As I learned about light and portraiture, my passion for creating began to grow. I started focusing on portrait photography and then turned the camera on myself to experiment with self-portraiture. I worked as a model for many years, so it felt pretty natural to use myself as a subject. When I came across Brooke Shaden’s classes on CreativeLive and her White Wall Wednesday series, it opened up a whole new world for me. She has been a wonderful inspiration. I love all different kinds of photography, but to be able to create something from my imagination that wouldn’t exist in real life is what really excites me.
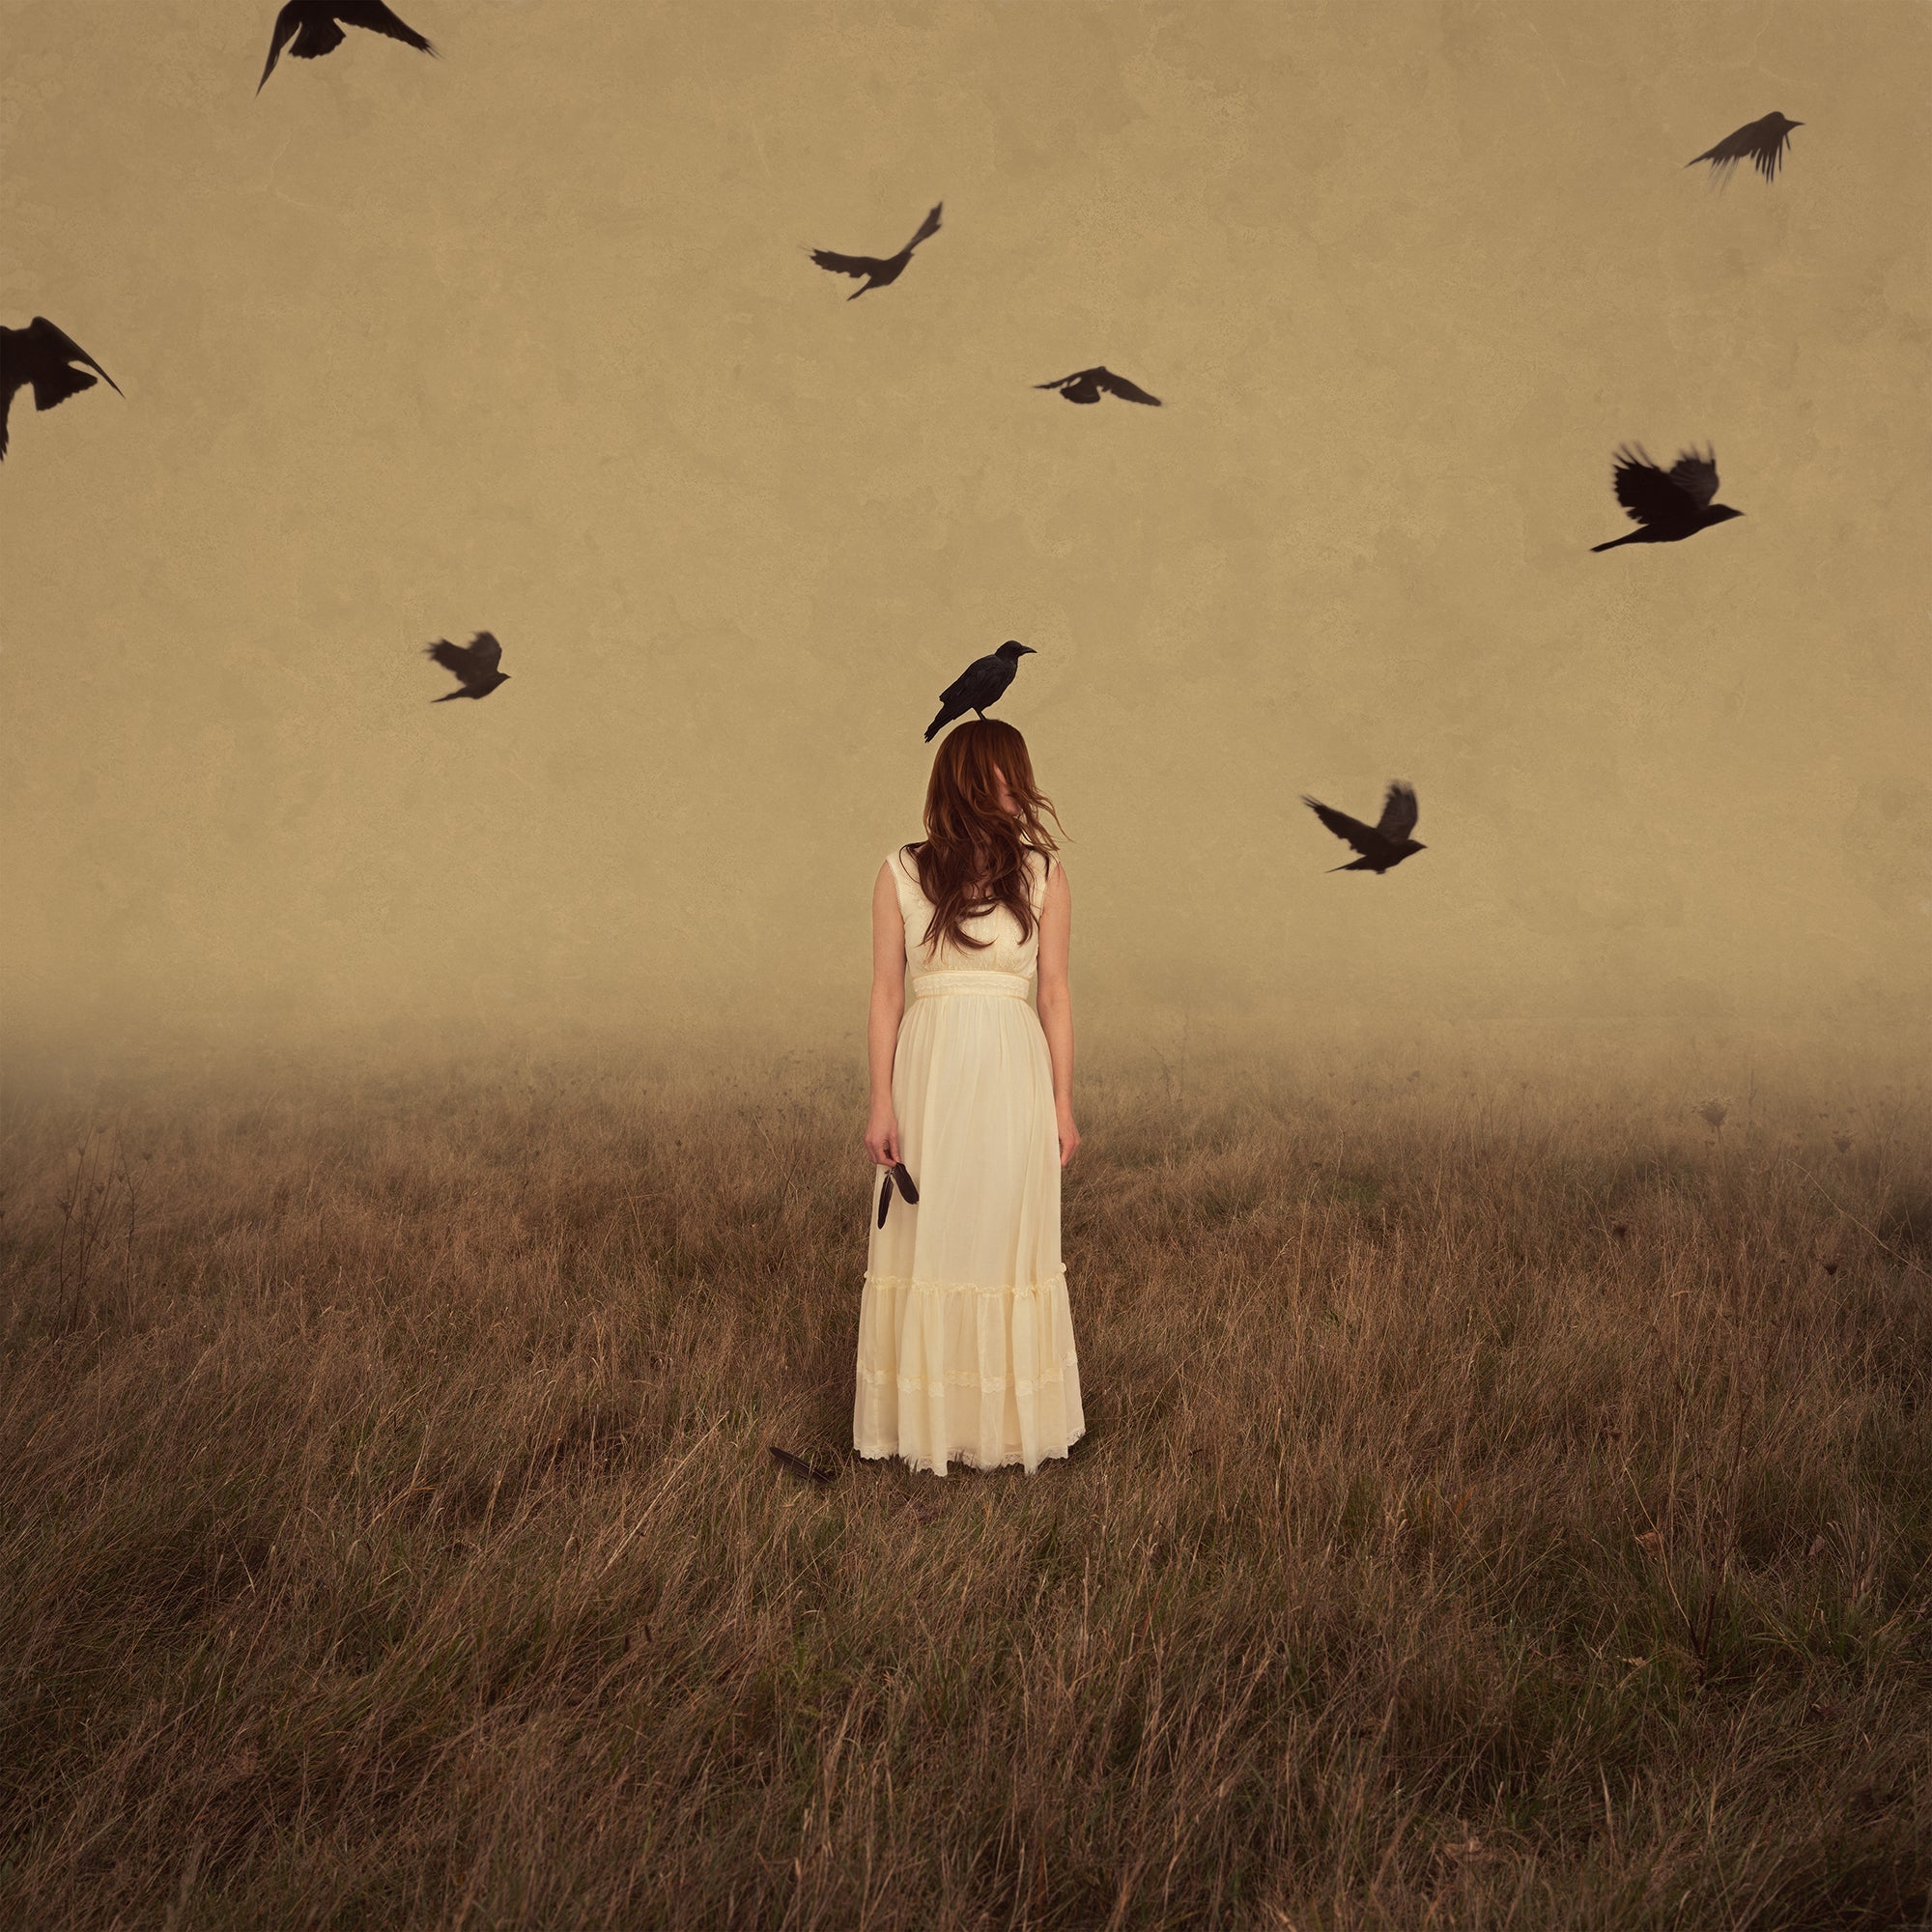
Photo by Stacy Honda. Sony α7R III. Sony 24-70mm f/2.8 G Master.
The Inspiration
I was inspired to create this image at a time when life was feeling a bit chaotic. Nothing bad was happening, it just felt like I had too many different things going on and I was finding it difficult to focus on what was important to me. I started looking through my collection of bird images and the one with the crows flying in all different directions looked like how my brain was feeling. To me this image is about finding clarity to see where your heart wants to take you.
The Gear
To create this photo, I used the Sony α7R III with the Sony 24-70mm f/2.8 G Master lens. The 42MP is fantastic for being able to print large sizes and gives me the ability to crop in a bit if I need to. The electronic viewfinder is very helpful when I’m outside photographing backgrounds and different elements. The lens is beautiful and versatile and is usually the only lens that I need. When indoors, I am usually shooting in a tight space so having that focal length range is perfect.
Shooting The Different Pieces For The Composite
I photographed the field that I used for the background at sundown when the light was very soft. I really loved the colors and the wild looking grass. My settings for the background was f/5.6 1/500 sec ISO 200 at 35mm.
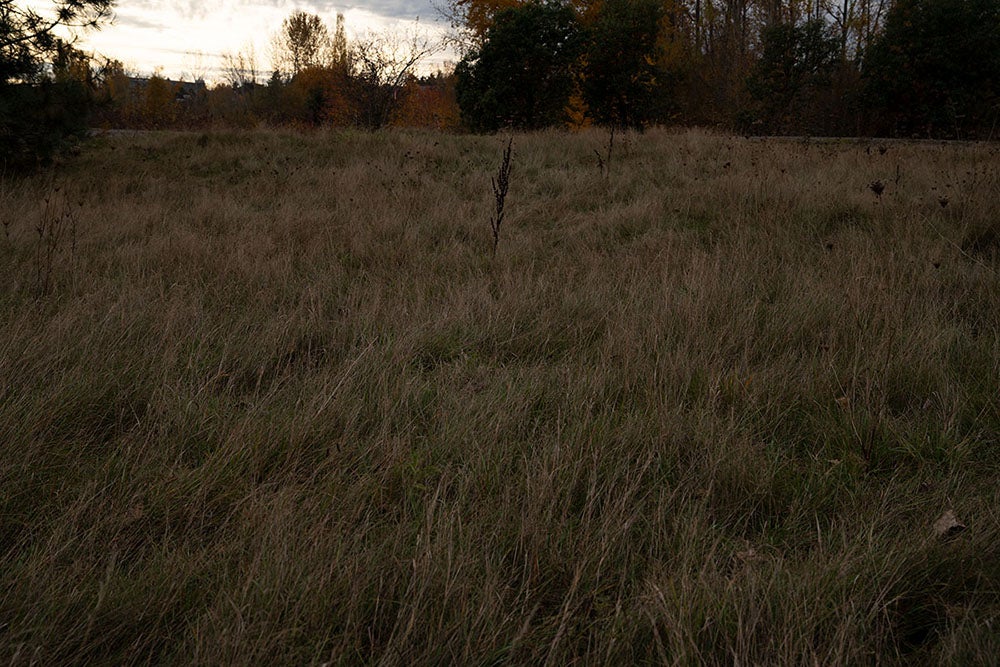
Photo by Stacy Honda.
The crows I had photographed on a separate trip to a beach on a cloudy day. There was a group of them and when I got a little too close they took off and that’s one of the photos I used for this image. I captured a photo of another crow that was hanging out on a fence nearby. It wasn’t until later that I got the full idea for this image.
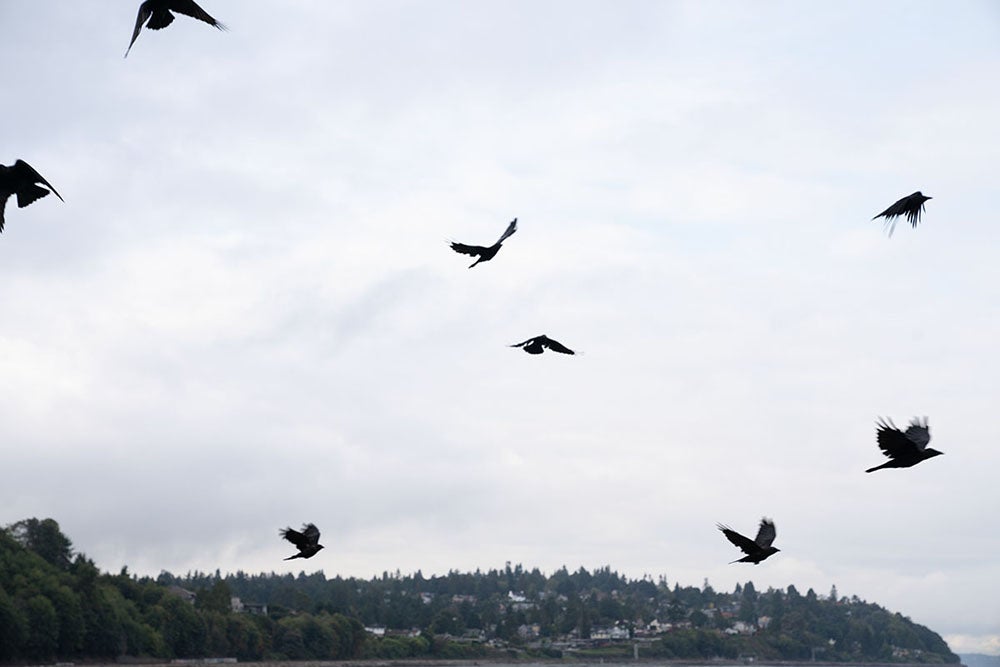
Photo by Stacy Honda.
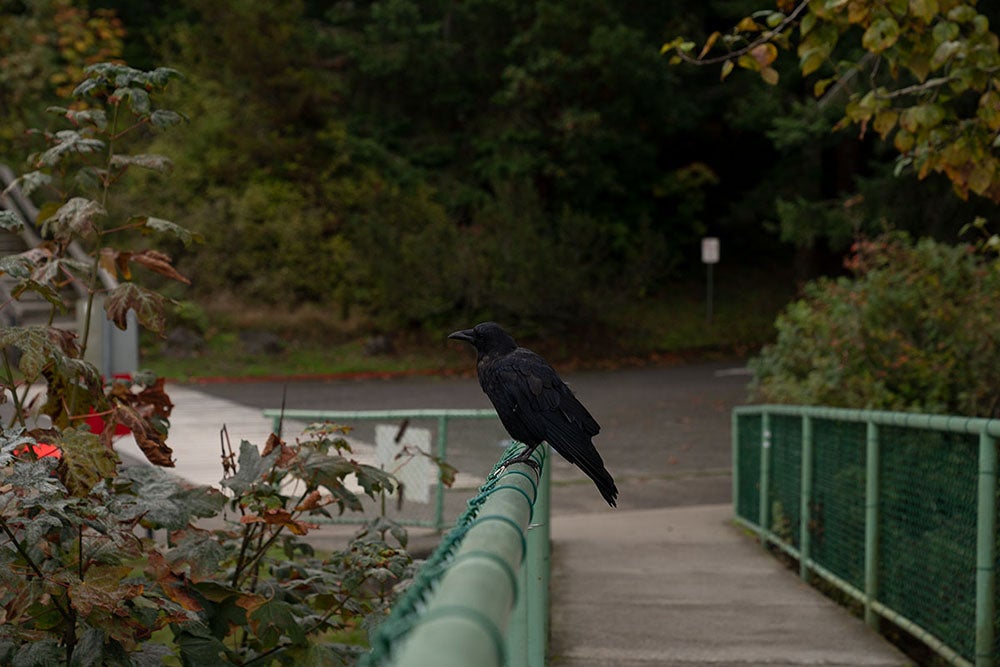
Photo by Stacy Honda.
For the subject I did a self-portrait. I photographed it at home in my office. I used a tripod and a remote. For lighting I used two strobe lights that I bounced off the wall and ceiling in front of me to get a soft, even light to try to match the light in the background photo. My settings were f/7.1, 1/160-sec., ISO 100 at 35mm. I took many shots for this, trying a few different dresses and my hair in a couple different ways to see what would fit the image best. It also took many quick head turns to get my hair moving the way I wanted. My neck was pretty sore the next day! I ended up with a main shot that I was happy with and used a couple pieces from two other photos for a little slice of hair and a section of the dress.
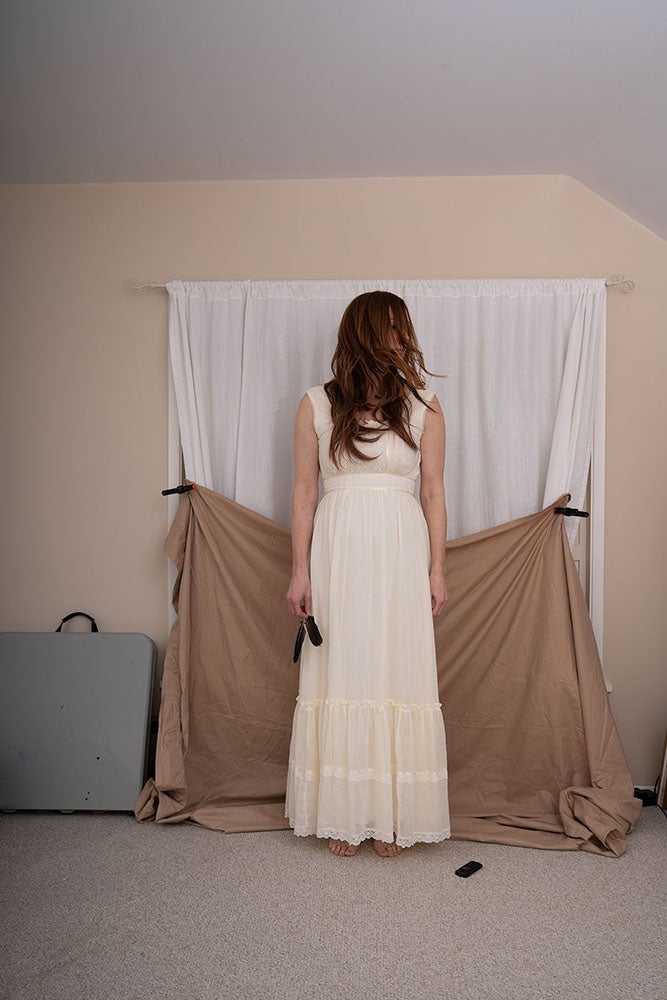
Photo by Stacy Honda.
Bringing It All Together In Post-Production
I used Lightroom to view and select the images that I wanted to use, then brought them into Photoshop to edit. I started with the field image as the background and expanded the frame upward. Then I chose a color from the existing sky and used it to paint in a new foggy sky on a blank layer. I copied and pasted my subject onto the background photo and cut her out using a layer mask and the brush tool. Then I copied and masked the crows into the image separately so that I could move them around individually. I added shadows under the subject using Curves layers. I also used multiple curves layers to dodge and burn, adjust contrast and adjust the color of the image. Then I finished it off with a texture to help bring it all together.
