We're collaborating with Sony Artisan Brooke Shaden for #WhiteWallWednesdayPortraits challenges, where you take a self portrait against a blank wall every Wednesday and see what you can turn it into using your creativity. It's a challenge you can do alone making it ideal for social distancing or if you're under coronavirus stay-at-home rules. Last week, Shaden showed us how she creates with textures and we spotlighted a #WhiteWallWednesdayPortraits photo by Maureen Denny. This week, Shaden’s back with a video to show you how she photographs herself inside and then composites it to an outside scene. Watch it below and keep reading to go behind the scenes for this week’s spotlight photo by Kristey Fritz-Martin.
We go behind the scenes of a #WhiteWallWednesdayPortraits image by photographer Kristey Fritz-Martin and Brooke Shaden shows how she photographs indoors to move it outdoors.
#WhiteWallWednesdayPortraits Spotlight
My name is Kristey Fritz-Martin (@my_artistic_journey) and I’m a full time, fine art self portrait photographer who lives in small-town Idaho. I’ve been a professional photographer for over 20 years. I made the image shown below to fit in with my "I Was There Too" project. I started that project two years ago to explore the art of self portraiture and it sparked an incredible drive and passion in my work, propelling me to create more artistically through my photography and fine art conceptual work.
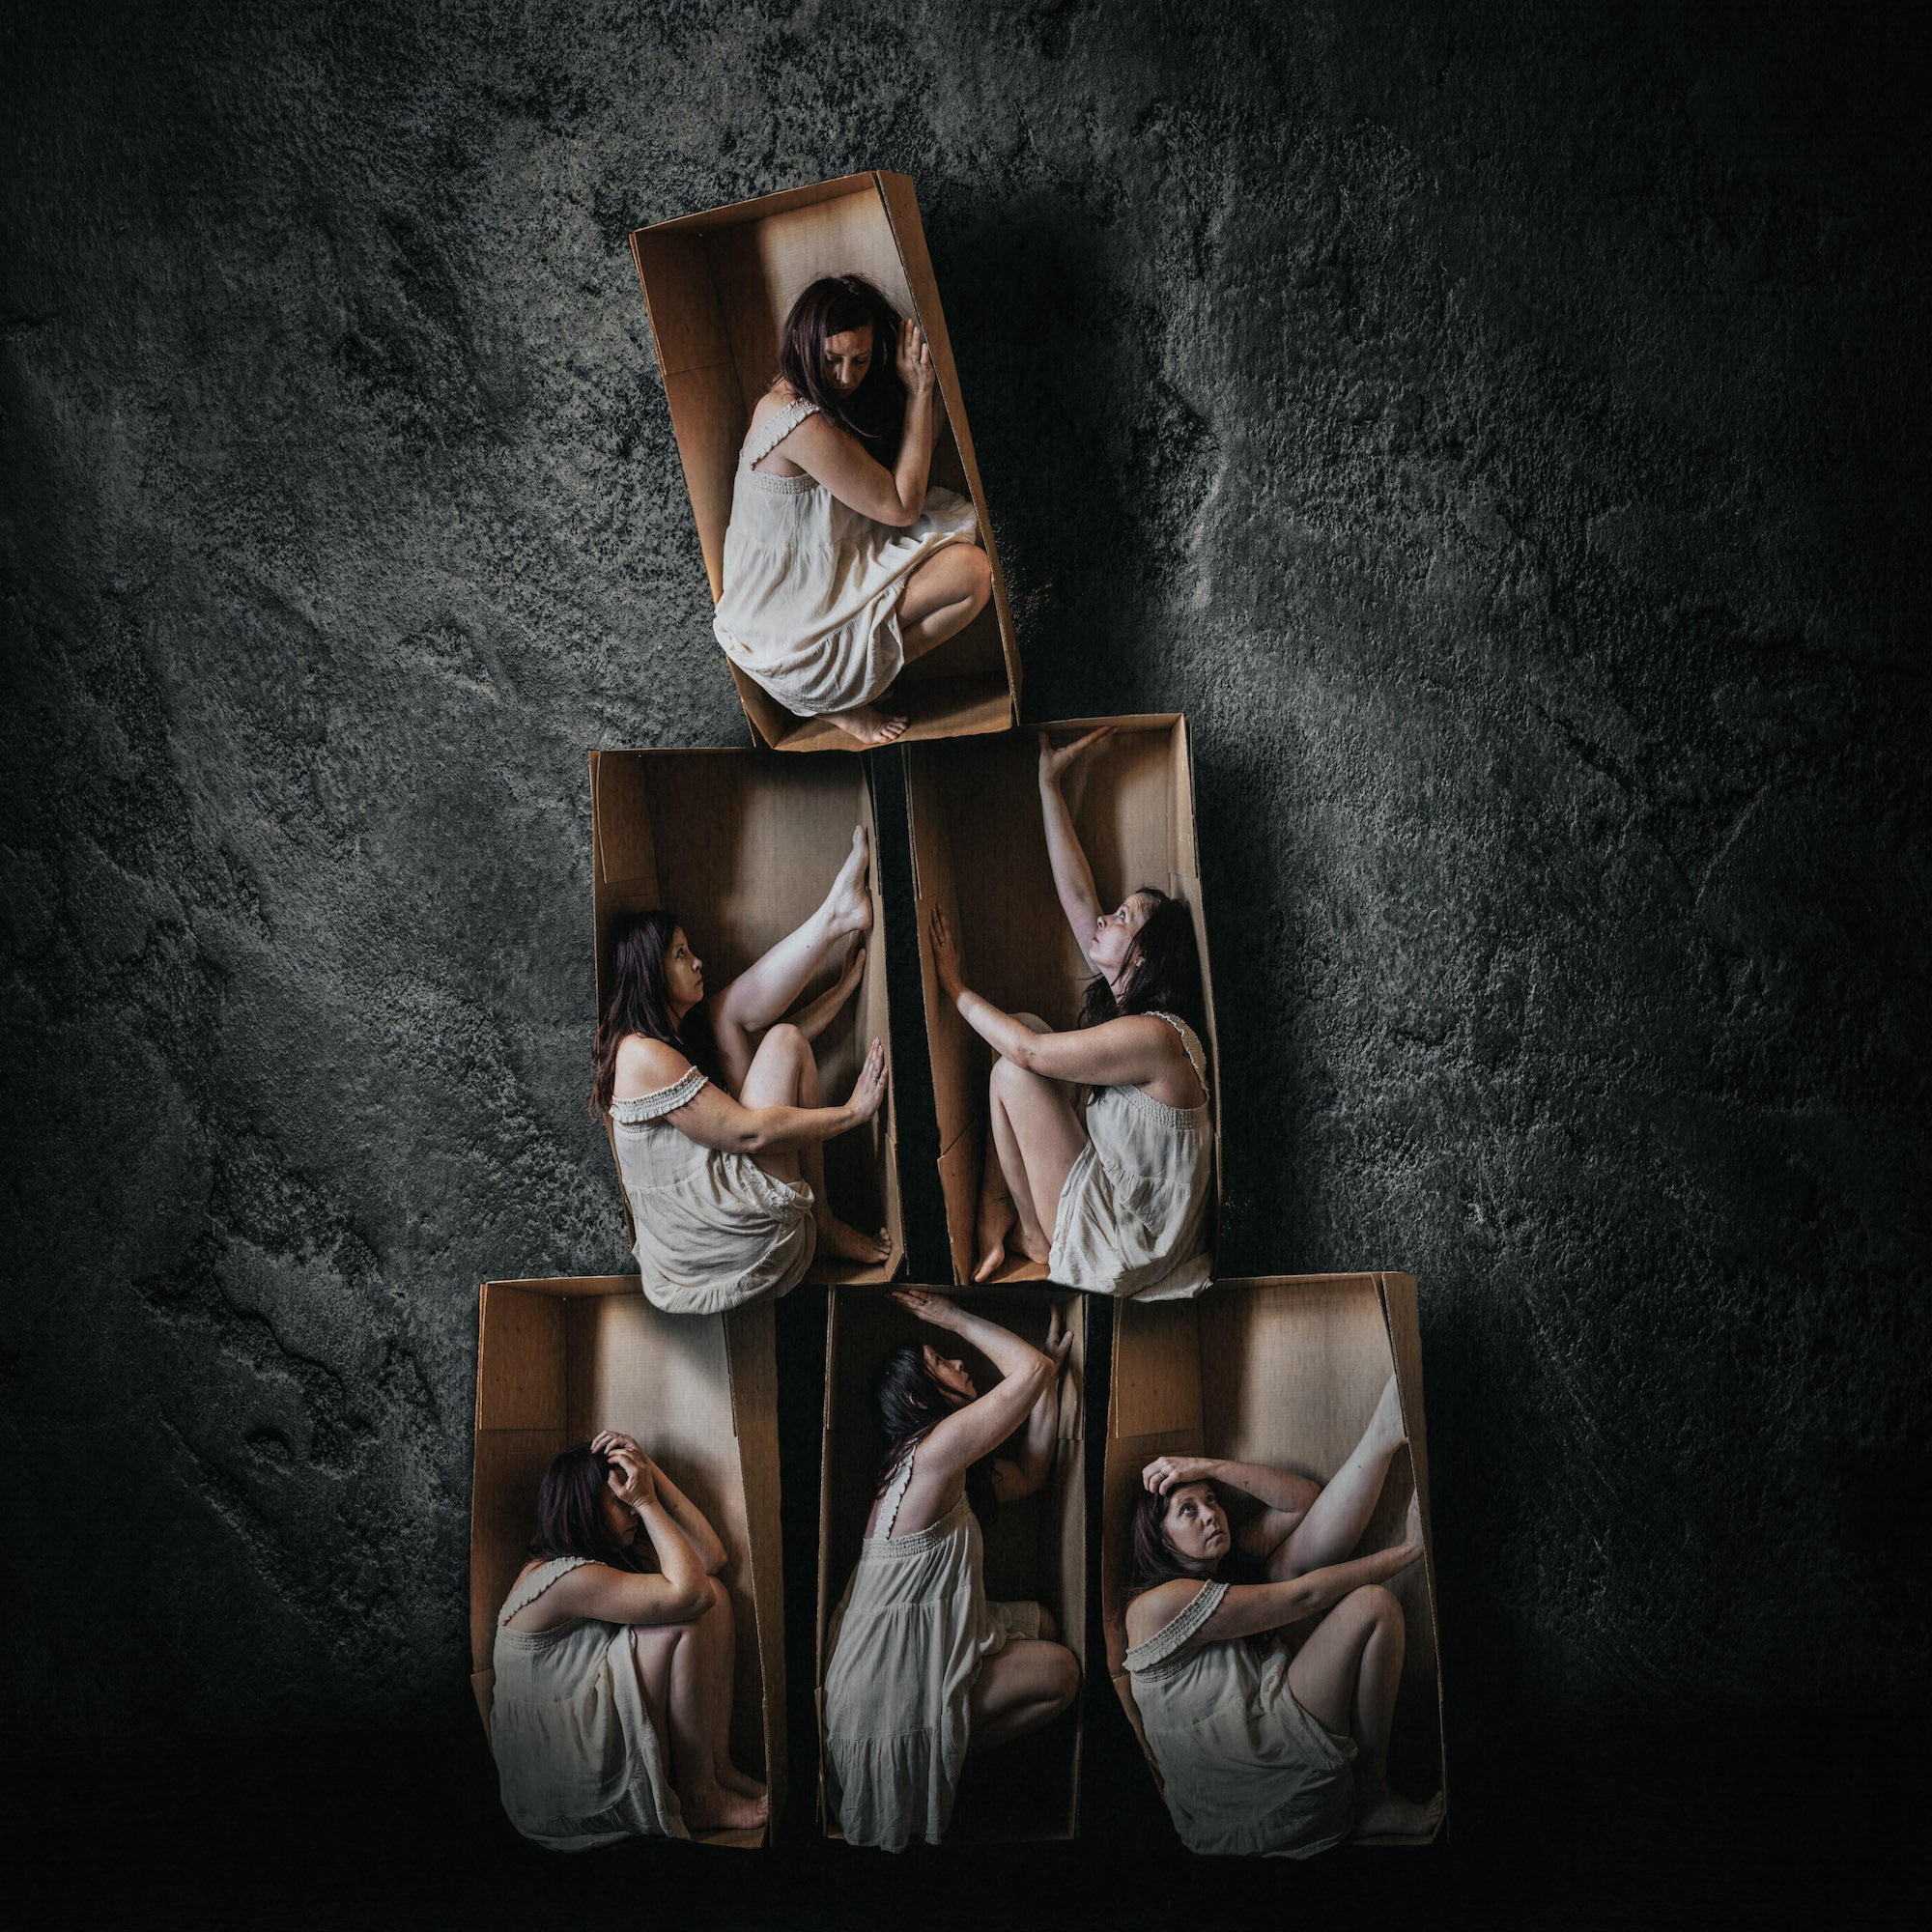
Sony α7 II. 1/1600-sec., f/2, ISO 1600
The Inspiration
The box idea was a concept I came up with to symbolize feeling trapped within one's own decisions/situations and not feeling like you are able to break free as well as the notion that sometimes we all get a little trapped in our own heads and trying to think outside the box can become a true challenge. I knew I wanted to utilize something that was very easily recognized and "common" in many people's lives, especially right now. I am very passionate about being able to create art with little to nothing in the way of props, emphasizing that art is something that doesn't have to be extravagant or expensive to be impactful.
How I Got The Shot
I set this shot up in a small space in my office/bedroom area where I have a blank wall of windows against one side. I then thumb-tacked a plain black sheet to the wall to block the backlight and create a neutral backdrop that I knew contrasted with my skin tones and the box itself (knowing it would be easier to remove and manipulate in post-processing later.) I knew, for dramatic effect, I wanted the image to be side lit so it would add depth to the composited image once the layers came together, so I positioned the box at an angle so the natural light from one of the windows would fall halfway through the box and myself.
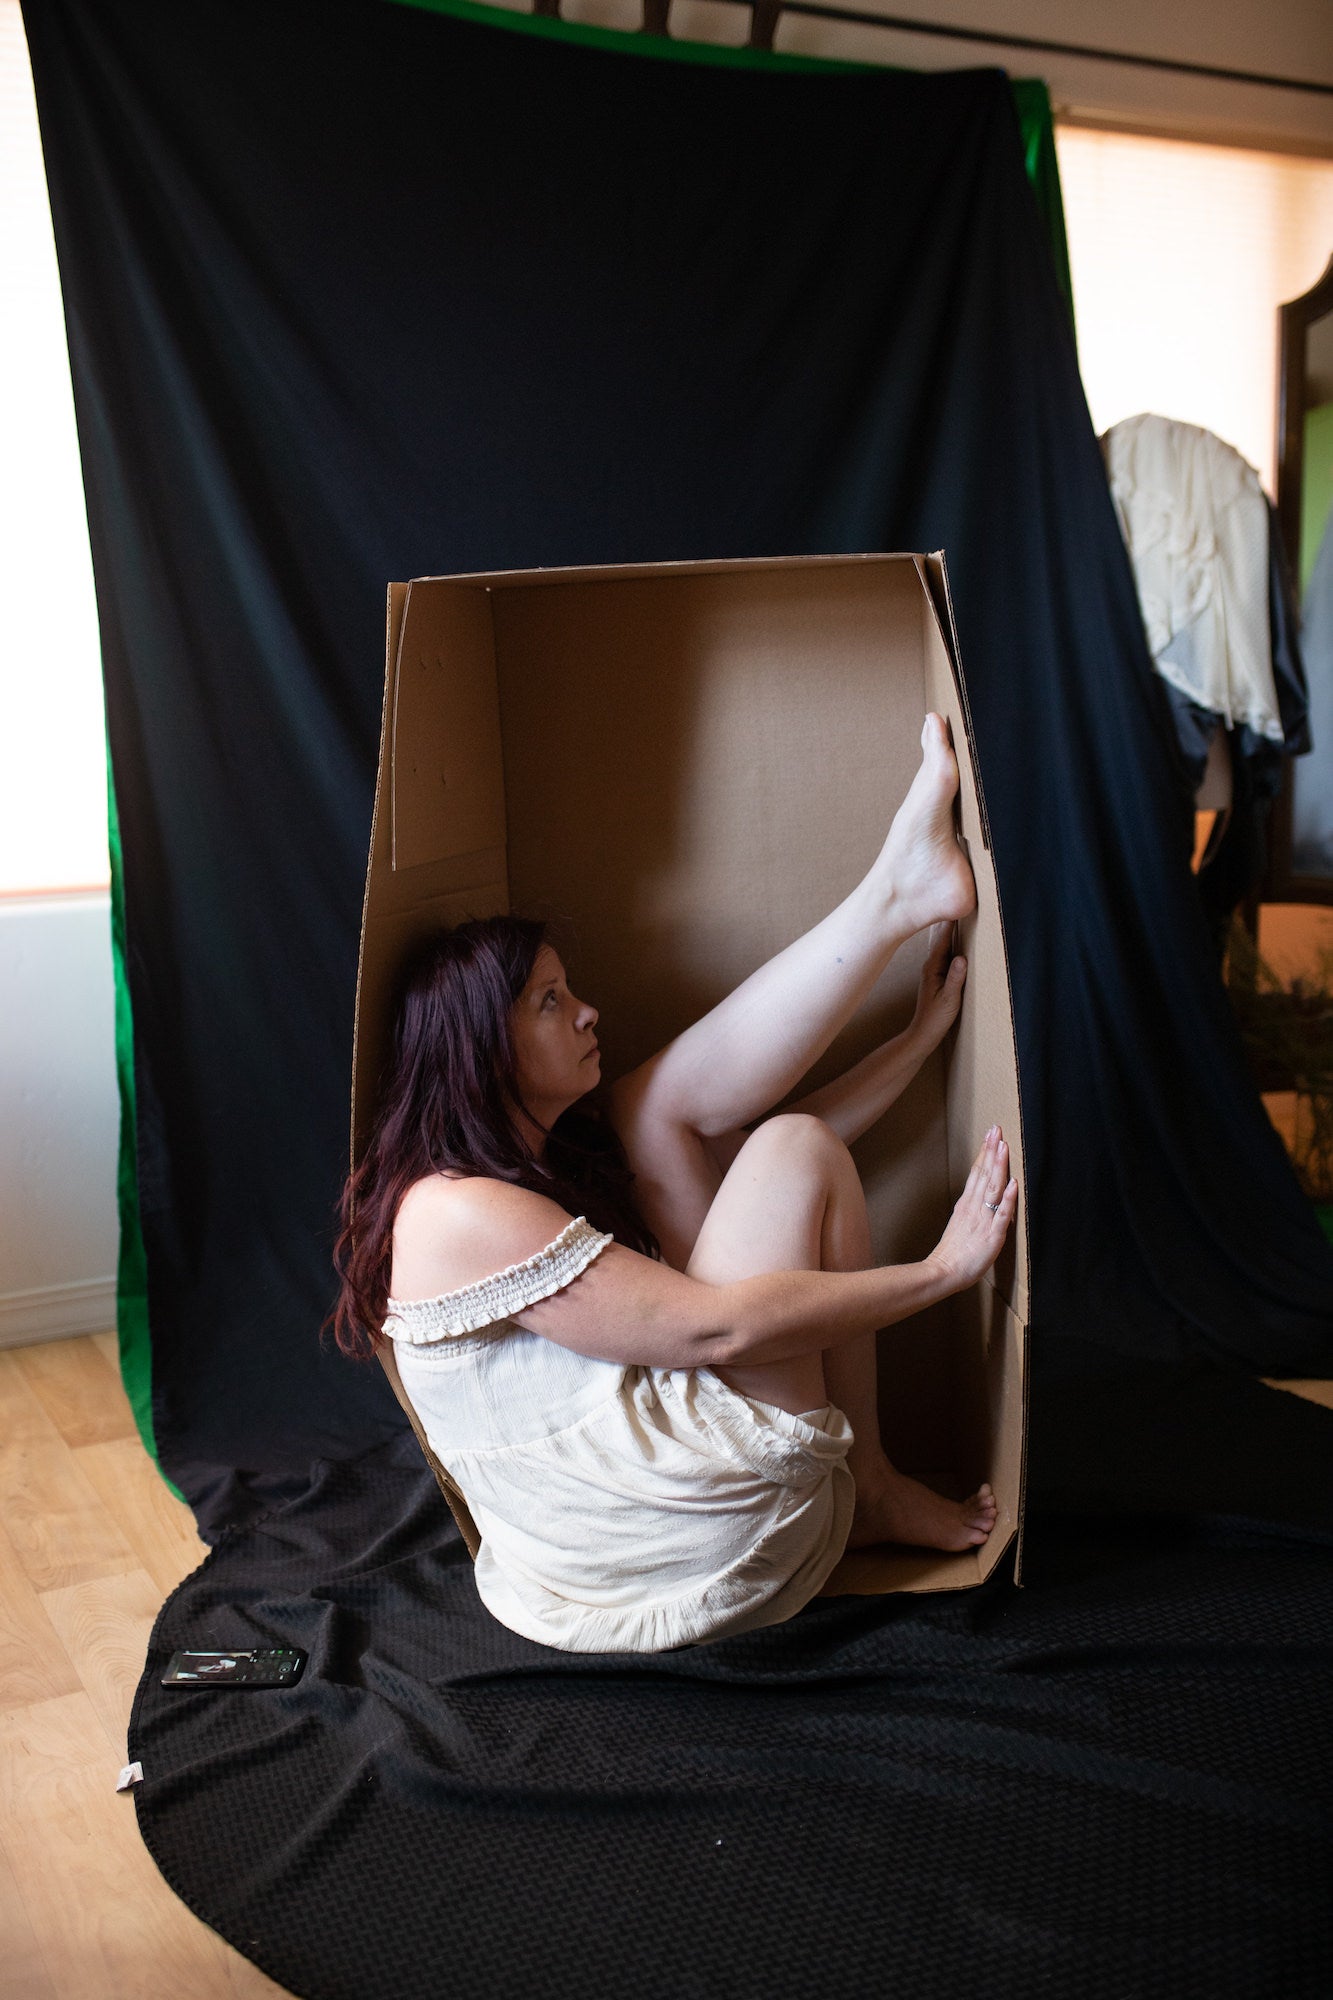
Once I had my backdrop, box and lighting in place, I sat my tripod up with my Sony α7 II and 35mm lens and connected remotely via the Sony Image Edge App on my iPhone, making it super easy to control all my settings via the live view on my phone. I generally have my camera set to Continuous Shooting with a Low Continuous Shooting Speed and once I locked focus through the app, I was able to toggle the remote shutter to the left within the app and take a continuous burst of images, so I can be hands free while moving around within my frame. Once I had myself all situated and my shutter released I began to contort and reposition myself within the frame while the camera and app continuously shot.
For this image I did a burst of 42 different images to make sure I had enough unique poses and angles to tell an interesting story in the final image.
My settings for this image were 35mm - f/2.0 - 1/160 - ISO 1600 (which is something else I LOVE about my Sony because I can crank that ISO up there and not even begin to worry about noise.)
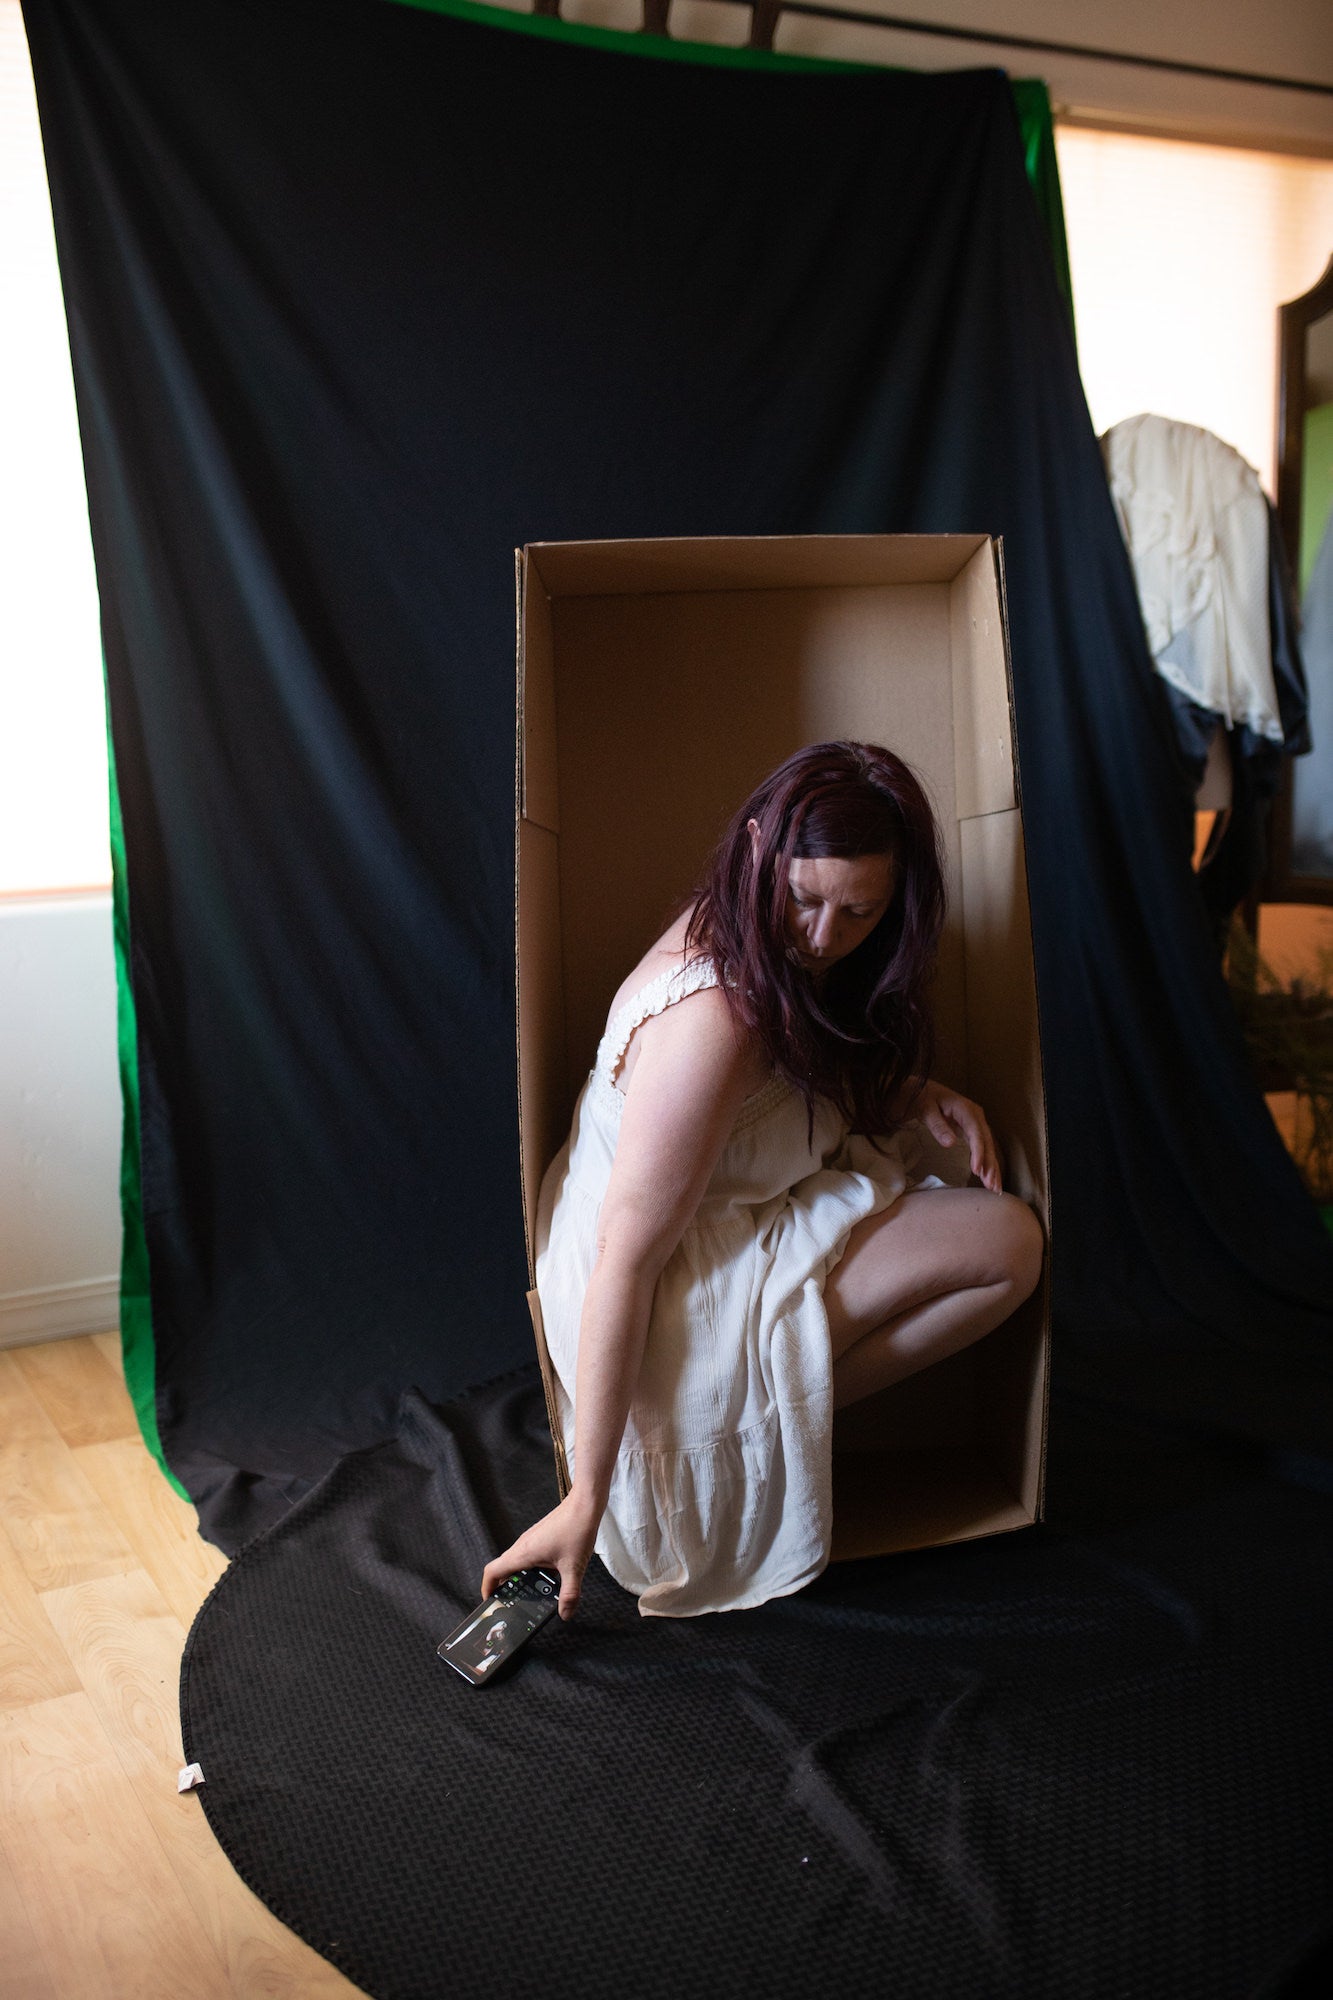
I initially purchased my Sony α7 II as a back-up system to use for traveling and every day walk around use, but from the moment I first held it in my hands it has become my number one go-to for all my photography needs. For me, the α7 II is lightweight and versatile and it's also a low light powerhouse. I've found the body to be incredibly well built and durable so I don't feel like it is going to break or become damaged through some of the more peculiar locations and situations I find myself shooting in.
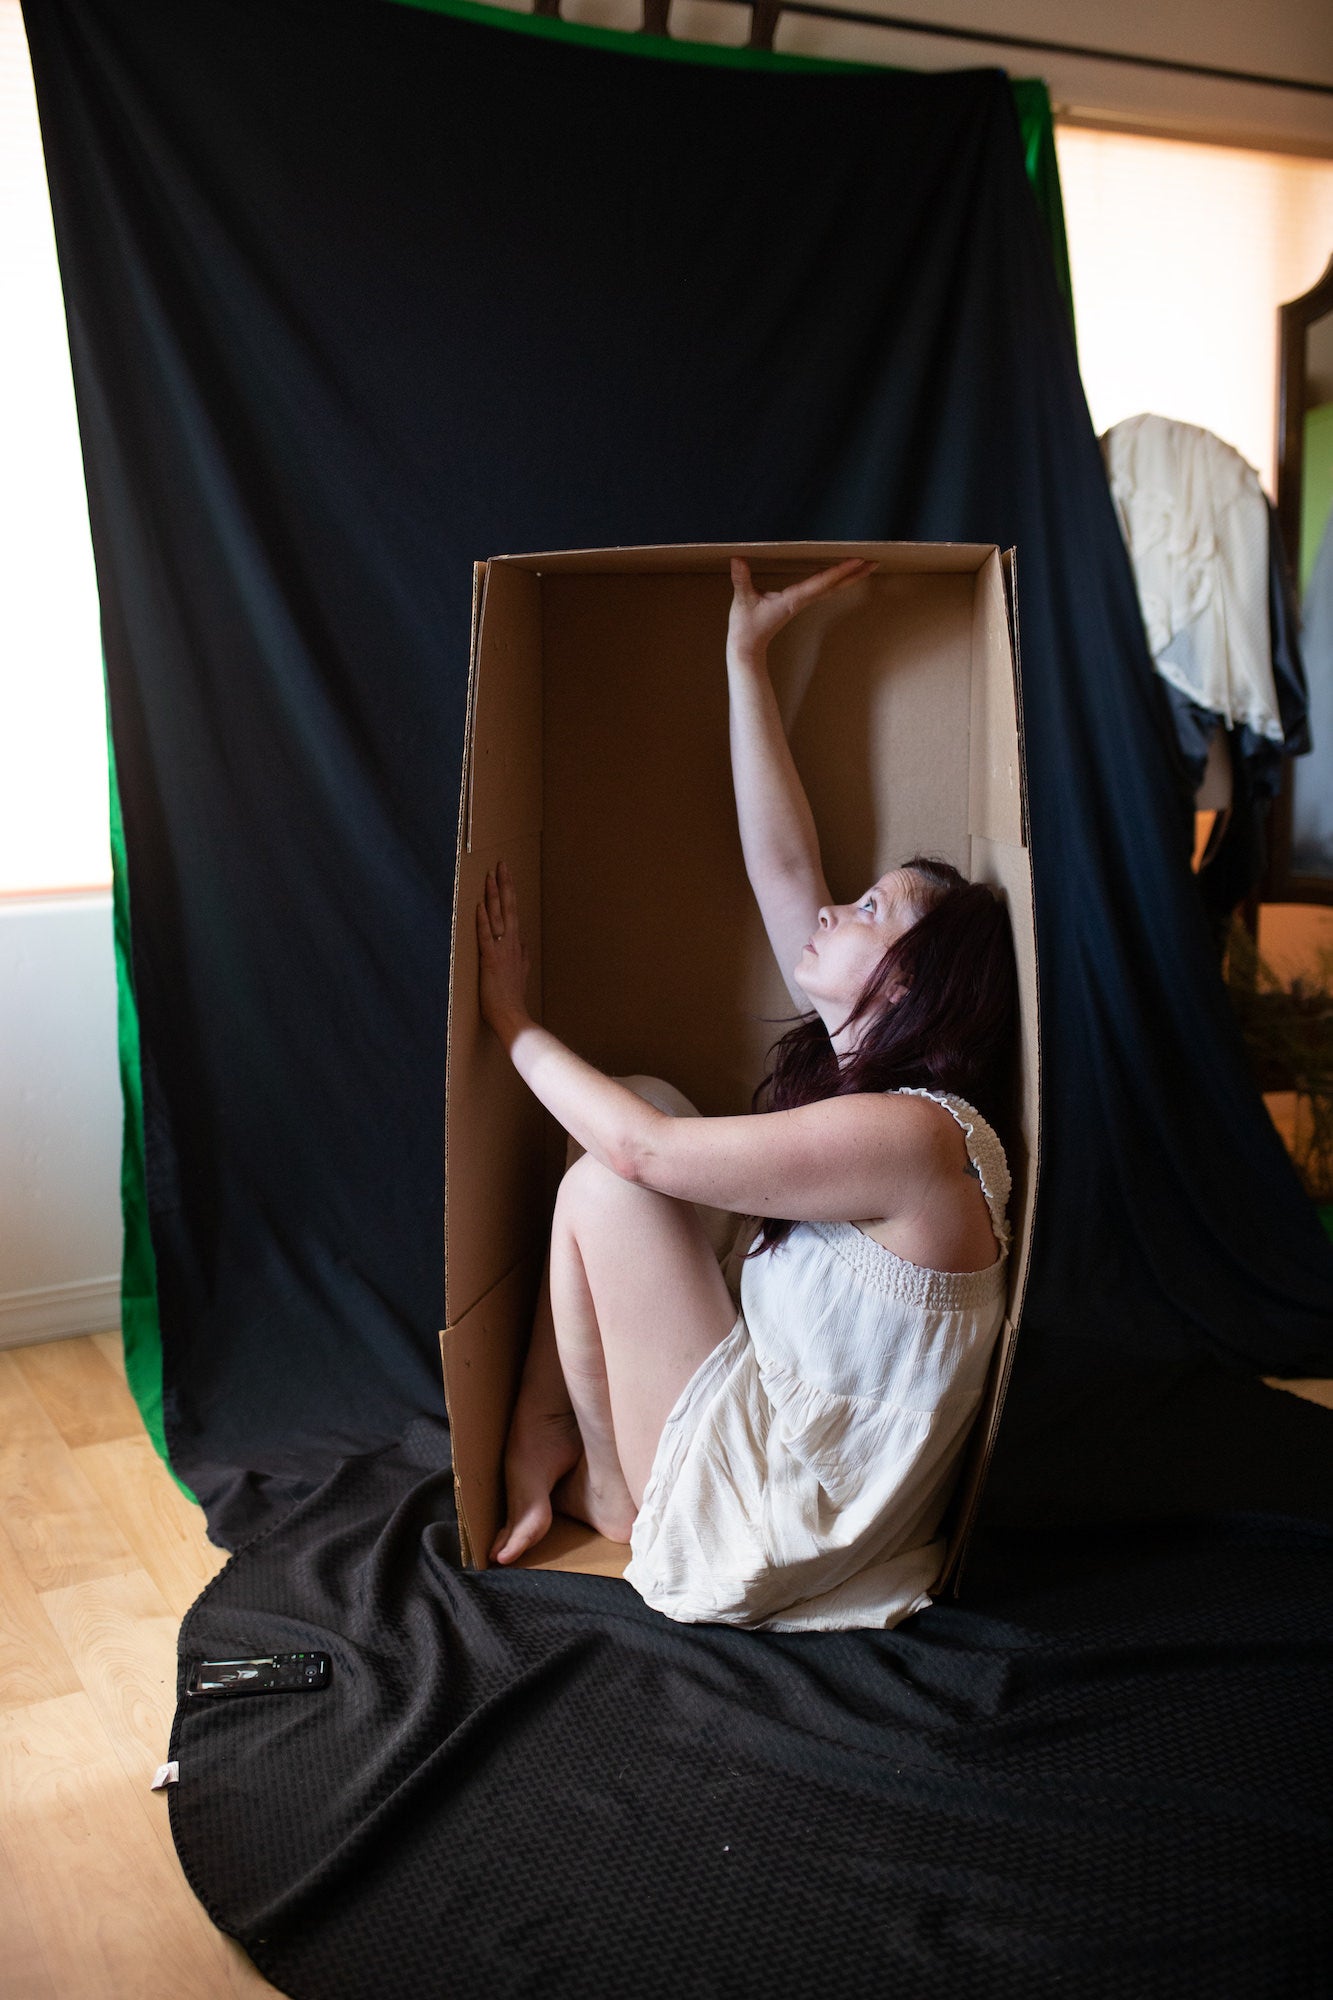
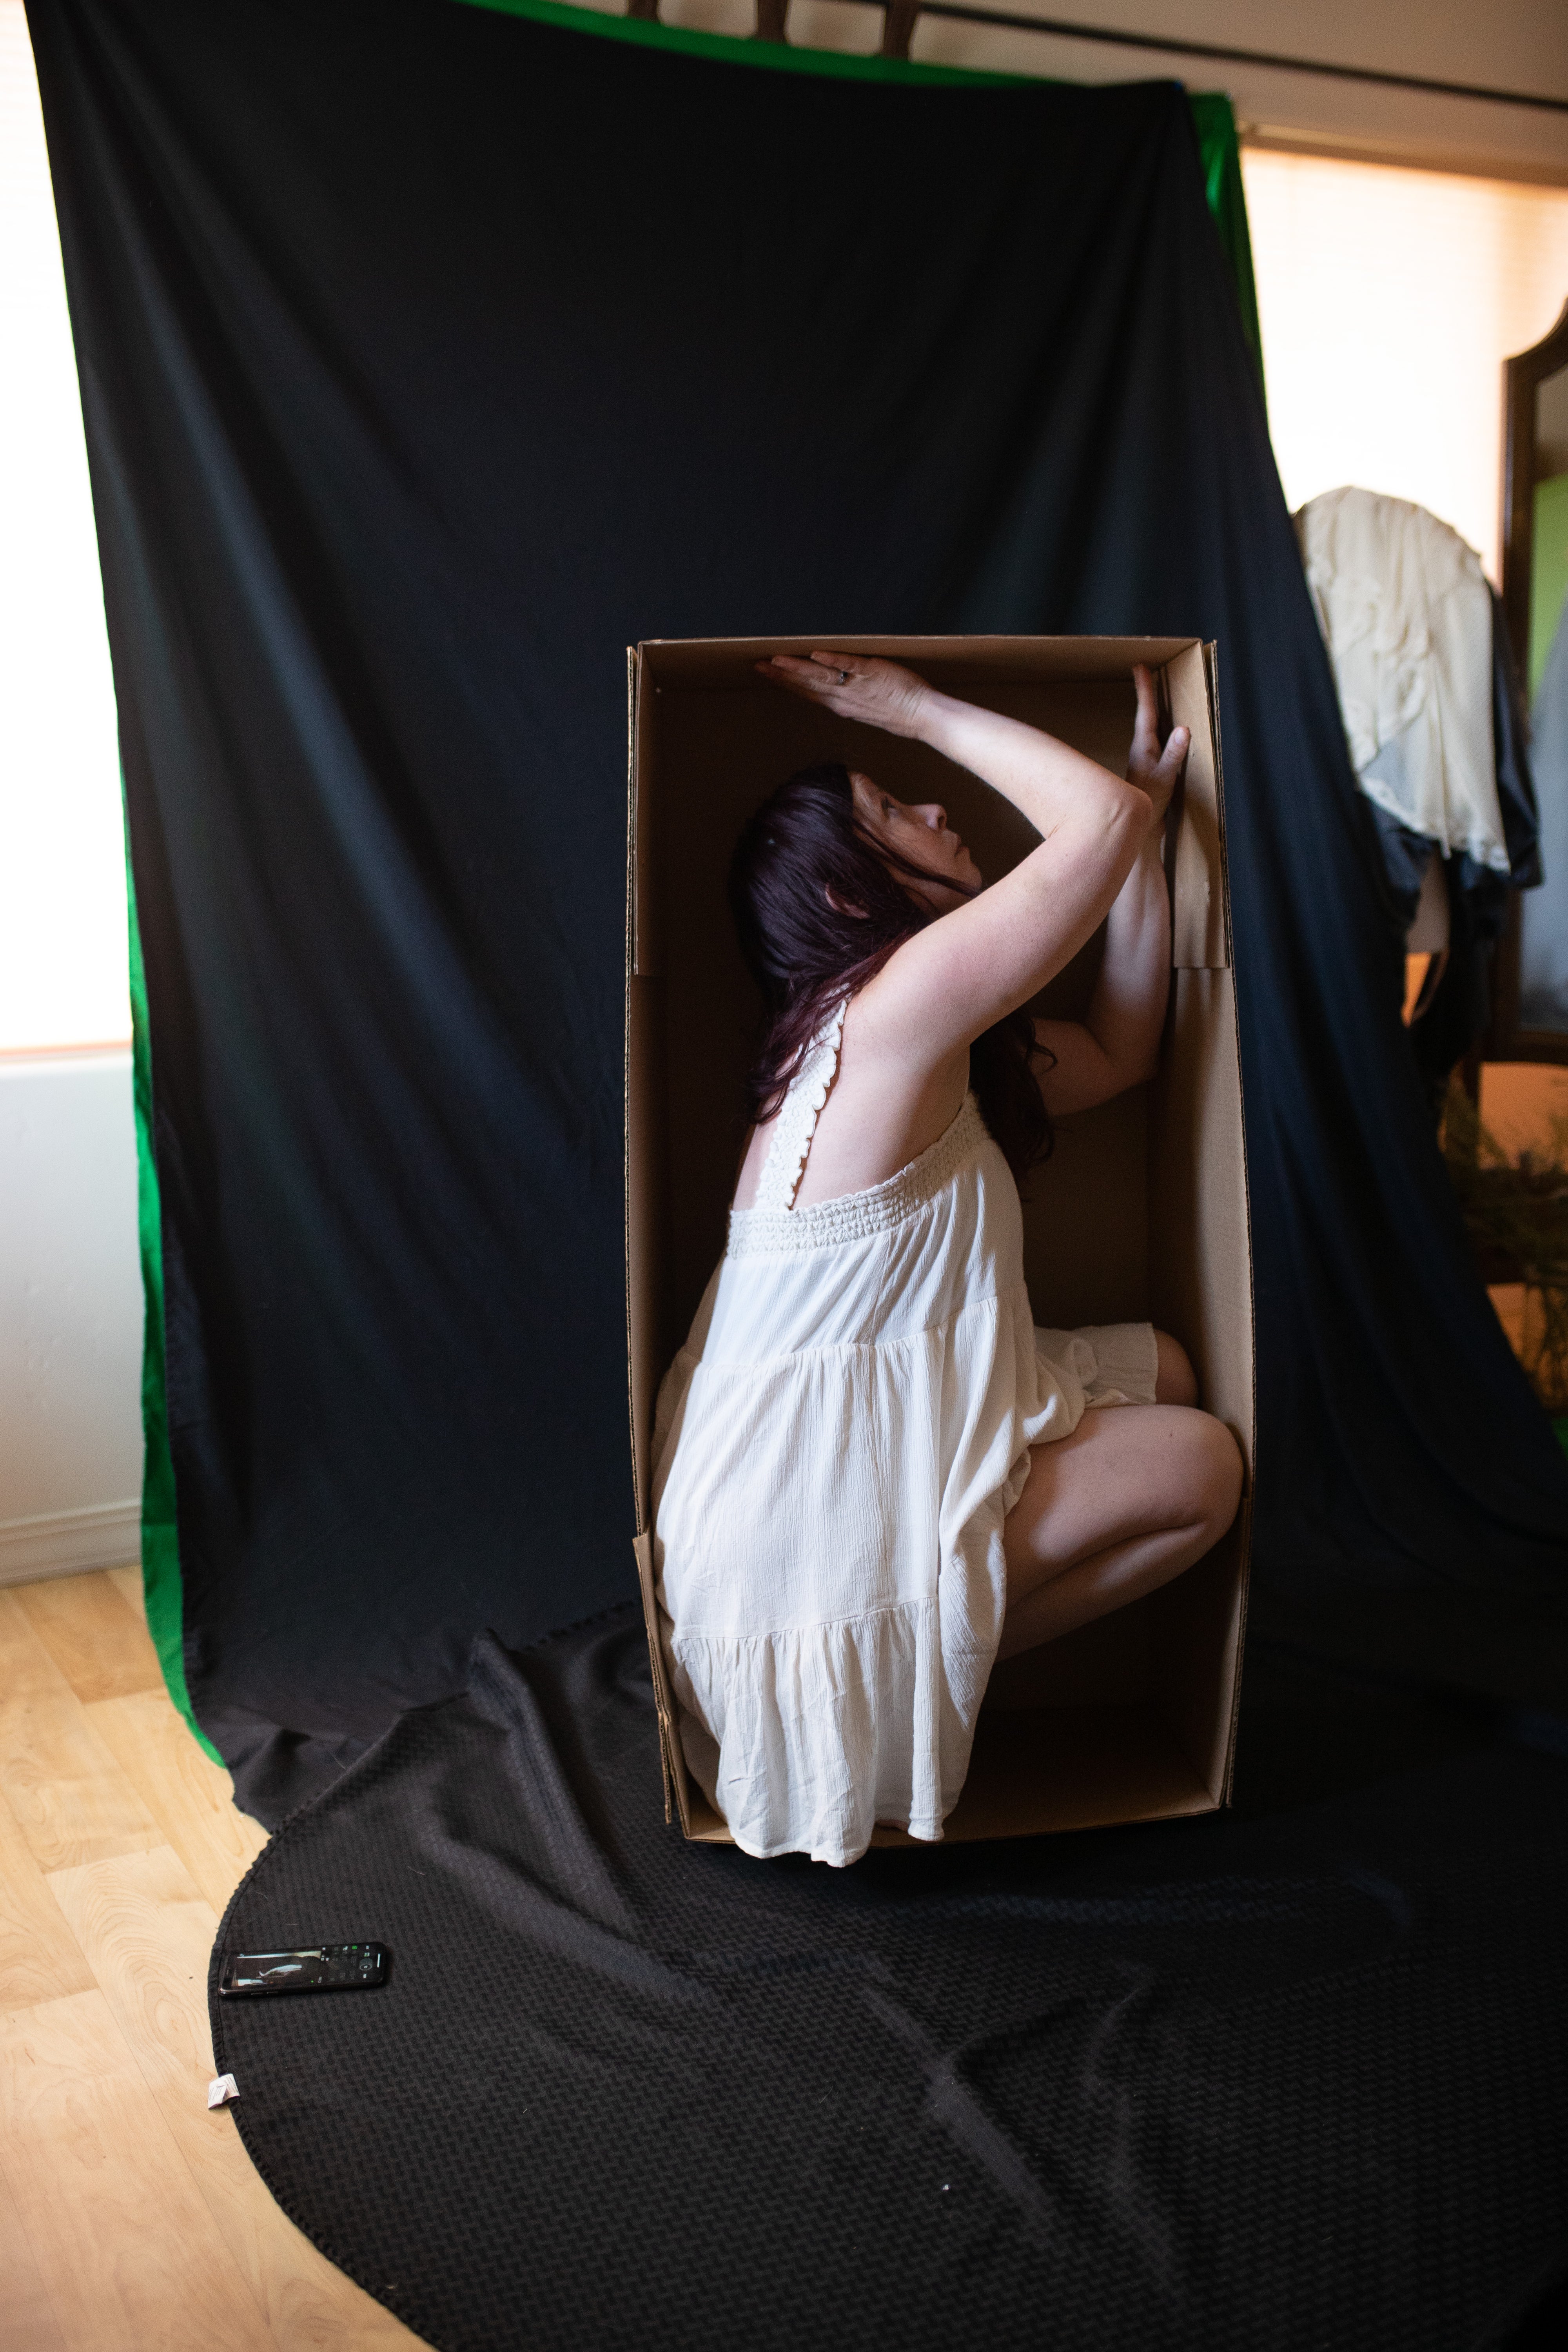
Post-Processing
I culled through my shots by uploading all my images into Lightroom. Once I had about 12 that I knew I wanted to possibly use I applied a small Clarity boost to each image to make the separation from the background more defined so I could more easily cut my subject from the backdrop. I then exported all 12 images to Photoshop CC, and using my lasso tool I selected the subject from each image and copy and pasted them onto a new blank "canvas" image in Photoshop that started with a flat black base. Once I had all my images pasted within the space I went through them individually, creating layer masks and using a hard edged brush I removed the background content of each image, so that myself and the box were all nicely cut away from the original black sheet backdrop.
I then began stacking the images on top of one another and ended up utilizing six of my original self portrait images to create the final piece (I felt the balance within those six images worked well together without being overwhelming). After having the image somewhere composed visually within the frame, I began the process of color shifting using several selective color layer, added shadows to each layer for believability, added a texture overlay to my background of a cement wall as well and used several curves adjustment layers to balance the light within the image and darken the bottom of the image to create the effect that the boxes were actually sitting on a solid surface. Lastly I added two texture overlays to the top of the image to give it more of an artistic feel.

