Forests are often considered difficult to photograph. Because they are naturally chaotic and imperfect, it can be hard to take a picture that truly captures the enchantment you experienced with your own eyes. If you keep just a few of these basics in mind, you will find it much easier to take pictures that don’t look like a green tangled mess. Here are some tips to greatly improve your chances of getting better photos in the forest.
When sun rays appear, use a telephoto lens (trying to move closer won't work, they’ll appear to evaporate the closer you get). If there are many sun rays and perhaps a sunstar as well, choose the lens that creates the nicest sunstars. I often choose my Sony 24-70mm f/2.8 G Master lens.
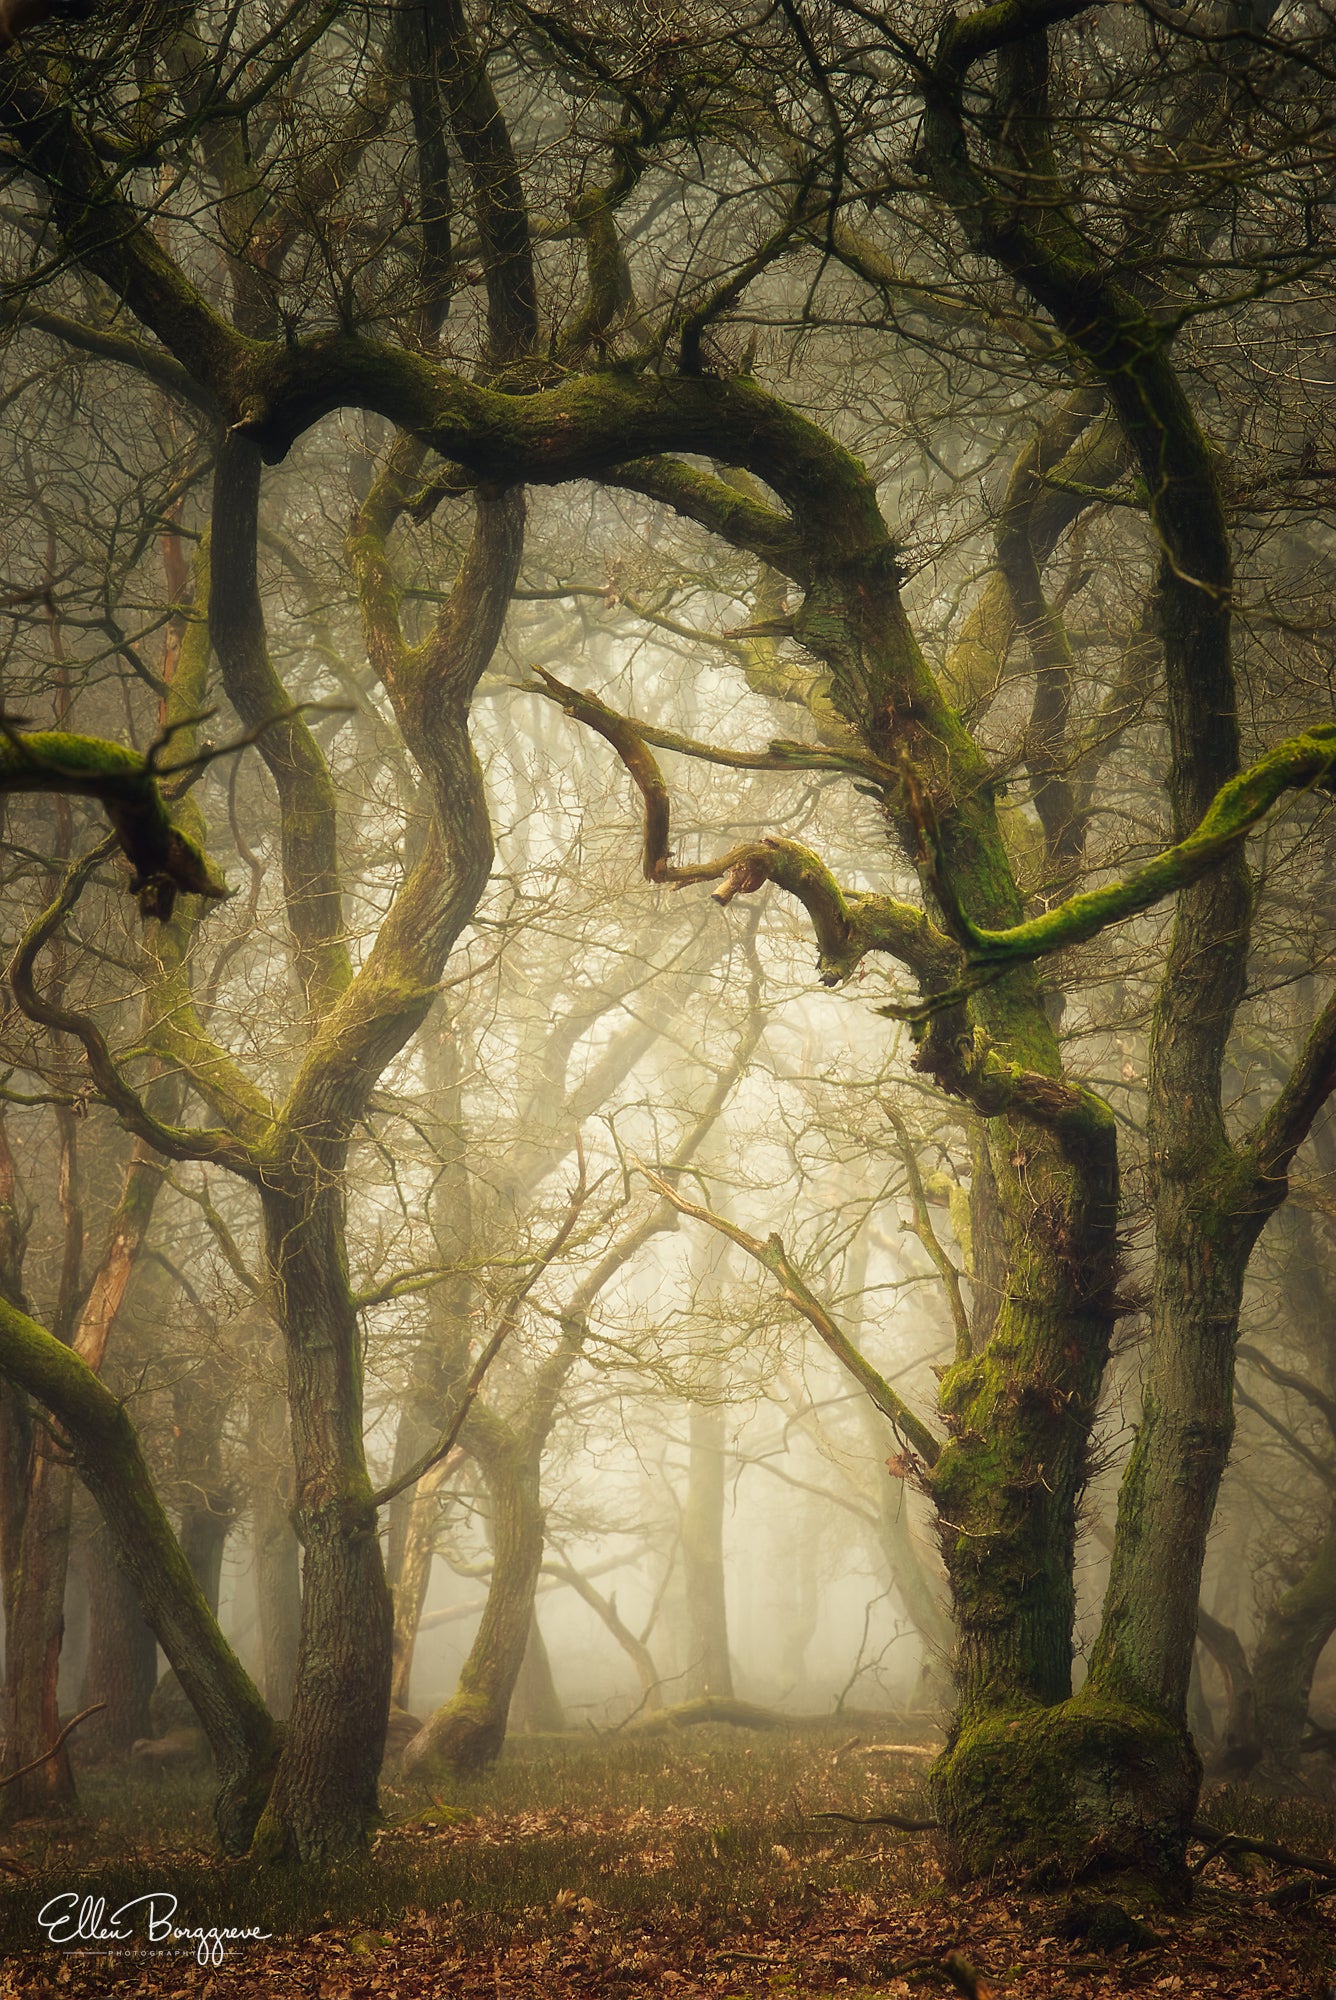
L’Heure des Fées. Sony α7. Sony FE 70-200mm f/4 G lens at 166mm. .4-sec., f/13, ISO 100
1. First and foremost, weather conditions are of the utmost importance if you want to have any chance of taking successful photos in a forest. If the weather is perfect to go to the beach, you need not bother going to the forest for photos. Sunny weather will cause harsh highlights and shadows, which will add to the chaos. Rainy days can be perfect for the forest, but you will need a circular polarizer to take away any glare and protect your equipment. Fog is also amazing, as it is great at hiding messy backgrounds and adding a sense of stillness. Overcast days can work as well, as long as you keep an eye out for bright spots through the leaves that tend to draw the attention.
2. Always pay attention to the wind. Even in the early morning, wind can be an issue. Look carefully at the tiniest branches and see if the leaves are moving. If they are, you need to dial in a faster shutter speed, which will require you to choose a lower aperture number or a higher ISO. You can take advantage of wind for windswept images with long shutter speeds, but you need to be aware of it at all times, so you can make an educated decision about how to expose the picture.
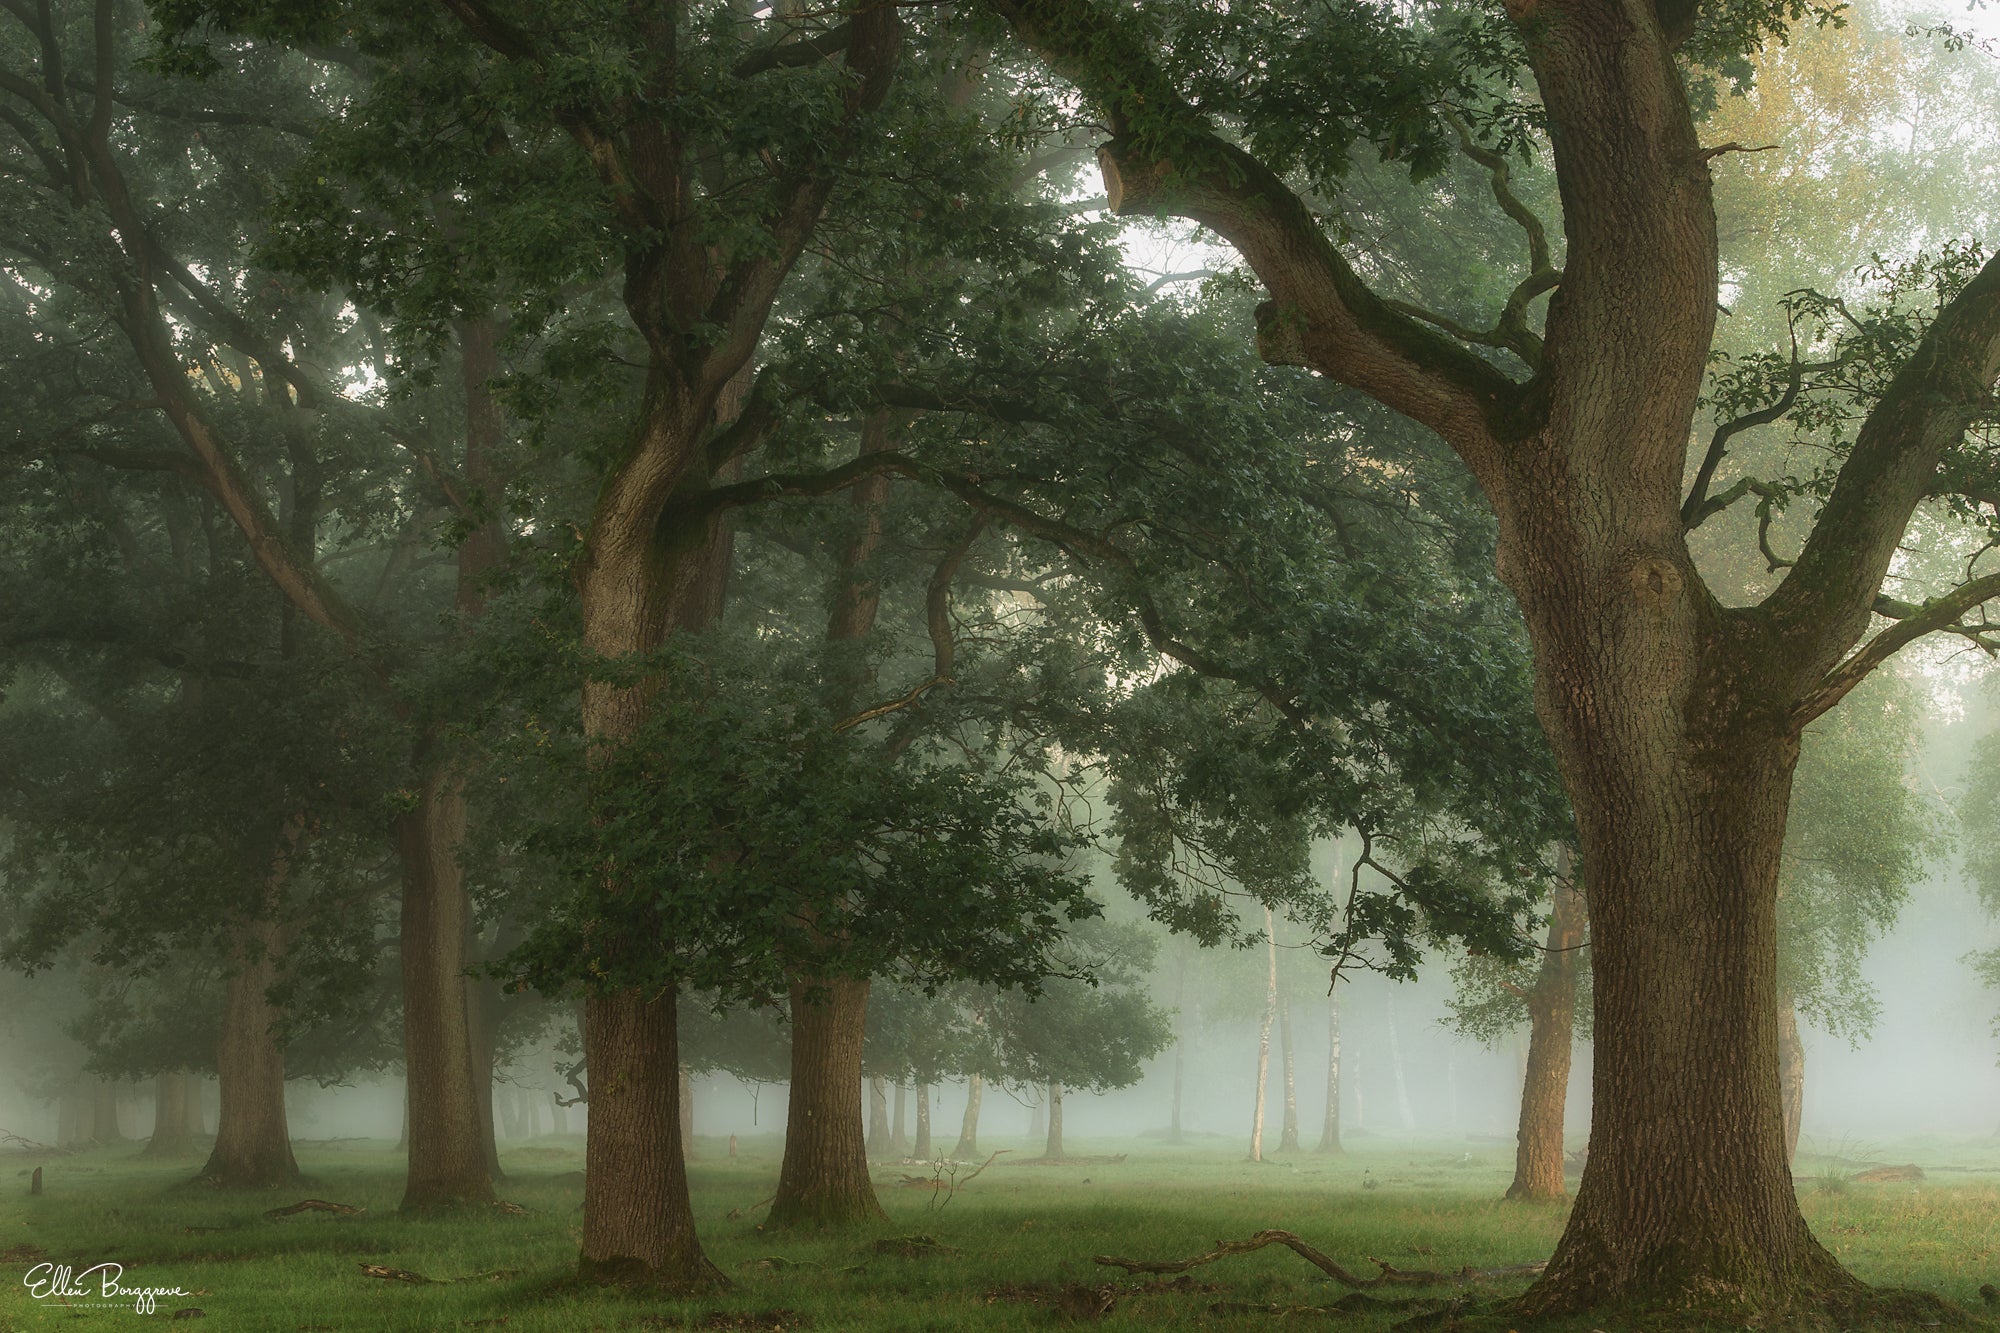
Oak Frame. Sony α7. Sony FE 70-200mm f/4 G lens at 70 mm. 1.3-sec., f/13, ISO 100
3. A tripod is not only useful when photographing forests, it is a necessity. You will be photographing in the early hours of the day when the light is soft, chances of mist are greater and there will not be much available light in the already dark forests. Most of the time your shutter speed will be too slow to enable shooting handheld, unless you have a camera that has great high ISO capabilities. Tripods also come in very handy when you need to adjust an image just slightly after having taken a picture that is just a bit off. It will be impossible to find the same position again when you don’t use a tripod.
4. Reduce chaos. Forests have a lot going on, they are chaotic to the eye and even though we humans are great at deleting things from a scene that we don’t really find interesting, your camera is not. You will need to be aware of this difference in seeing between you, the photographer and your camera. Zoom lenses, like the Sony FE 70-200mm f/4 G will help you reduce chaos from a composition. By zooming in you can find the essentials of a scene and reduce distractions.
5. Always think about what it is exactly that makes you want to take the picture. If you are impressed by the height of the trees, you might want to try a vertical composition to emphasize the tallness of the trees. If you are attracted to the lushness of a scene, a polarizer might help you saturate the greens more and remove glare.
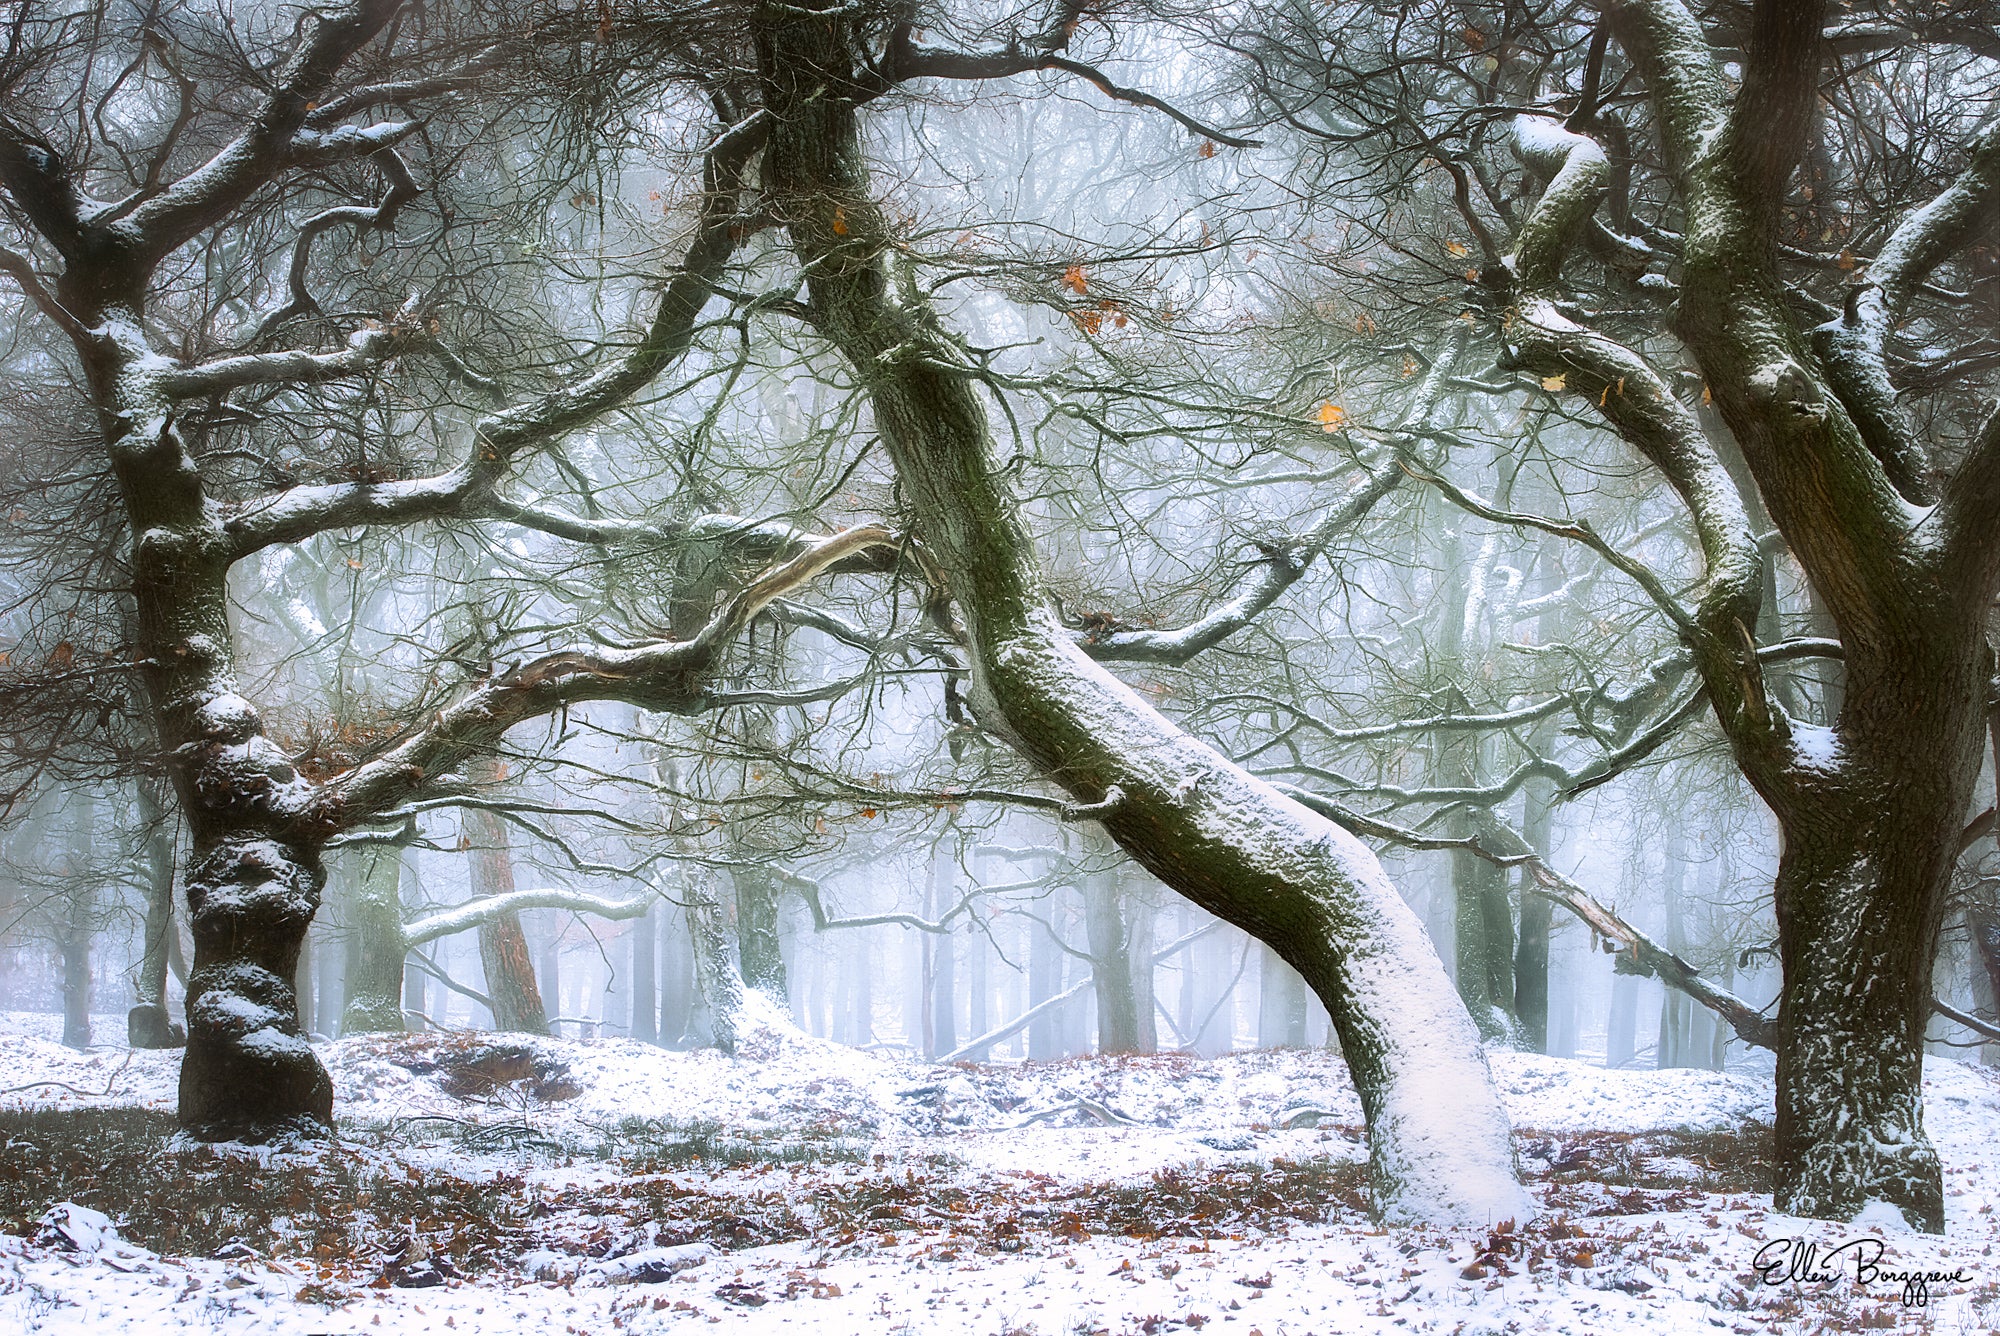
Frozen Fairytale. Sony α7. Sony FE 70-200mm f/4 G lens at 77 mm. .4-sec., f/13, ISO 100
Now that I have explained a few of the basics, let me give you some more tips in case you run into the most magical thing that can happen in a forest: sun rays! They look great, but often people struggle getting them to look just as great in their images...so how do you capture them?
1. Check the humidity levels religiously. Sun rays only appear when the humidity levels are high and the sunlight is being filtered through leaves or branches.
2. Rise early. Humidity levels often drop fast after sunrise and so your best chances on capturing sun rays is early in the morning when the humidity levels are above 90%.
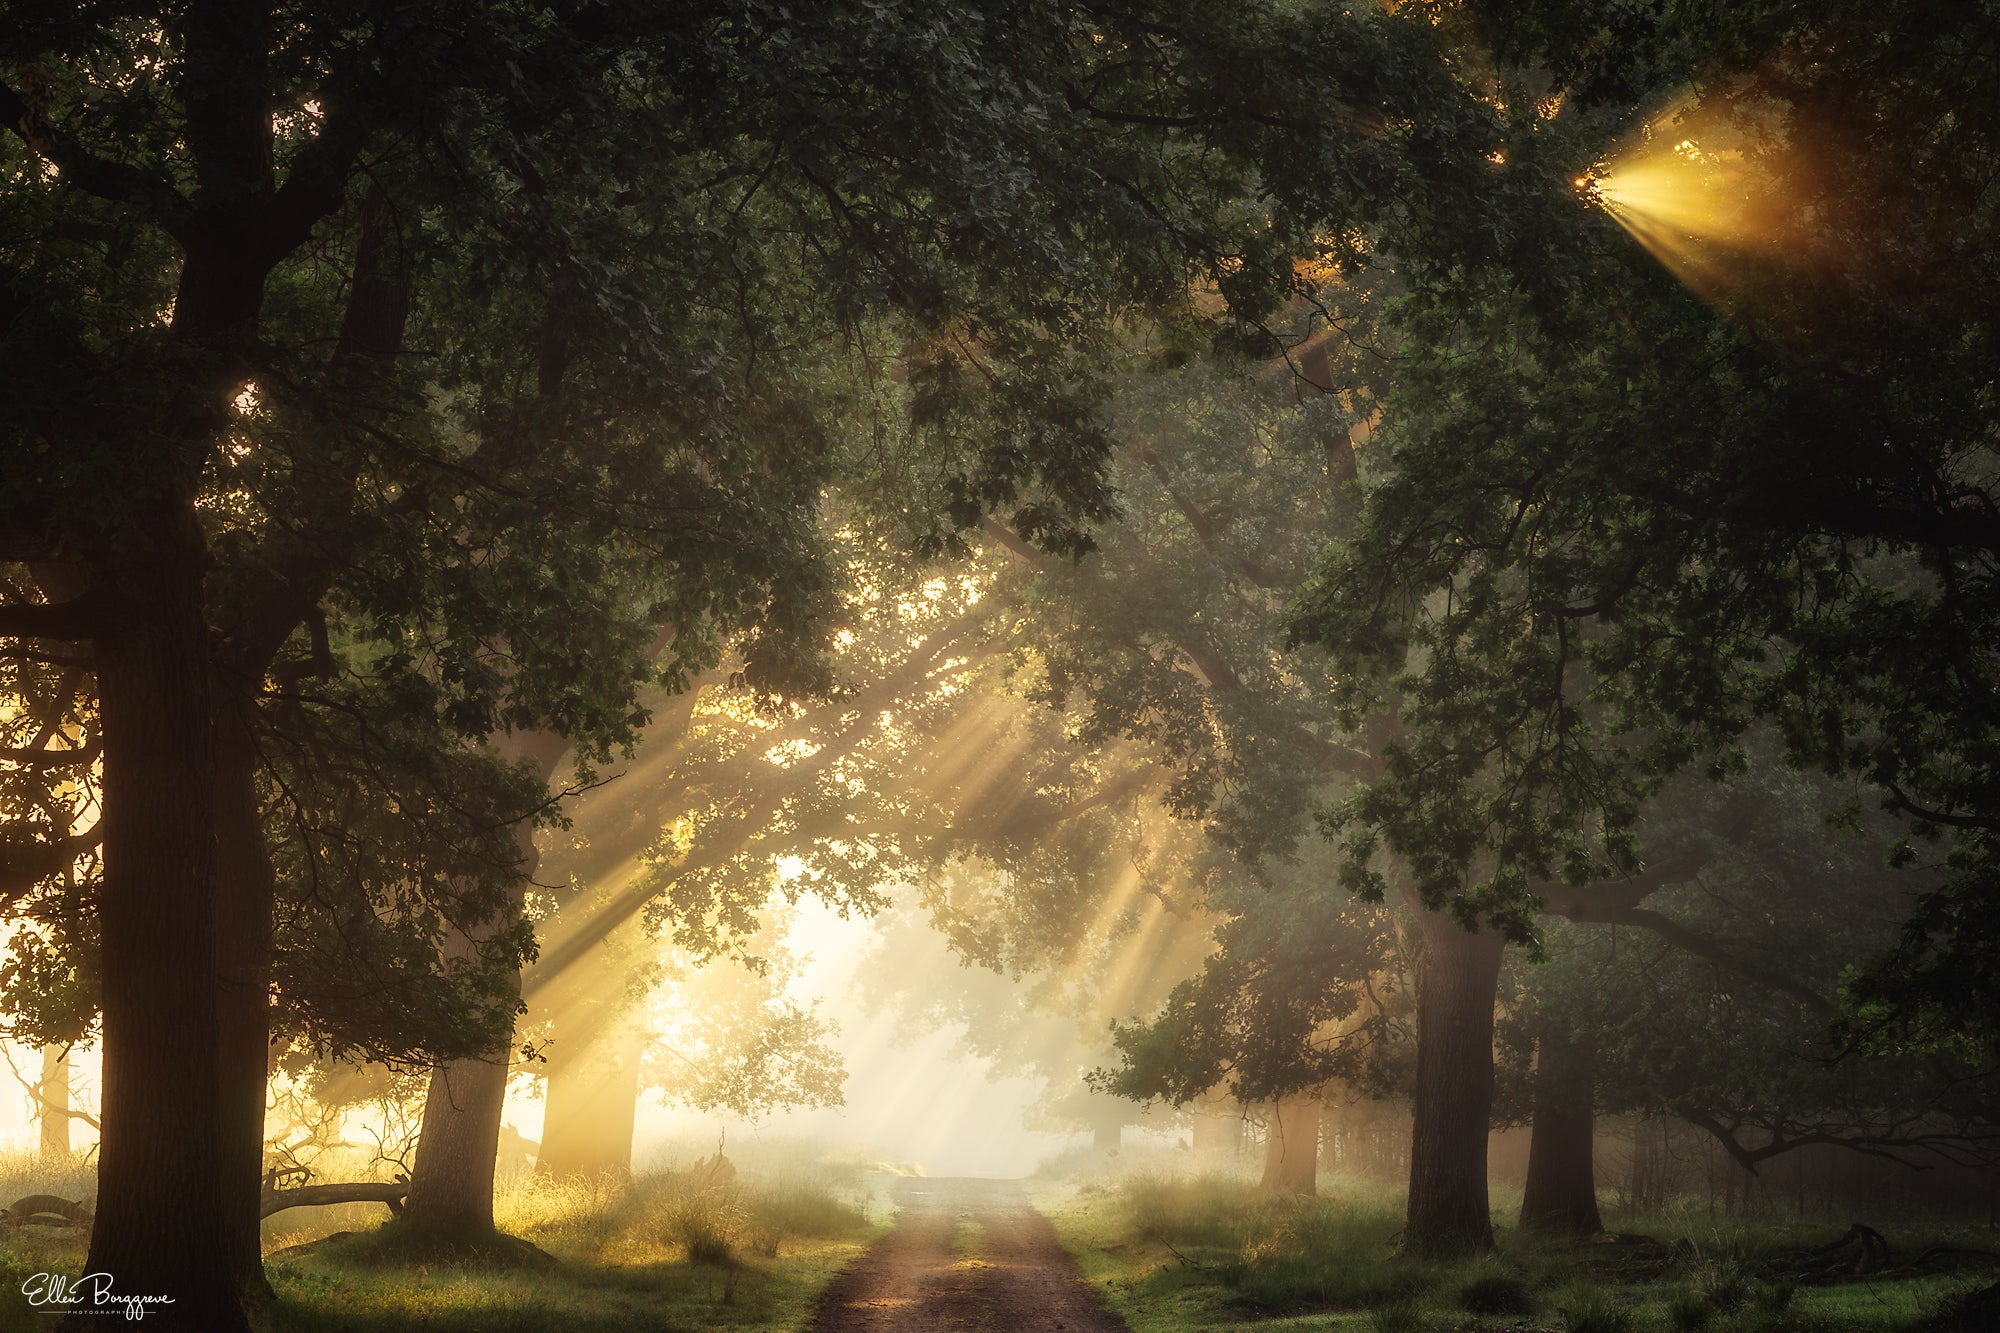
Shimmer & Shine. Sony α7. Sony FE 70-200mm f/4 G lens at 117mm. ¼-sec., f/13, ISO 100
3. The best times to capture sun rays is when the trees have leaves, or in a pine forest in the winter. There needs to be something that scatters the sunlight (in a sky you can only see sun rays if they are scattered by clouds). You can only see the sunbeams in one direction, more or less toward the sun. If you are facing the other way, you will not see them.
4. When sun rays appear, you can use a telephoto lens to capture them (trying to move closer won't work, they will appear to evaporate the closer you get). If there are many sun rays and perhaps a sunstar as well, choose the lens that creates the nicest sunstars. Usually you can find this kind of information in lens reviews. In a case like this, I often choose my Sony 24-70mm f/2.8 G Master lens. A telephoto lens will compress the rays making them more obvious. A wide angle lens (or a phone camera) will not do a good job if you want eye-catching sun rays.
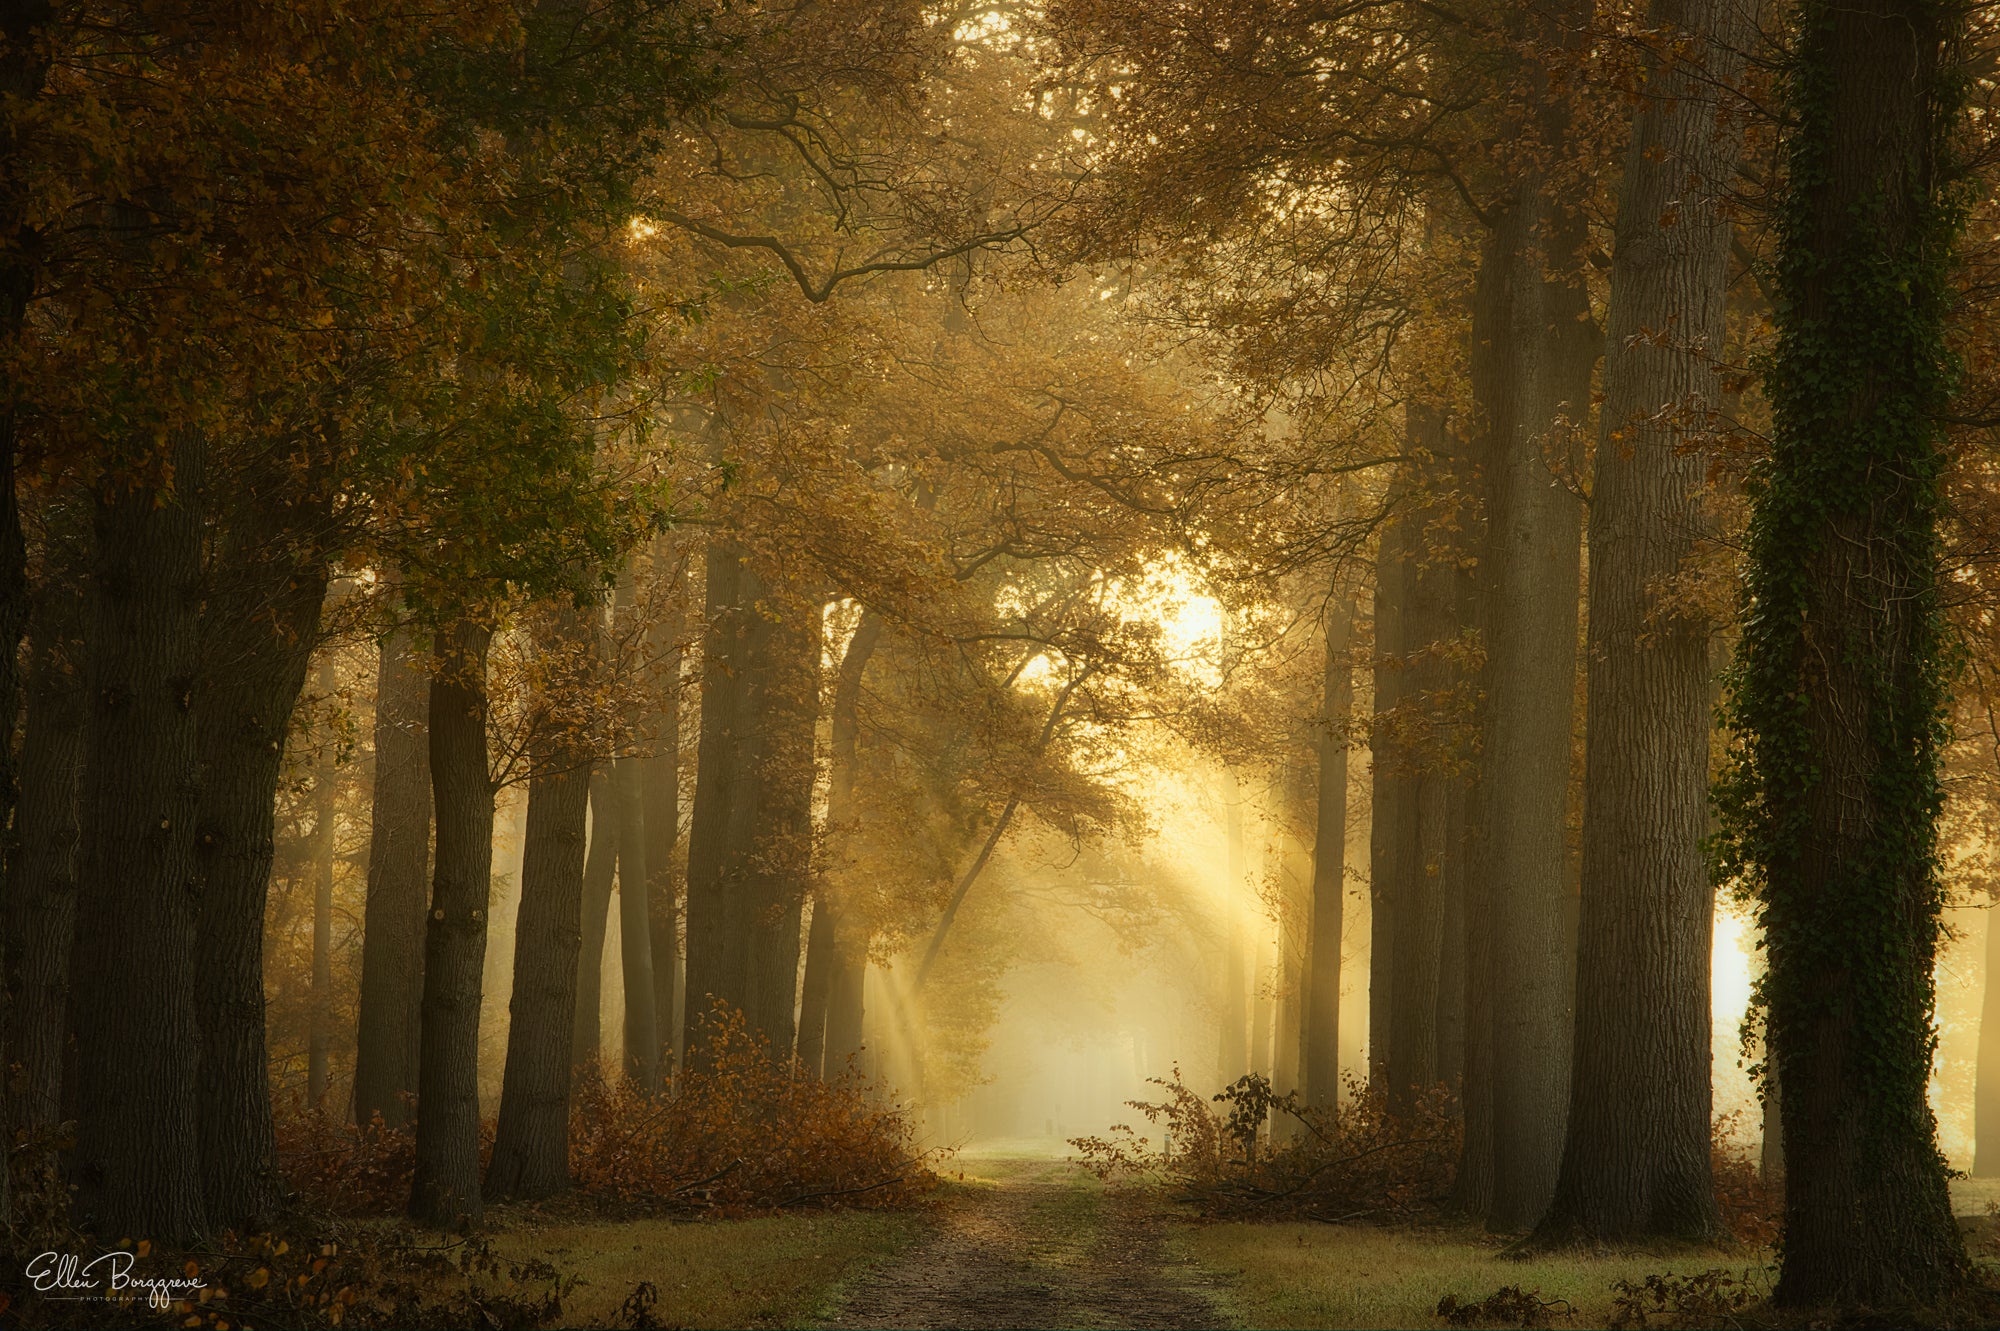
Sony α7. Sony FE 70-200mm f/4 G lens at 178 mm. 0.4-sec., f/13, ISO 100
5. Choose a reasonably small aperture (high F number), because the sun rays are usually not that close to you and you need them to be in focus (as well as your subject which are typically the trees in the foreground). If you have your lens set to f/4 or f/2.8, the rays will become very vague and blurred out.
You can learn more about Forest Photography in Ellen Borggreve’s eBook The Magic Of Forest Photography.
See more of her photos on Instagram @ellenborggreve and at ellenborggreve.com.


