Photographer Stan Moniz (@stanmoniz) of the Alpha Collective likes to get creative with his astrophotography, making mesmerizing star trails with his Sony Alpha gear. In this article he shares his tips for creating a successful stacked star trail image.
Stan Moniz (@stanmoniz) of the Alpha Collective likes to venture out in the dark with his camera to capture beautiful star trail images. He says there are two ways to do star trails. “The first and easiest way is to do it in one shot, one exposure, and for that you need a shutter release cable. Those trails will be solid lines without gaps,” he says. “The other way is to create it by stacking a bunch of images, where you will get those stunning trails with gaps between the lines.” In this article, we connect with Moniz to learn more about his camera setup tips for creating a stacked star trail image. Moniz shoots with Sony Alpha cameras and lenses and he details how to get everything set to shoot consecutive exposures to stack for single star trail images as well as motion star trails.

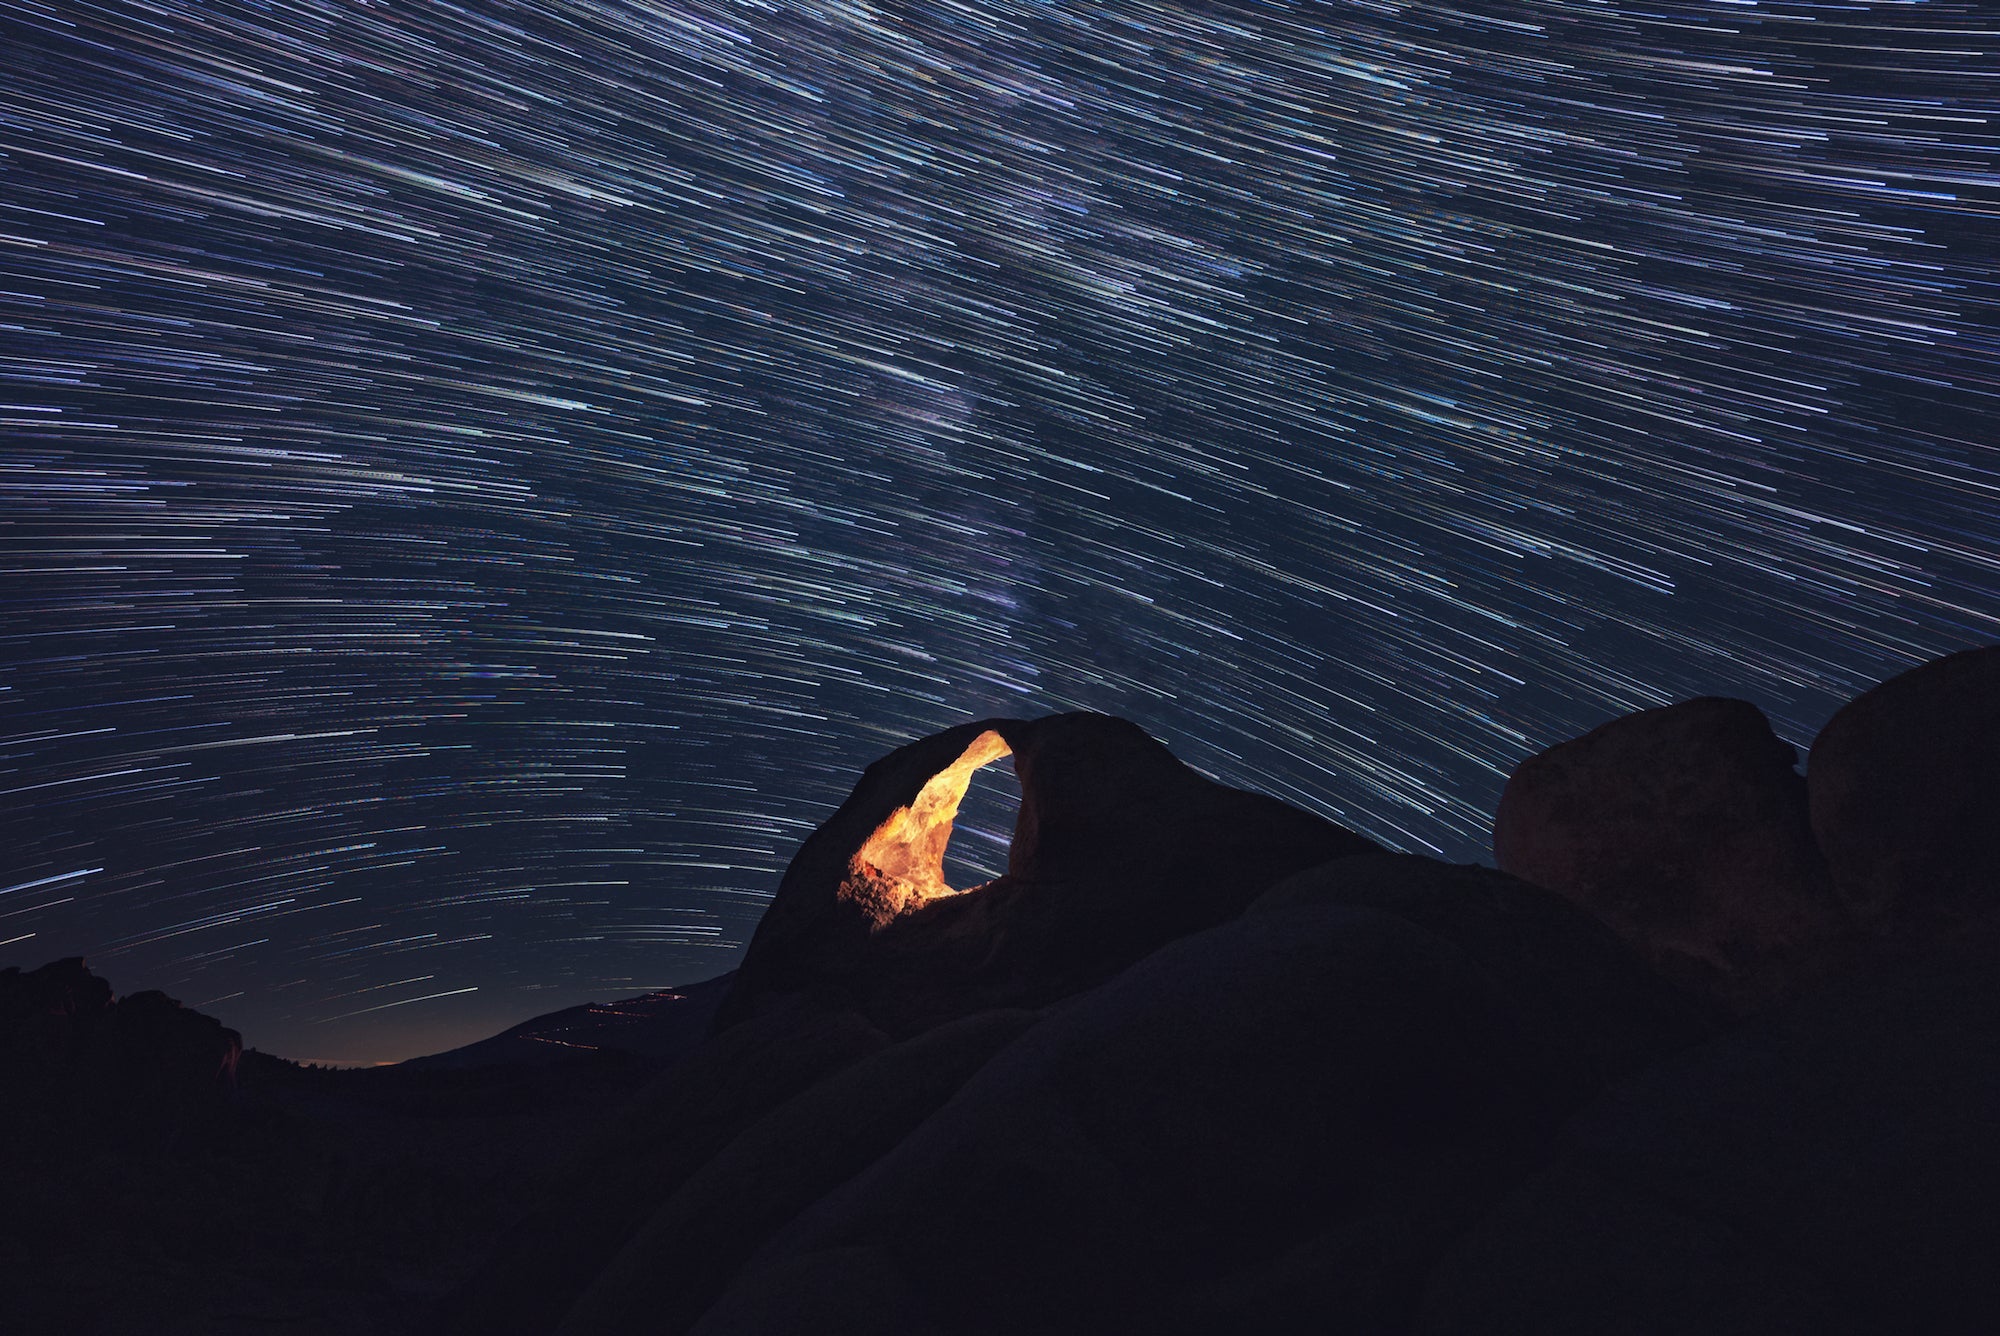
Photo by Stan Moniz. (240 image stack). Sony Alpha 7S III. Sony 14mm f/1.8 G Master. 15-secs., f/2, ISO 2000
Stan Moniz of the Alpha Collective shares his top camera setup tips for creating stacked star trail images.
Creating A Stacked Star Trail Image
Because you're stacking multiple images to create a single star trail photo, the final file will contain a ton of information. You want to make sure you have a camera that can handle enough to create a stunning final result. “I tend to use the Alpha 7S III only because it's super easy to focus in the dark, and it's a 12-megapixel camera,” Moniz says. “12 megapixels is enough to create a beautiful image.”
Shoot RAW
Once you’ve made the proper camera selection, you want to make sure that your camera is set to shoot in RAW. “Anything astrophotography, I always shoot in uncompressed RAW,” says Moniz. “This is the best way to keep all of that dynamic range in the file as you certainly need the data to sometimes pull detail out of the shadow and dark area in the foreground or point of interest.”
Shoot Manual
Moniz says when it comes to astrophotography and capturing star trails, you always have to be shooting manual. “In astrophotography, everything is in manual. Focus peaking, which I set on one of my custom buttons, only works in manual mode.”
Set Custom Buttons
Set the camera’s Custom Buttons for quick access while you’re shooting makes things much easier in the dark. “I set C1 for Bright Monitoring, C2 for Interval Shooting and C3 for Focus Magnification/Focus Peaking,” says Moniz.
Bright Monitoring and Focus Magnification/Focus Peaking are essential tools for making sure your frame is sharp before you start your exposure sequence. “Bright Monitoring (See more about how to set up Bright Monitoring HERE) is a killer app in Sony mirrorless cameras that brightens the image on the LCD screen. It’s like having night vision. Focus Magnification/Focus Peaking let you punch in on a critical area of the frame to confirm focus. I set Focus Peaking to red so that when something in the frame is sharp, it shows as red on the monitor. I like to rack focus a little bit to see the starts as little bokeh balls, then I slowly rotate the focus ring and I’ll see the stars sharpen up and turn into little red pin-points. That’s when I know I’ve got it.”

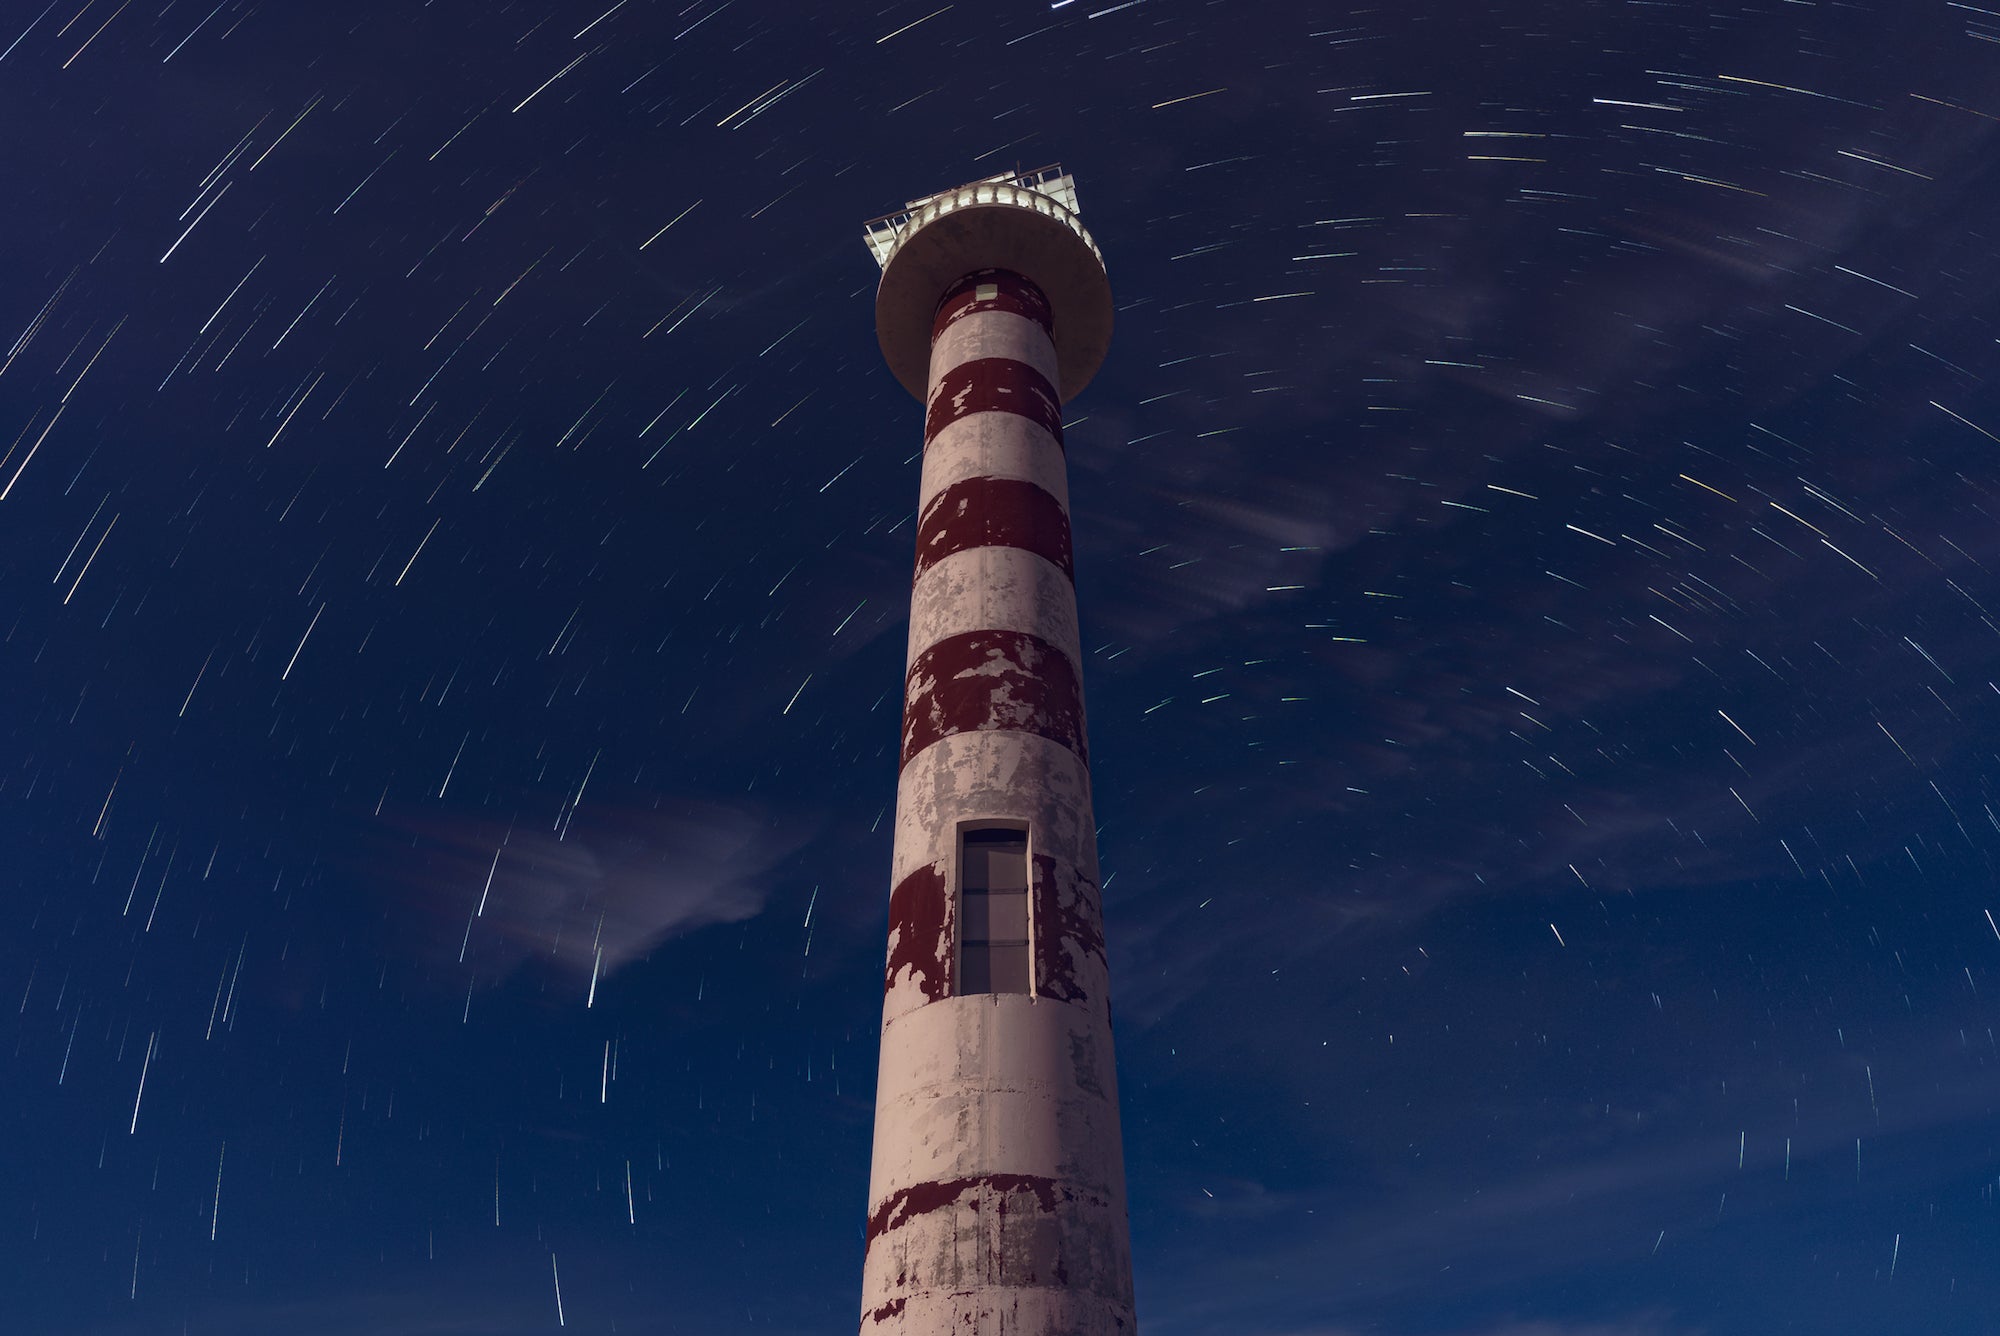
Photo by Stan Moniz. (240 image stack). Sony Alpha 7S III. Sony 20mm f/1.8 G. 15-secs., f/2.8, ISO 800
Turn On Long Exposure Noise Reduction
Before you begin shooting, Moniz explains that you first have to turn on the Long Exposure Noise Reduction. “The Noise Reduction will run for however long your exposure is, so just be sure your batteries are fully charged. What happens is this really helps eliminate a lot of the hot pixels. A side effect of this type of shot is it’s easier to get hot pixels, especially depending on the atmosphere. This helps cut down on that.”
Use The 500 Rule To Set Your Shutter Speed
When it comes to setting his shutter speed for star trails, Moniz uses the 500 rule. “It’s a good basic rule that says 500 divided by the focal length equals your shutter speed,” he says. “This way your stars are more of a sharp pin-point. The more megapixels in your camera, the more star trailing you can get because you can punch in and get more detail in the camera. With a 16mm lens you do the division, and then you can round that down to 30 seconds. Depending on how many megapixels your camera has, you can drop this down 5-10 seconds to be on the safe side.”
Set Your Aperture
You will want a low aperture setting to capture star trails, but the exact number will depend on how much light is in the night sky. Take a few test shots at a low setting and if it’s too bright, raise the aperture. “Sometimes where I’m shooting, for example in Joshua Tree, there can be a bit of light pollution coming out of the town nearby. So I take a few test shots in order to set my aperture and to get the proper exposure.”
Set The Intervalometer
To capture star trails, you can use the built-in interval shooting function on your Sony camera. Moniz utilizes this function to not only capture a single star trail image or a stacked star trail image, but he also creates a timelapse at the same time this way. “At the very top of your Interval Shooting Function menu, it says Interval Shooting, and you can turn that on or off. When you’re ready to capture your star trail, you want your interval shooting set to ON.” Because Moniz uses Interval Shooting frequently, he has it programmed on his C2 button to automatically go straight into this function.
Shooting Interval
Your Shooting Interval is the time from the beginning of one shot to the beginning of the next. Moniz aims to have his images taken as close together as possible. “I want the least amount of time between shots, so I set my shooting interval time to one second.”
Number Of Shots
The Interval Shooting Function on your Sony camera also allows you to set the number of shots your camera will automatically take. “I typically shoot 240,” says Moniz, “and there's a reason for that. When I do a star trail stacking image, I also utilize it and make it a timelapse. Then I can turn that into a star trail time lapse. So I base my Number Of Shots on how long I want my timelapse to be, which is typically 10 seconds. 240 images equates to 10 seconds on a 24-frame rate timeline.”
Set Shooting Start Time
Your Shooting Start Time determines how soon your camera will begin to take images after you press the shutter button. “I have my shooting start time set to zero seconds,” Moniz explains. “Right when I hit the shutter button, the camera will start taking photos immediately.”
He continues, “But this function is very useful. Say the Orion constellation is rising at 2:20 a.m – I can set up the camera two hours beforehand and tell it to start shooting two hours from now. It will start right as Orion rises. So there are some cool planning capabilities this function provides.”
Use The 4 & 4 rule
If you’re not sure how long your exposure time should be, Moniz says you can use the 4-and-4 rule, which is one he made up on his own after testing. “I kind of came up with this rule,” explains Moniz, “and I call it the four on four. I've done a lot of testing with exposure times, like what is a proper exposure time to make a star trail image look like a star trail image? You can go all the way up to 12 hours where you get those big spinners, but for those you have to have extra batteries and plenty of time. For me, 40 minutes is the least amount of time you need for a proper star trail image.”
“So the four and four rule is to shoot for 40 minutes at f/4 and ISO 400. This works really well in new moon. This equation that I came up with actually pulls out a really clean image and everything is pretty properly exposed. Because you stopped on the aperture a lot of the image is in focus, so it's just a really good number to kind of fall off.”

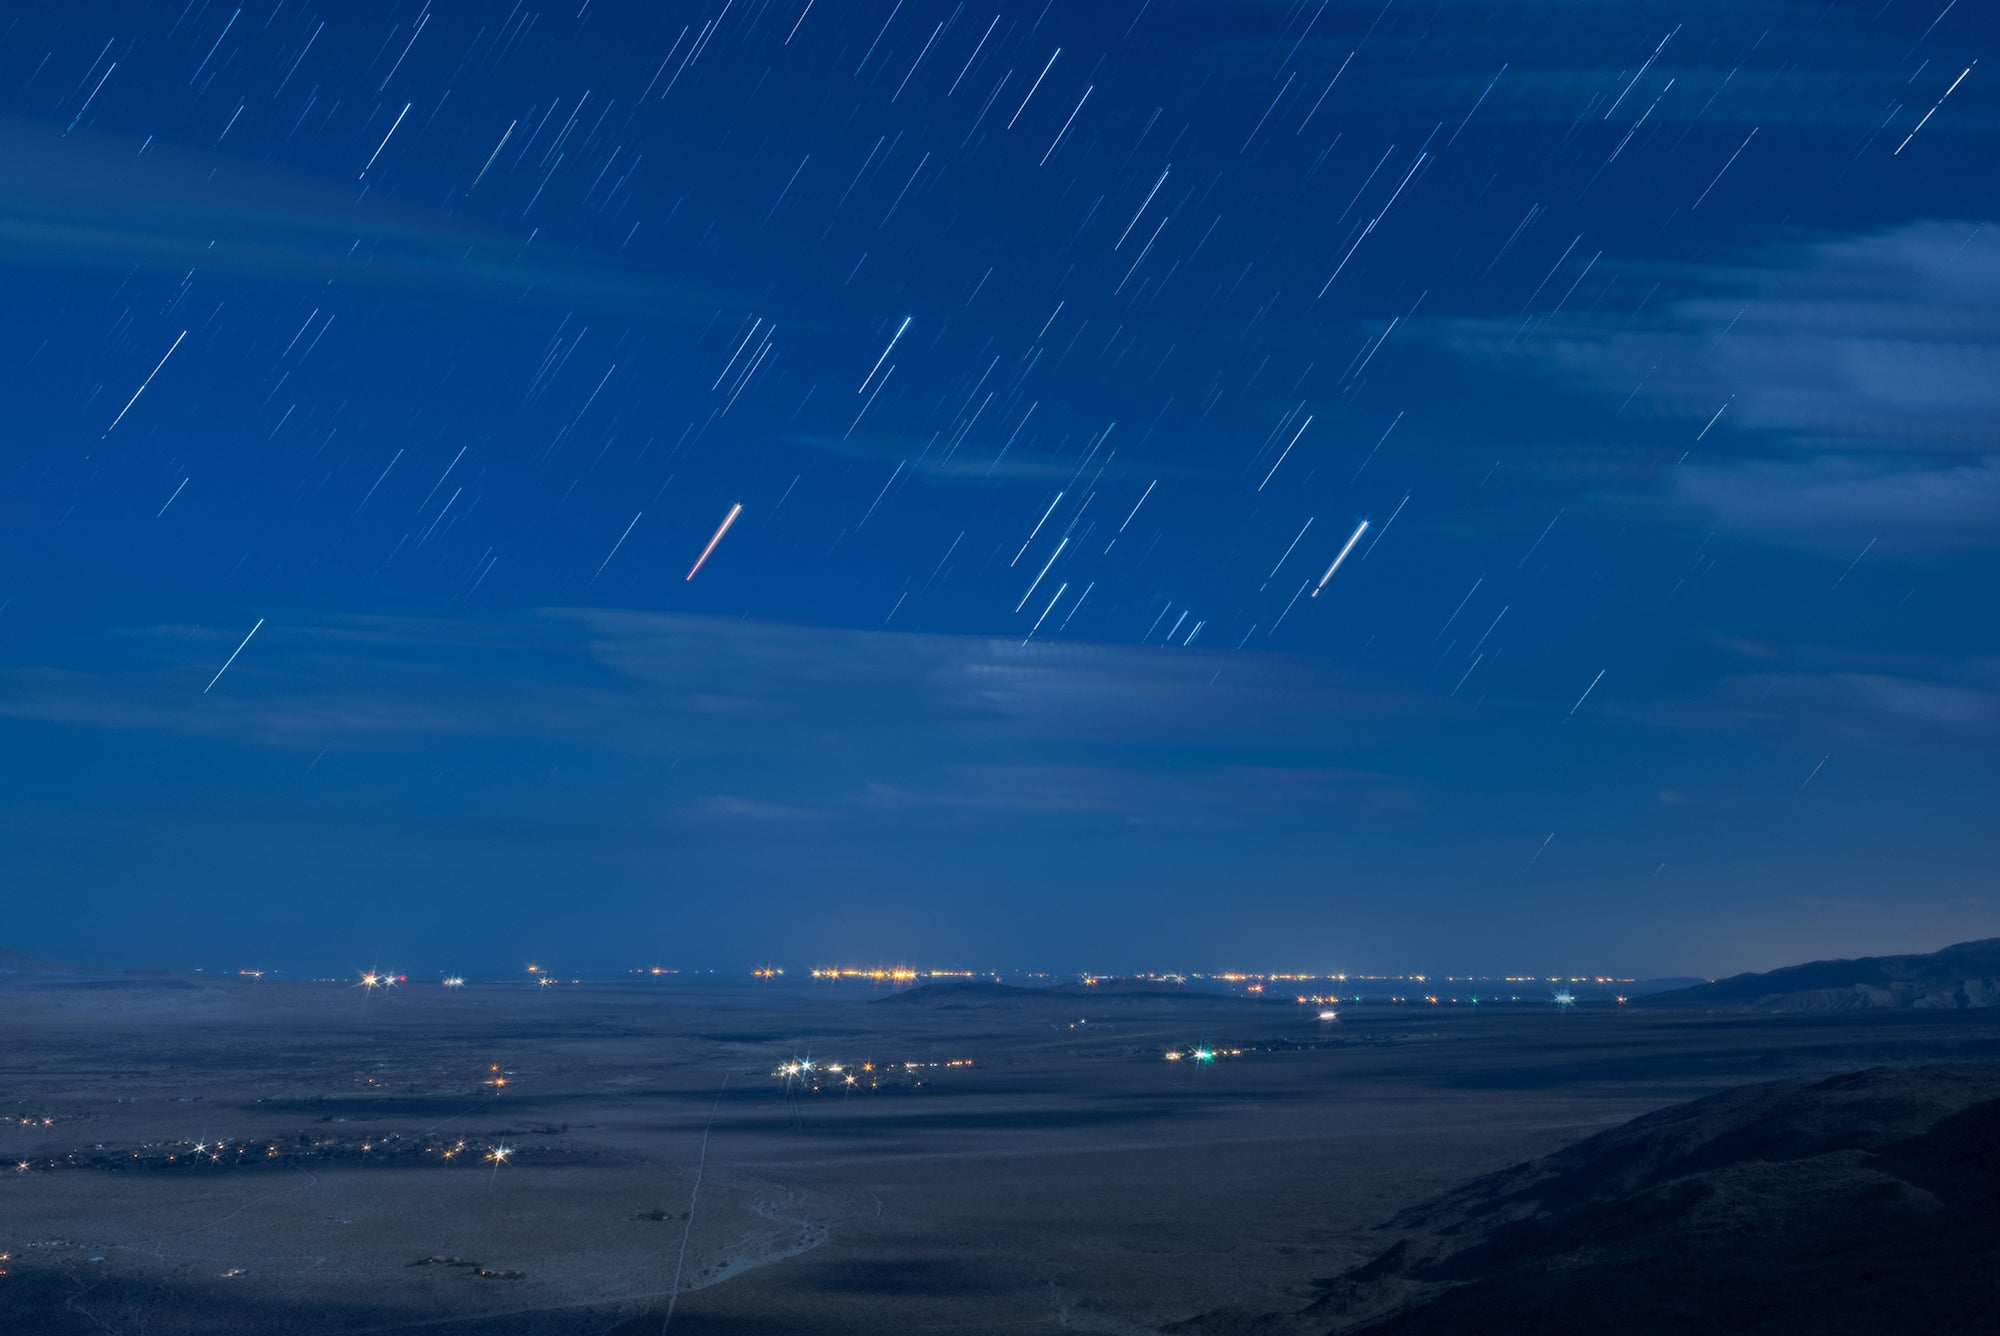
Photo by Stan Moniz. (240 image stack in StarStax using the interval shooting function.) Sony α1. Sony 35mm f/1.4 G Master. 8-secs., f/2, ISO 400
Stacking Images In Post-Production
Once Moniz has his 240 images, he puts them into Lightroom. He makes the edits he wants to one of those images and then syncs the other images to have the same edit. “Then I open all of the images up into this free program called StarStaX. Once I input the images there, I’m given a ton of creative controls with the star trails. I can change how long the trails are, I can make a comet effect where the stars kind of trail off. There’s so much you can do with it.”
See more of Stan Moniz's work on his Alpha Universe Profile and on Instagram @stanmoniz.


