Fall color doesn’t last long and photographers perhaps know better than anyone that it rarely arrives exactly when the calendar says it should. The best foliage photographs come from being ready when the conditions line up: color at its peak, a break in the weather, the right direction of light and a clear idea of what you want to make.
We love this time of year and it doesn’t matter if you’re planning a big landscape trip or a trip to the city, photographing wildlife against changing leaves or looking for small details on the forest floor – this guide helps cover those small decisions that make the difference.
Here’s how to get more from the season with your Sony Alpha camera.
1. Start With Timing, Then Stay Flexible
Peak foliage changes with elevation, latitude, tree species and weather. A location can transform quickly, so think of a foliage forecast as a useful starting point rather than a promise.
Start scouting early. Keep a running list of overlooks, trails, waterways, forests and roadside scenes that could work at different stages of the season. A wider view may need an entire hillside at peak color; a tighter composition can work when only one tree, branch or patch of ground has turned.
A few field notes to keep in mind:
-
Higher elevations typically turn first. Build a route with lower-elevation backups for later in the season.
-
Wind and rain can change a scene overnight. Wet leaves, mist and reflections can be just as compelling as a clear, sunny forecast.
-
Arrive before sunrise and stay after sunset. Fall light changes fast, and the time around golden hour often brings the warmth and depth that make color feel alive.
-
Make a shot list before you leave. A list of wide landscapes, compressed layers, abstracts, details and portraits keeps you from making the same frame all day.
Related reading: The Ultimate Guide For Finding & Photographing Fall Colors | Road To Autumn: Get Inspired And Get Ready For Fall’s Vibrant Foliage
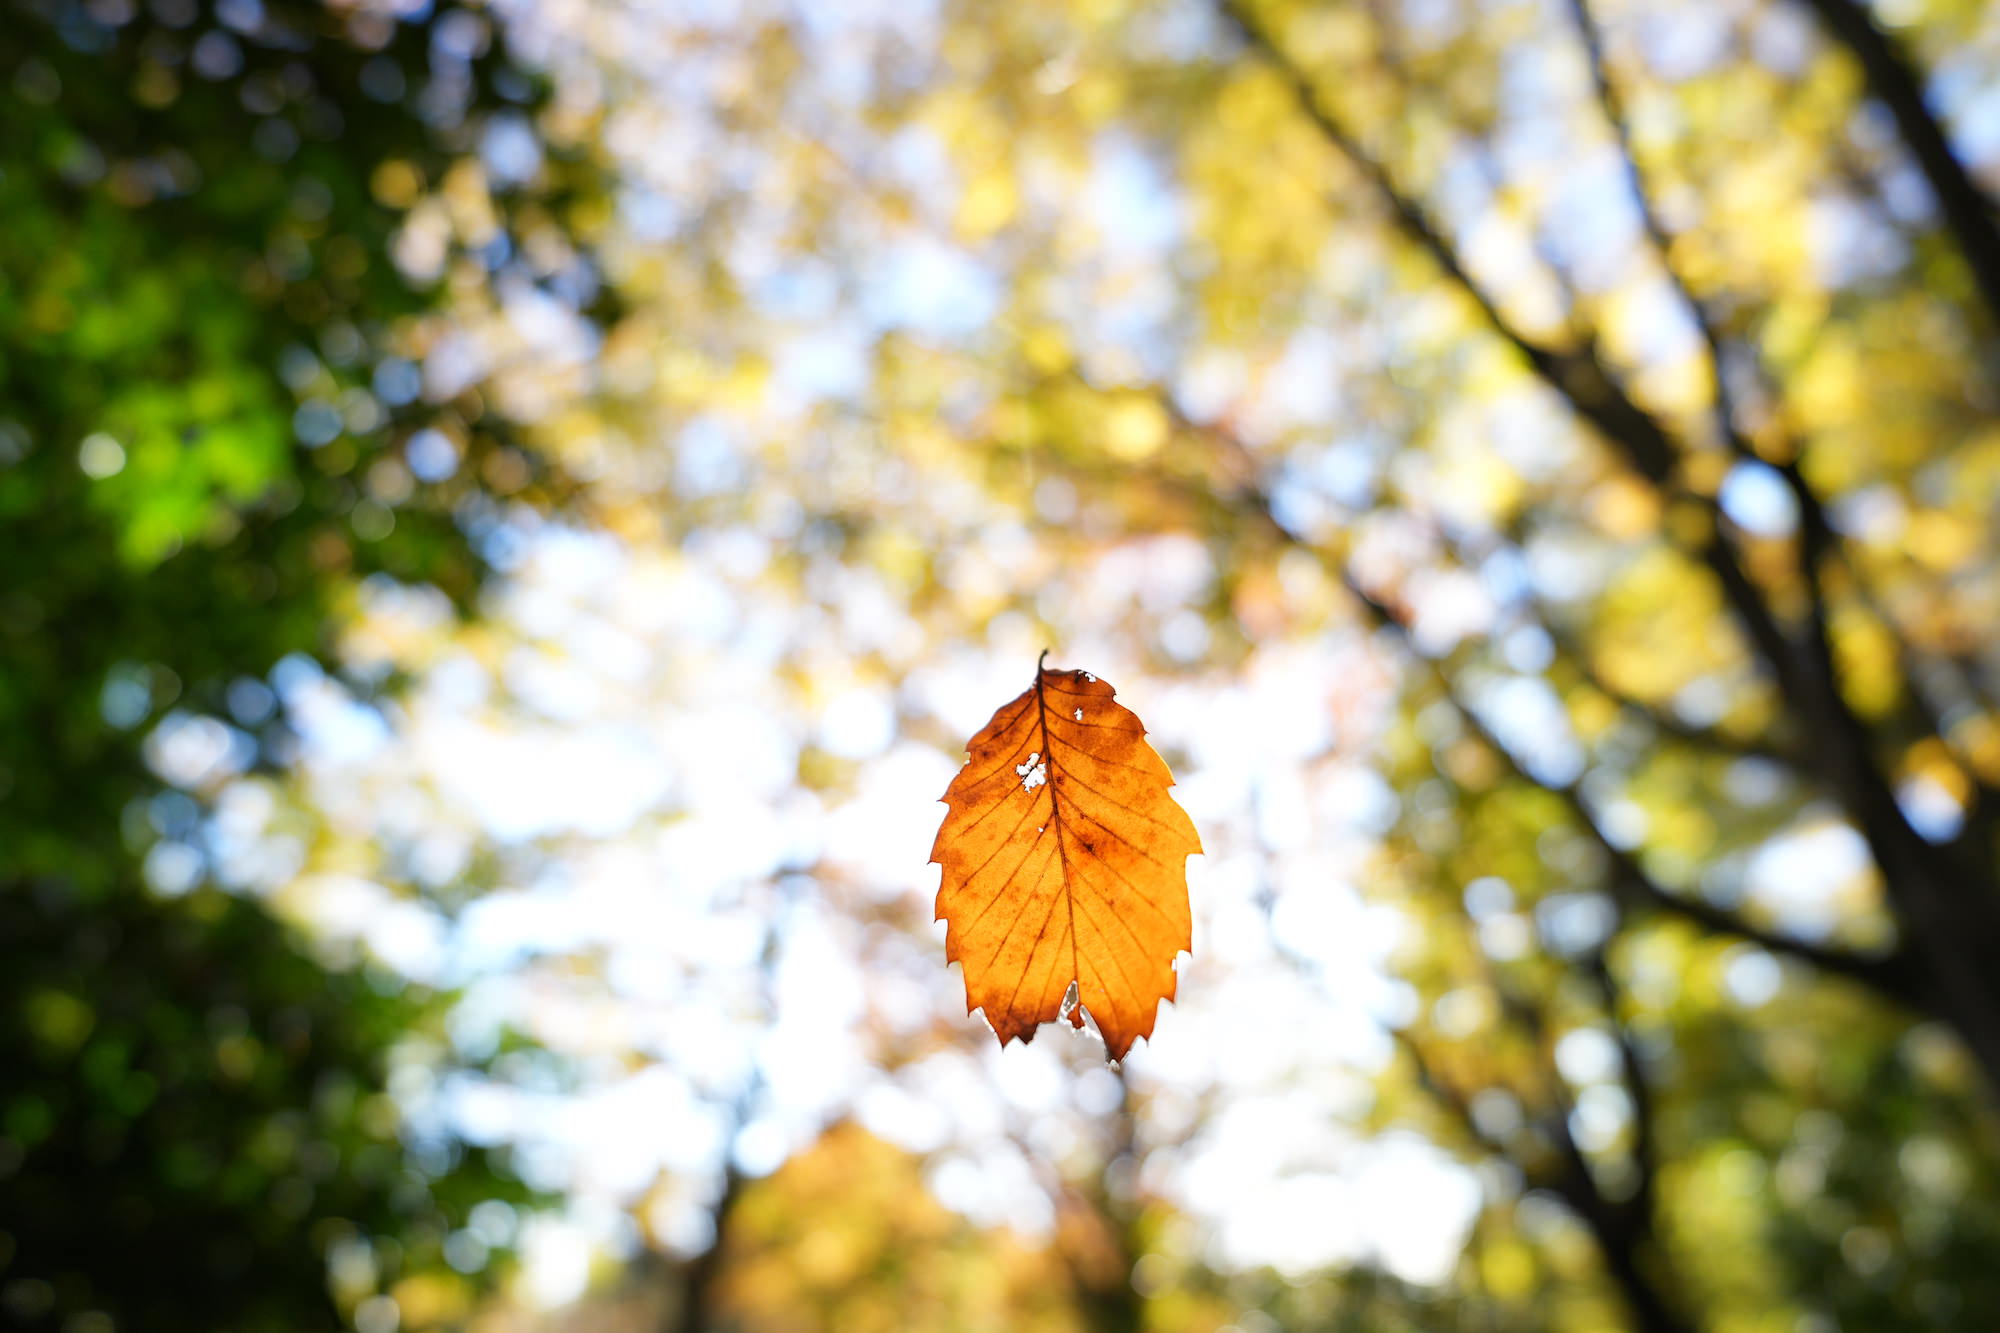
2. Bring Lenses That Let You Change the Story
It’s tempting to reach for the widest lens when the trees light up. A wide angle is useful for showing the scale of a valley, a canopy overhead or a trail leading into the color – but it is only one way to photograph the season.
A versatile fall kit gives you choices:
Wide Angle: Establish The place
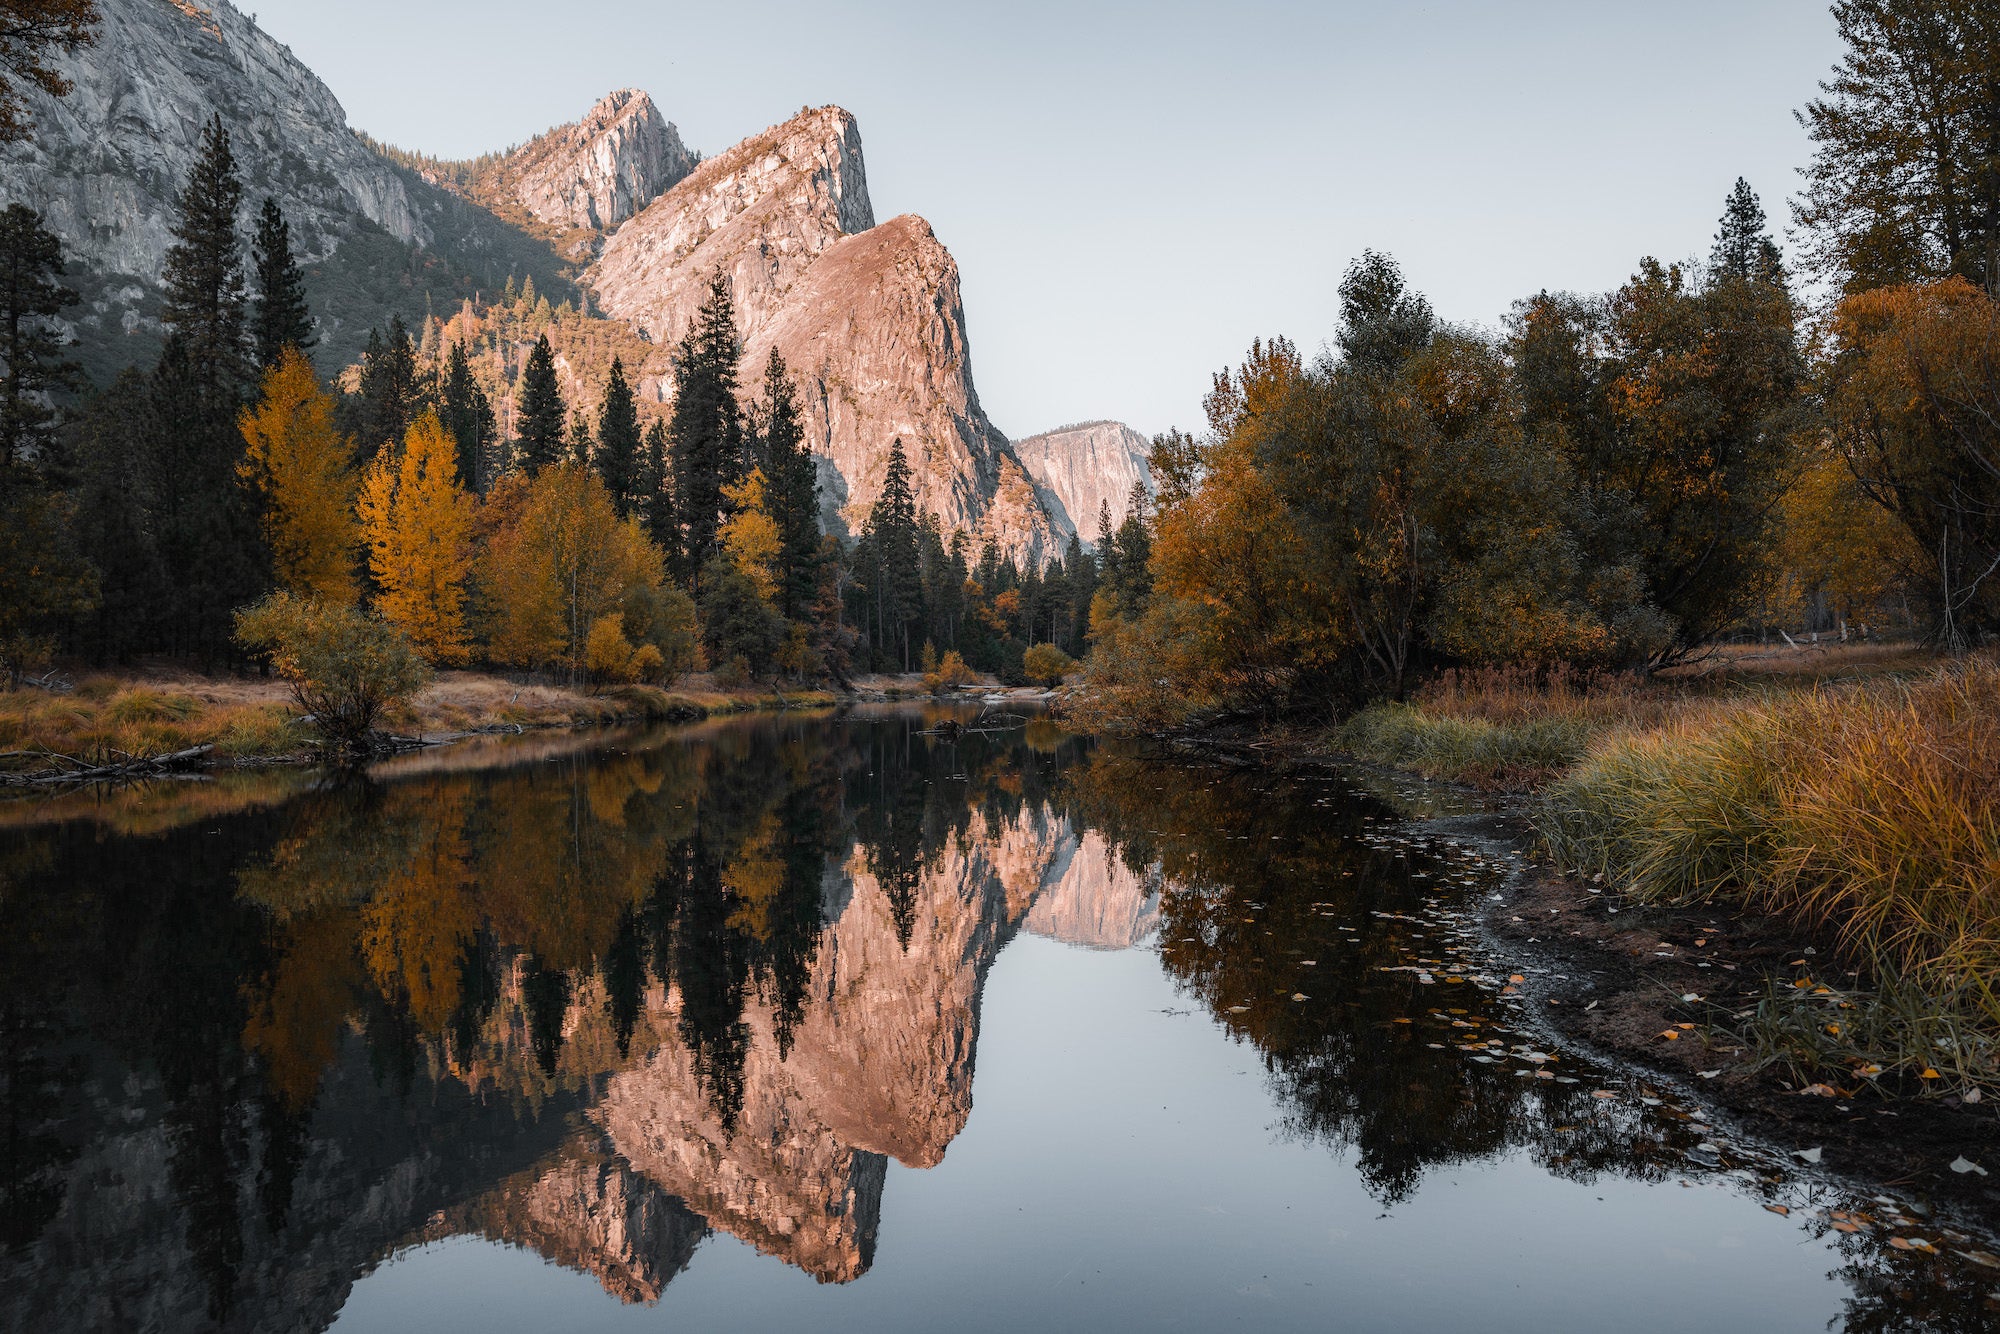
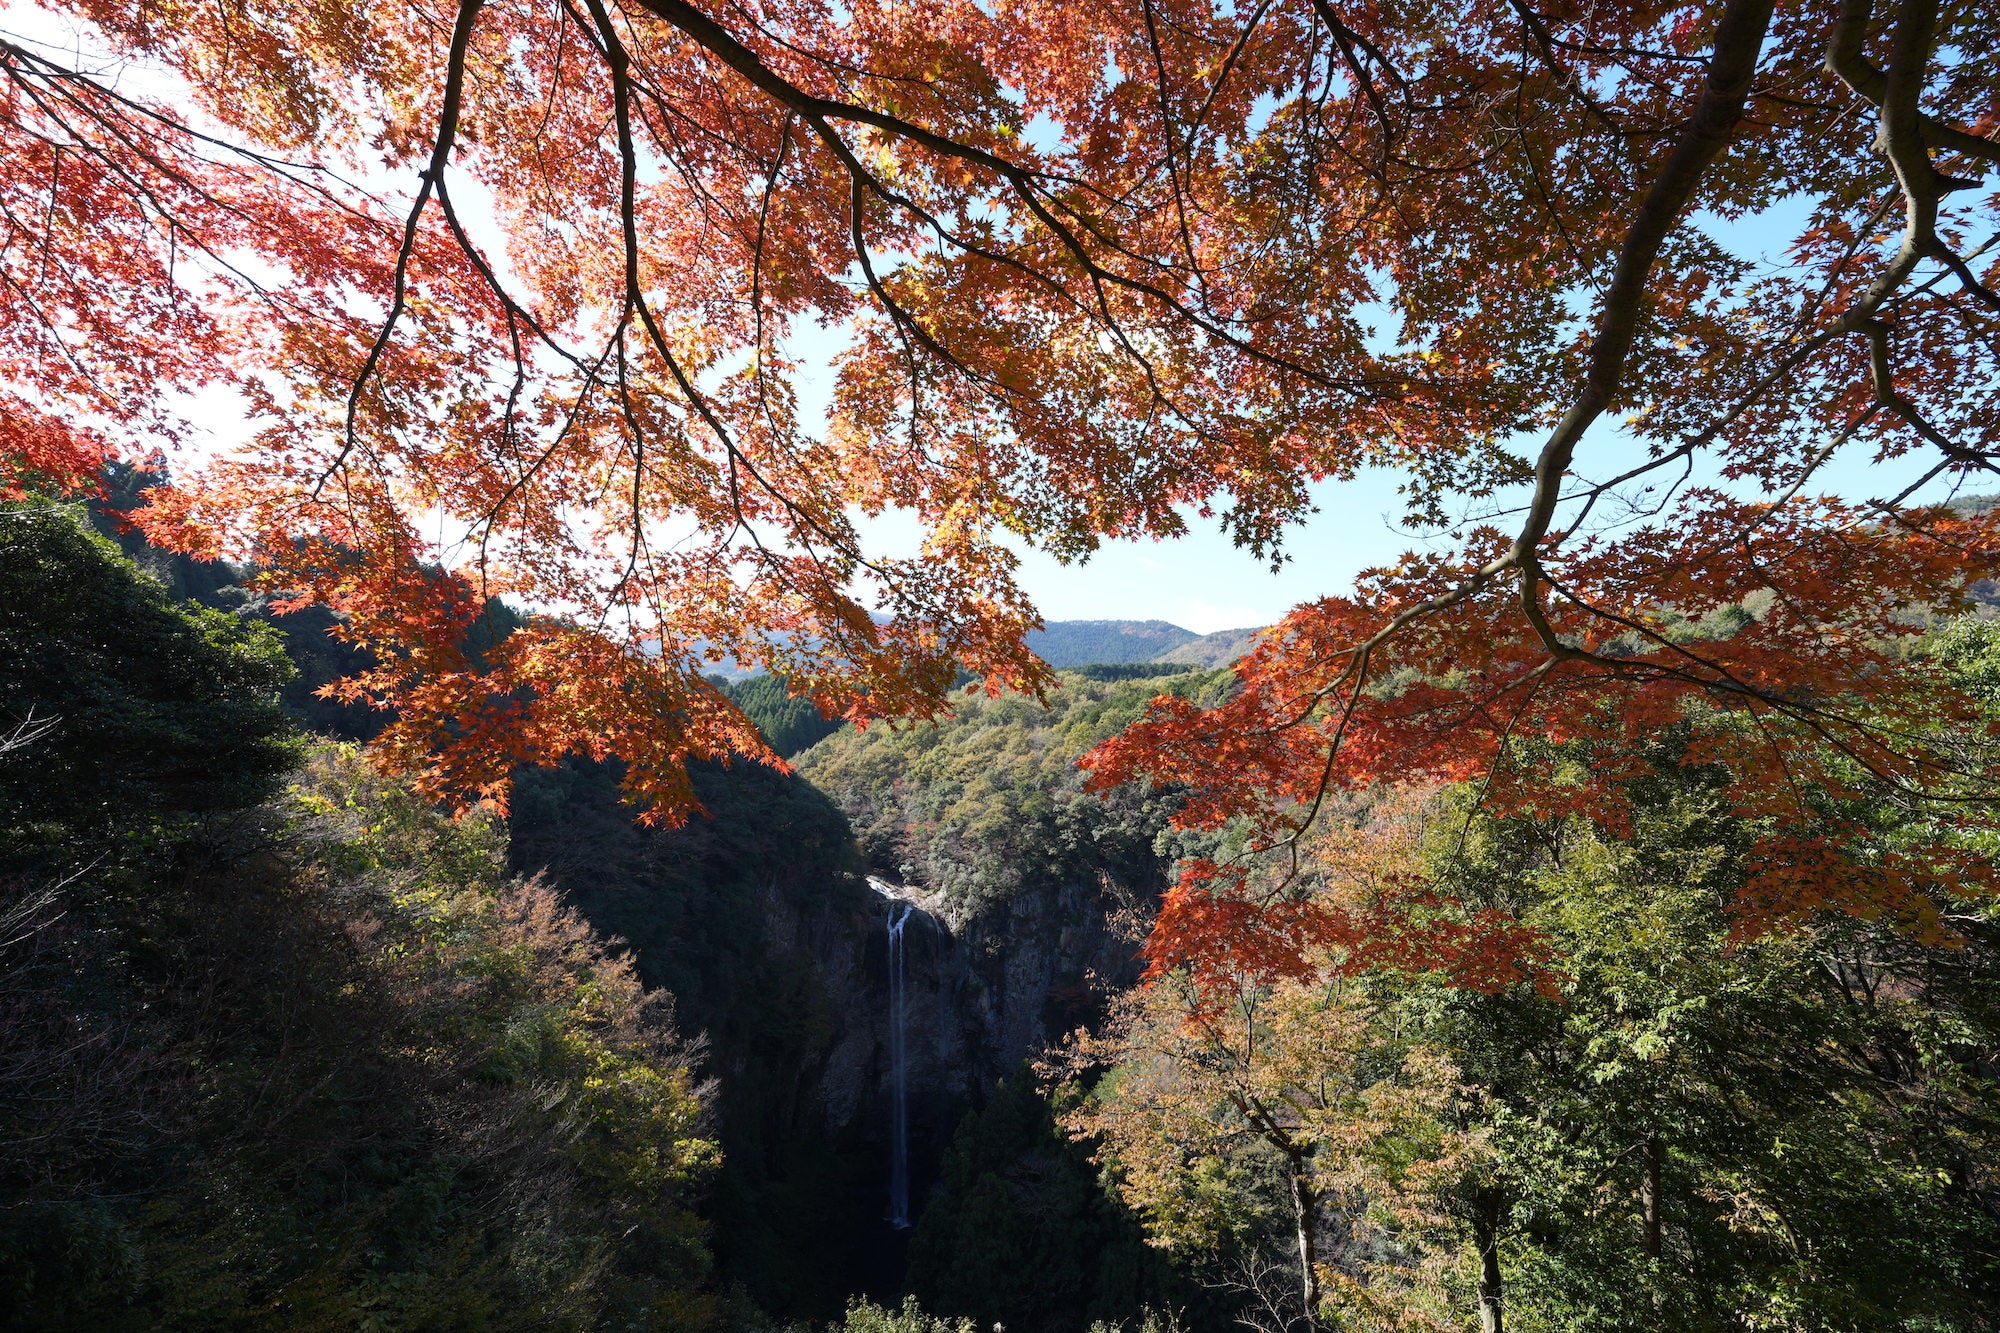
Use a wide-angle zoom such as the 16-35mm f/2.8 G Master II or 16-35mm f/4 PZ G to include foreground texture, a winding road or a dramatic sky. Get close to a strong foreground element – leaves, rocks, water or a fallen log – so the frame has depth rather than just a distant wall of color.
Standard Zoom: Work Quickly As The Light Changes
A zoom like the 24-70mm f/2.8 G Master II, 28-70mm f/2 G Master or 24-105mm f/4 G is often the most useful lens of the day. It lets you move from broad scenes to intimate frames without losing time during rapidly changing light.
Telephoto: Simplify The Scene
Fall landscapes can become visually busy. A telephoto lens helps isolate bands of color, compress ridgelines, pull out patterns in a forest or place a wildlife subject against a soft autumn backdrop. The 70-200mm f/2.8 G Master II and 200-600mm f/5.6-6.3 G are particularly useful when you want to create layers without getting physically closer.
Macro: Look Down, Not Only Out
Mushrooms, dew, seed heads, curled leaves and textured bark can make some of the strongest fall images. A dedicated macro lens like the 100mm f/2.8 Macro G Master opens up a completely different version of the season.
Related reading: Landscape Photographer’s Single-Lens Kit For Fall Color | Fall Macro Photography Made Easy: Kyle van Bavel’s Field-Tested Tips
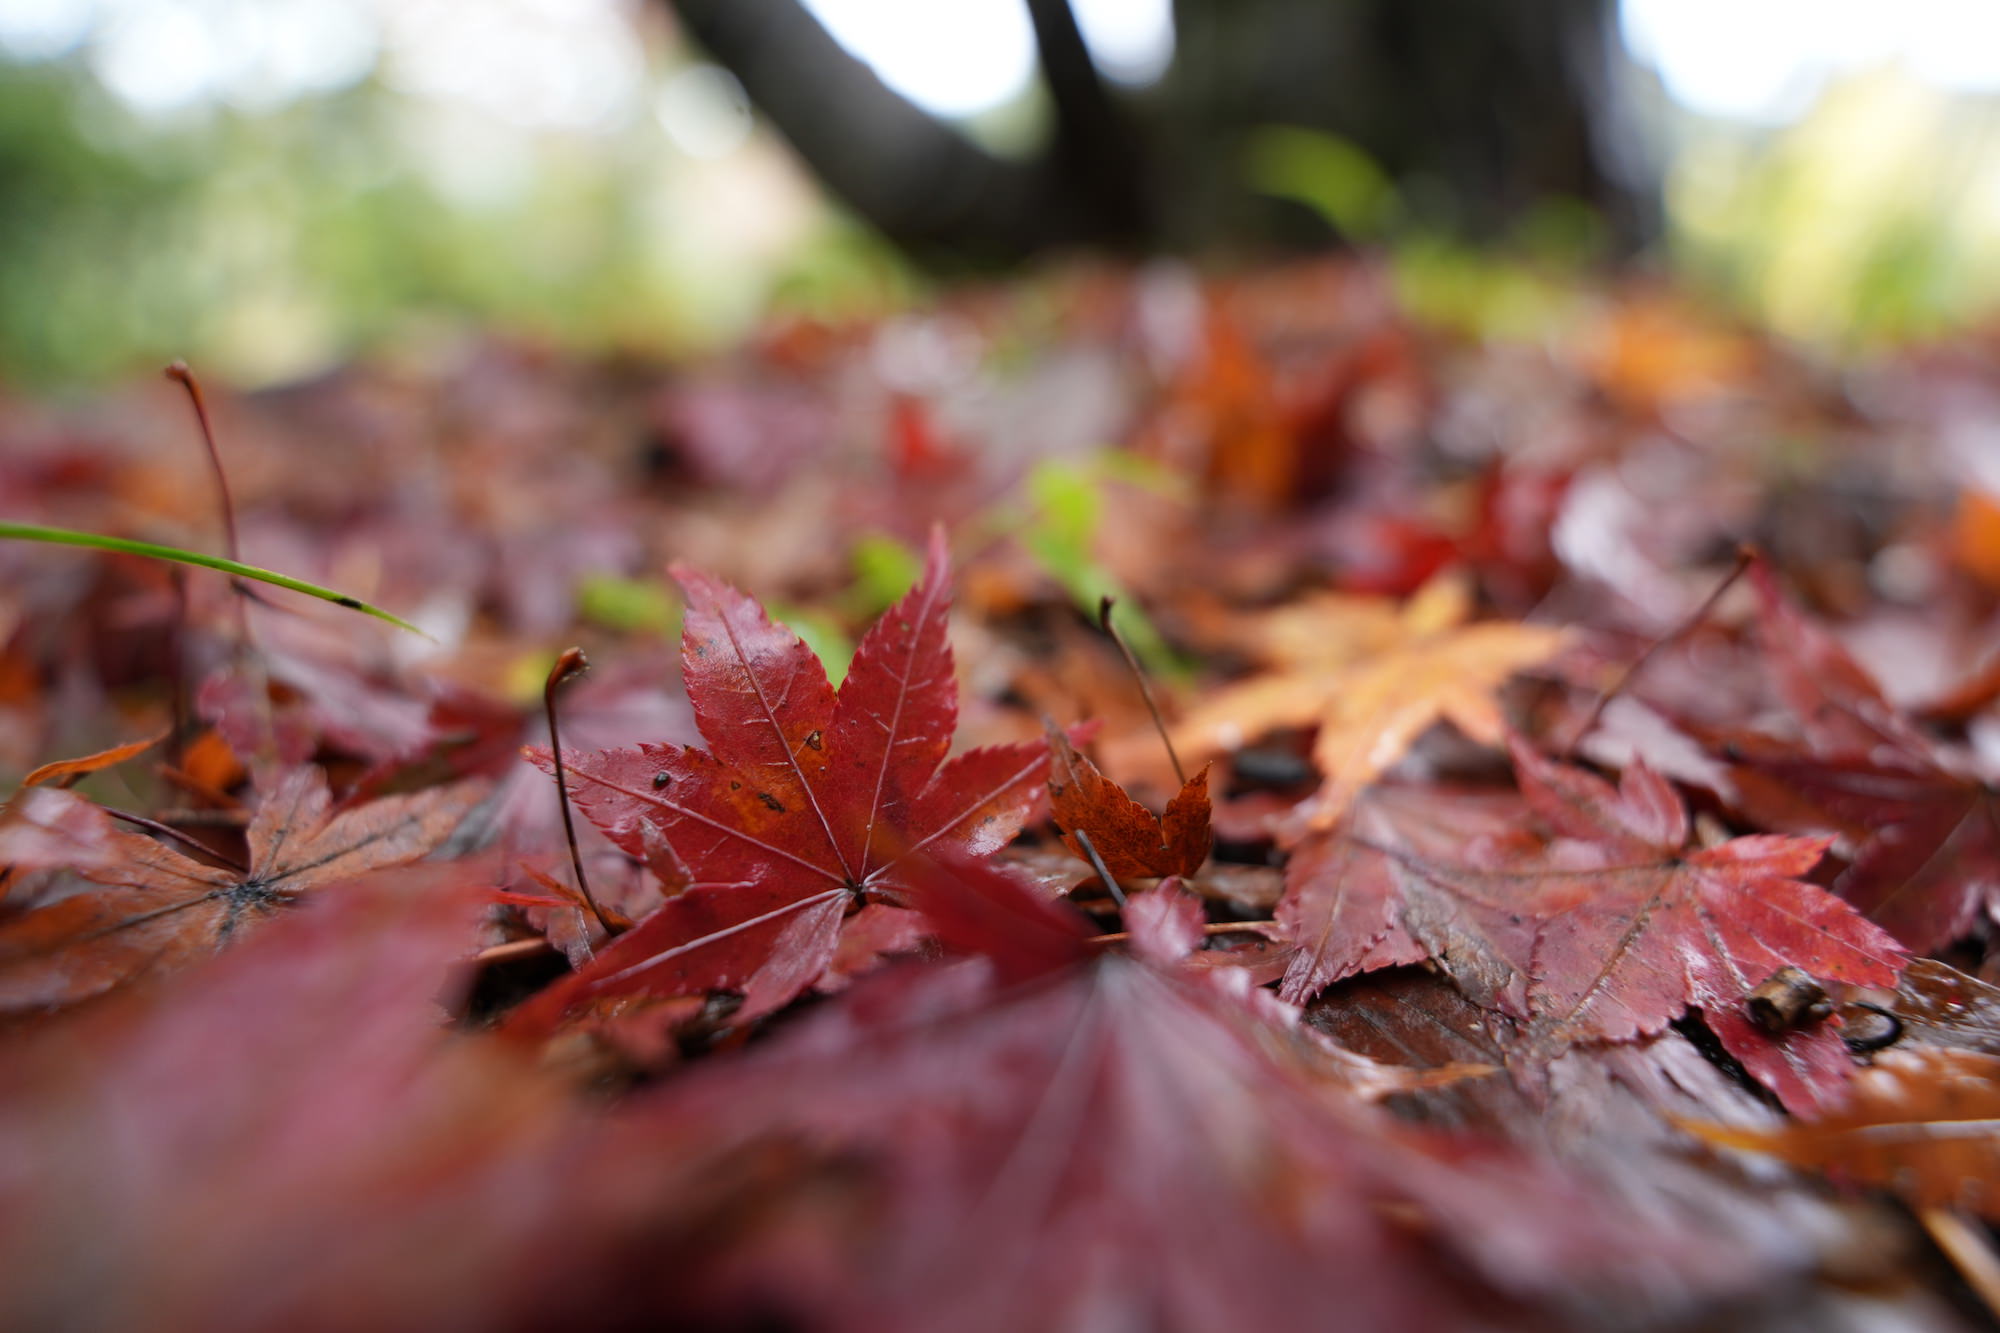
3. Begin With These Fall Foliage Camera Settings
There is no single best camera setting for autumn color. The right settings depend on whether the leaves are still, the wind is moving the branches, you are handholding or using a tripod, and whether the scene is a grand landscape or a close detail.
Expansive Landscapes
- Shutter Speed: As needed for stability
- Aperture: f/8–f/11
- ISO: Lowest practical ISO
- What to watch for: Keep foreground and distant elements sharp; use a tripod if shutter speed drops too far.
Handheld Foliage Scenes
- Shutter Speed: 1/125-sec. or faster
- Aperture: f/5.6–f/8
- ISO: Auto ISO with an upper limit
- What to watch for: Raise shutter speed in wind or when using longer focal lengths.
Compressed telephoto layers
- Shutter Speed: 1/250-sec. or faster
- Aperture: f/5.6–f/8
- ISO: Lowest practical ISO
- What to watch for: Small camera movements become more visible at longer focal lengths.
Moving leaves or wildlife
- Shutter Speed: 1/1000-sec. or faster
- Aperture: f/4–f/8
- ISO: Auto ISO
- What to watch for: Prioritize shutter speed when the subject is moving.
Macro details, handheld
- Shutter Speed: 1/100-sec. to 1/250-sec.
- Aperture: f/2.8–f/5.6
- ISO: ISO 100–400 when possible
- What to watch for: Depth of field is extremely shallow; place focus precisely.
Shoot RAW when you can. It gives you more room to recover highlight detail in bright leaves and preserve shadow information in a dark forest.
For autofocus, use a flexible spot or a small focus area when you need precision on a leaf, branch or detail. For wildlife, use continuous autofocus and subject recognition when appropriate, then make sure your shutter speed is high enough to hold both the animal and the movement around it.
Pro tip: A circular polarizer can be valuable on bright days. Rotating it can reduce glare from leaves and wet surfaces, deepen a blue sky and reveal color that reflections would otherwise hide.
Related reading: Camera Settings, Lens Choices & More: How This Photographer Captures Fall Color In The Midwest
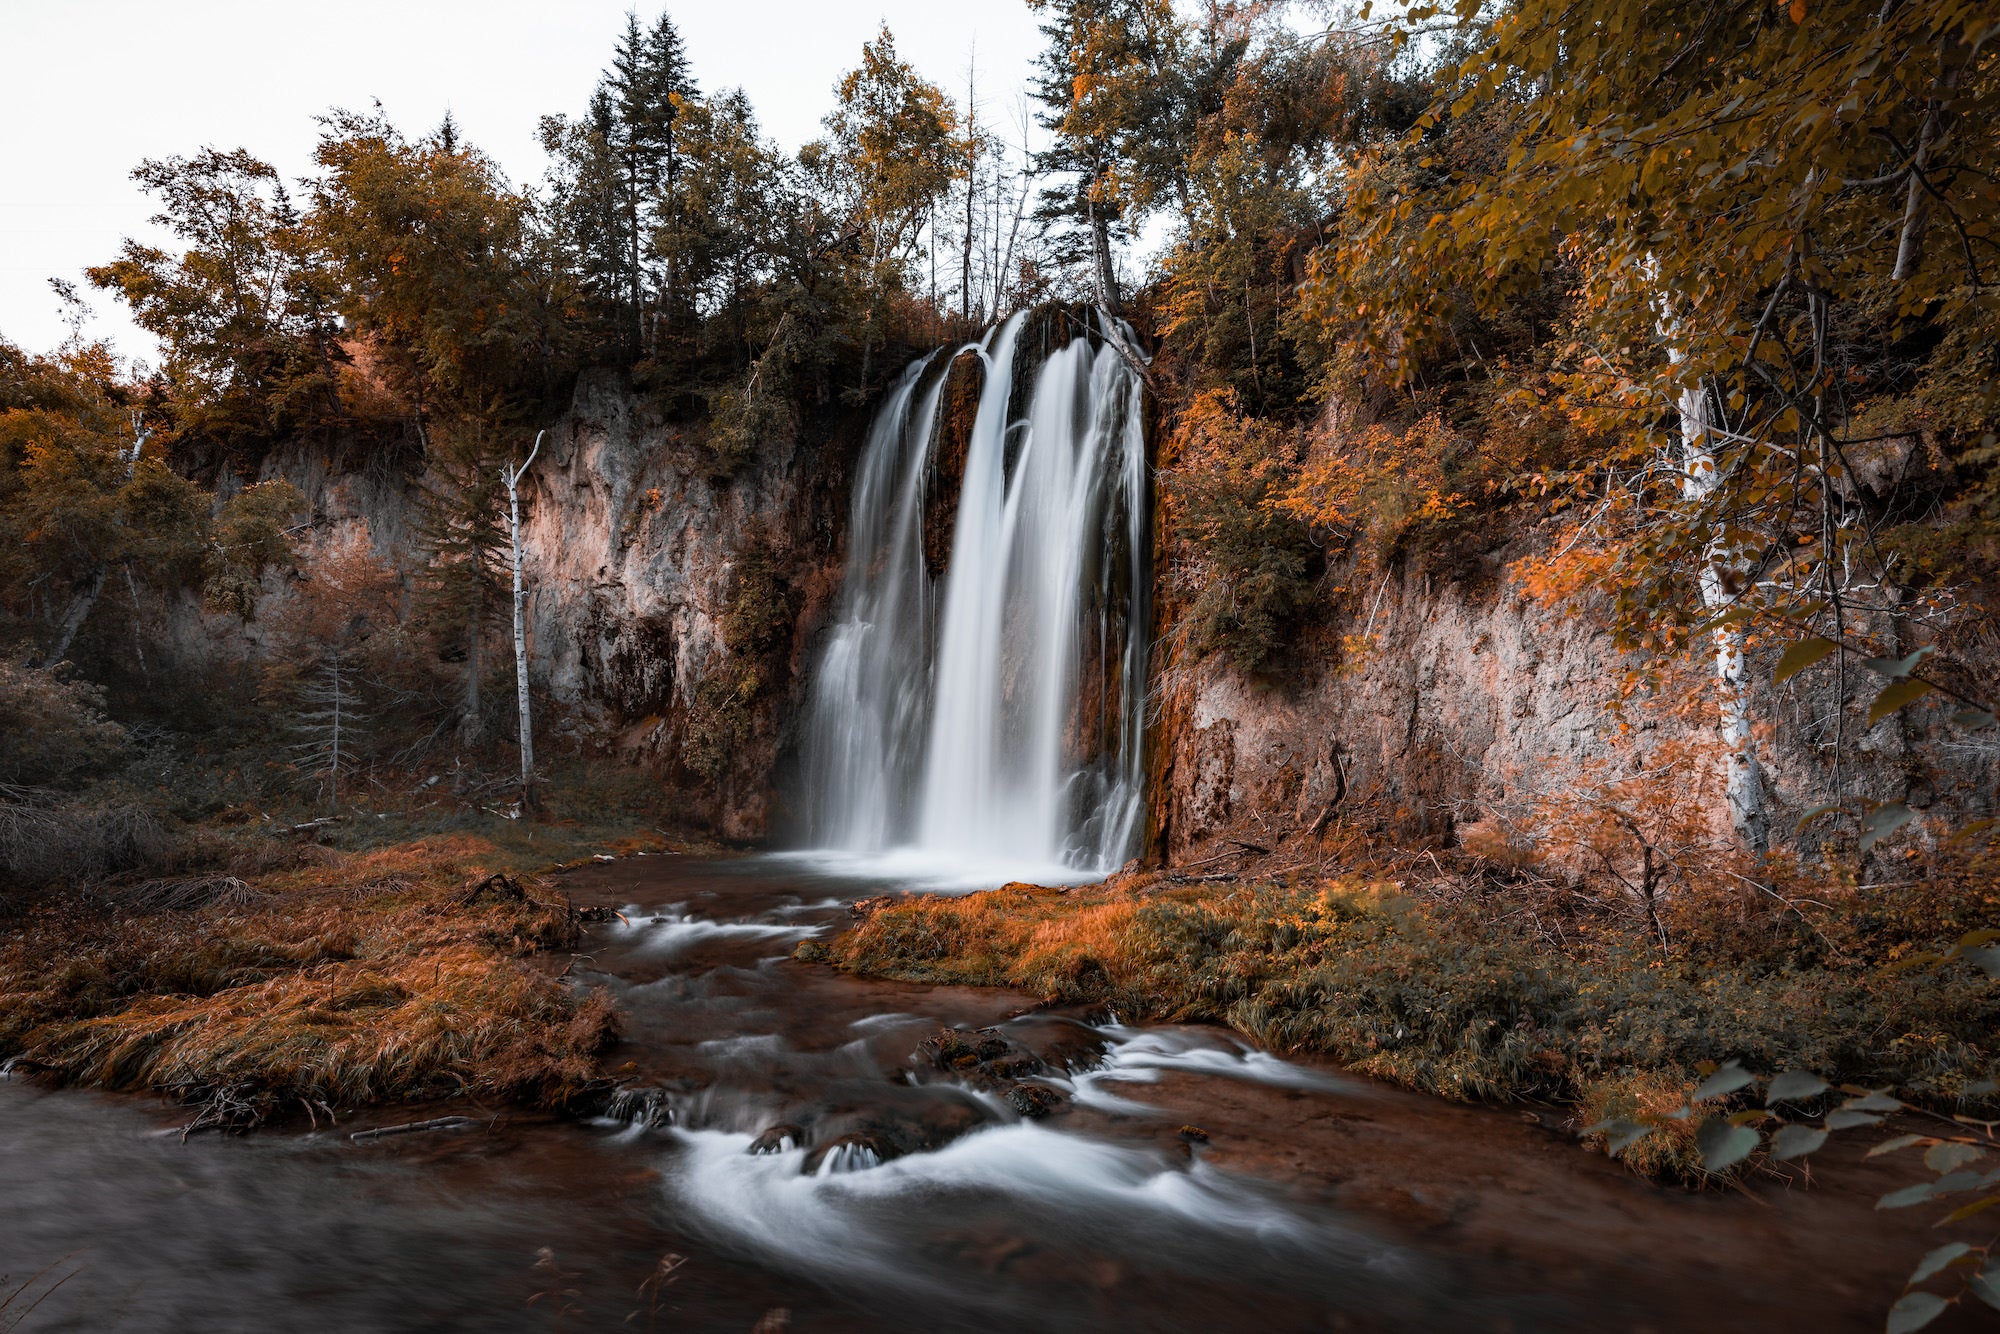
4. Work With the Light You Have
Bright color is not the same as good light. In fact, the best fall photography often happens when the weather gets more interesting.
On sunny days, use direction.
Backlight can make thin leaves glow. Side light brings out texture in bark, grasses and layers of a hillside. If the midday sun is harsh, use a polarizer, search for shade or move in tight enough that you can control the background.
On overcast days, lean into color and detail.
Cloud cover can act like a giant softbox, making saturated leaves easier to photograph without high-contrast shadows. It is an ideal time for forests, waterfalls, macro subjects and color-rich compositions.
In rain, fog or mist…simplify.
Weather creates separation. Fog can turn a busy forest into a series of quiet layers; rain adds shine and richer color; low clouds can eliminate an empty sky. Protect your gear, slow down and look for scenes with depth.
At golden hour, photograph the transition.
The minutes before sunrise and after sunset are often just as useful as the obvious warm-light window. Stay alert for changing color temperature, low-angle light across distant hills and the first lights of blue hour.
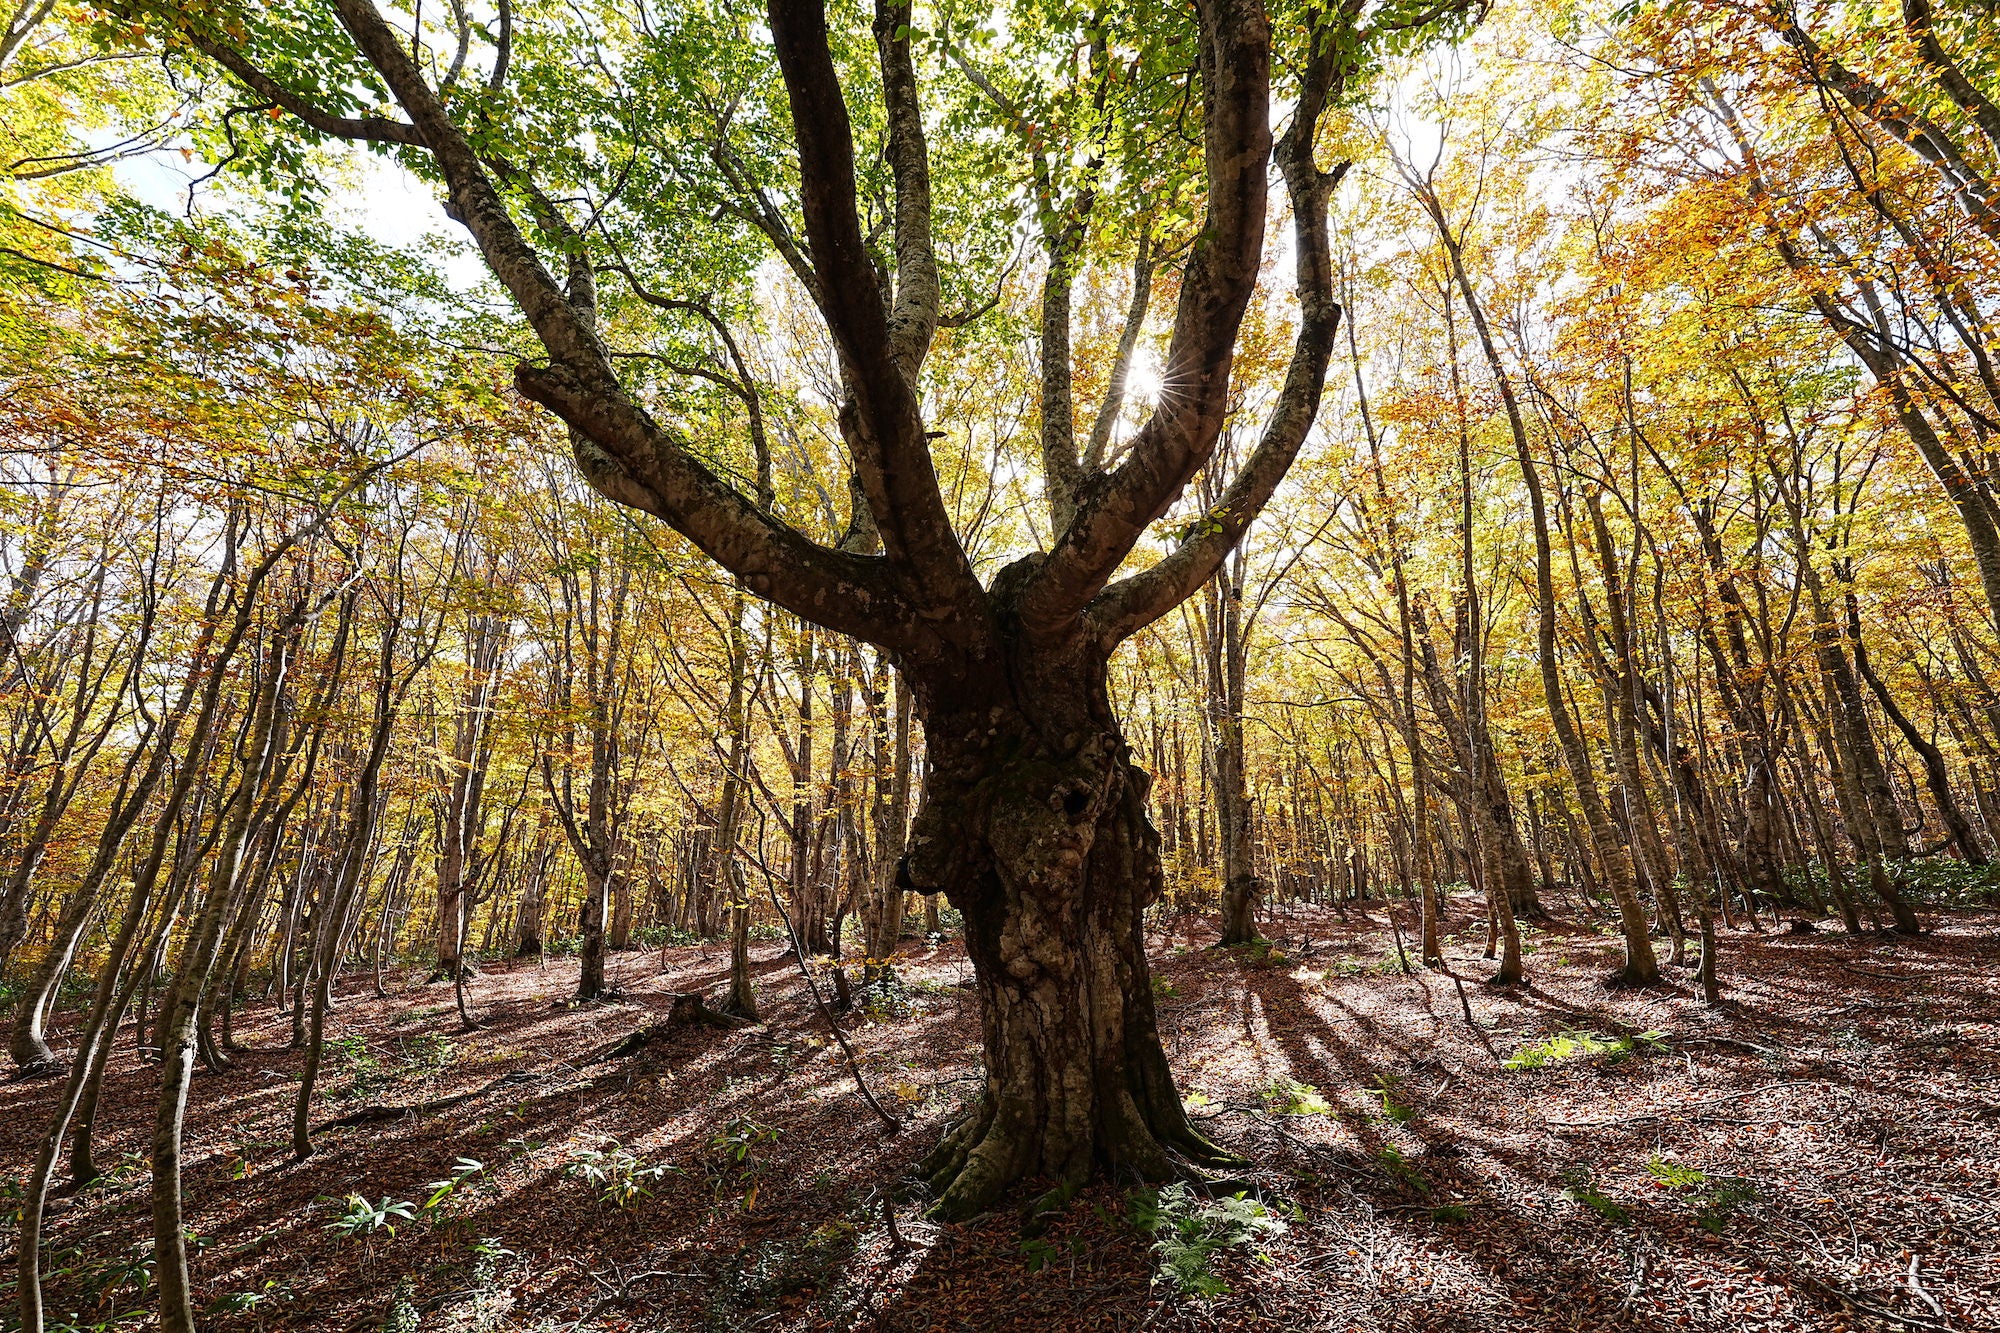
5. Compose Beyond The ‘Wall of Color’
A scene full of fall leaves can be beautiful in person and still feel flat in a photograph. Give the viewer a clear place to look.
Try these approaches:
-
Find a visual anchor. A person, cabin, trail, tree trunk, river bend or animal can give a colorful frame a focal point.
-
Build layers. Use a telephoto lens to stack foreground, middle distance and background color into a more dimensional image.
-
Look for contrast. Red leaves against evergreen trees, yellow leaves against dark water, or a single bright tree in a muted landscape can be more powerful than photographing everything at once.
-
Use weather as structure. Fog, rain, reflections and clouds can simplify the frame and separate elements.
-
Get low. A low angle turns leaves, grass and branches into foreground layers. Use a tilting screen to make it easier to work close to the ground.
-
Make room for small stories. A leaf caught in a stream, a bird moving through a glowing canopy or frost on a late-season branch can carry more feeling than the biggest vista.
For wildlife photographers, remember that autumn color is supporting cast. Use it to frame, isolate or soften the background—but keep the subject’s eye, behavior and gesture as the priority.
Related reading: What’s In My Bag: A Wildlife & Nature Photographer’s Kit For Capturing Fall Colors
6. Make Better Fall Portraits
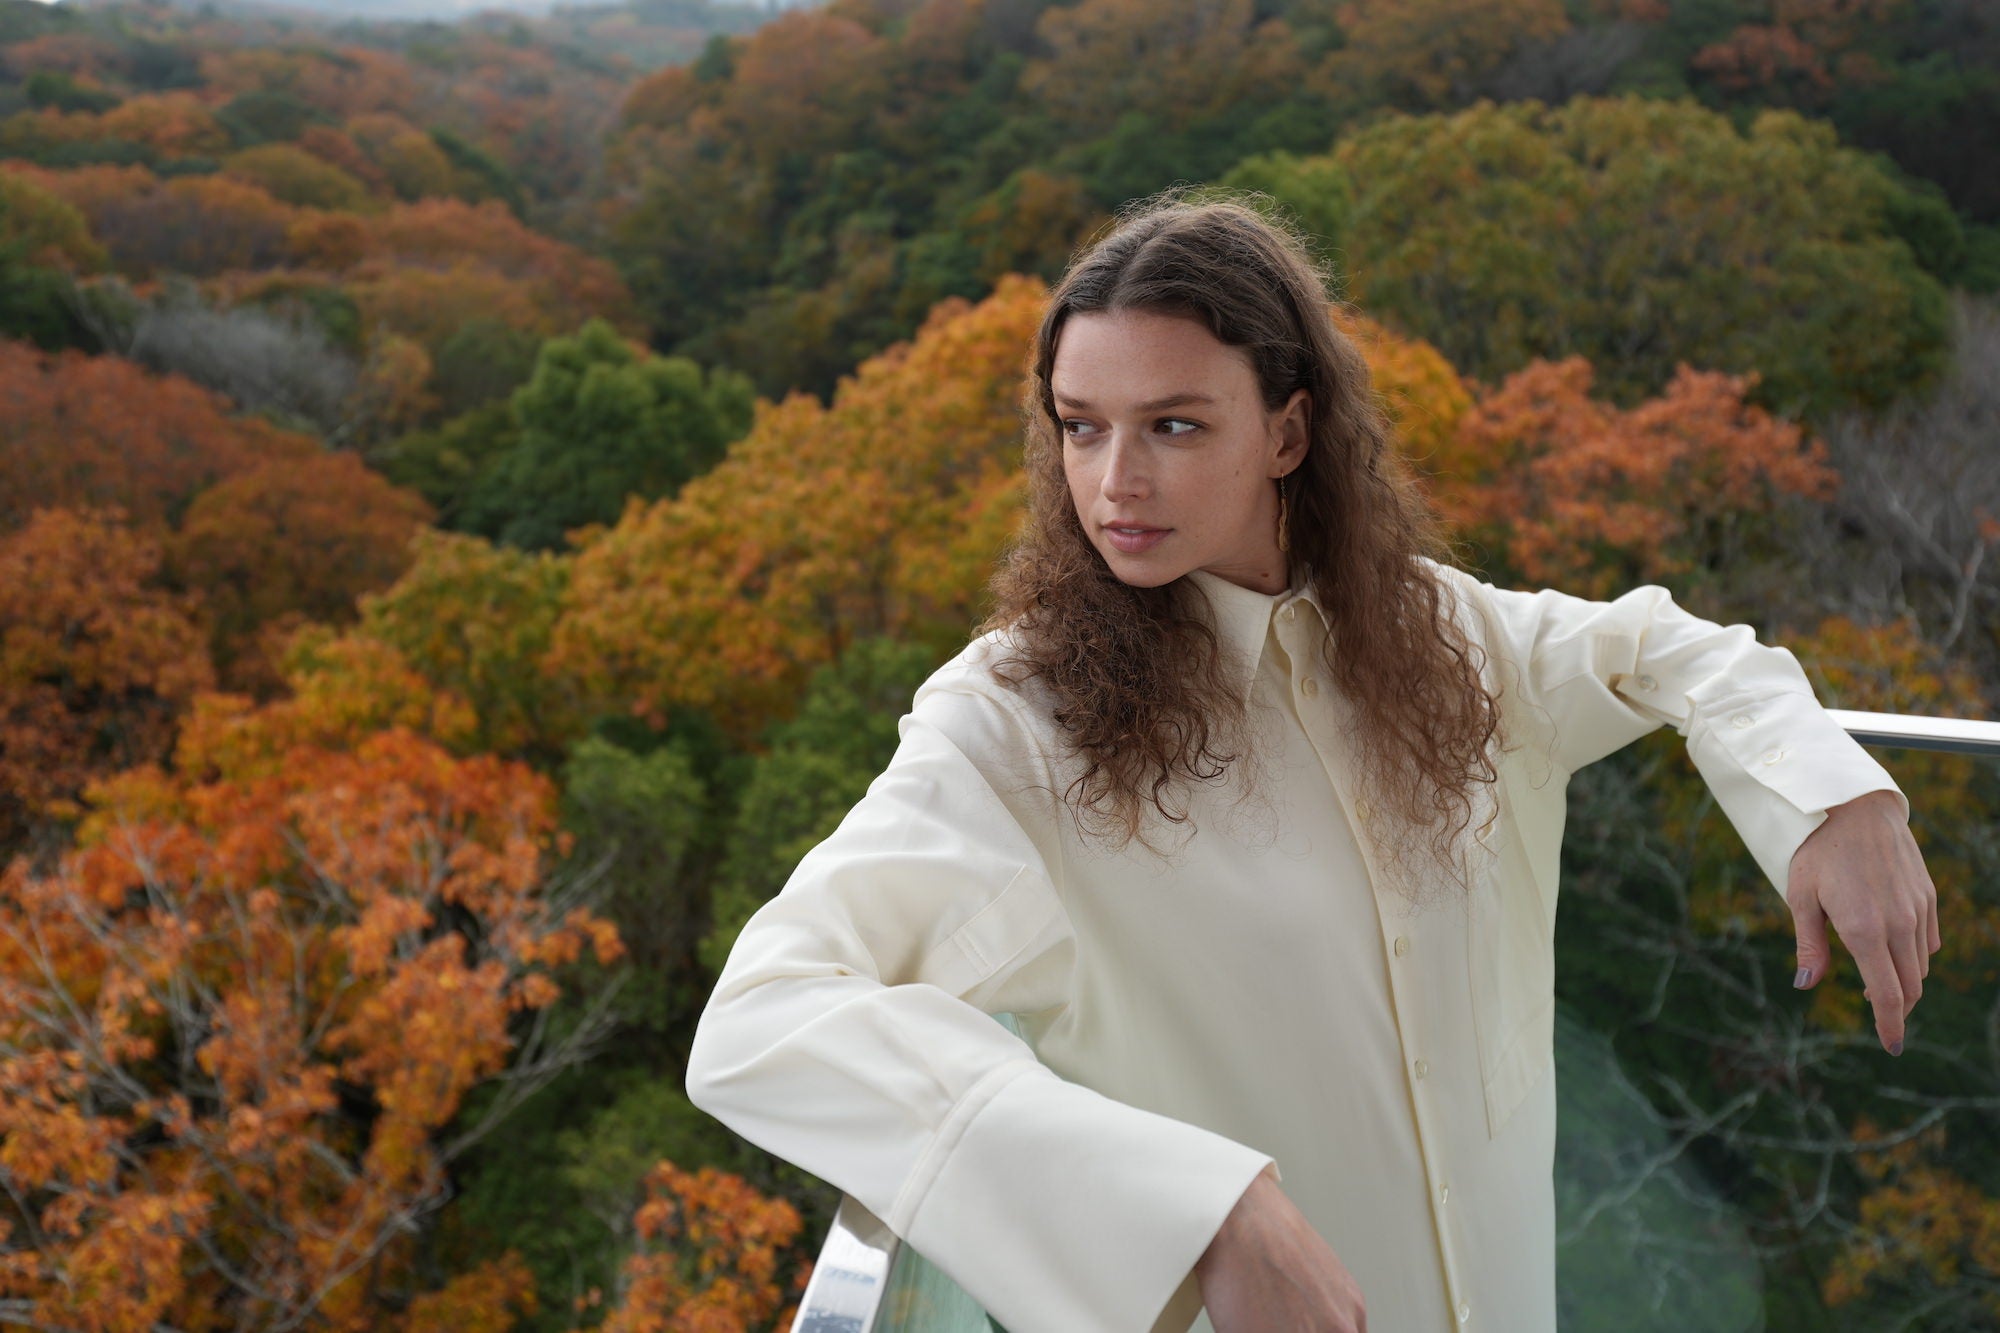
Fall color is an excellent portrait backdrop, but it can easily compete with your subject. Place your subject several feet away from the background, then use a wider aperture to soften the color behind them. A fast prime like an 85mm or 50mm gives you natural separation while preserving the seasonal feeling.
Look for open shade, backlight or the soft edge of the sun rather than placing a person in patchy midday light. If the color behind them is intense, simplify wardrobe choices: neutrals, denim, cream, charcoal and muted earth tones tend to keep attention on the person.
Try movement. A walk through leaves, a jacket thrown over a shoulder or a natural interaction between people often feels more like a real moment than a perfectly static pose.
7. Edit For The Feeling You Saw, Not A Color You Invented
Autumn has enough color on its own. The goal in post-processing is usually to preserve the richness of the scene – not force every yellow, orange and red slider to the maximum.
Start with overall exposure and tonal range. Recover highlights if bright leaves have lost detail, lift shadows carefully in dark woods and adjust white balance to match the feeling of the light. Then make targeted color refinements:
-
Use HSL controls selectively instead of increasing global saturation.
-
Watch reds and oranges closely; they can clip or overpower skin tones quickly.
-
Reduce distracting greens if they compete with the fall palette, but keep the scene believable.
-
Use local masks to guide the eye toward a subject, patch of light or leading line.
-
Keep an eye on the histogram and revisit the image after a short break. Fall color is easy to over-edit when you have been looking at it too long.
8. A Simple Fall Foliage Shot List
If you arrive at a peak-color location without a plan, start here:
- Wide establishing landscape
- Telephoto layers of distant trees or ridges
- Backlit leaves against a darker background
- Reflections in water
- A trail, road or river leading through color
- An abstract pattern of leaves, branches or bark
- One close macro detail
- A wildlife frame using foliage as background
- An environmental portrait
- A blue-hour or post-sunset frame before you pack up
The list we provided isn’t about checking boxes, but a reminder to explore the place from more than one distance and perspective.
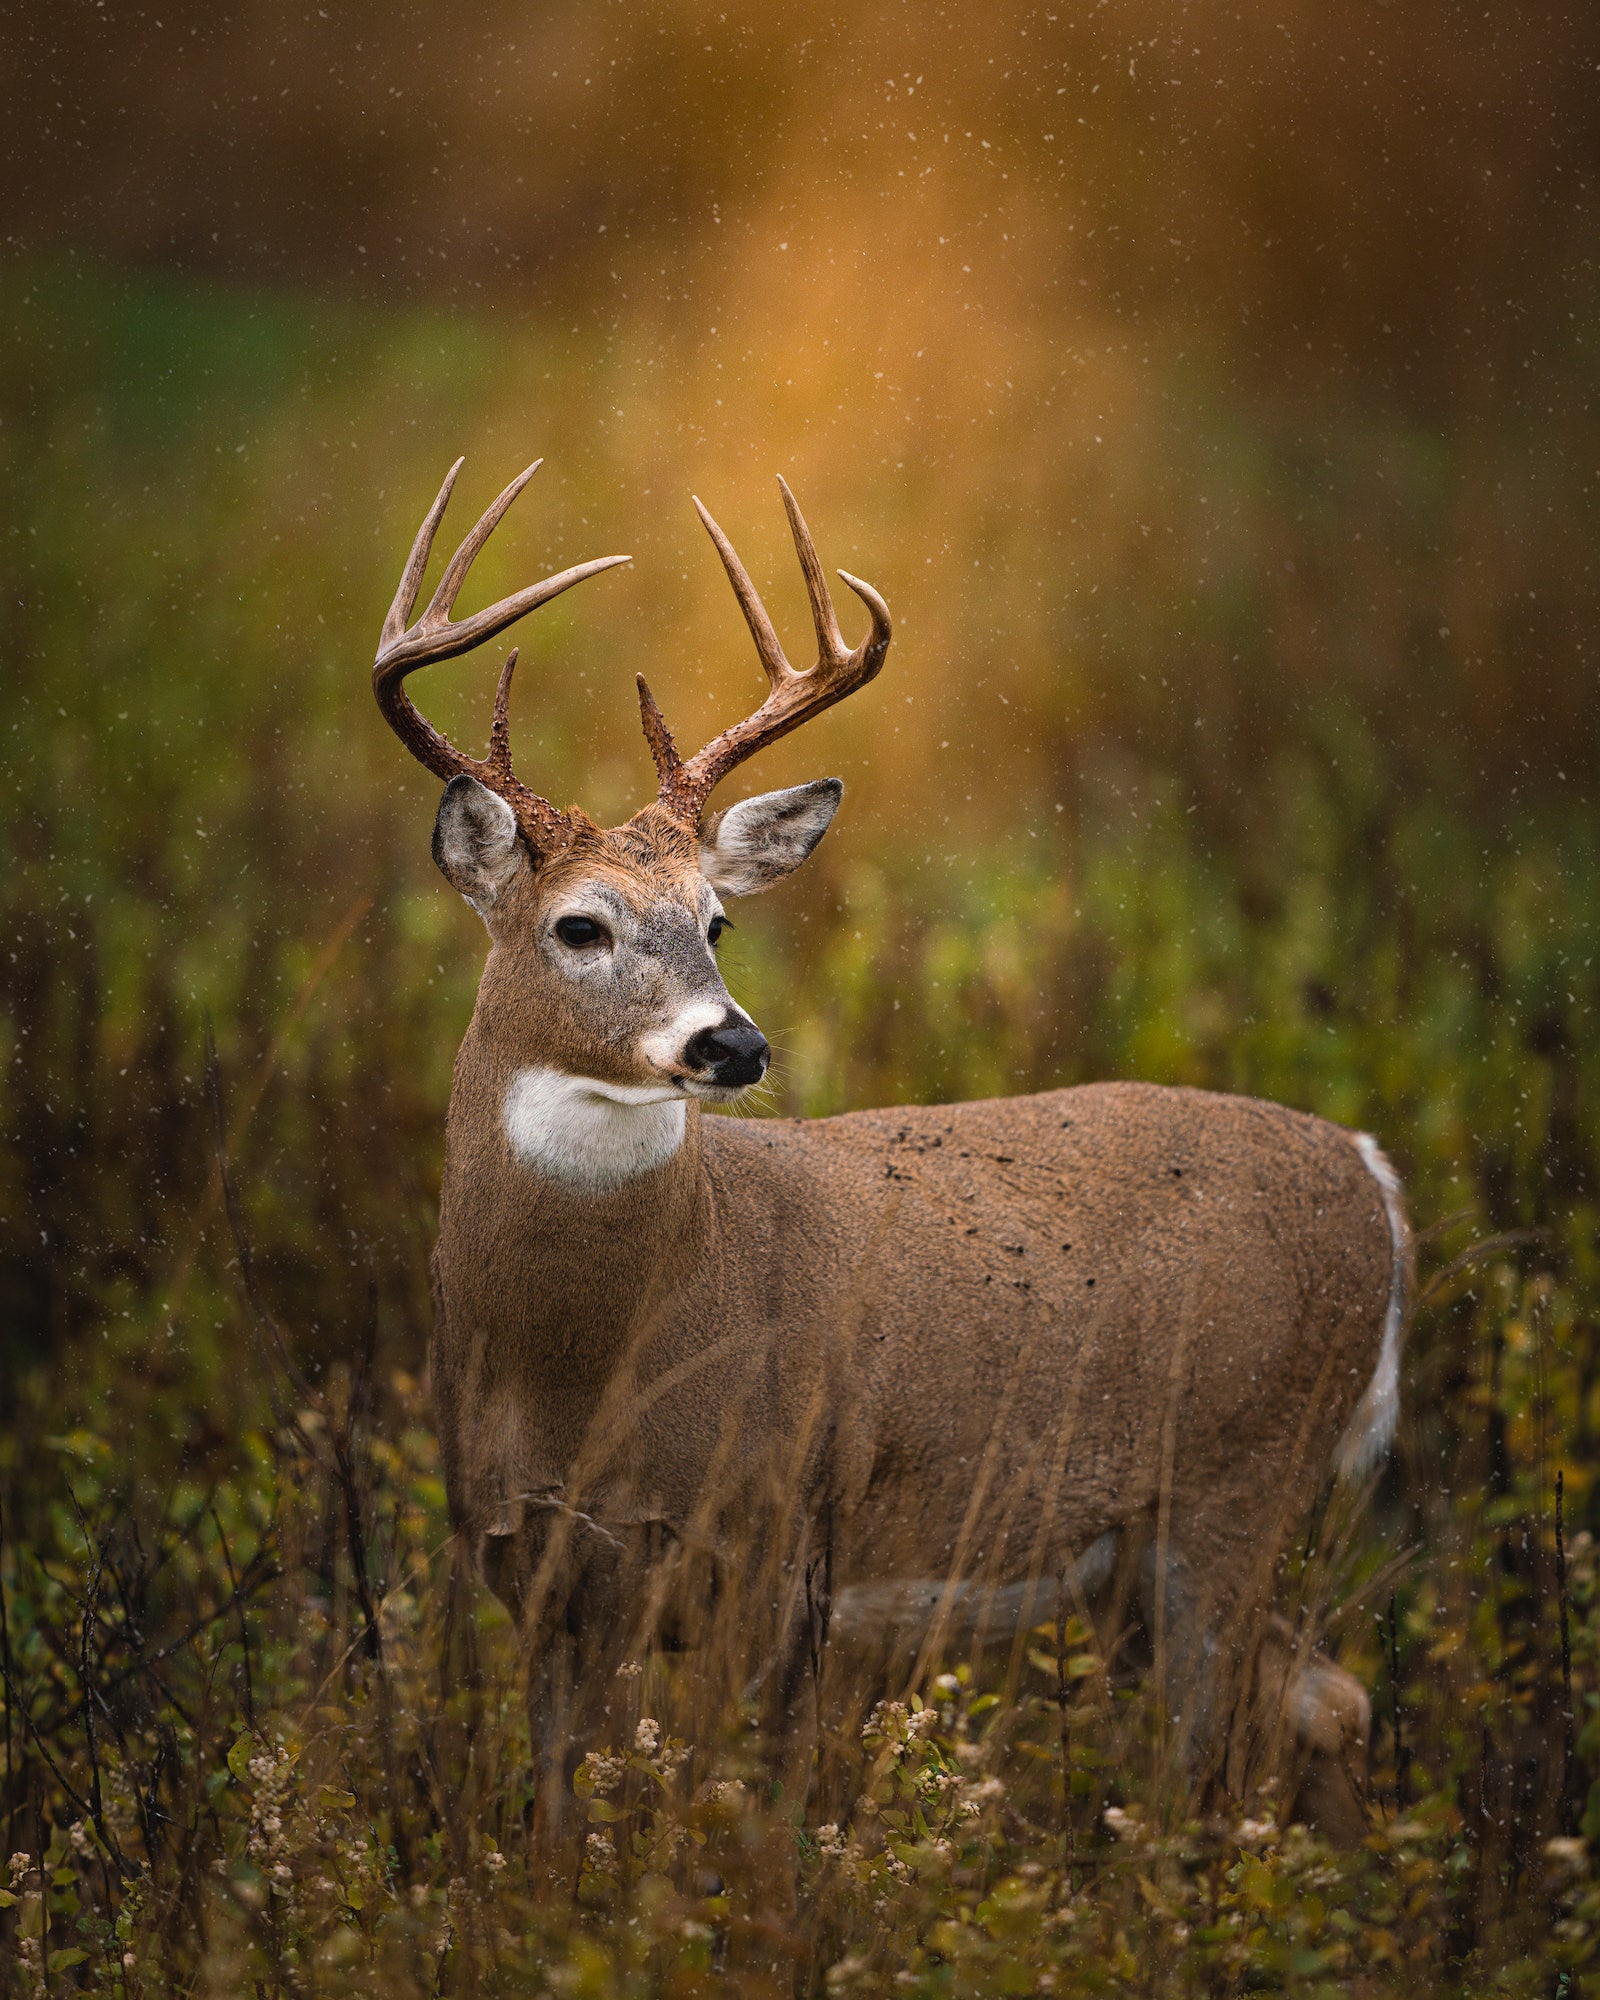
Photo by Nate Luebbe
9. Check Out The Free Courses On Alpha Camera Academy
Want to go further before your next fall photo outing? Alpha Camera Academy offers free, self-paced courses that can help you build the technical and creative confidence behind stronger autumn images.
-
Landscape Photography 101
Learn the foundations of planning, exposure, focus, lenses, light and composition—core skills for making the most of changing fall color and fleeting conditions. -
Lens Fundamentals
Better understand how focal length and aperture shape a scene, from expansive wide-angle landscapes to compressed telephoto layers and intimate close-up details. The course also includes guidance on macro photography and using a circular polarizing filter. -
Photo Fundamentals 201
Build a more intentional approach to planning, composition and editing so your fall photographs feel considered – not simply colorful. -
Portrait Photography 101
Learn the foundations of lighting, composition, posing, gear and editing to create fall portraits where the person remains the focus – even with bold foliage in the frame. -
Family Portraiture
Build confidence photographing natural, joyful family moments with practical guidance on light, posing and authentic expression. It’s a useful next step for anyone using autumn color as the setting for family portraits. -
Wildlife Photography 101
If autumn color is part of your wildlife work, this course covers the gear, settings, light, composition and editing techniques that help turn a brief encounter into a finished image.
Click here to explore all free courses.

10. Get Out There & Start Shooting!
Our last piece of advice is to get out there with your camera. The more you shoot, the more you learn. Share your fall photography on Instagram with #SonyAlpha.
Explore more autumn photography on Alpha Universe: