Following a pair of articles I wrote for Alpha Universe devoted to long exposure photography (here and here), I'm now going to elaborate on my post-production editing technique. I should mention first that I am a fine art photographer, not a documentary photographer. This is a very important distinction in my eyes, because it means that I’m allowed to interpret the world I see and transform it according to my vision.
When I’m in the field, I decide even before taking the camera out of my bag what the final image will look like, according to what I see before me. I will essentially use my camera and editing techniques, much as a painter would use his brushes and colors, in order to give life to my vision and create a unique image by building volumes, shaping light and playing with tonalities.
In this article I will show you some of the main steps that lead me from idea all the way to a finished black-and-white image. Please keep in mind that this is my editing method using some of my preferred tools. It’s obviously not the only way for doing things and I’m sure there are easier ways or different tools that can be used to achieve the same (or similar) results. It is, however, my way and it’s the way that makes me happy and that works for me.
Please note that I essentially do all of my editing in Adobe Photoshop and Silver Efex Pro 2 and this description is based on them. Here's a walk through processing an image that I originally made with a Sony α7, 24mm lens and an exposure of 181 seconds at f/8 and ISO 320.
Importing the image into Photoshop
The first step is to import my image(s) into Photoshop, either via Lightroom or Camera RAW, where I start my edits with general changes such as curves, exposure, color profile, crop, etc. I frequently remove sensor dust during this step (you’ll see where I remove it later in the process in a moment.) Sensor dust can be unavoidable and I’ve found that it’s best to remove it from the image early on in post-processing.
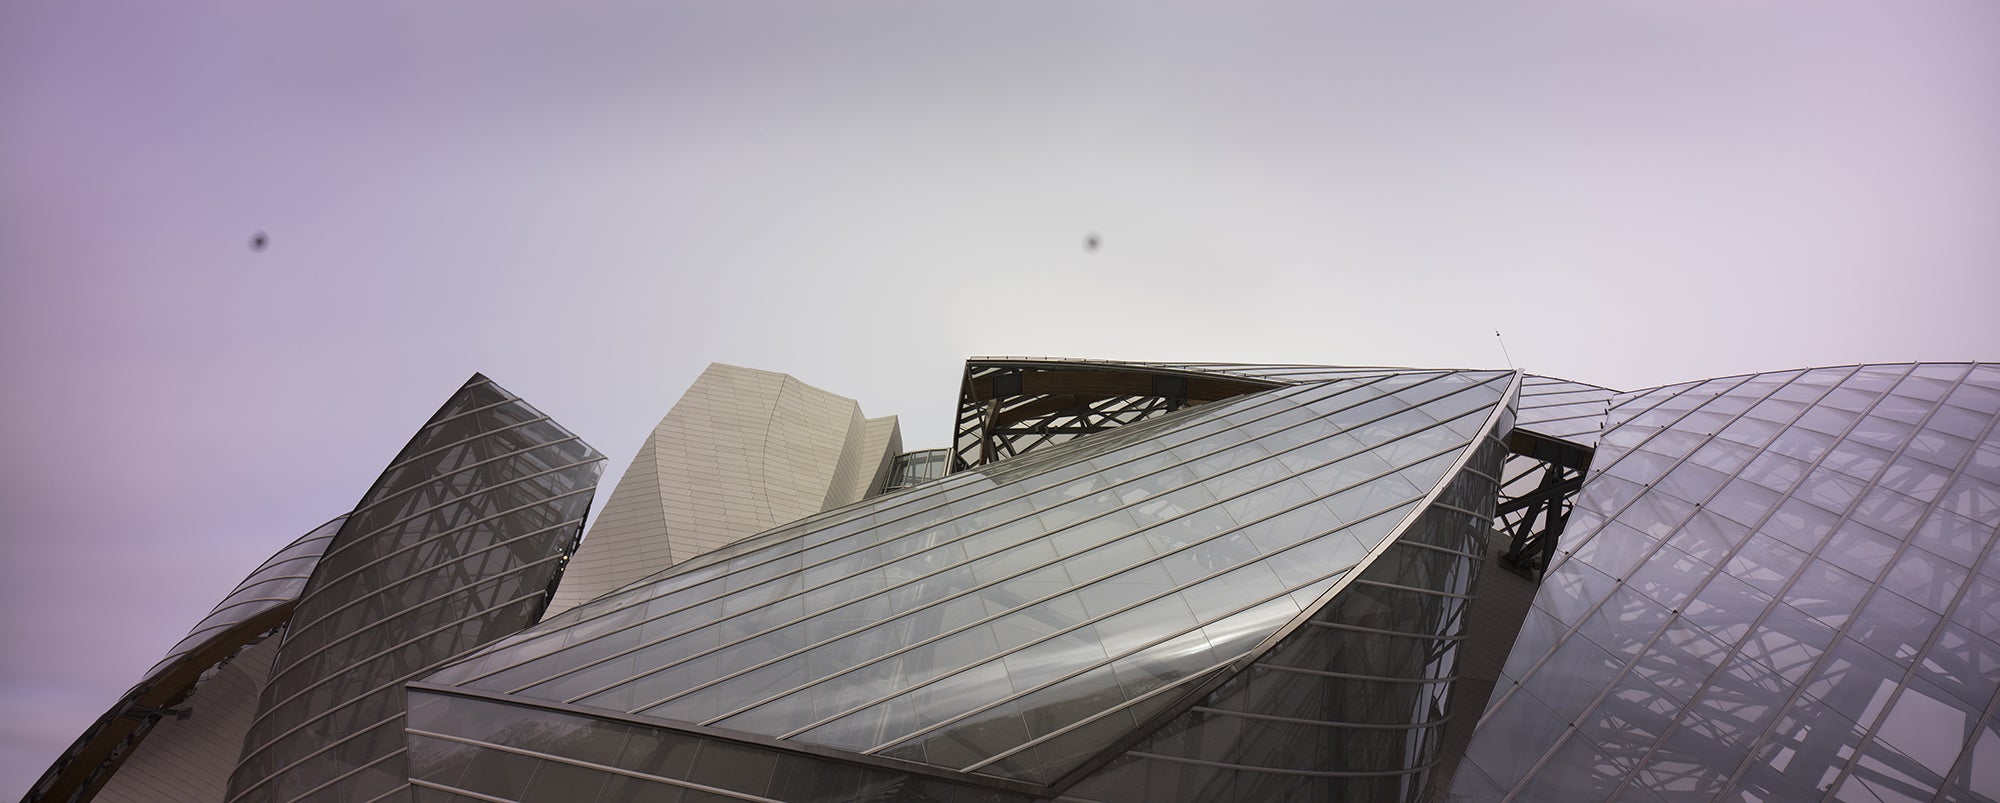
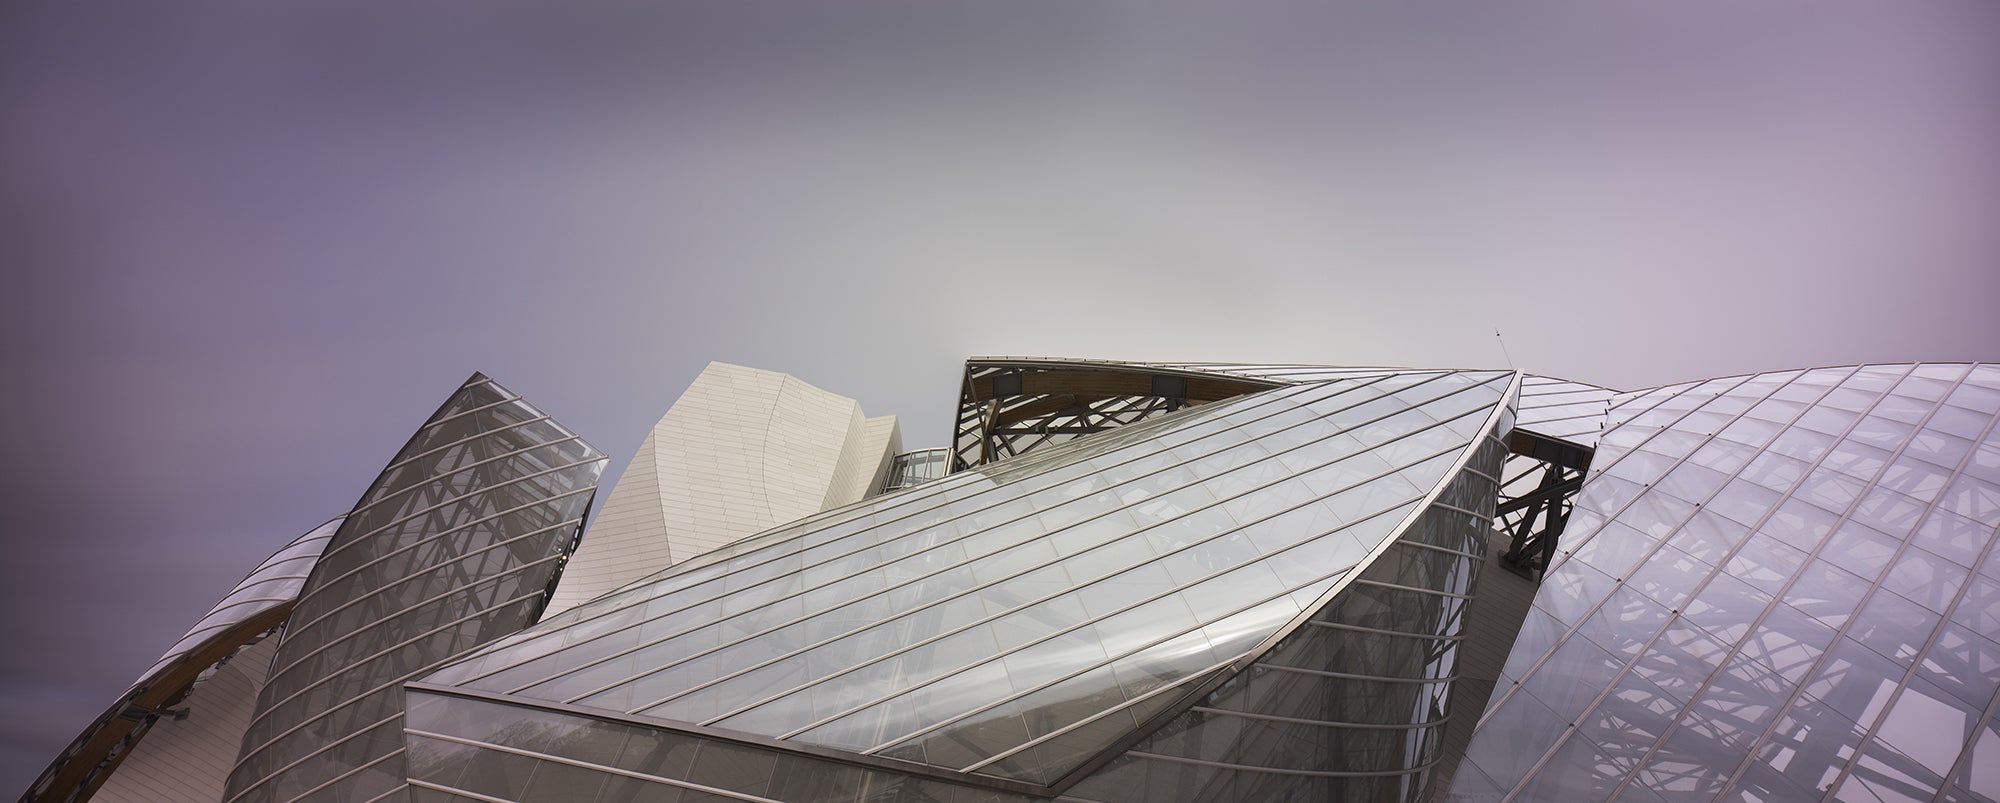
Raw image after importing and cropping. Sony α7. 24mm lens. 181-seconds, f/8, ISO 320.
Create hard selections
The second step is one of the most important: I create hard selections in my image, each one of them corresponding to a different part. The selections will give me the flexibility to adjust these different parts individually. I always zoom in at least to 400% when making the selections and use the polygonal lasso as well as the pen tool.
As you will see, I start my process making large adjustments and progress to more and more precise adjustments. I believe this is what makes an image look natural, while imposing my vision on it.
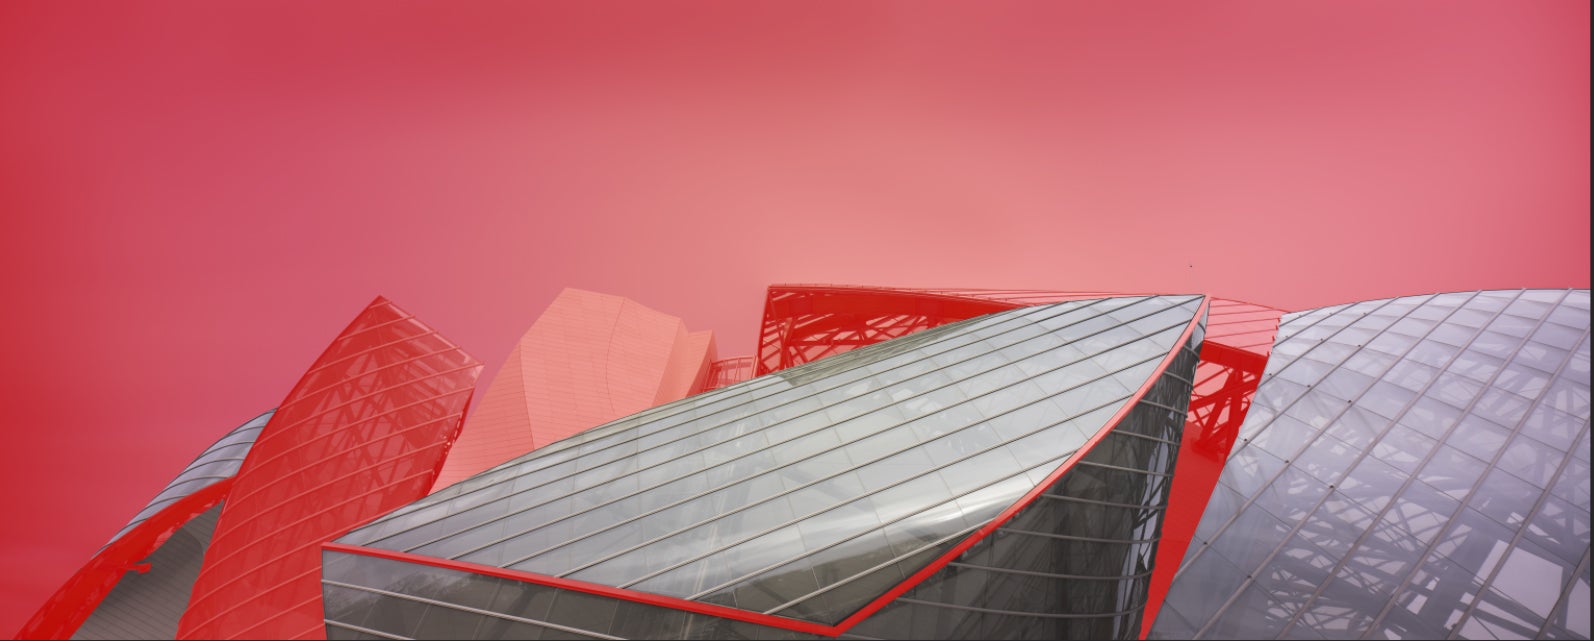
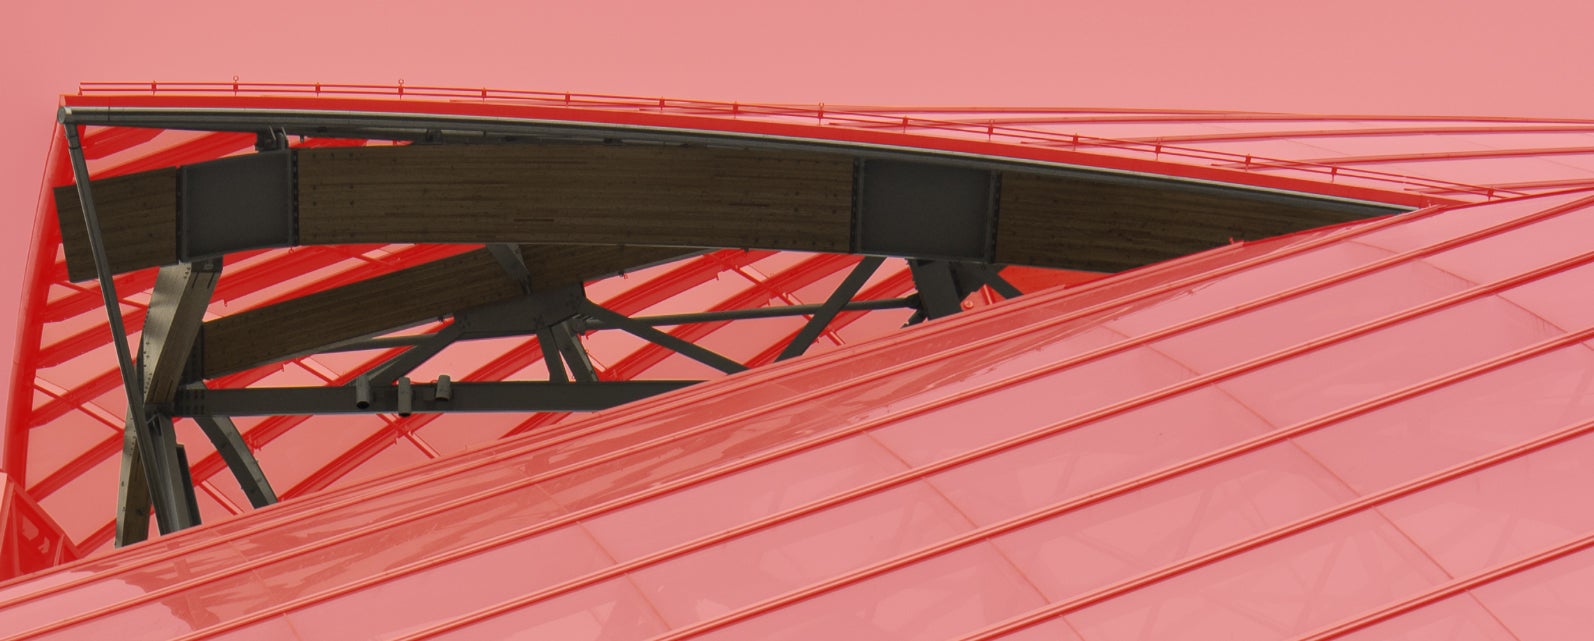
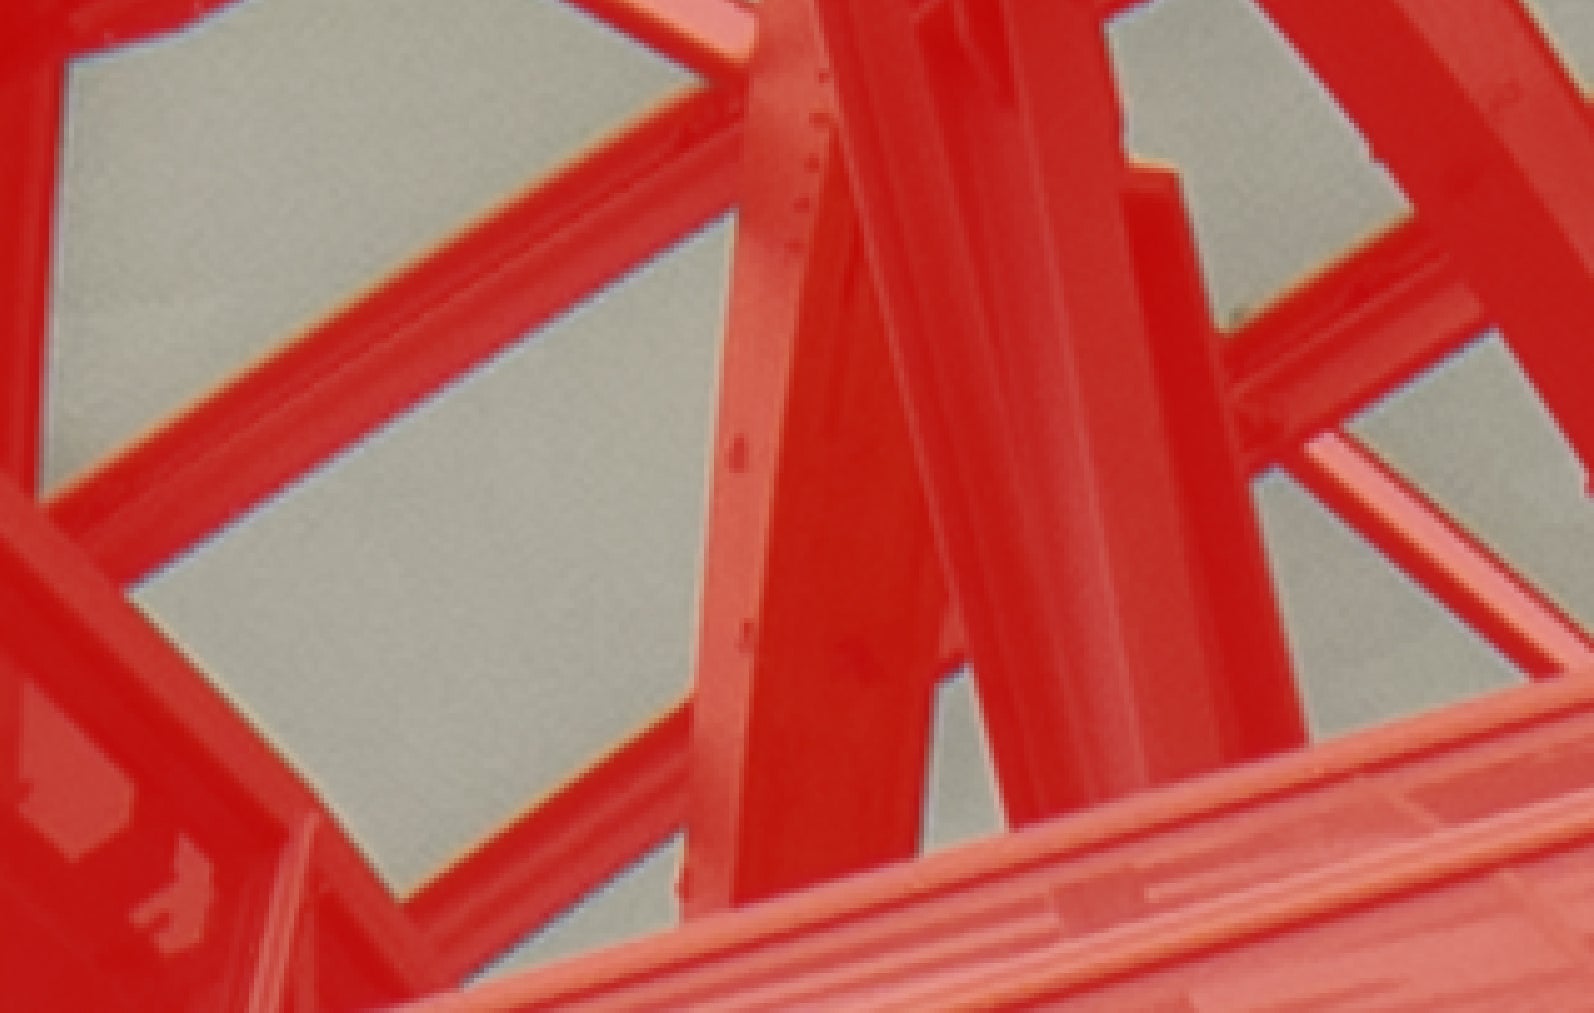
Some of the selections I make right after importing my image into Photoshop.
Overall adjustments in the building
This is the step that I use to make adjustments in big parts of my image. In this case, I’m bringing up the exposure in the building only by using a combination of curves and exposure layers and masks.

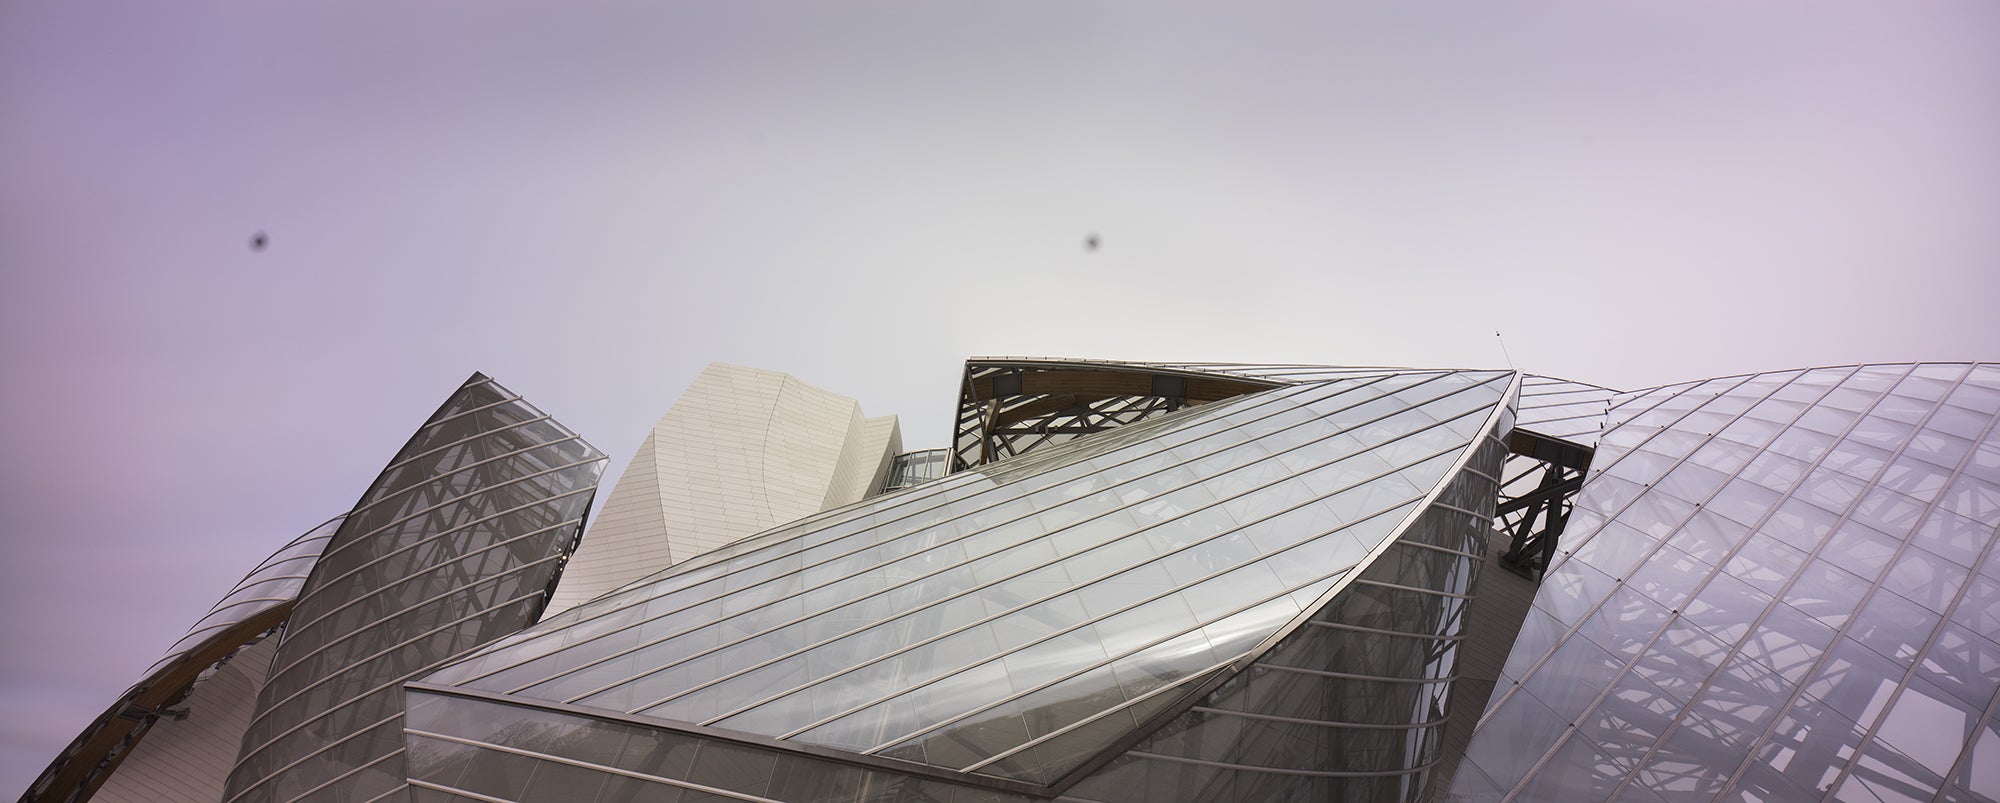
Before and after adjusting the exposure of the building.
Remove sensor dust and other artifacts
Some images have more sensor dust spots than others and the same goes for hot pixels (long exposures can cause hot pixels). I usually try to take care of these right from the start so I don’t need to worry about them while doing some more refined edits. In order to remove hot pixels and dust, I recommend using a combination of the clone tool and the spot healing brush tool. Of course, these are only two of the many methods to do it, including automatic algorithms.

Image after removing sensor dust and any hot pixels caused by the long exposure.
Overall adjustments in the sky
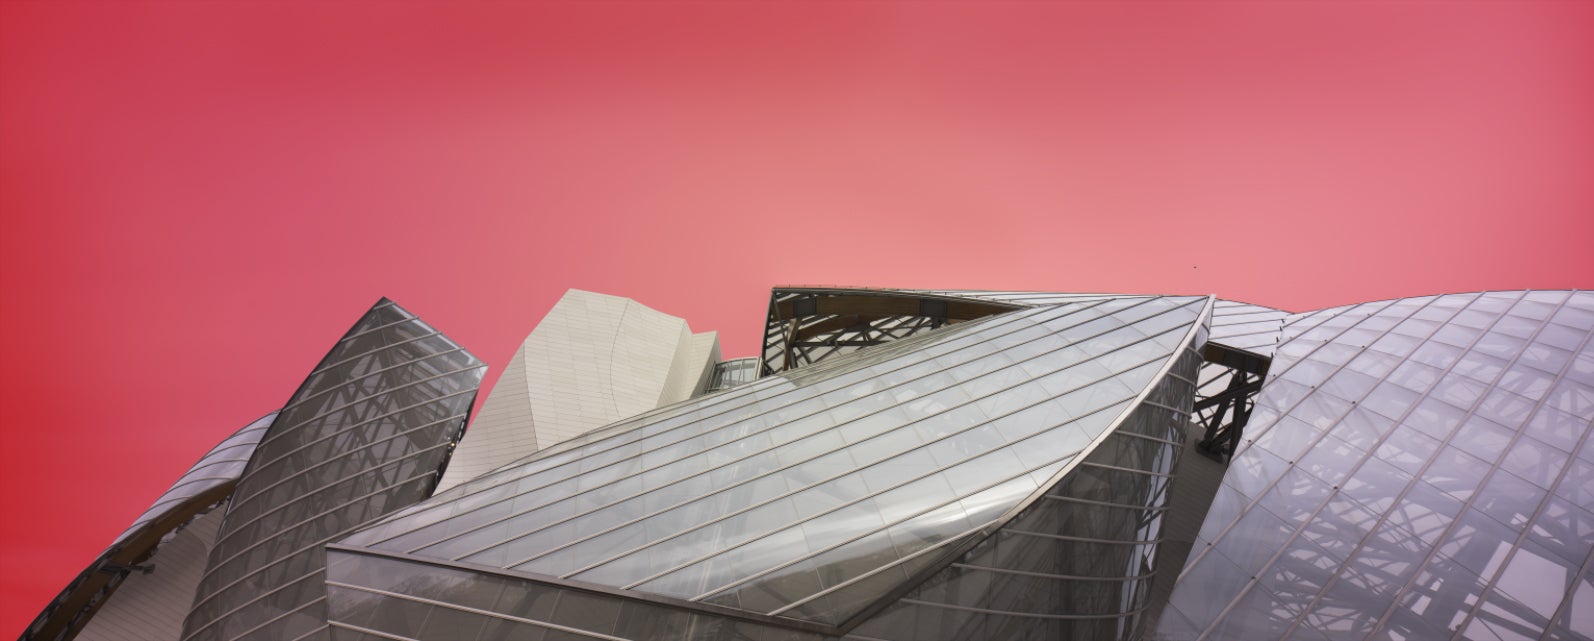
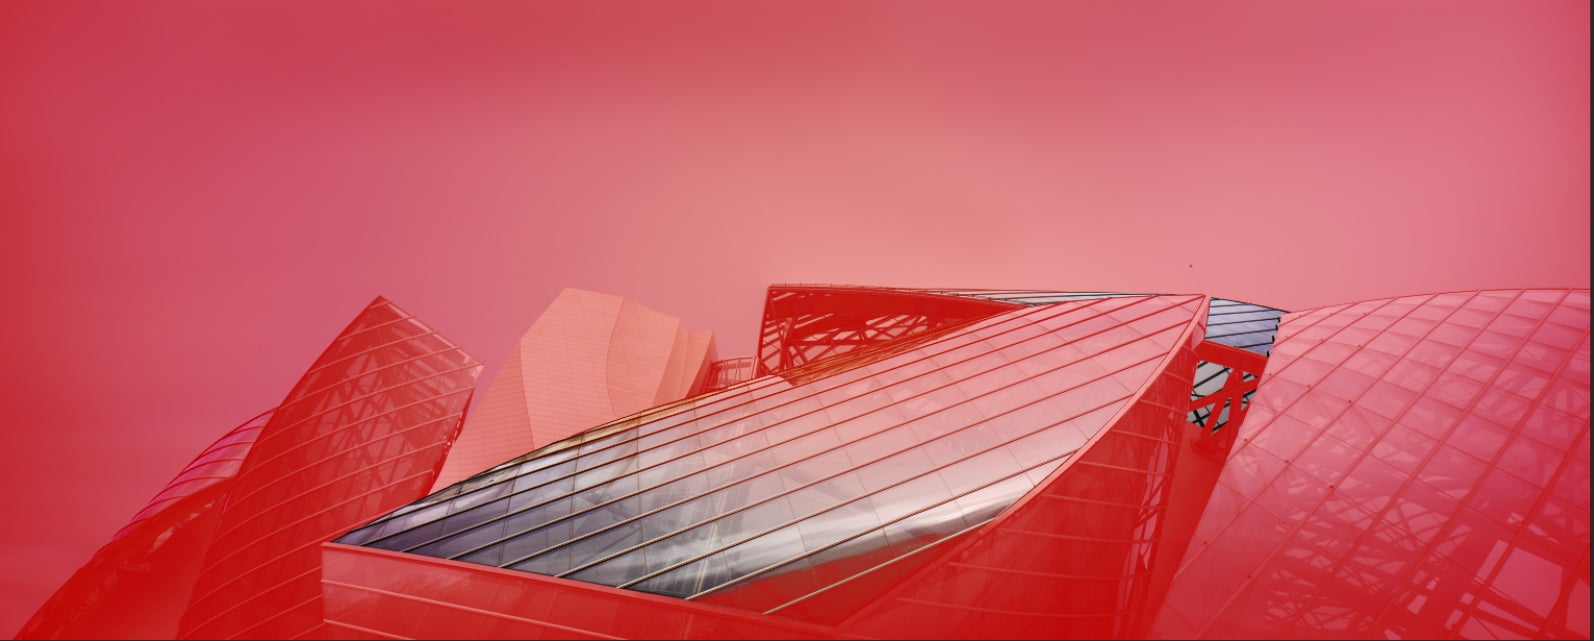
While shooting this image I decided that I wanted to bring the attention of the viewer to the building by having it brighter against a darker sky. Therefore I accessed some of the selections that I made earlier and used exposure and curve layers and masks in order to bring down the luminosity in the sky.
Bringing down luminosity in the sky.
Building volume
After making overall changes in the different parts of the image (sky vs. building) I’ve arrived at a more delicate adjustment that I call ‘building volume.’ The goal of this step is to transform the image by darkening or brightening small areas with very small adjustments. By applying a multitude of curve layers and masks, it’s possible to create a stunning impact.
In order to achieve this goal, I use the lasso and pen tools together with feathering and the hard selections that I made early on. I may sometimes also use the dodging and burning tools depending on the specific needs of the image.
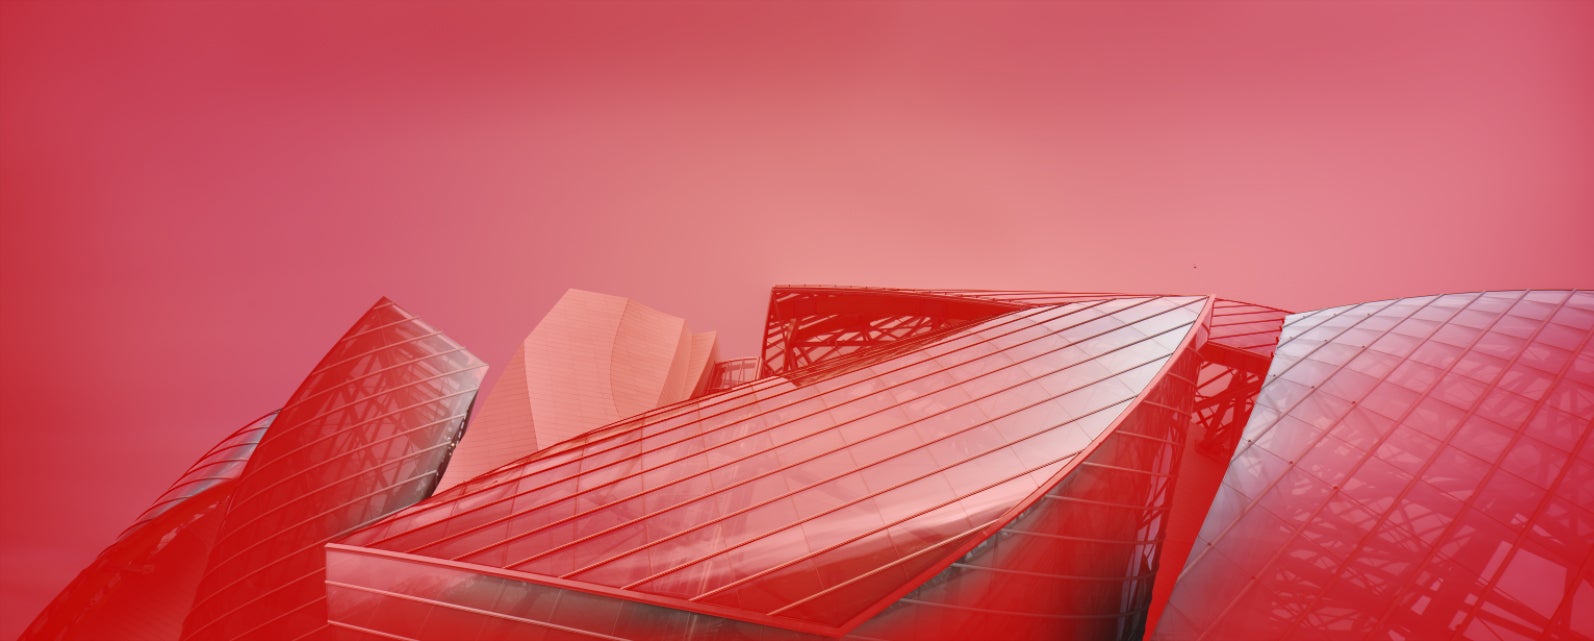
A few small touches to darken parts of the image.
Another very powerful tool that I like to use is the luminosity masks. Essentially, luminosity masks let me select pixels that have a similar intensity, a little like zones if you’re familiar with the Zone System, and you can modify their luminosity independently from the rest of the image. By using a combination of hard selections, gradient and luminosity masks, it’s possible to entirely transform the image. The tricky part, however, is to do it in a natural-looking fashion.
Luminosity mask: only the brightest pixels are selected.
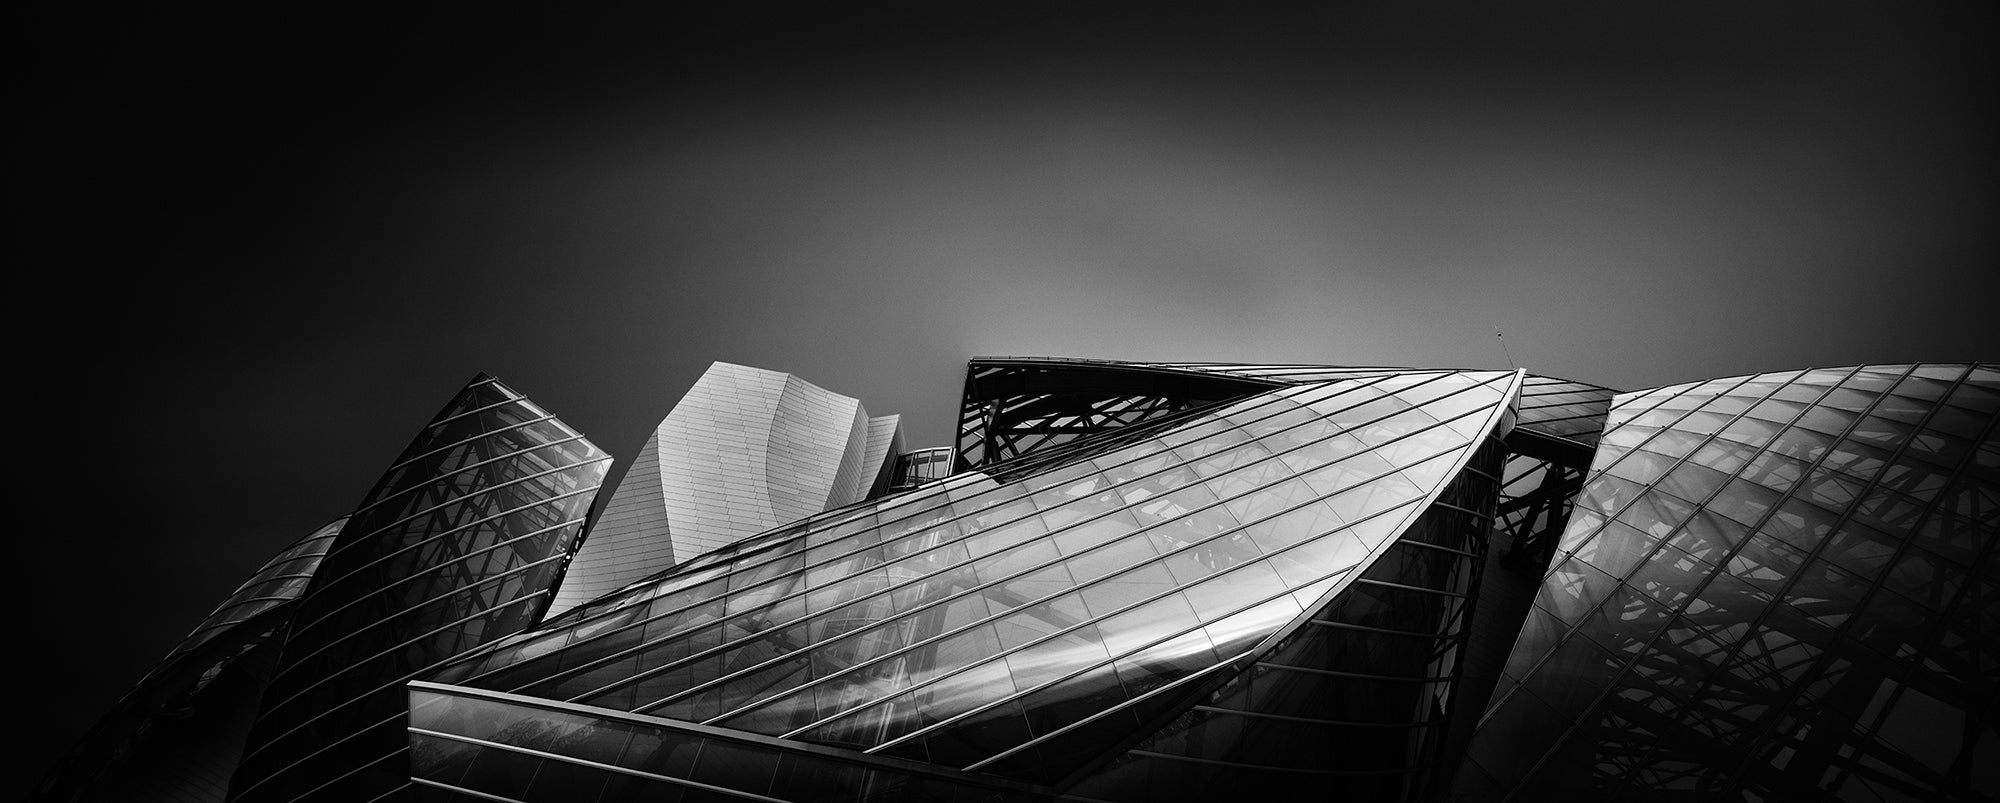
Luminosity mask: additional bright pixels are selected.
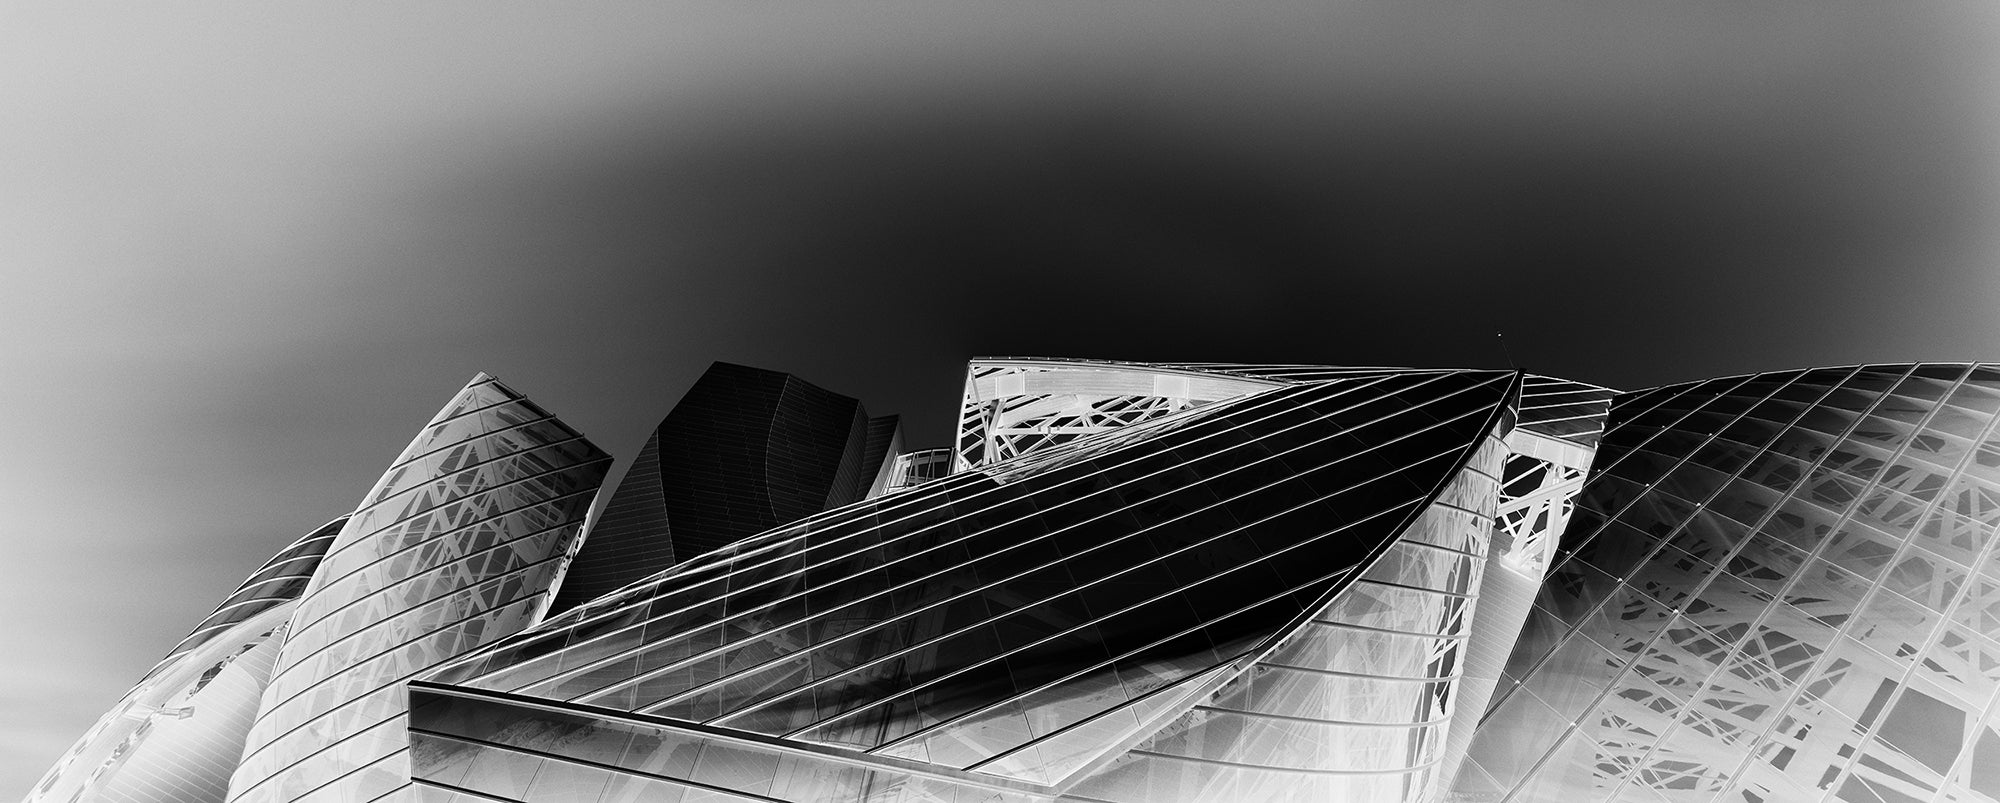
Luminosity mask: dark pixels are selected.
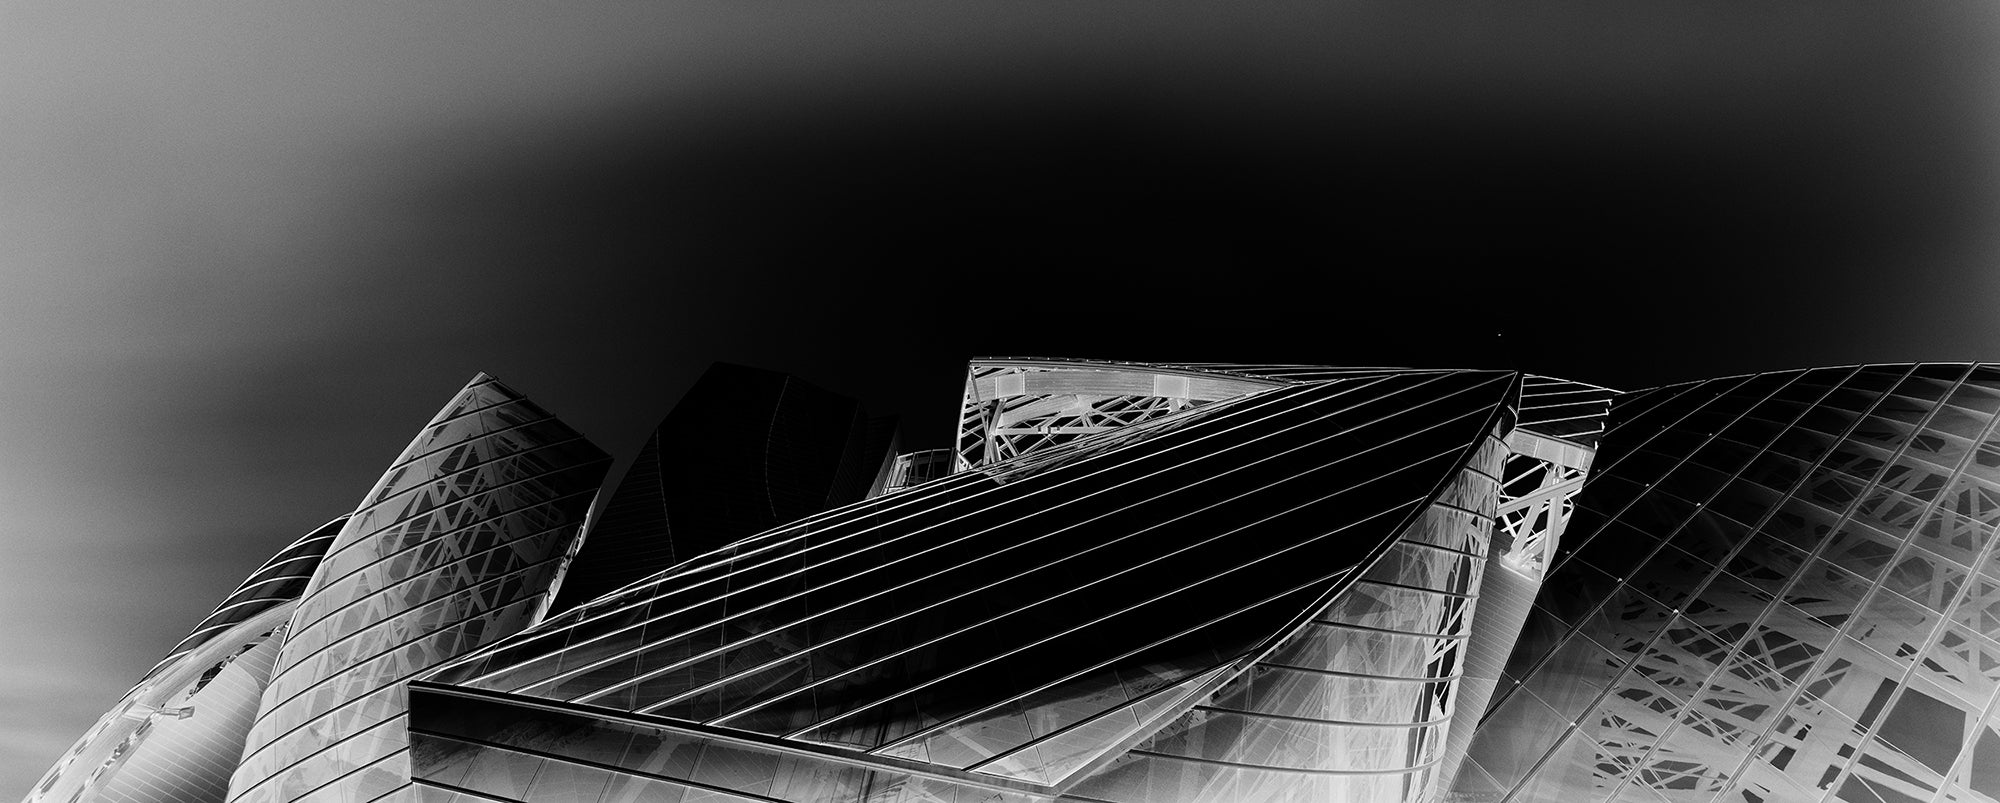
Luminosity mask: only the darkest pixels are selected.
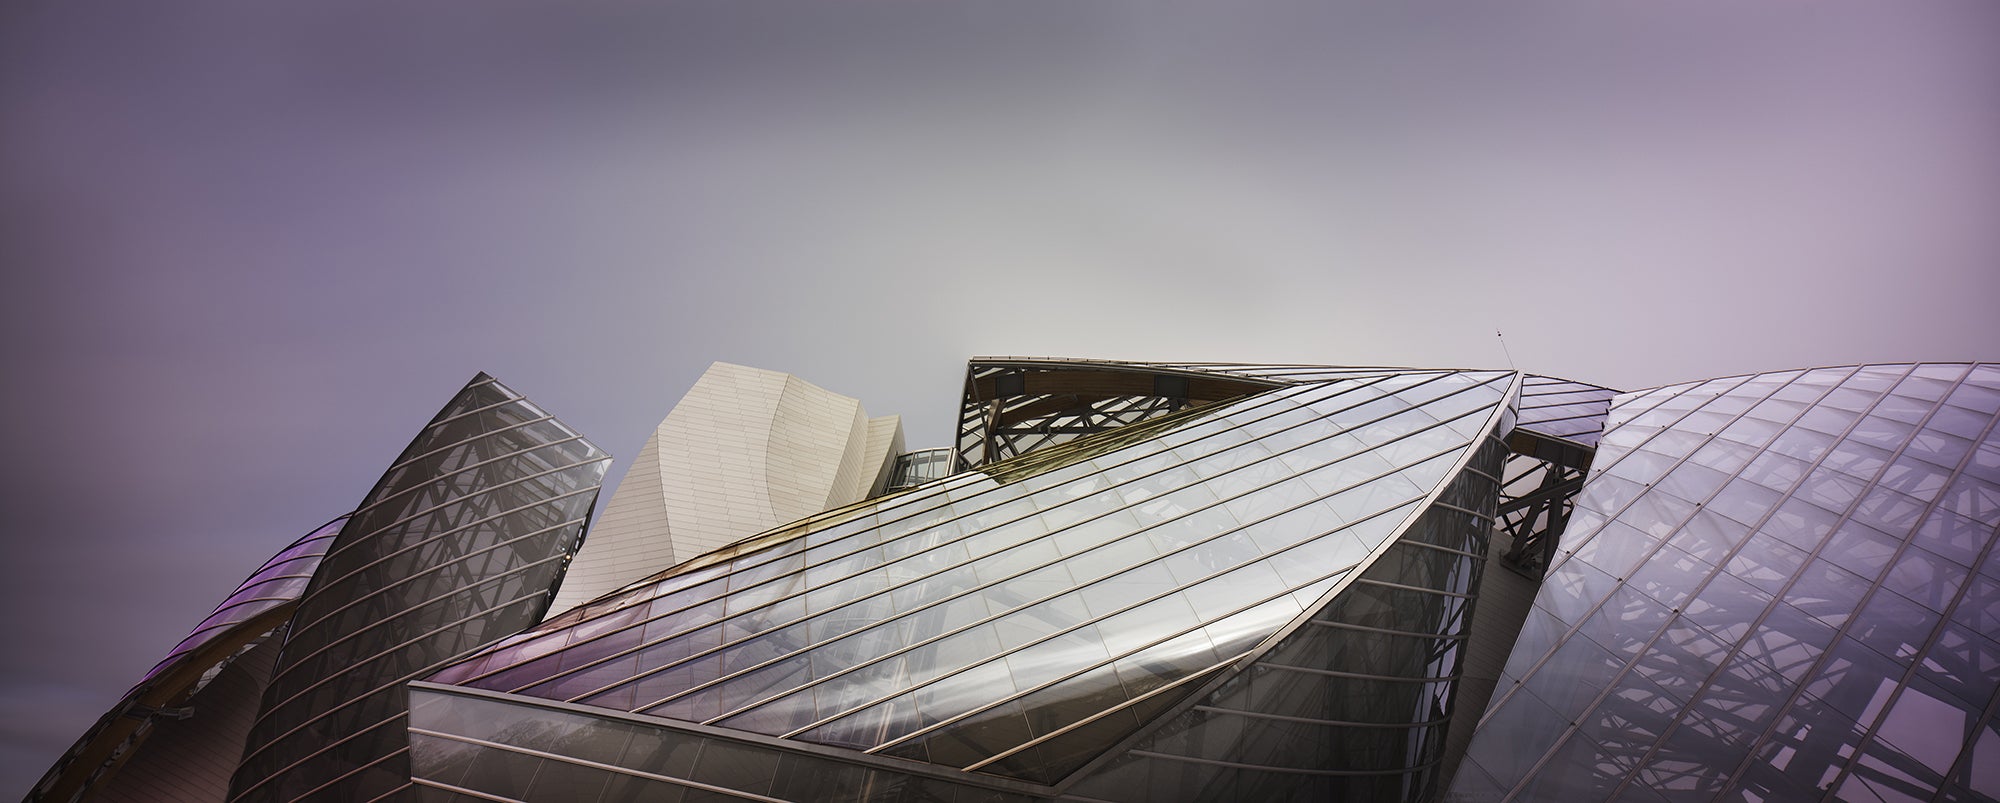
Cap: Building volume by adding small darkening touches locally.
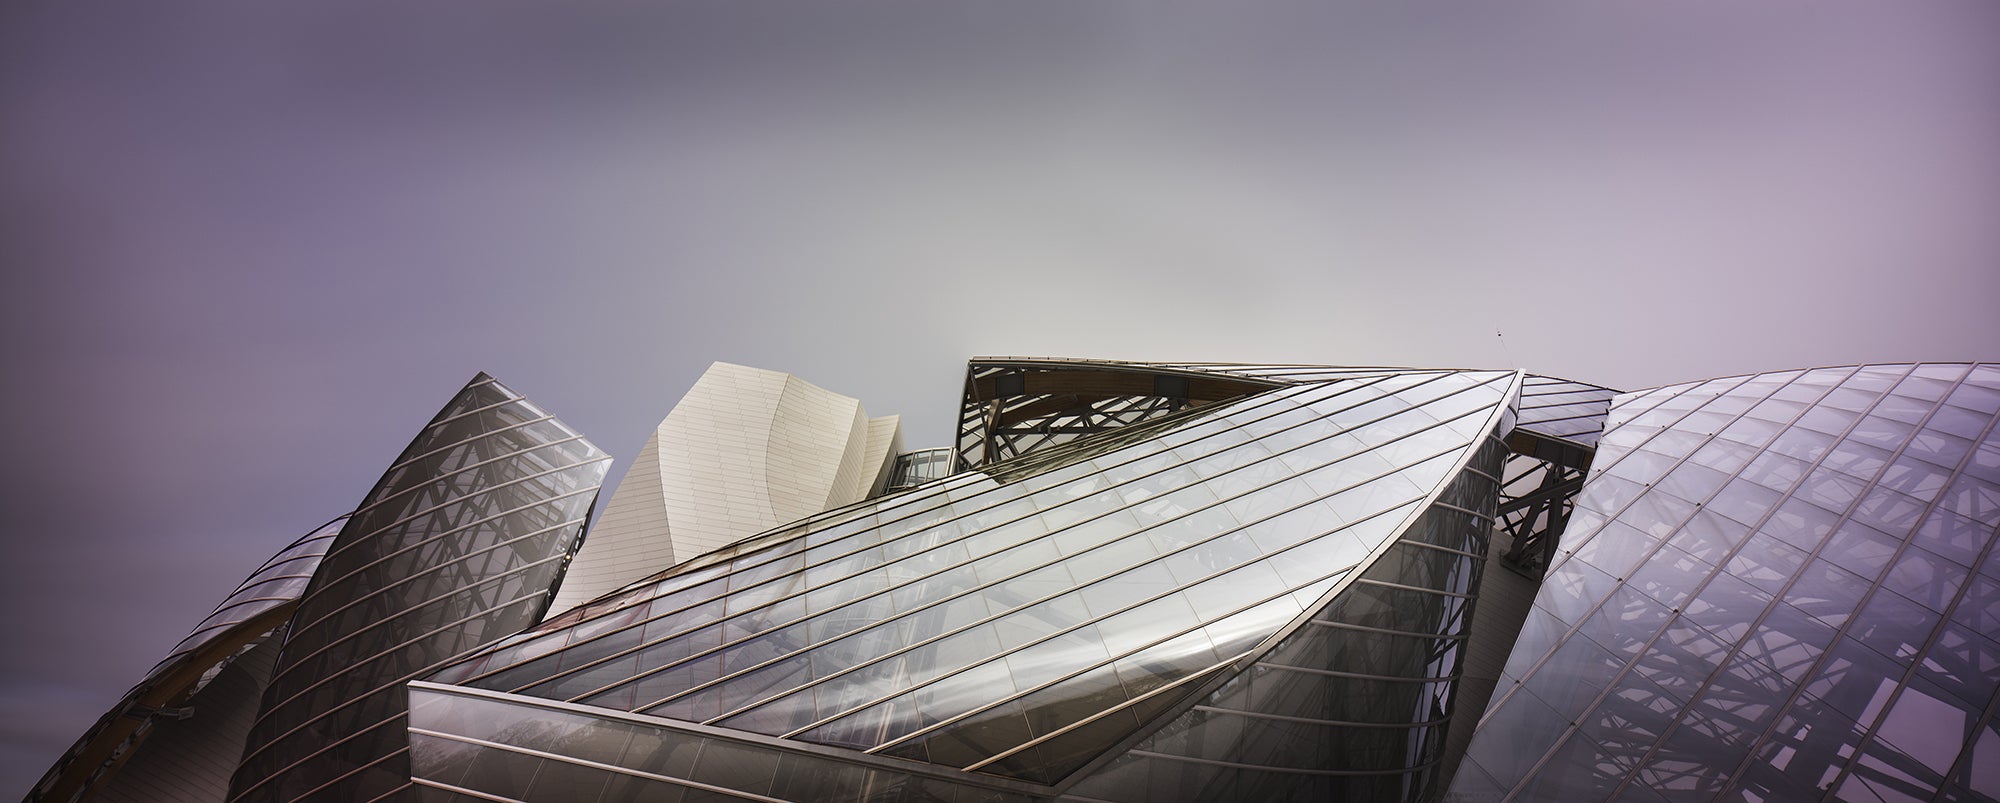
Cap: Building volume by adding small brightening touches locally.
Converting to B&W
WIth the final color image set, it’s time to use Silver Efex Pro 2 to convert it to B&W. As I convert and adjust in B&W, my process is essentially the same as for color: make big adjustments first and then build in smaller increments by merging layers together, and by using curves, exposure layers and masks.
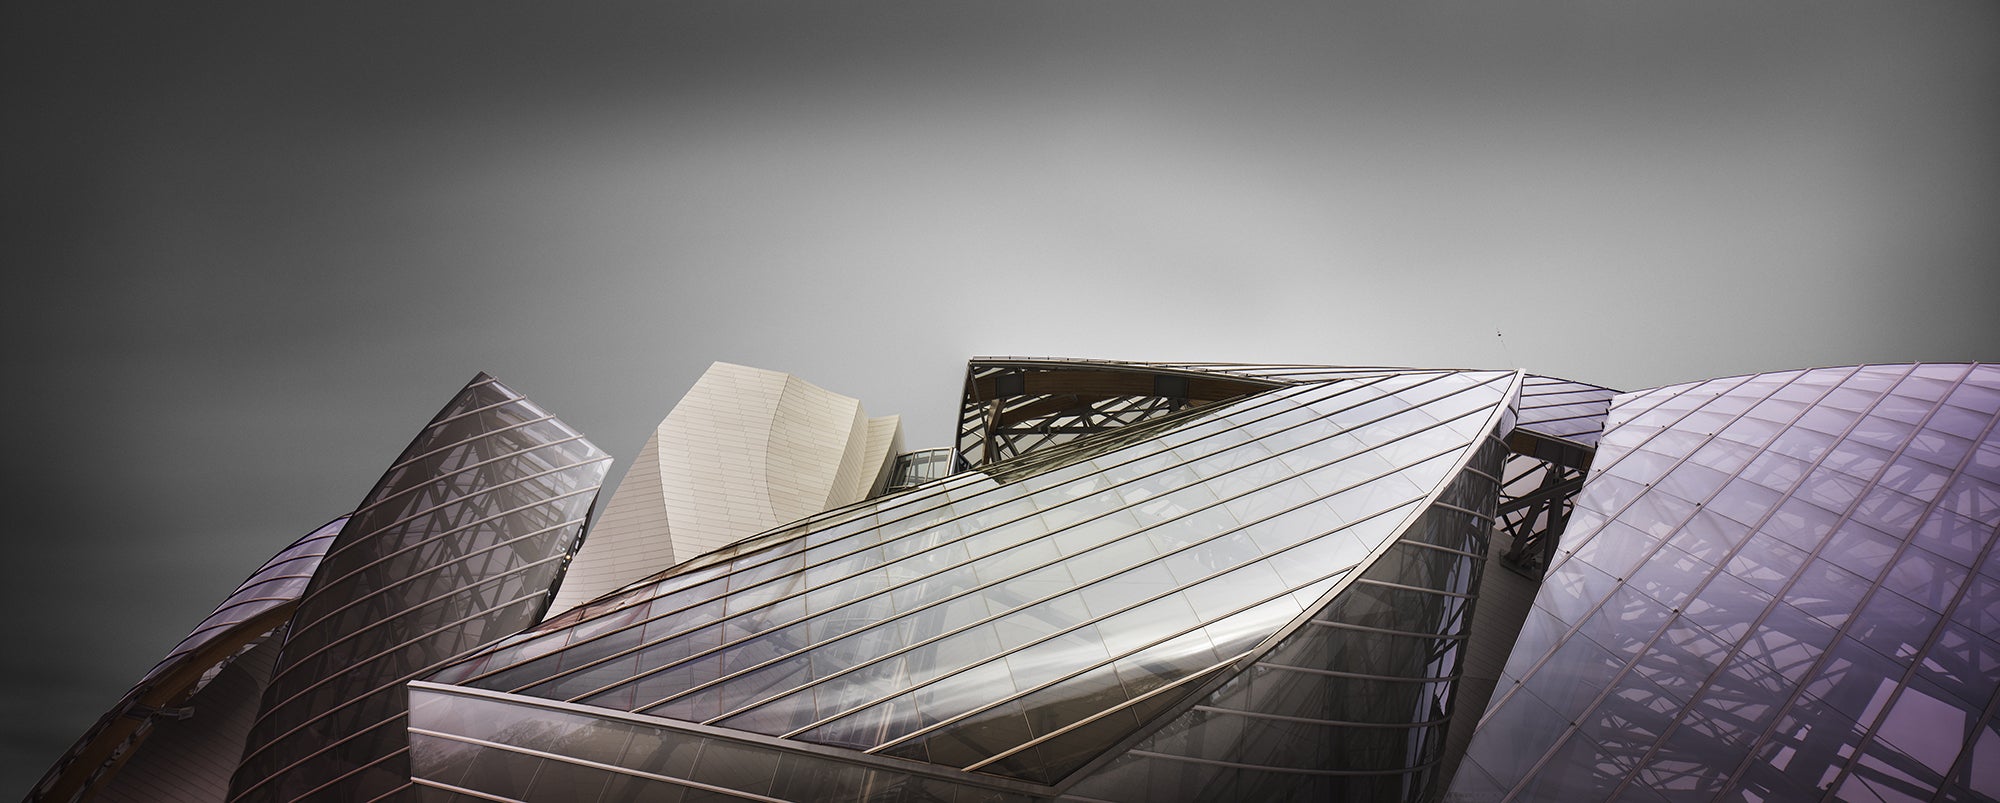
First step: converting the sky to B&W.
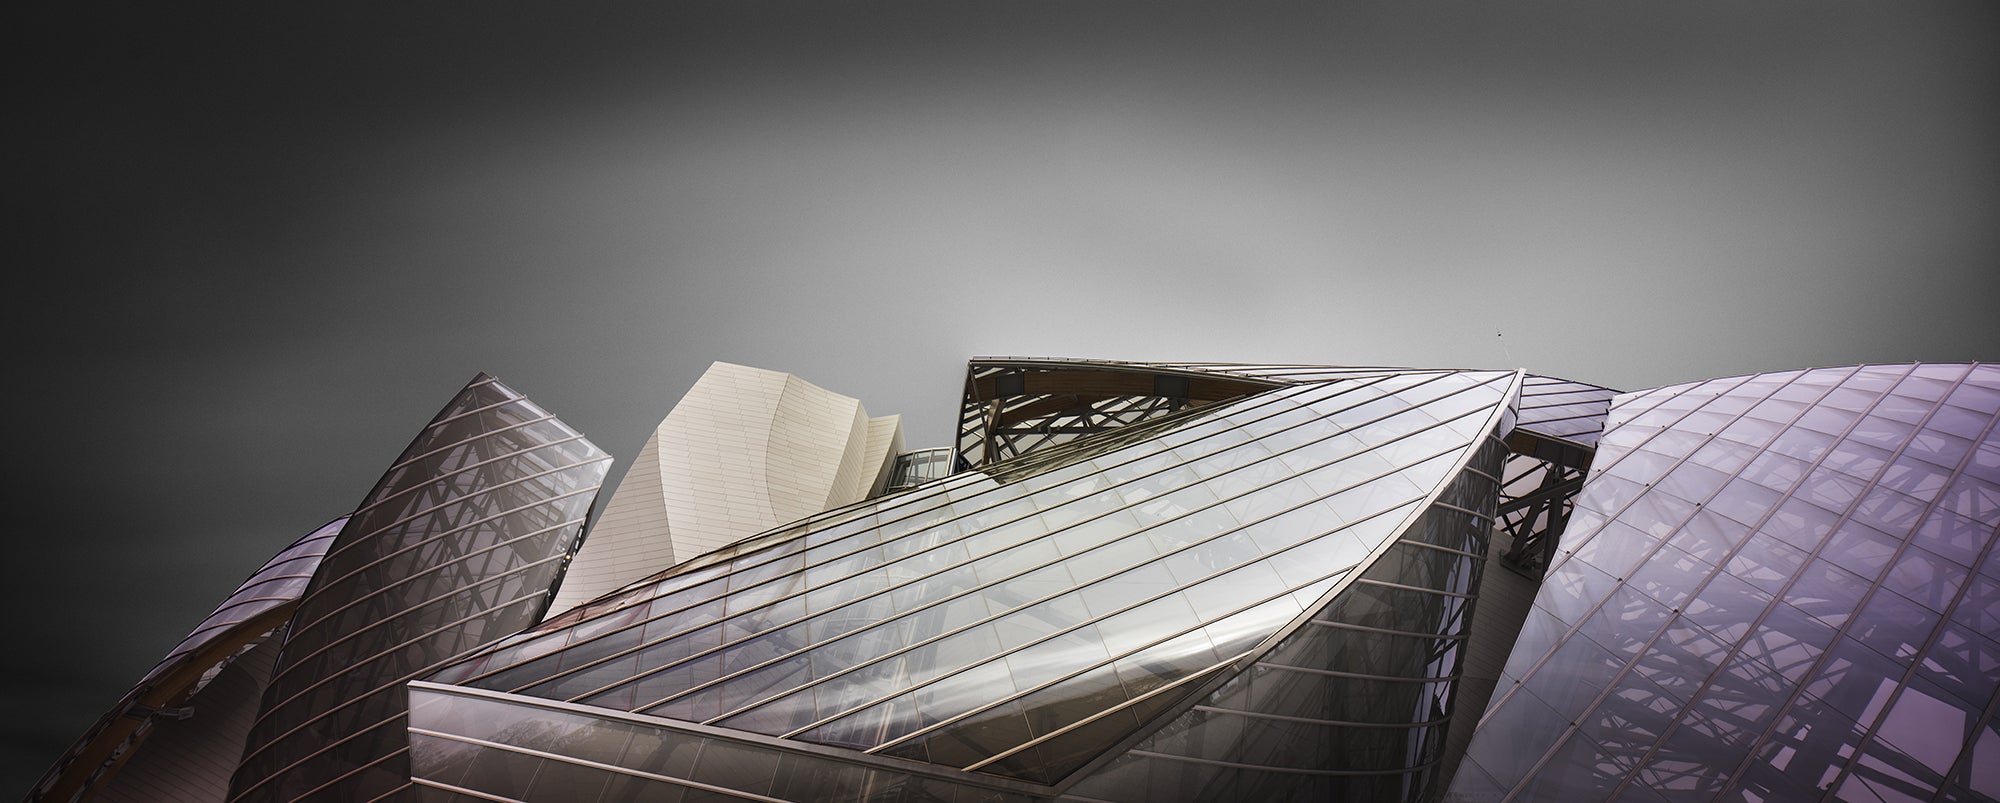
Second step: locally adjusting the sky tones with merging layers from Silver Efex Pro 2, using curve and exposure layers and masks.
Just like with the sky, I start by converting individual parts of the building to B&W (by using the hard selections) and merging them together.
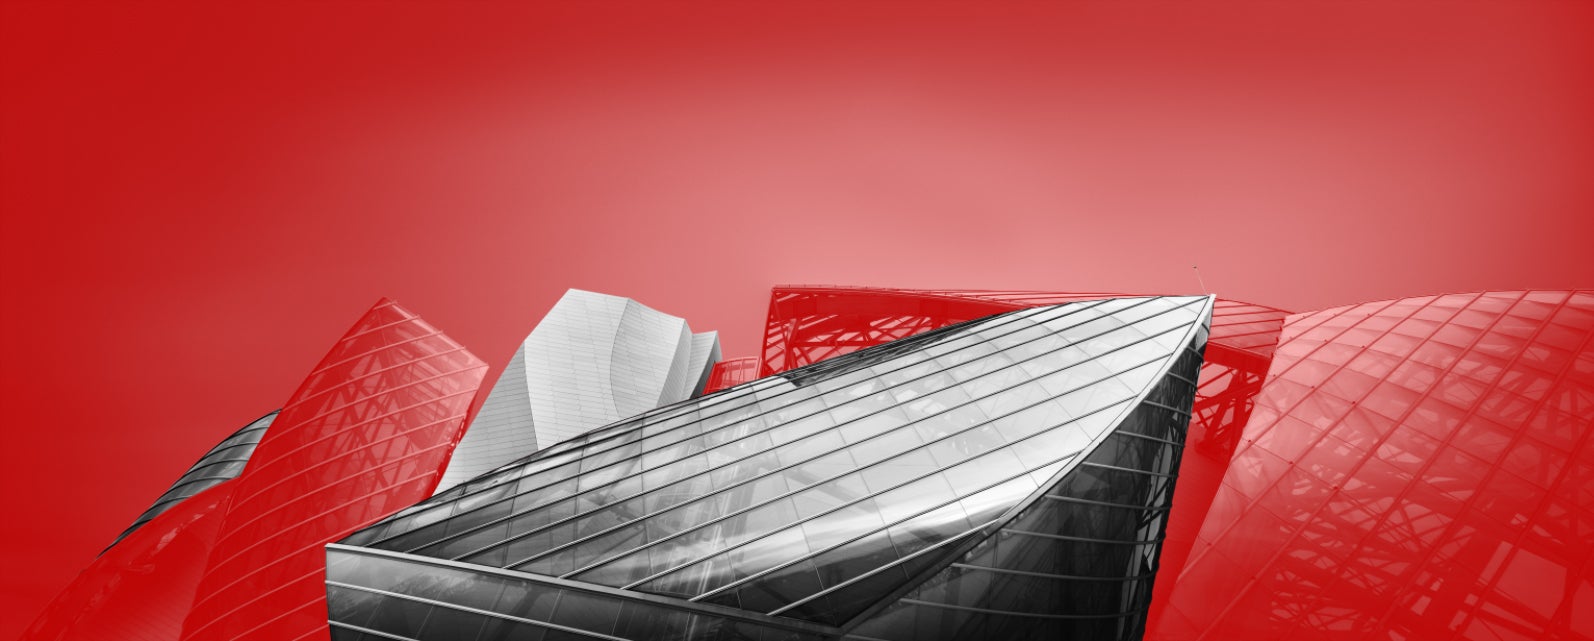
Converting parts of the building to B&W and merging them by using hard selections and masks.
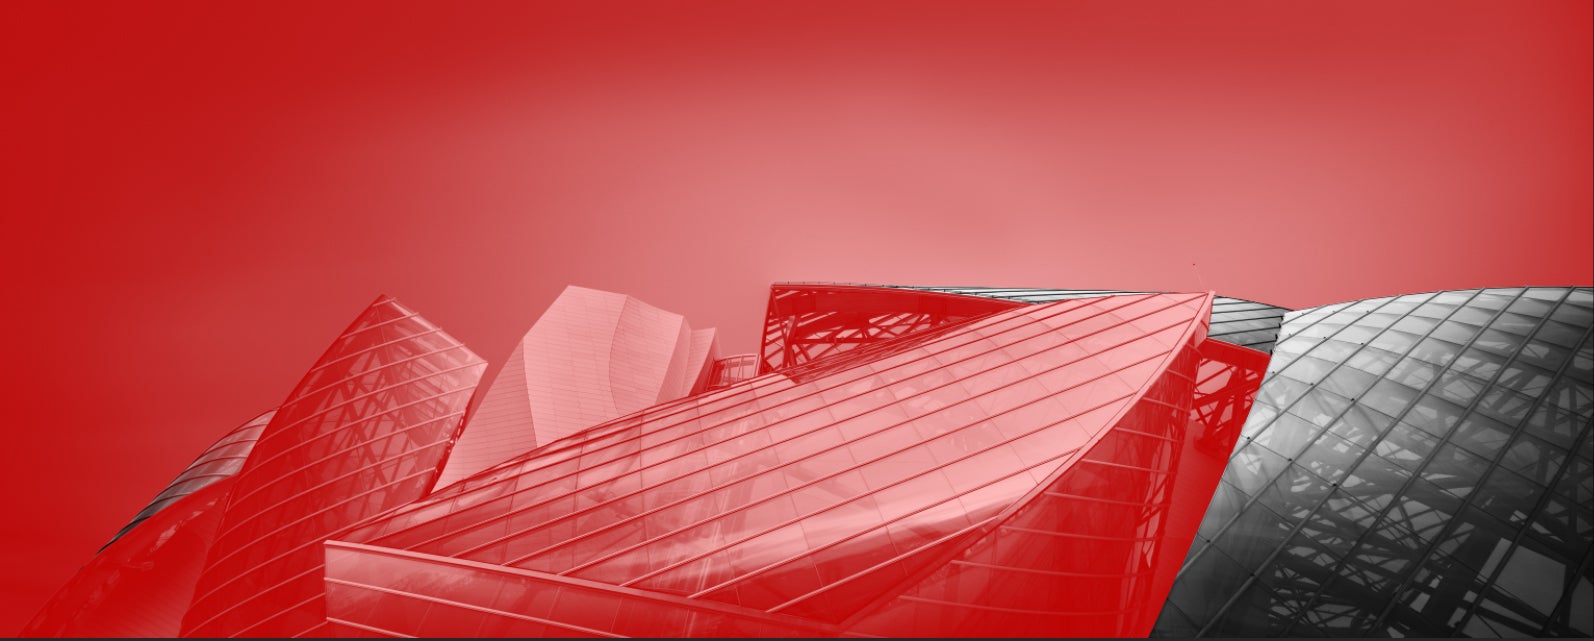
Converting parts of the building to B&W and merging them by using hard selections and masks.
Final touches
Just like with my color image, I use luminosity masks, hard selections and the pen and lasso tools in order to make smaller changes mostly (but not only) in local luminosities.
One of the last steps will be correcting slight fringes caused by the camera or from small imperfections in my selections. To fix these imperfections, I use the same tools, together with small touches of Gaussian blur and adding noise in order to make transitions look natural.
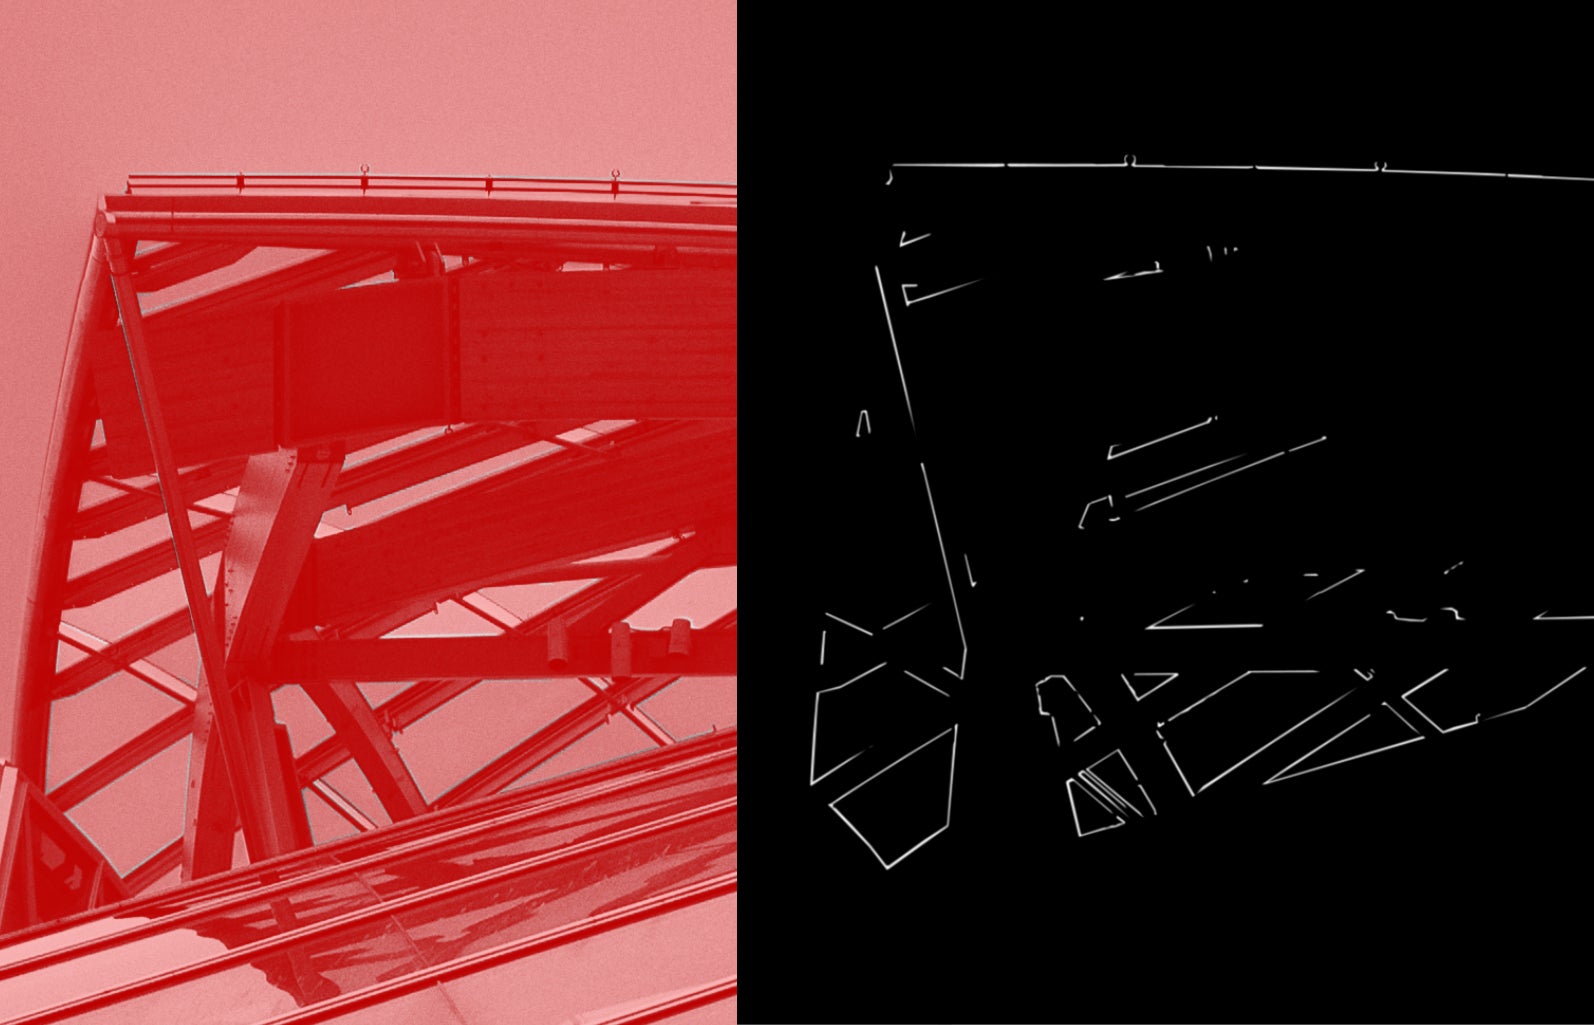
Local selections to mask out fringes and small selection errors.
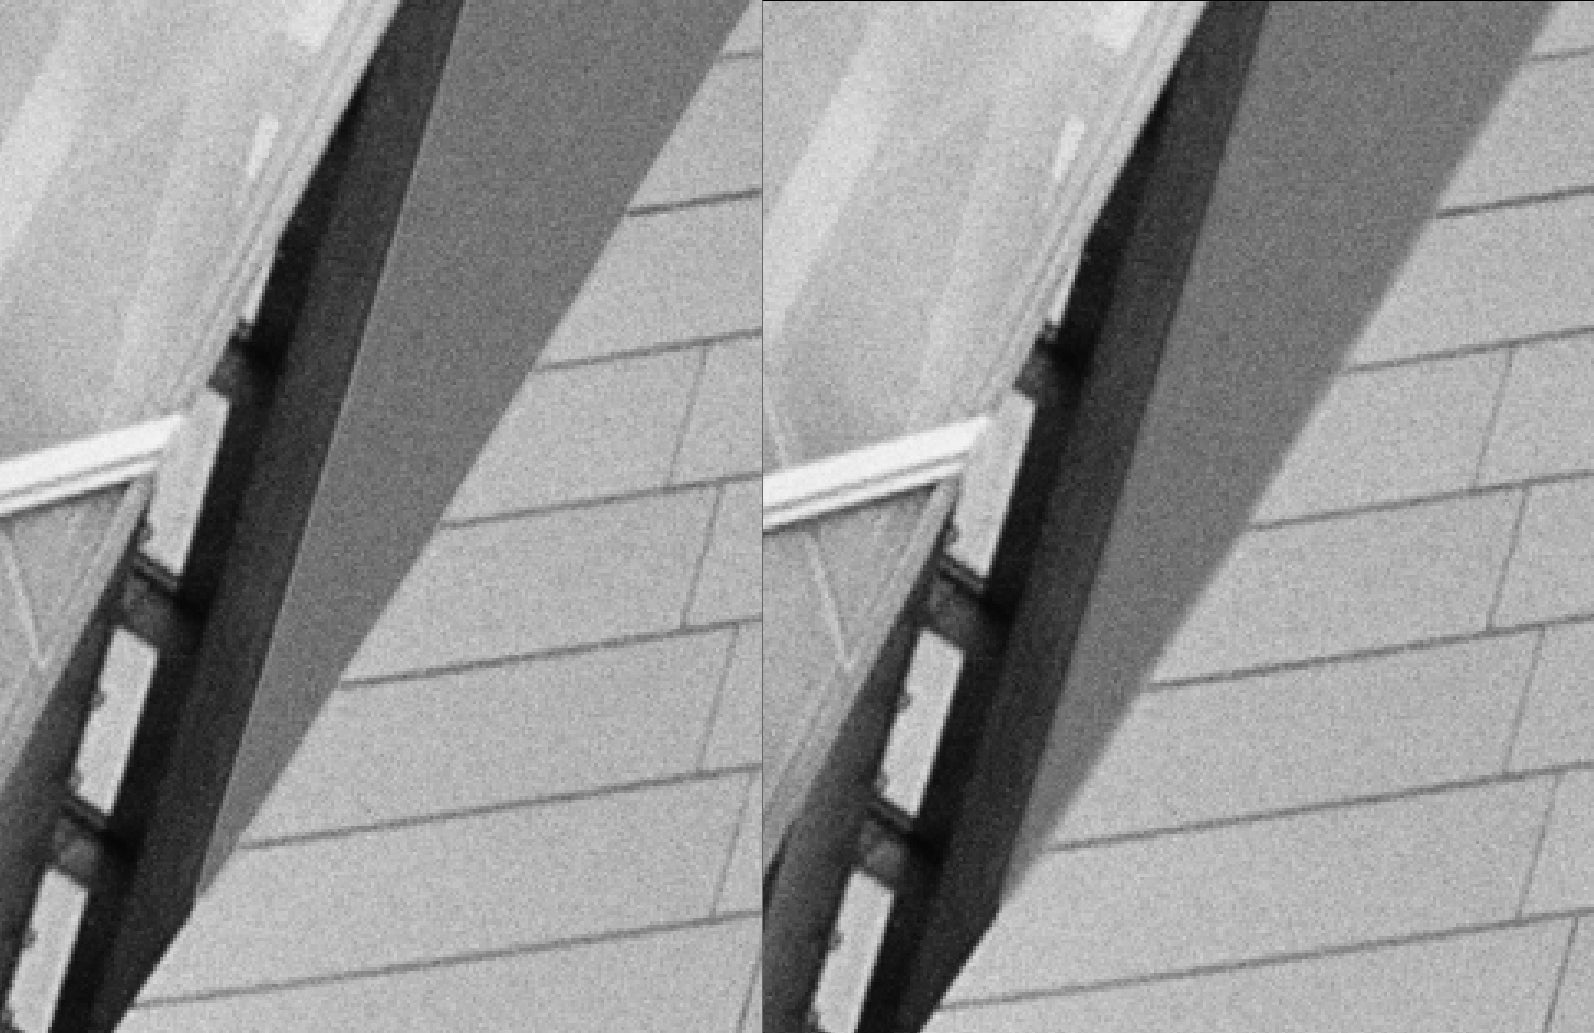
Removing fringes by using tools such as Gaussian blur and adding noise.
Comparison and final image
I realize that the process I just described can seem a bit daunting. What I hope is that this will help you approach your work differently, and help you achieve the results you always wanted. Getting unique and breathtaking images isn’t easy. It starts with the camera but doesn’t end there. In my opinion it doesn’t stop until you have a final printed image (printed large preferably).
Now you need to find your way, the one that works and makes you happy – whatever it is!

The beginning image.

Edited color image.
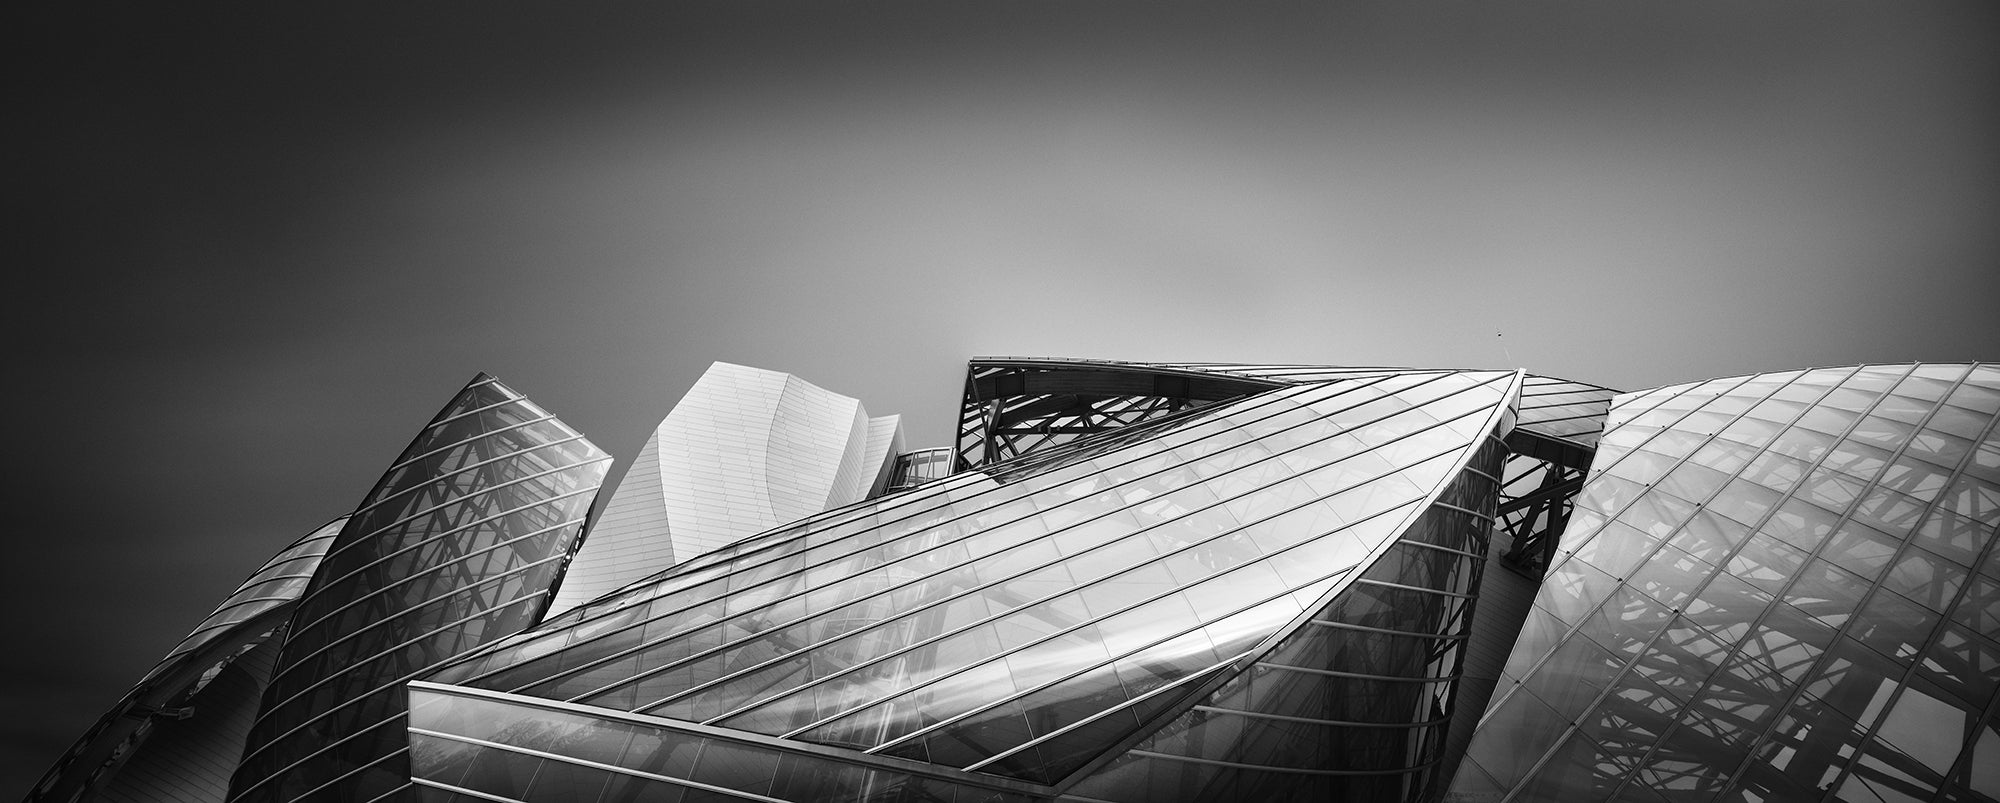
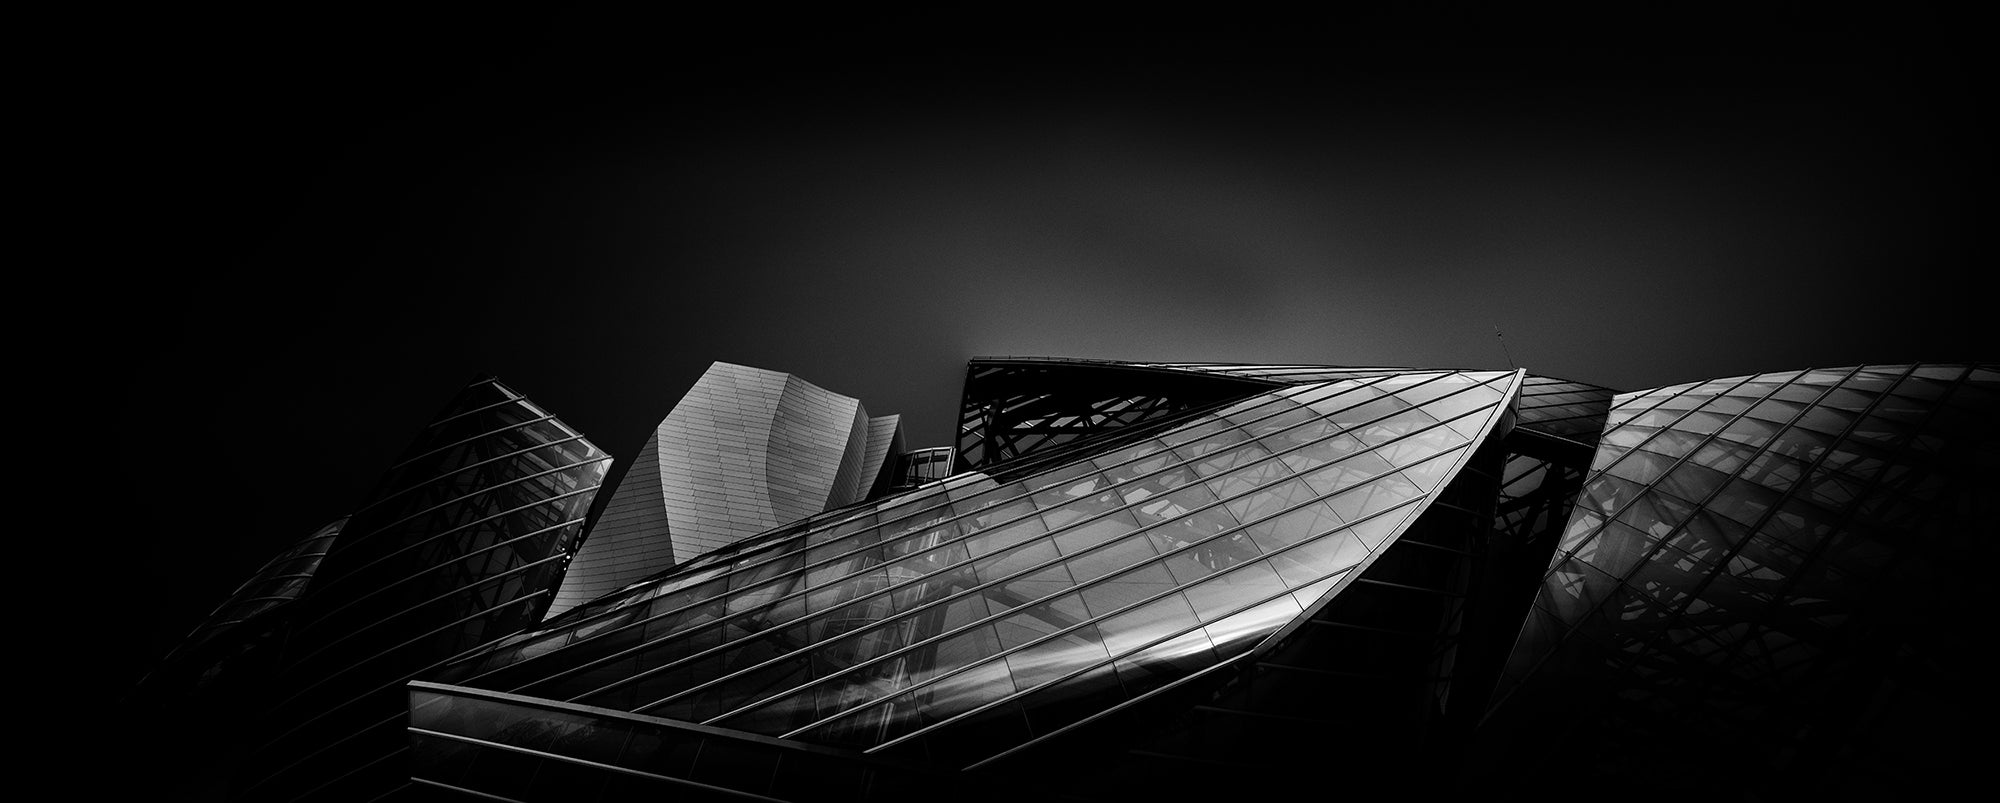
Final B&W image.
