In this pair of video tutorials Sony Artisan Justin Jung shows how to install the PlayMemories Time-lapse app in your camera and how to create a beautiful, mesmerizing time-lapse movie.
Jung, a master of the time-lapse, takes you through the camera settings he uses and his workflow so you’ll get excellent results right out of the gate.
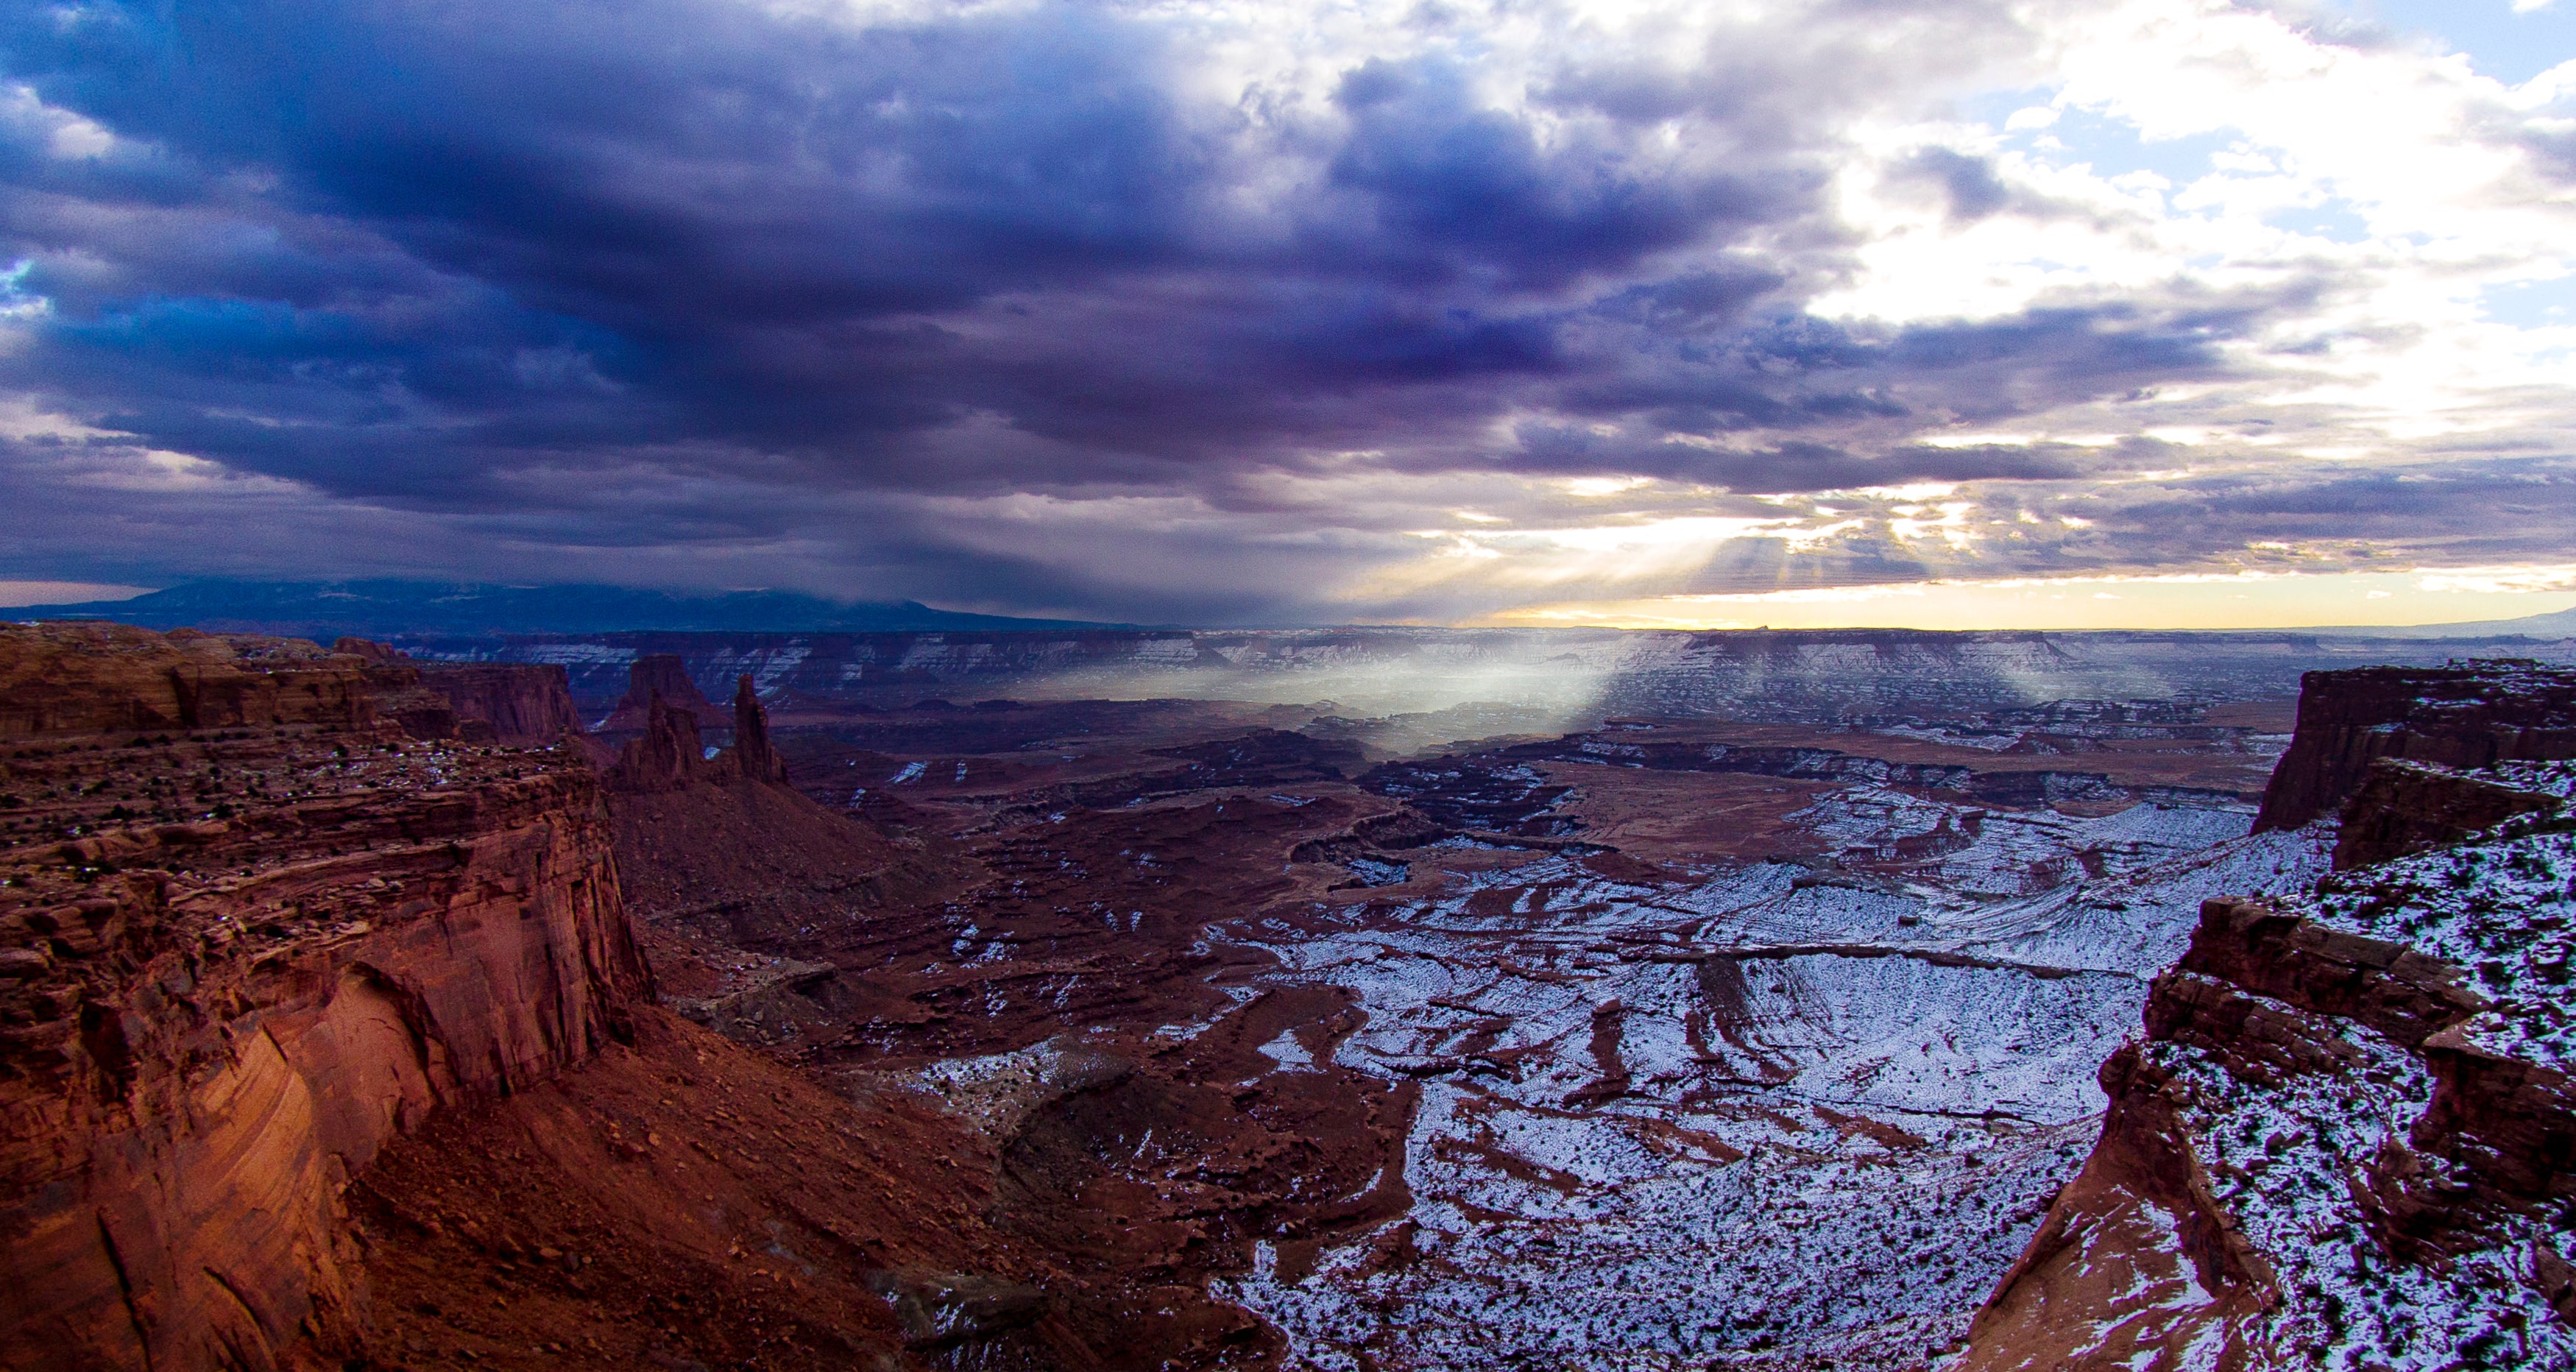
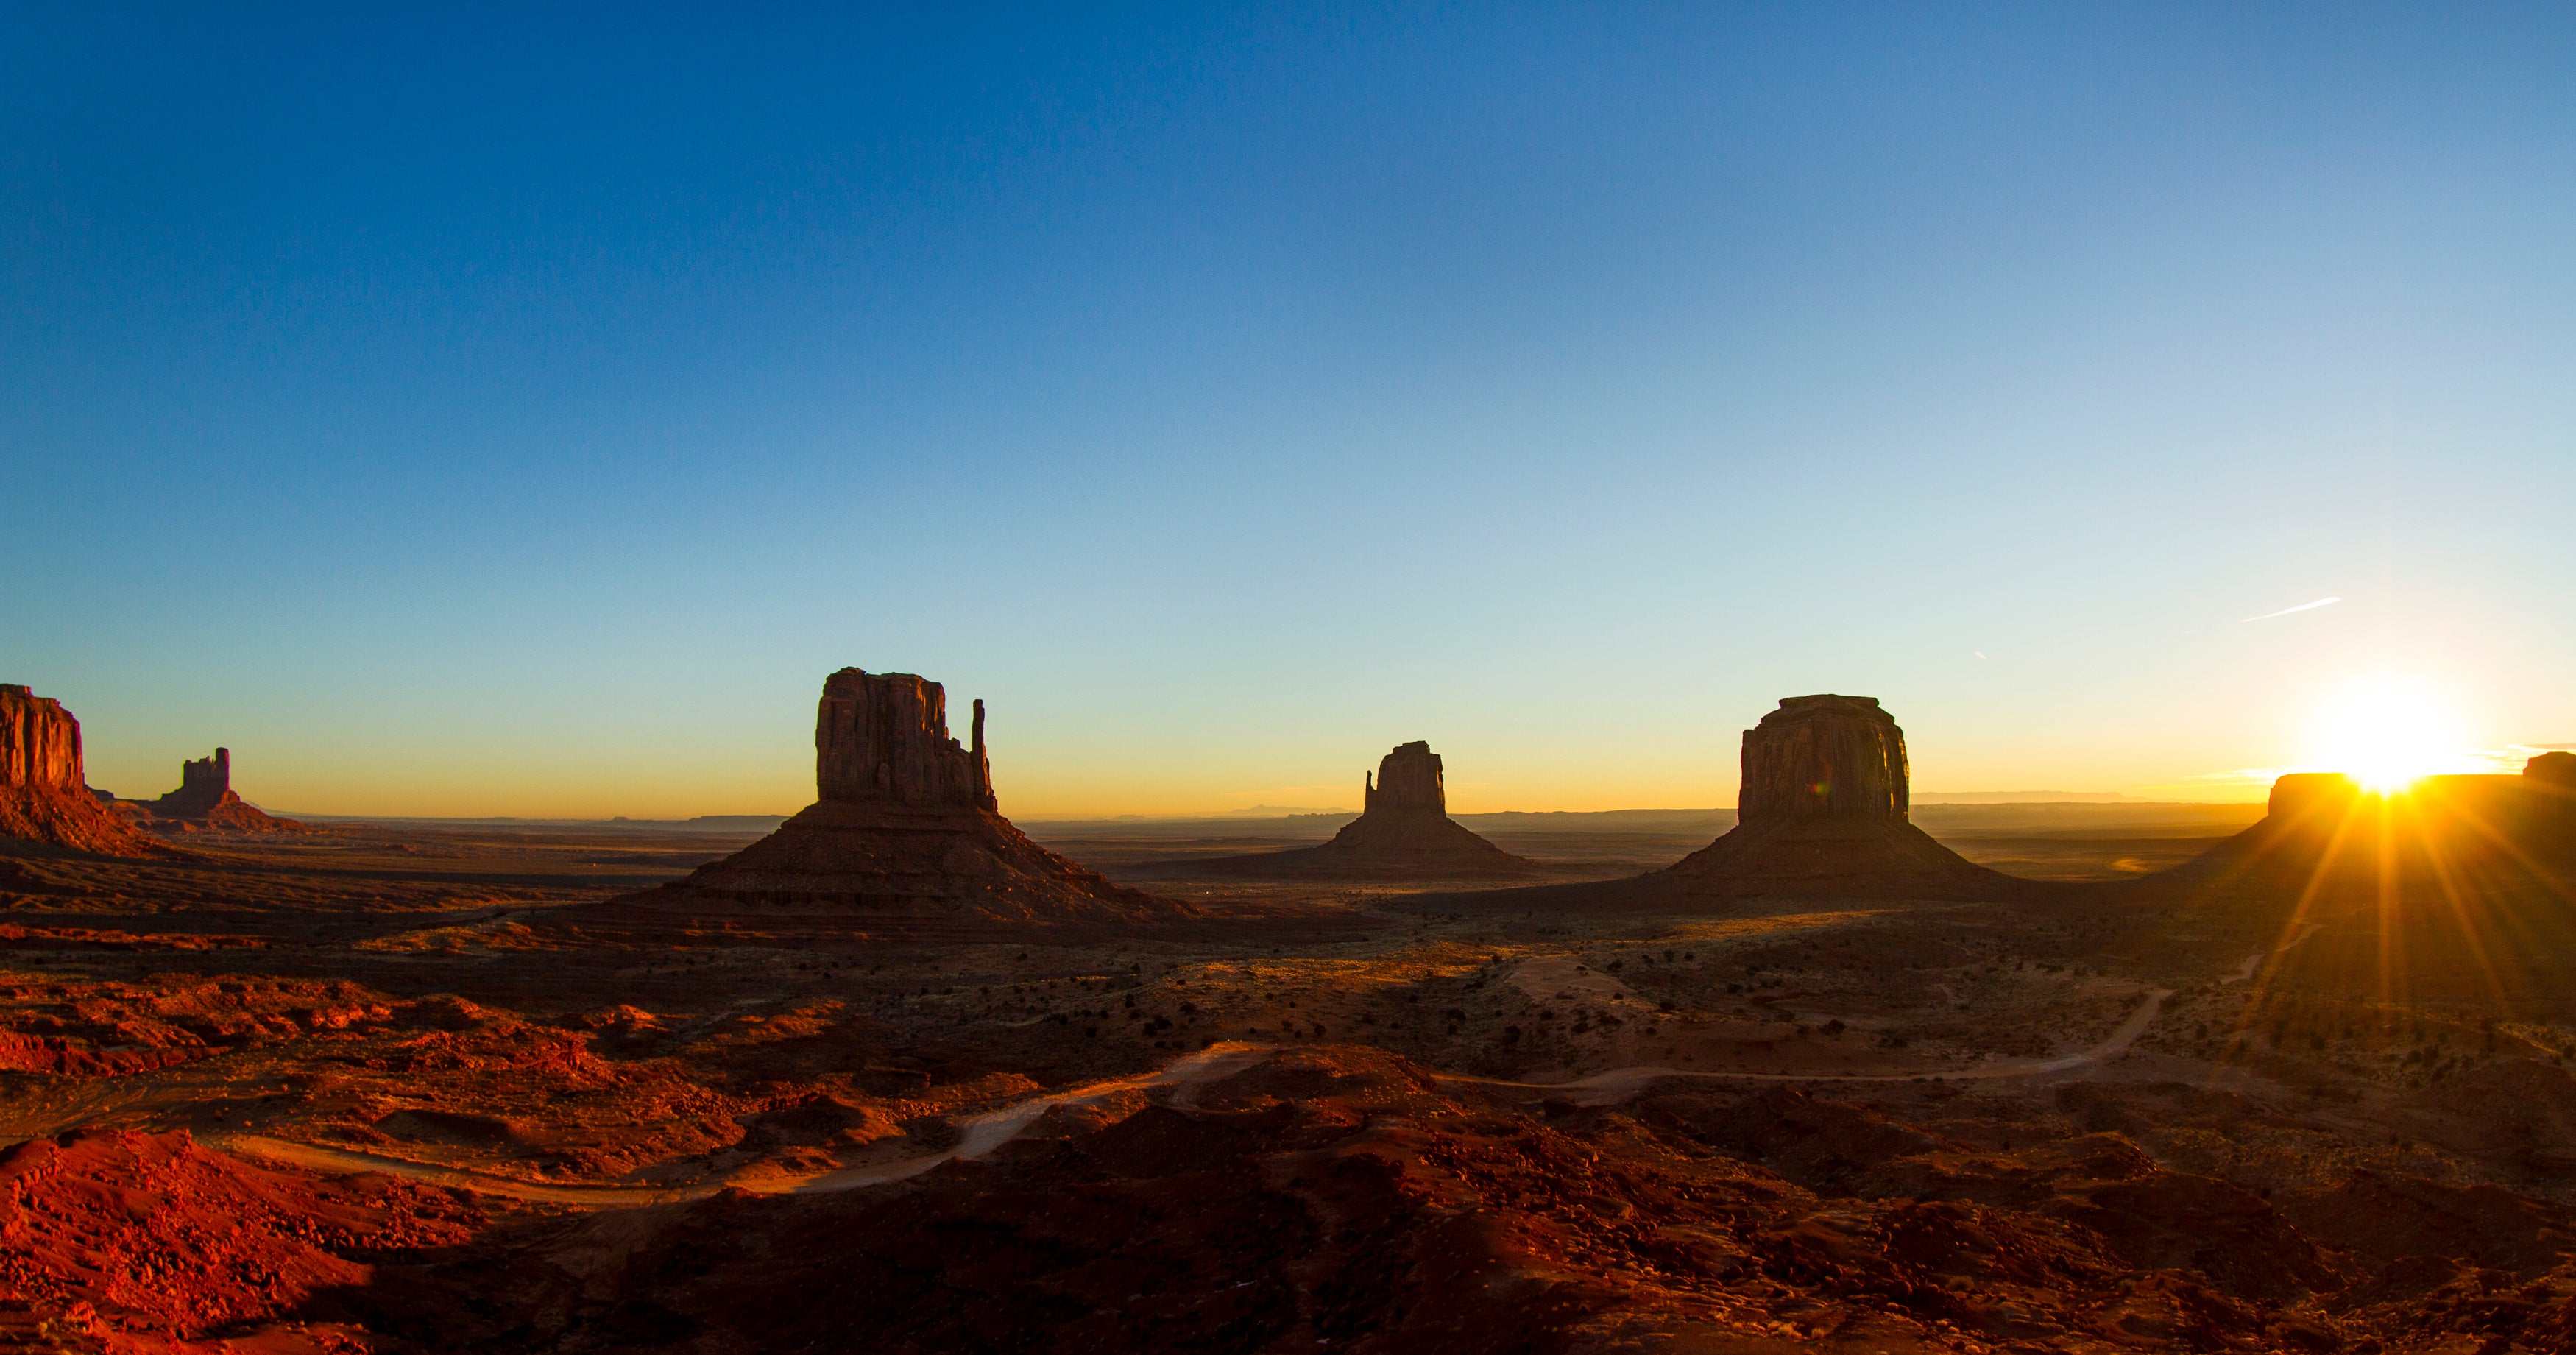
I love everything about time-lapse. Being out in the elements capturing a scene over a matter of minutes or hours then to watch it unfold in seconds after merging the photos together, it is mesmerizing and also addicting process. One of the greatest things that came with my switch to the Sony α7 series cameras is the ability to use their time-lapse app within the camera, and you’re able to install it on up to 10 different camera bodies for only $10!
Installing the App
Installing the app is simple, however I’ve always refrained from installing directly from the devices wifi, I highly recommend to install via USB.
First you’ll want to create an account at playmemoriescameraapps.com After creating an account you’ll want to purchase the app. I’ve only installed the time-lapse app from a mac using safari and chrome. I’ve found closing out of all applications will help make this install go smooth, and without error. Be sure your camera USB mode is set to Mass Storage. You’ll plug in your camera (on) and connect to the computer via USB, once connected click Verify Connection on the lower left side of the apps site. Once verified, and if your camera is compatible you’ll see an orange install tab, click this to begin. This only takes a few moments and you should be notified the installation was successful. You can now power off and disconnect the USB. You can find the app in the application list on your camera.
Equipment
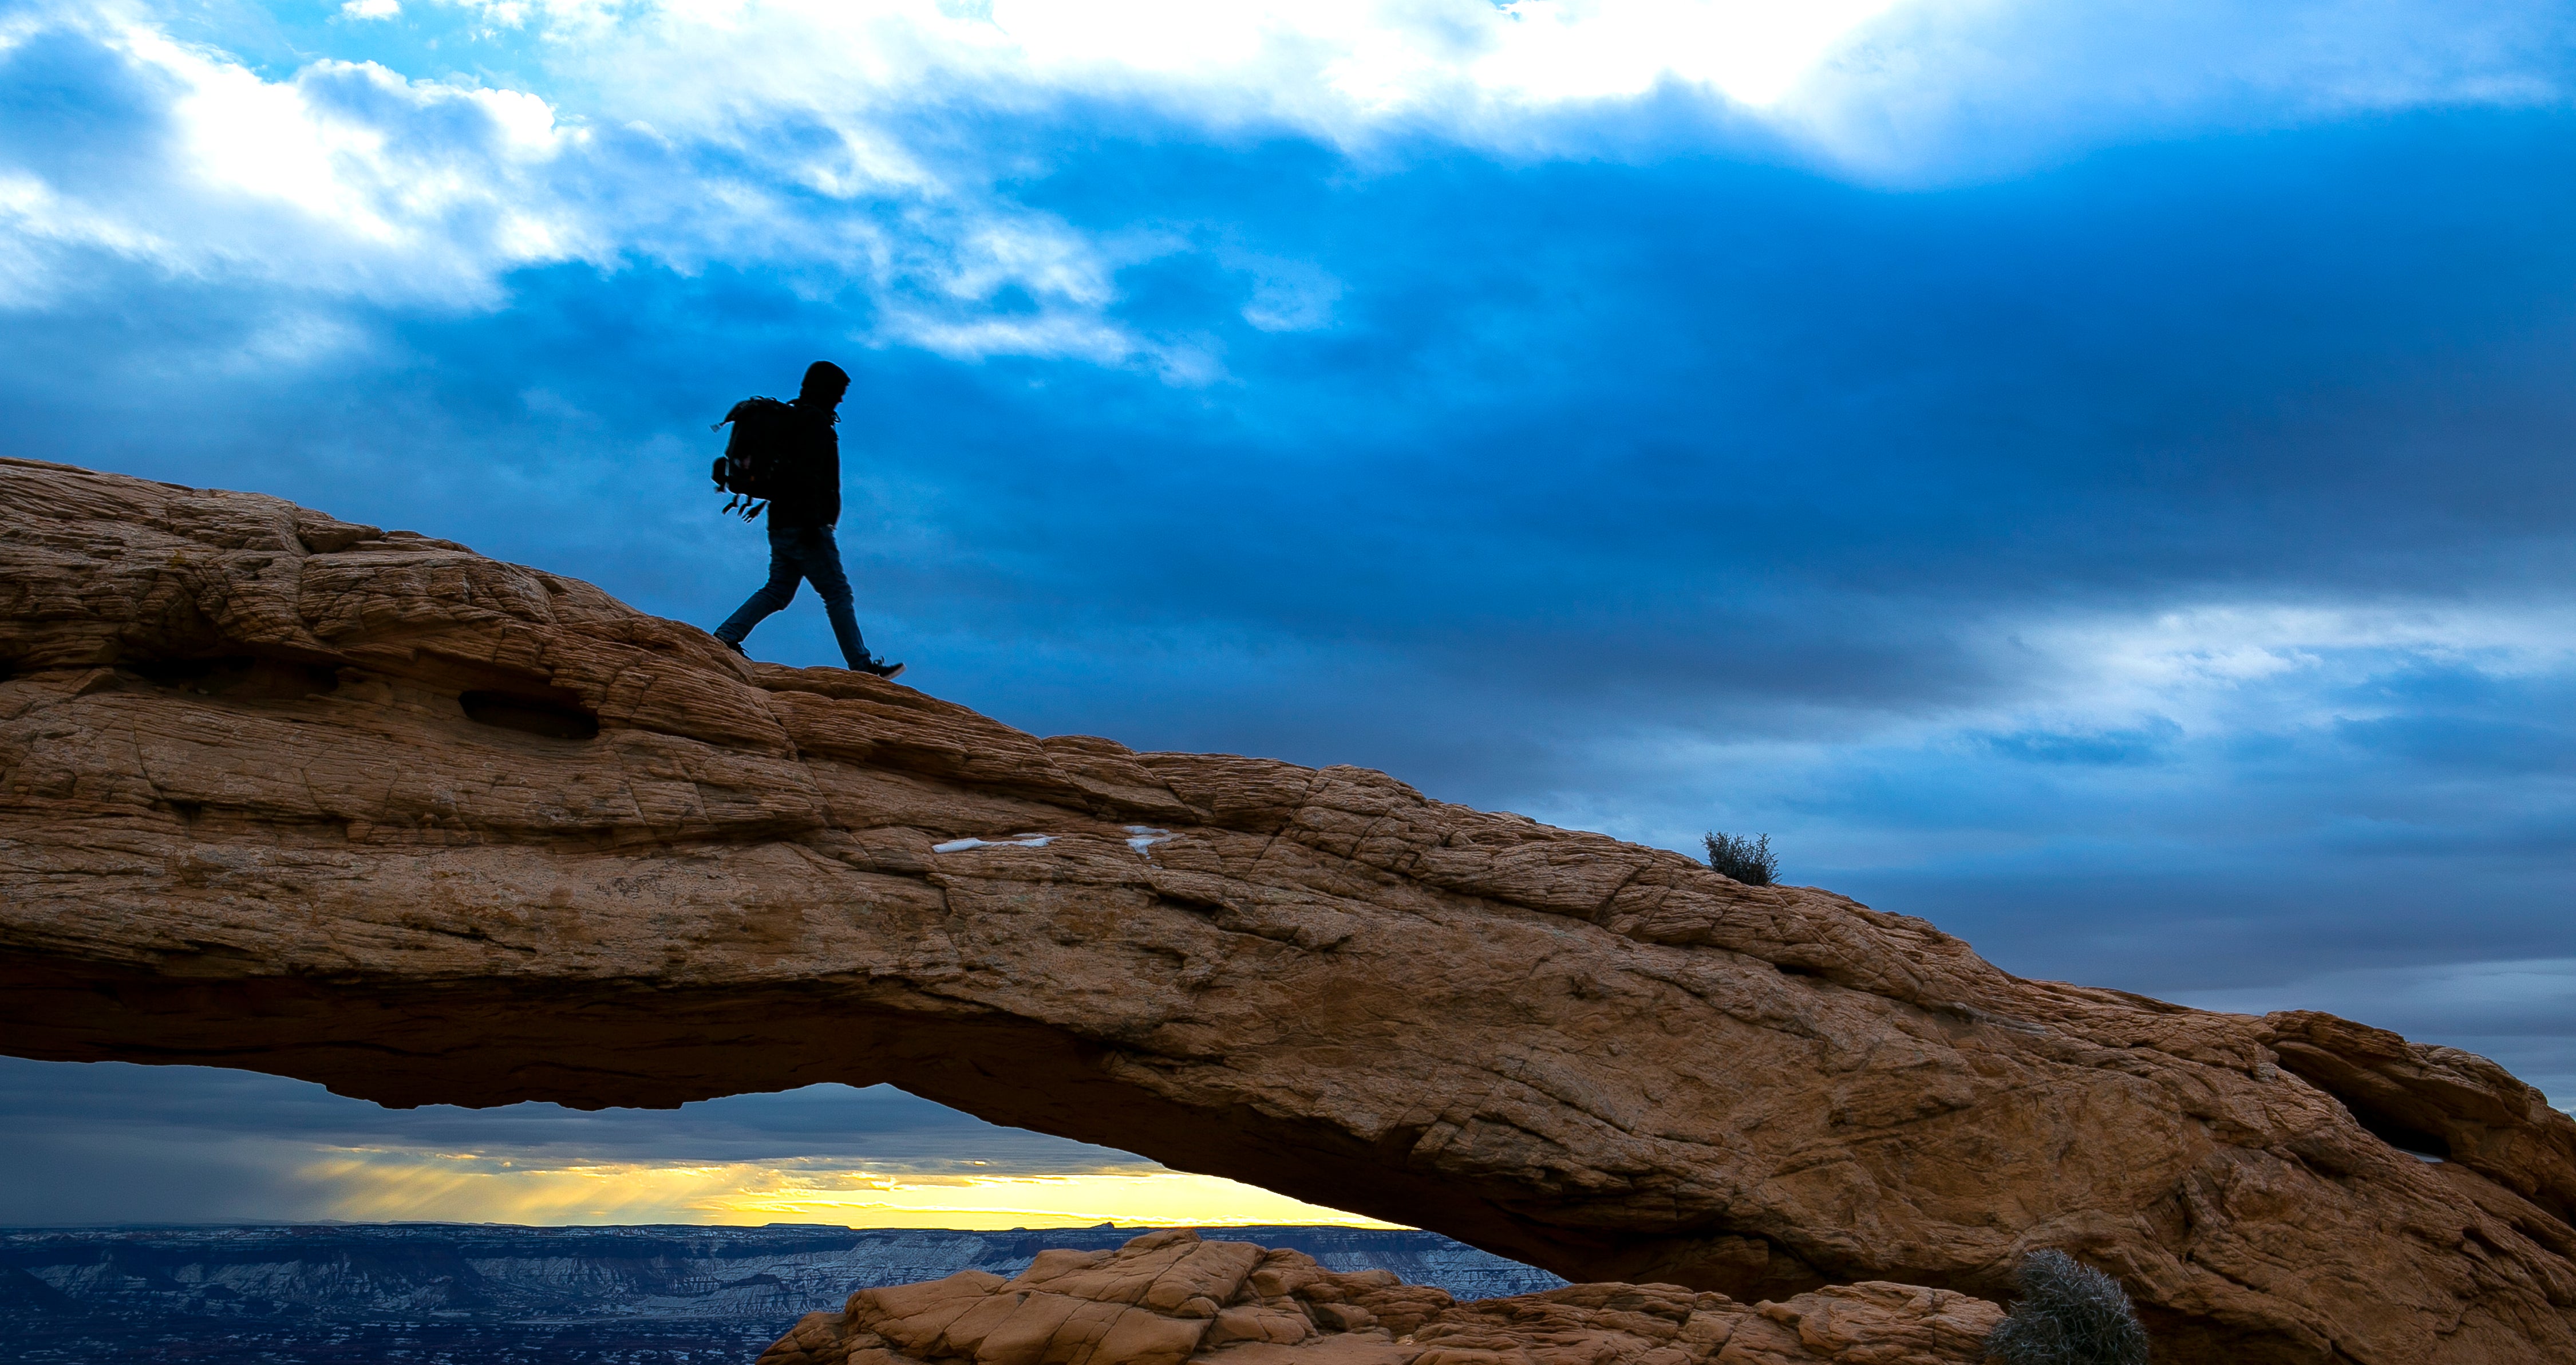
Before heading out onto location, be sure you have your basic essentials. Your trusted sturdy tripod, charged batterys, an external battery charger if you’re planning on doing a longer time-lapse, snacks, water, and maybe even a book to help pass the time. ND filters can also be important to bring along as these help smooth the video and avoid a staccato look. Be prepared for the unexpected too, if shooting in unpredictable weather, wearing a thick rain jacket for the cold may help you last a bit longer in the elements. Once you have all your equipment set, you’re ready to find a location to shoot.
Choosing a Location
With my work, I’m constantly on the road, and not at one location for very long. So if I want to setup a time-lapse I can’t stress enough how important it is to plan! I use an app called “Sun Surveyor” and you’re able to track the suns trajectory, both with maps, or a live view mode from your cellphone.
Do your best to understand the layout of the land you’ll be at, and if possible get there at least an hour or two before you start shooting. You’ll be able to walk around the area and imagine how the shot might unfold. Look at the fine details of this location like you’re taking a photograph. Because technically that is what this originally consists of, and only later will it be composited into a video. I feel if you originally compose to take a nice photograph, it will create an epic time-lapse.
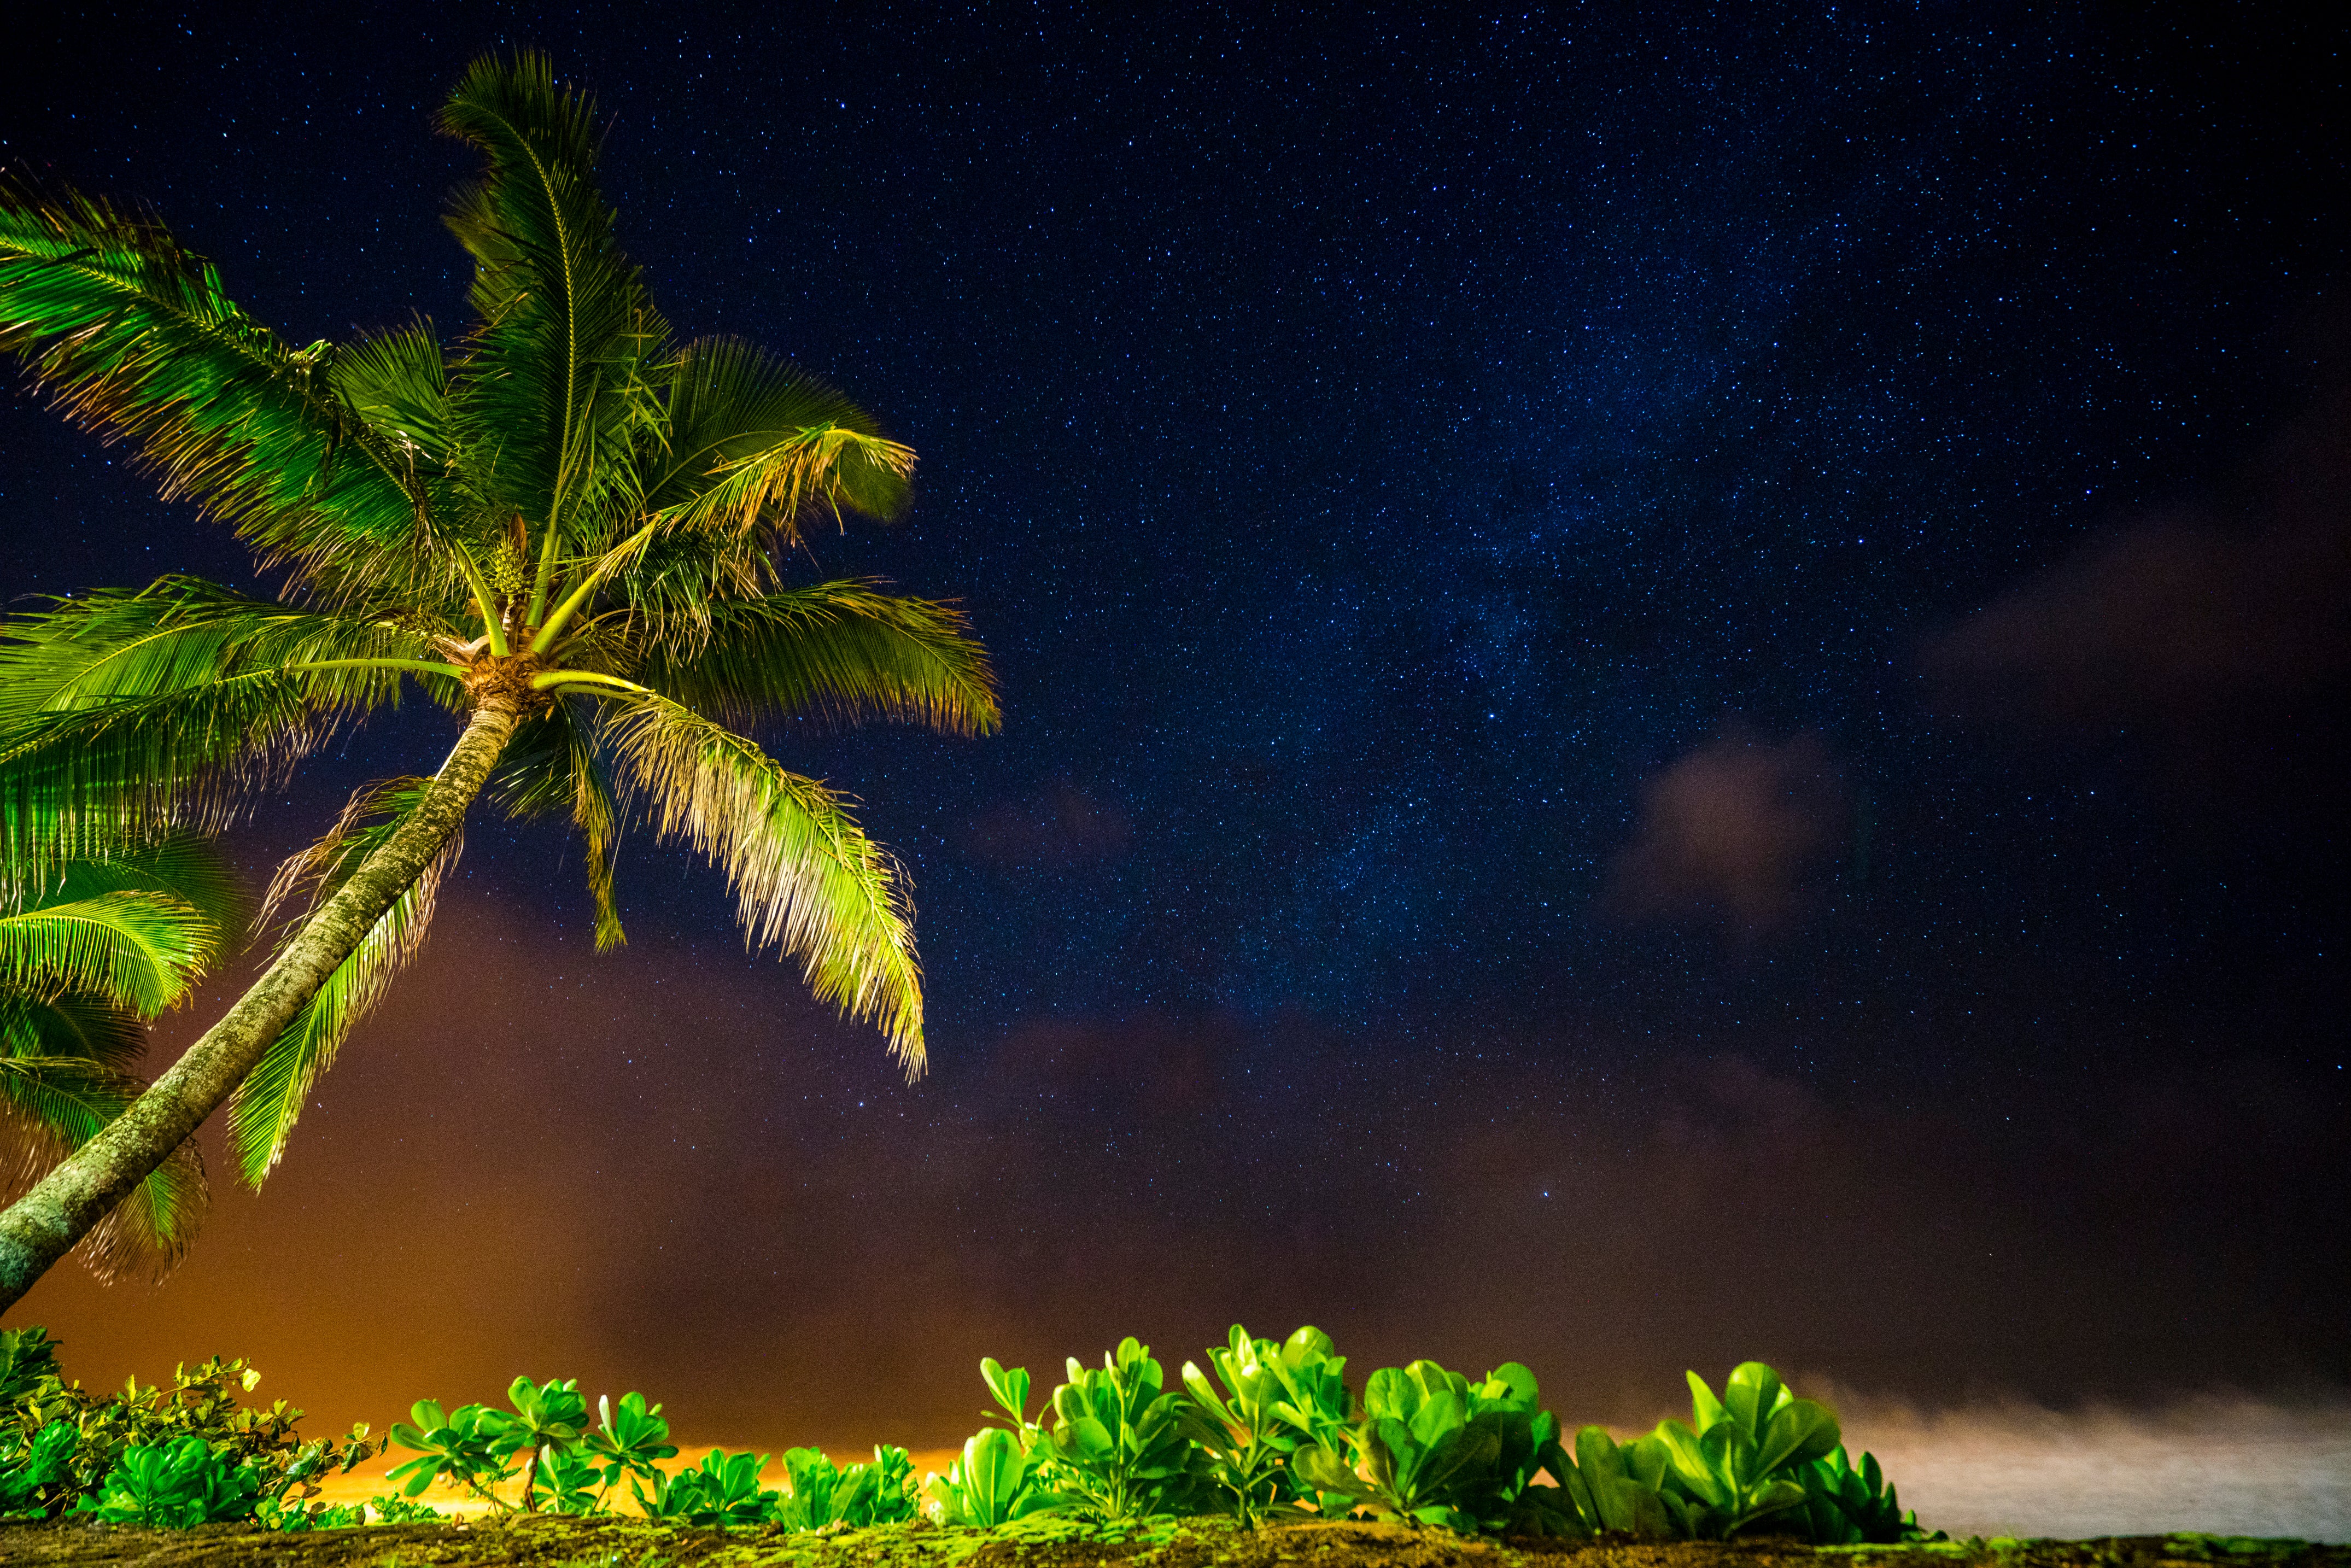
There are many ways to capture time-lapse. Whether capturing the clouds passing by, the sun rising or setting, or even a busy city the creative possibilities are endless. After deciding on your main composition, I always look closer and see if there are any objects, or maybe a reflection to add to this composition. Once you have your composition set and tri-pod locked into position it is time to dial in the settings and soon begin the time-lapse.
Selecting Settings
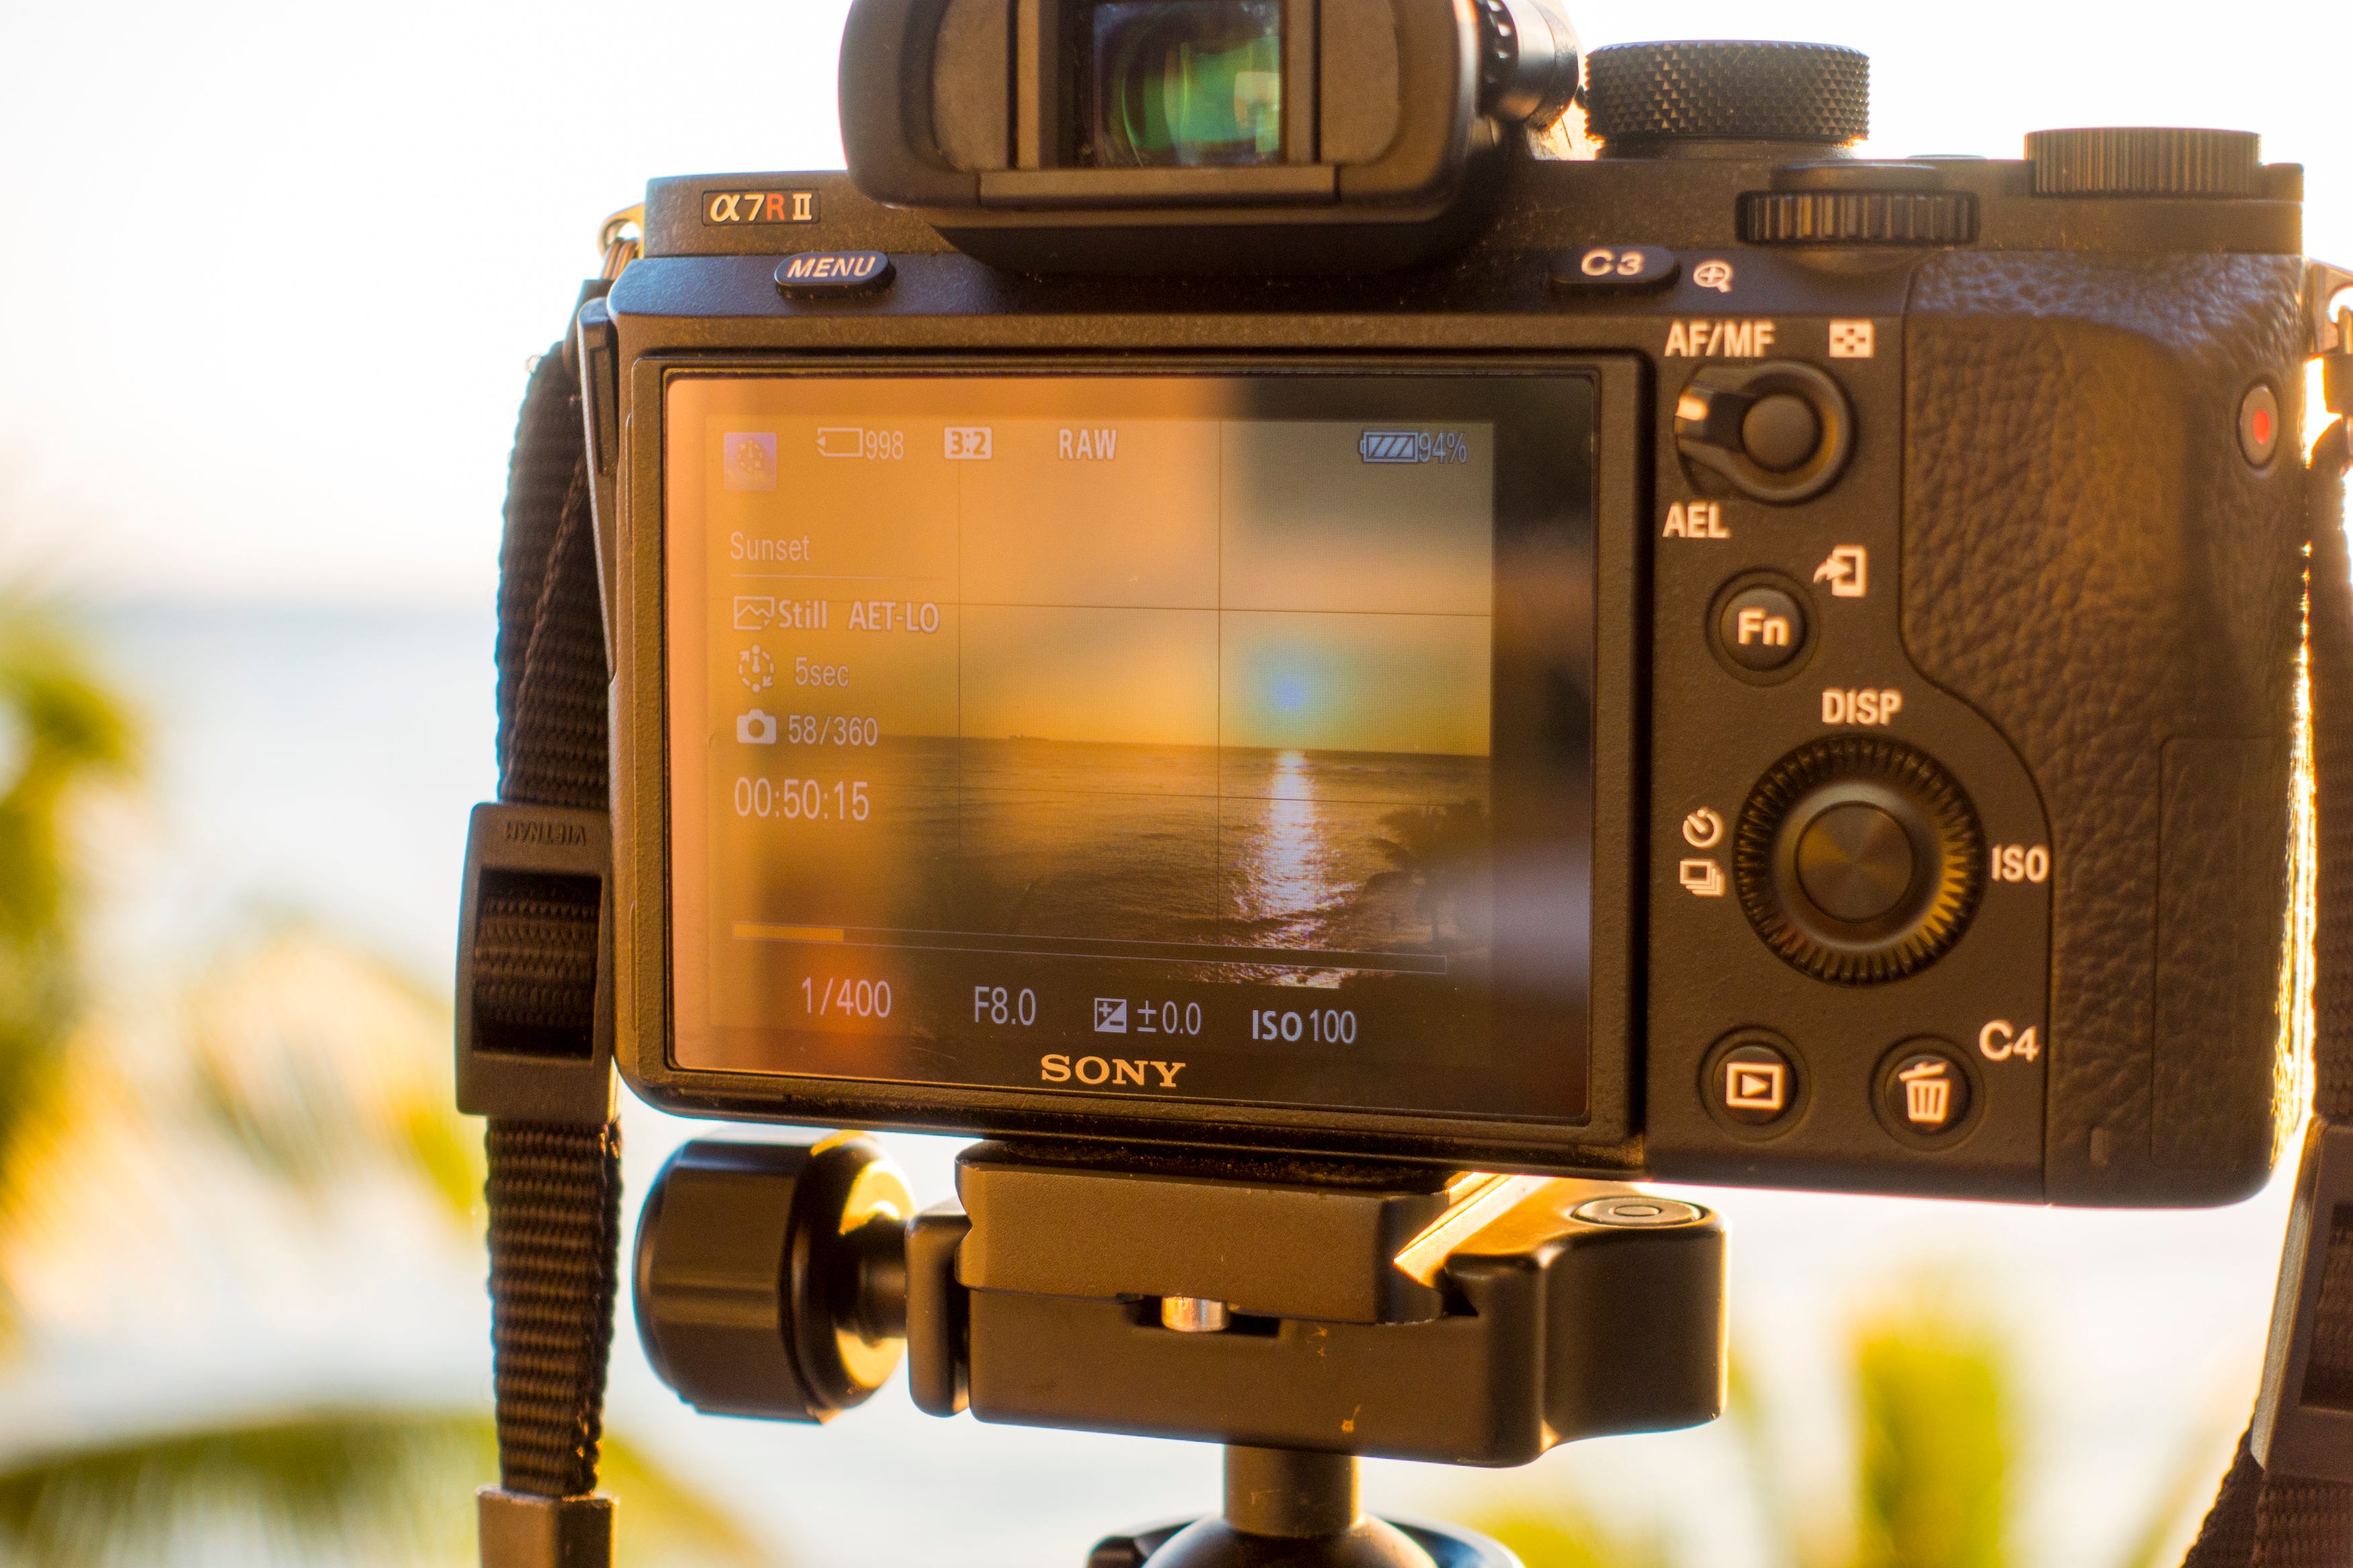
Before I start talking about the time-lapse auto themes and settings, I’ll point out a few things that’ll make your camera more sufficient, and higher quality for shooting time-lapse. From the menu on page 1, and under Application Settings, I suggest setting your file format to stills only. This is a matter of your own preference, but for myself I always want to touch up my photos before compiling to video. You have a greater range of touching up your images if you export your photos to movie rather then the camera compressing it for you. Next I recommend turning on is the Self-timer 2 seconds so there is no camera movement when you start your time-lapse.
On page 2 switch your quality to RAW, I’ll explain later why shooting in raw for me is so important and how it can take your time-lapse from basic to epic. Next on page 3 you’ll want to switch your focus mode to Manual Focus. For conserving battery life, on page 5 set your Monitor Bright to dim. Please note, if your camera equipped with a built-in ND filter, you set it to either off, or on, instead of auto, or else this could cause some issues with exposure.
One of the greatest features I enjoy about the Sony time-lapse app is the amount of preset time-lapse themes it offers, and how it calculates everything for you. For instance if you plan on shooting a sunset, go to Application Top and select the “Sunset” time-lapse theme and these settings are already preset to capture a sunset with ease and helping you get it right the first time. Each theme automatically has the file format set to movie, so be sure to go back to page 1 and switch your file format to stills only. As you become more advanced in time-lapse through trial and error you’ll understand what settings work best for you and you can attempt shooting in custom modes, and even re-customizing your themes to your own liking.
Now say you are setup to shoot sunset, but the local time is only 4:30pm and sunset isn’t until 6:00pm. My own personal preference for a sunset time-lapse that’ll shoot for 2 – 2 ½ hours, I would want my intervals set between 10-15 seconds, and my shots to total of 480-600 shots. As you change the intervals, and the amount of shots taken, the app will determine how long it will take to complete the time-lapse. This is great for time management and planning shots out! There’s no right or wrong with the amount of shots you take, because maybe you are expecting the sunsets colors to last long after 6:00pm, then I would add more shots in between and still keep my intervals around 10-15 seconds.
Finally don’t forget to manually focus your shot before you begin!! There is nothing worse then starting your time-lapse to only find out later your shot was just a tad bit soft because you forgot to double check focus. I recommend going into the menu settings, to page 5 and clicking Focus Magnifier and making sure your image is tack sharp. Now you're ready to begin your time-lapse!
Why shoot in raw? I personally choose to shoot my time lapses in raw because I want full control of the end result. Sometimes when shooting a sunset time-lapse with a lot of clouds, my foreground objects can get rather dark. The app properly exposes for the highlights but my shadows are close to black. Shooting in raw you can batch process the photos, and bring your shadows back, and if needed add a touch of saturation, or other personal preference to you photos.
With shooting in raw compared to having the app create a video file for you, you’re not limited to a 1080p 24, or 30p video file either. With a full resolution photo you are able to export the final result to 4K, or even a higher resolution depending on your camera body.
If your end goal is to have a video sequence ready to go after the time-lapse with 0 processing work after, then you can have the app automatically create a video file for you, however right now it is only limited to 1080p.
Compile & Export
If you followed my advice and shot in RAW your last process is touching up your photos, and preparing it for a video export. I like to create a folder for each time-lapse and label it properly. Be sure your photos are all titled and numbers in order as it should play, I use Adobe Bridge to Batch rename everything quickly. After naming, I batch process through photoshops camera raw. Once I’m happy I’ll save the images to a new subfolder, and with a resolution high enough for 4K.
Once the images have finished saving to the subfolder, I use QuickTime player 7 for combining my images into one sequence. Once open you’ll go to File, Open Image Sequence, and select the first photo in its numerical order. Depending on how many frames you have to use, I like to export at 60fps so I can time remap at crucial moments that I want to show for a bit longer to the viewers, select your frame rate.
Your images are now stitched together in a quicktime file, the last thing you’ll need to do is select your export settings. Go to File, Export, and from here my Export is set to: Movie to QuickTime Movie. I modify my Options to:
Compression: Apple ProRes 422 HQ
Quality High
Progressive
Dimensions: 3840x2160
I hope this article has helped explain how to get out and start shooting time-lapse with your Sony camera. As you become more advanced in time-lapse photography, you should start attempting to use ND filters. I use a BW ND10 for a lot of daytime time-lapses to bring my shutter down to avoid the staccato look, and achieve a smoother video. If you have any questions feel free to leave a comment on my YouTube and I’ll get back to you!
If you don’t have the PlayMemories Time-lapse app yet, you can find it here.
Shop Now


Best Lenses For Content Creators & Vloggers
How Fast, Sharp, Compact Zooms Make A Lightweight Dream Team
2024 Sony ZV Buyer's Guide, Which Camera Is Right For You?
See Why This Leading Wildlife Conservation Photographer Is Making The Switch To Sony
5 Tips For Landscape Photography
Quick Guide: How To Update Your Sony Camera's Firmware
Why This APS-C Shooter Reaches For The Sony Alpha 6700
For This Creator, Switching To Sony Came Down To Community
5 Things To Know About The Sony ZV-1 II
Promos

