Night sky (astro) photography can be fun. It can be a little overwhelming at first, but once you nail your first shot, I can almost guarantee that you’ll be hooked.
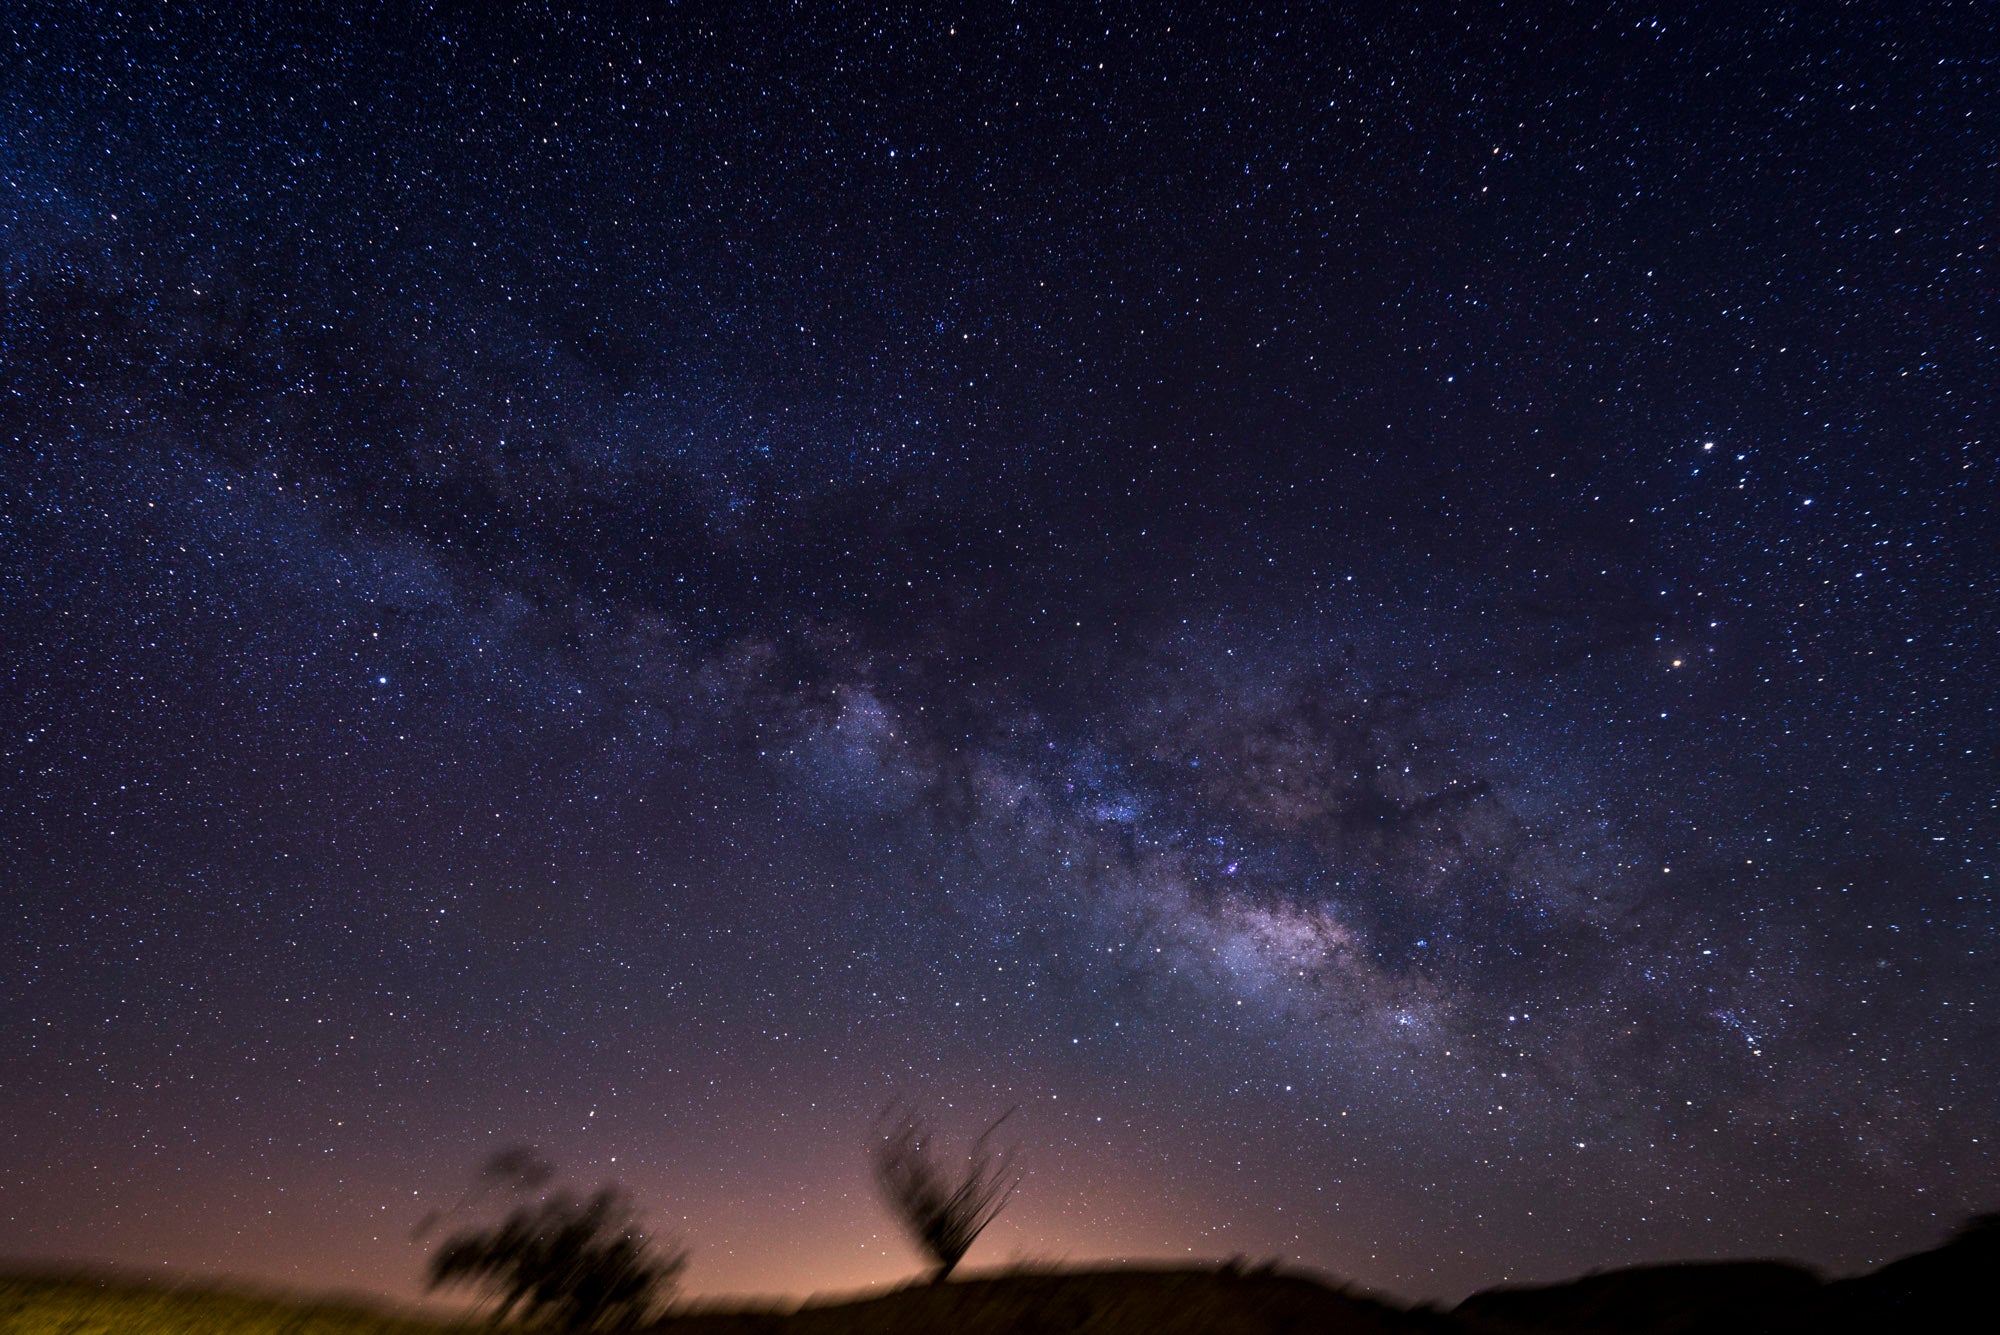
The solitude and patience of astrophotography are what makes it so awesome. I love the silence and the concentration that it brings with it. Once you get the fundamentals down, it then drives you to find more locations and look forward to the time of the month that the moon sets early and the sky is at its darkest. Full moon time is my least favorite time of the month, as it takes away the blackness of the sky and replaces it with a grey tone, hiding the stars that once shined brightly.
Then why is it overwhelming? Well, it could be for a variety of reasonsmost of which center around the fact that it’s very different than daytime photography. Forget about autofocus. Tripods are a mustand I could argue that a solid, heavy tripod might be what you want. Let’s not forget that many of us are city dwellers. Night photography typically has us driving far away from the city. Maybe it’s half an hour. Maybe it’s a few hours. Also, with night photography comes the dangers of moving around in the dark.
So why can’t we use autofocus? Auto focus mechanisms typically rely on contrast and defined edges for it to work properly. When it’s dark, it is tough for camera sensors to detect these elements that would otherwise be easy to do in daylight. My recommendation is to shift into manual focus and bring your ISO up a bit, even to noise crushing levels, just so that your camera can “see” the stars. Then you can leverage focus peaking (or trial and error image capturing) to check your focus. Once you get your focus set, then bring you ISO back downmaybe to ISO 1600, 3200, or even 6400.
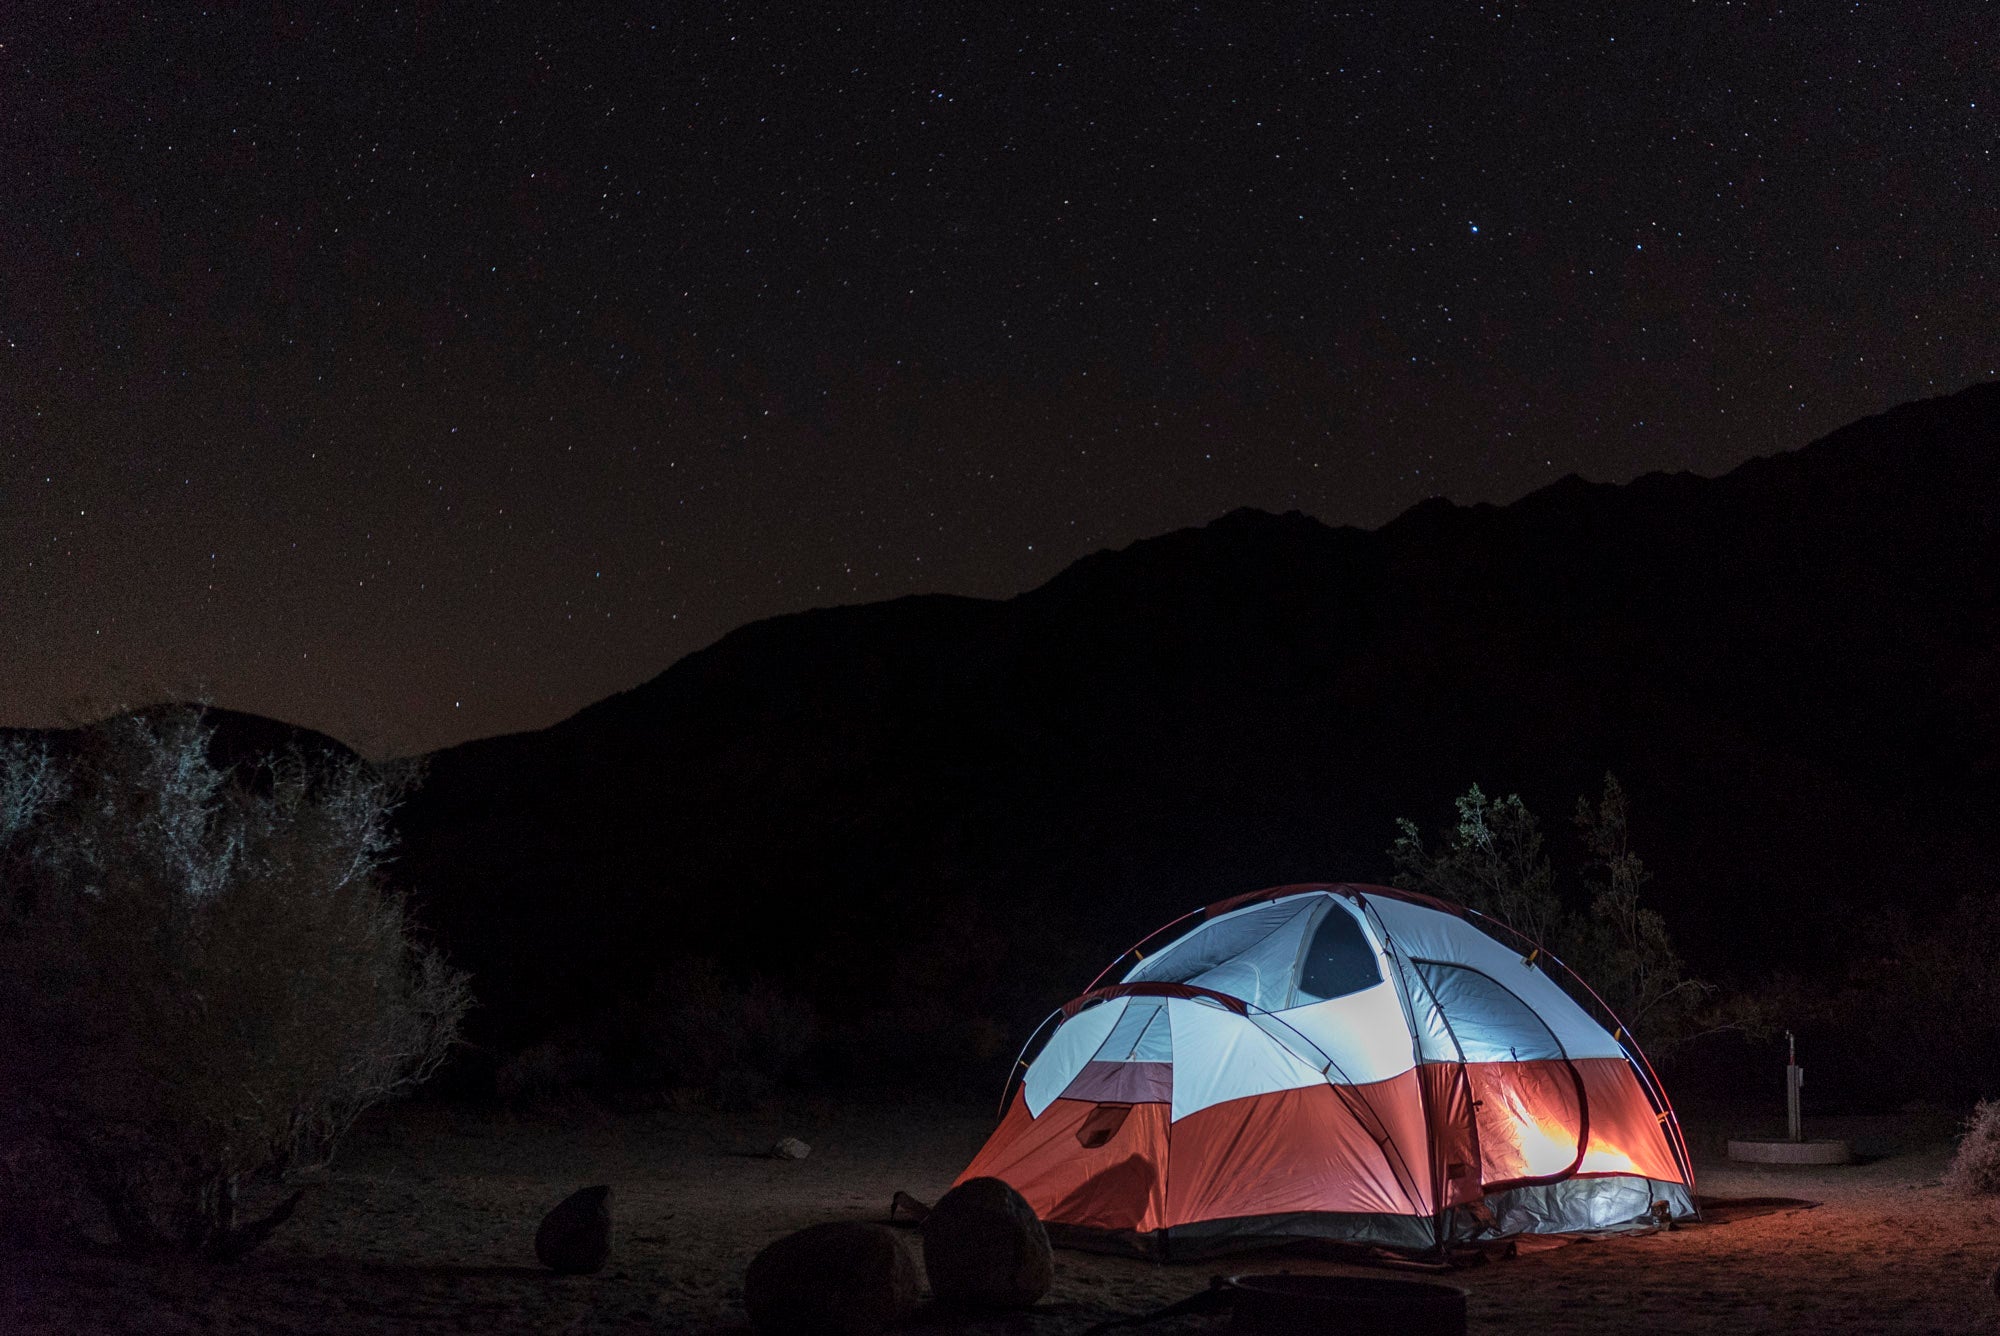
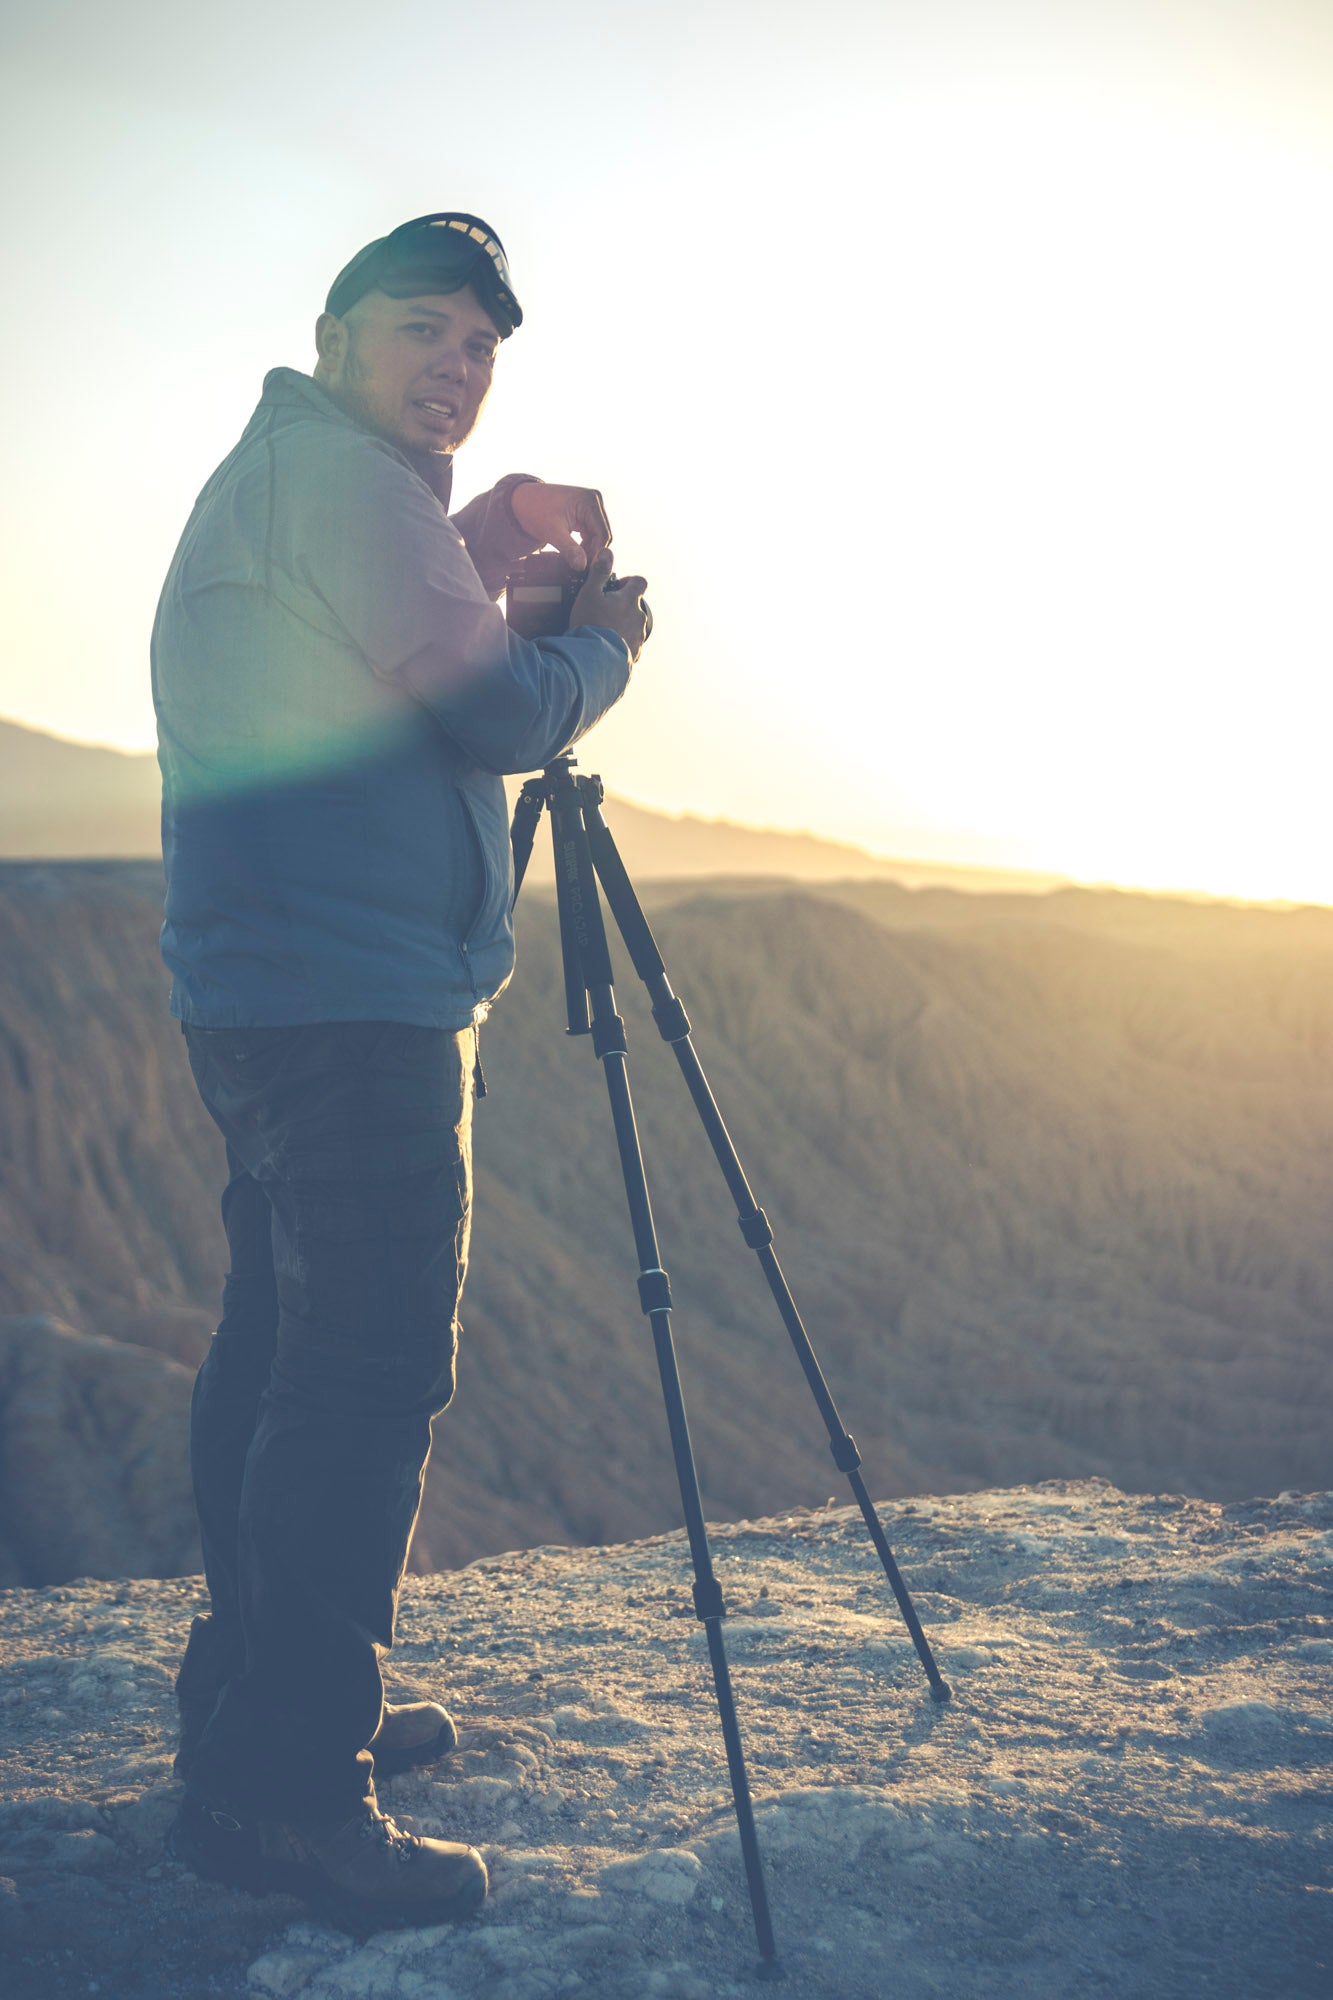
Why do I need a tripod? And a solid one, at that? Well, when you’re capturing long exposure images that night photography requires, any camera movement will make the image blurry. Those images suck. No one wants them. You don’t want them. If your tripod is solid (dare I sayheavy), it alleviates most types of mild camera blurinducing shock. Things like shutter slap and wind can all make an image blurry. I typically photograph the night sky with a remote. If you forget yours (like I have on occasionI discuss options momentarily), and you do the 2secondsafteryoupushtheshutterthentakeapicture trick, your camera can still be suffering from small vibrations that come from you pushing the shutter buttoneven after several seconds. When you’ve got your camera clamped down to a solid tripod, the vibration recovery time goes down considerably.
While we’re discussing hardware like tripods, let’s explore additional things that you might want to leverage when you’re out doing astrophotography. I briefly mentioned a remote trigger. Those will help you take a picture without actually touching your camera. Some cameras, such as the Sony a7 cameras, have wifi capability and allows you to control your camera using your smartphone or tablet. That helps when you forget your remote and also allows you to check your focus compared to the smaller screen that the cameras have. Also, bring a flashlight to get you to where you need to go. Then once you’re settled, use a lowpower red light to help you check your camera settings and for looking in your camera bag. The red light is far less jarring on your eyes once you’ve gotten used to the dark surroundings. It’s also less distracting for your photography neighbors.
How about optics? What type of lenses do well at night? You will want to bring your brightest (read: largest aperture) lenses as possible. Many say that anything as bright (and brighter than) f/2.8. I would argue that with the more improved sensors of today’s modern cameras, you can use f/4 or f/4.5 glass and boost your ISO up just a little (or a lot#SonyA7mk2 and #SonyA7S). Many folks have the “thriftyfifty” lensthe awesome lens that can normally be acquired for less than $200 and is really bright. Now it might not matter to youbut my problem with the 50mm focal length is that it’s not wide enough to capture both the sky and some interest on land. Together, it makes for a better composition. The 50mm focal length is made even greater when you pair it with a crop sensor camera where it can become something like a 75mm lens. Great for portraits. Not so great for night sky photography. My typical night sky range is anywhere from (on a fullframe sensor) 12mm to 35mm. Sometimes I do the fisheye thing, most times I do not.

So now you’ve got the tripod, the glassand how to focus, the camera, EVEN the remote! Now we just need a good, dark sky.
Living in a major metropolitan area comes with many advantageslike great camera stores to buy all this gear from, and department stores to buy the warm clothes that sometimes is required for night photography. BUT it also has its disadvantages. You see, the bigger cities tend to have lots of lighteven at night. Some of our cities even have these huge stadiums where people play sports at night that make it like daylight for much of the surroundings. You can’t take pictures of stars when the sky above you isn’t dark.
You need to get away.
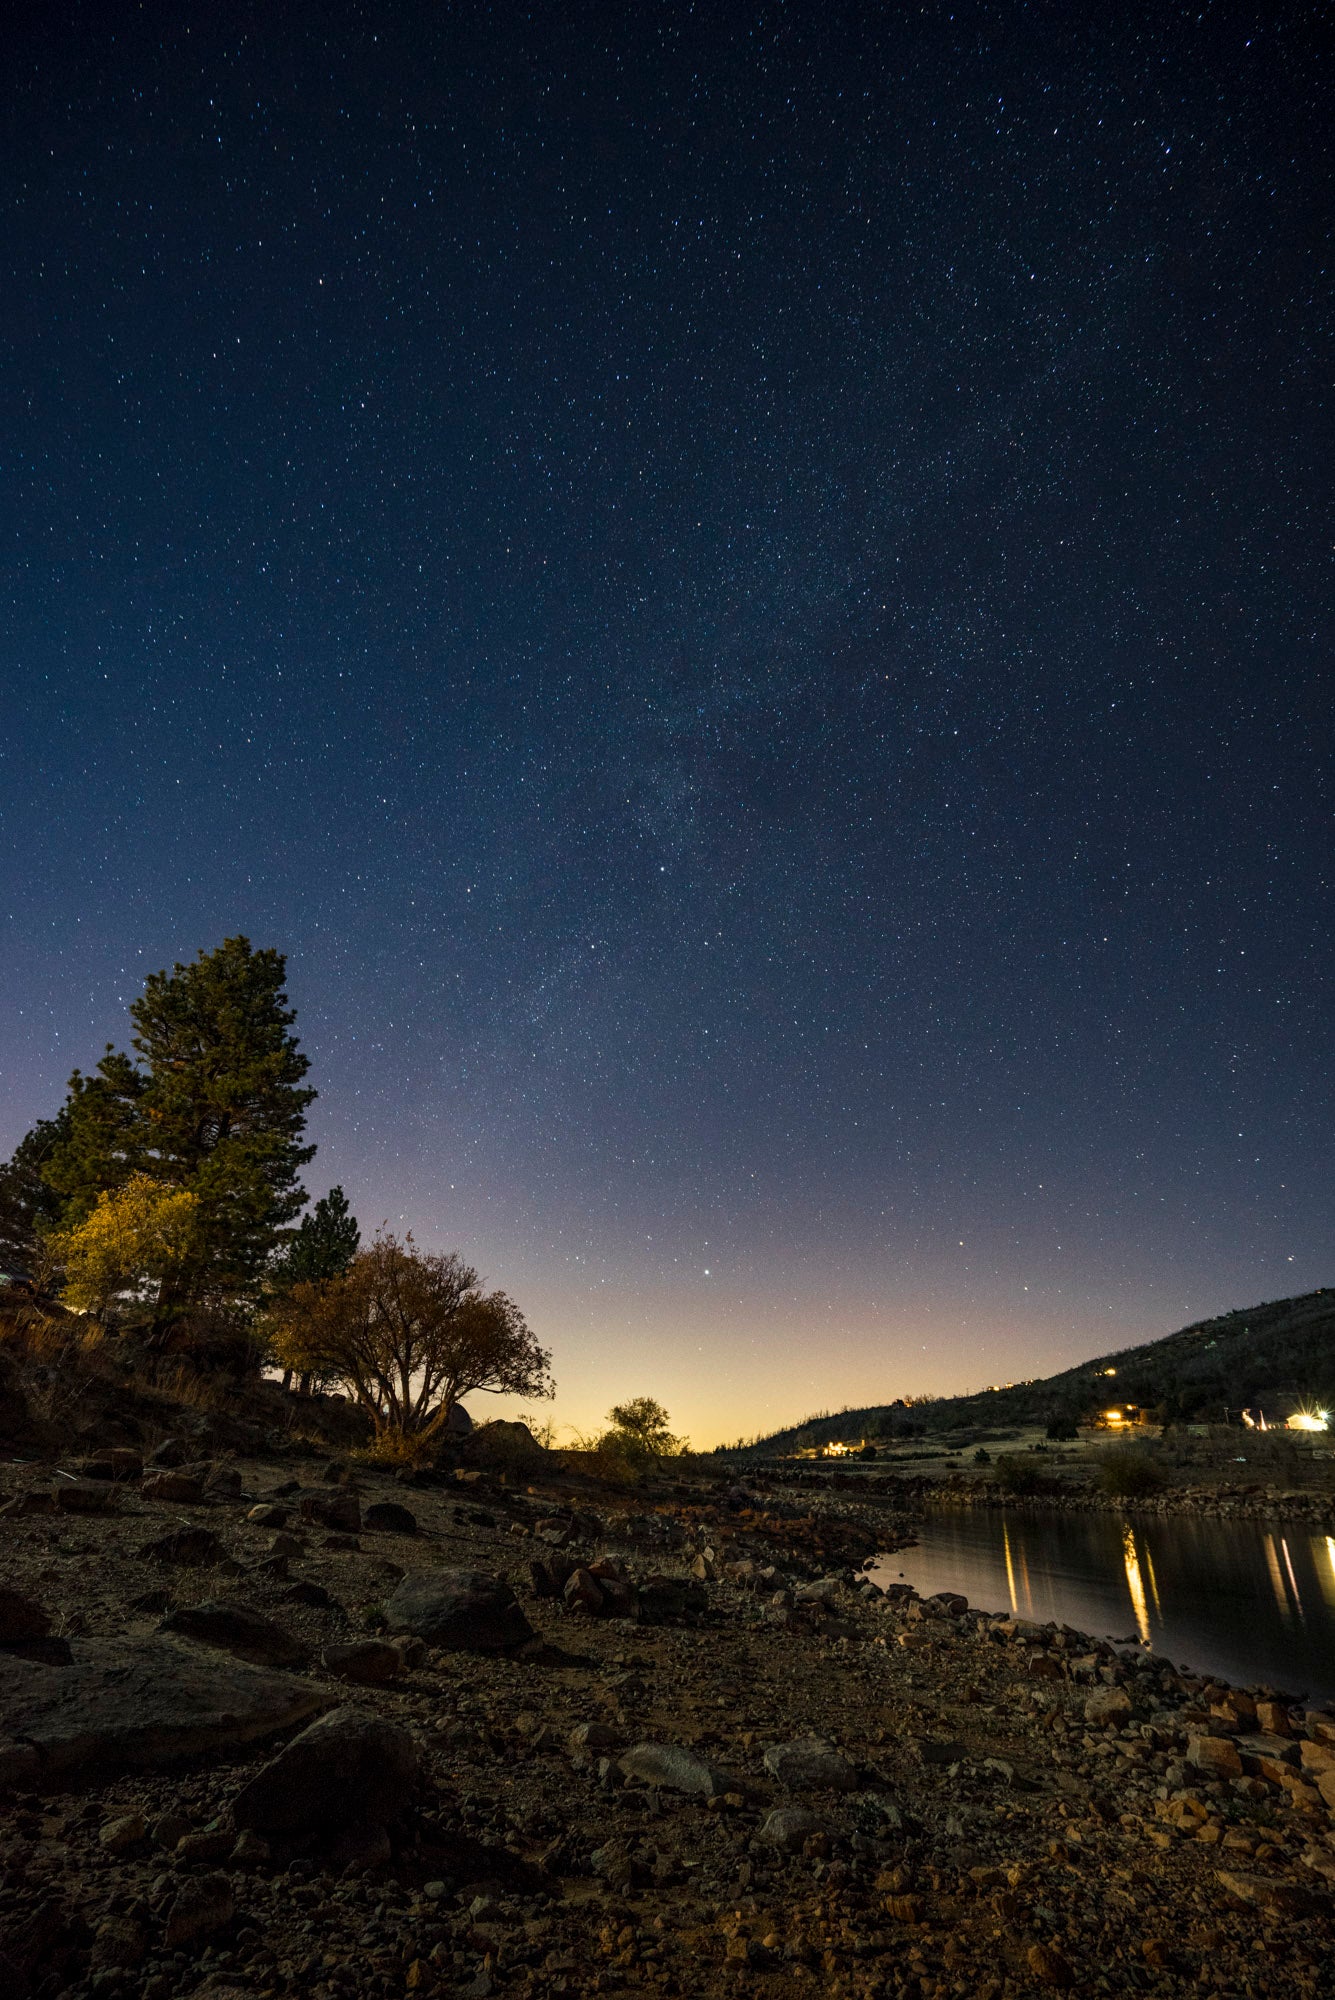
Dark Sky Finder (h ttp://www.jshine.net/astronomy/dark_sky/) helps you find what’s dark around you. I suggest you go to a place that is dark AND familiar so that you know what the terrain looks like in the daytime. If you’re not familiar with it, go do your research and drive out there beforehand to scope out the area.
All of this dark sky finding is useless if you’ve got a full moon to blow out your sky. If you have a large moon in your sky, it will be difficult to capture good photos of the stars. Look out for new moon times. A few days before and a few days after a new moon work, as well. Also, when it’s cloudy or rainythere’s no way to see the sky. There are also other atmospheric components that would impede your view. Clear Dark Sky (h ttp://www.cleardarksky.com/csk/) helps in letting you know how how good visibility is before you head out. Also, don’t go by yourself if it’s your first time.
Once you get to the spot, know what the weather is like. Sometimes you’ll need warm jackets. I went to the desert not too long ago and it was beautiful during the day time. At night, it was a very windy sandstorm. Nontinted goggles helped for that (as did my heavy tripod). At night, that’s when bugs come out. Be it roaches and mosquitoes in the forest, or black widows in the desert. I wear long pants, long sleeves, and hiking boots at the minimum. If it’s cold, I throw in thermals, snow shoes, balaclava, photography gloves, and a thick jacket. Be careful of dangerous animals like bears and mountain lions. They like coffee and energy drinks as much as you do.
So now you’ve got a spot to photograph as well as the tools. Now it’s time to take pictures. You will be going full manual (Mmode), locking down not only your focus, but also your aperture, shutter speed, and ISO. A good place to start is ISO 3200 with your lens set to the maximum aperture (remember that fstop is a fraction, and that a maximum aperture looks more like f/2, f/2.8, f/3.5, or f/4 rather than f/22). After you get your focus squared away, you might want to start your exposures at 15 seconds. The wider your lens, the more forgiving a longer shutter will be. If you let your shutter drag for too long, your stars will start to look stretched and become trails. I can comfortably set my 14mm lens at 30 seconds and get fairly sharp stars. But if I did that at 35mm, I would start to get stretched out starsnot so good. You can tell when you take your picture and zoom in on your stars. There is an equation out there that helps calculate what your shutter speed should be based on your focal length, but once you know what to look for, you can take sharp pictures of the stars without using a calculator.
That’s pretty much it for some fundamentals to astrophotography. It’s fun. Remember to be safe and don’t do it solo, at least the first few times, and especially if it’s a new location. Once you get the hang of it, you can dive into more advanced topics like multiple exposures, star trails, equatorial mounts light painting, and the ever popular MILKY WAY photography. The sky is literally the limit.
Now go find yourself some dark skies.

