This is the first in a series of articles about documentary-style wedding photography by Sony Artisan Paul Gero. In this installment we’ll look at 3 essential natural light situations. These serve as a foundation for lighting technique. Future articles in the series will go into using diffusers and reflectors, on and off-camera flash techniques and lens choices. The series was inspired by Gero’s new book, Mastering Digital Wedding Photography (see below on how to get your copy).
When photography first began back in the mid 1800’s, the technology was very primitive compared to what is out today. Long exposures were the norm because slow ISOs were the best they had. This necessitated long exposures and is one of the reasons people often had very somber expressions—it’s not easy to hold a smile. In fact, braces were used to keep the head of the subject from moving.
Fast forward several decades to a photographer named Erich Salomon who was a German photographer from the late 1880’s to the mid 20th century. Originally trained as a lawyer, he began experimenting with low light photography in his legal work. Salomon became famous for his use of the Ermanox camera to photograph people events without supplemental light back in the 1930’s. The Ermanox led to the Leica and that was the beginning of natural moment photography as opposed to large format photography done with 4 x 5 cameras and flash.
Salomon was the first to really exploit this new technology and it led to the likes of Andre Kertesz, the Hungarian photographer noted for his moment photography which then led to Henry Cartier-Bresson, who is known for the term “the decisive moment”.
So technology has evolved massively since photography began and has also undergone a radical shift in the past five years as higher ISOs have become much more useful and useable to photographers—now with cameras like the Sony α7S II with truly useful ISOs in the 51,600 range, we’re talking about being able to see and shoot virtually anything. Light, or the lack of light, becomes no limitation. And it’s with light that we begin to discuss documentary-style wedding photography.
Everything Begins With The Light
When you come into a room, begin by first looking for the main source of illumination in the space.Is it big window light, as one might see at a hotel in the bride’s room? Is it overhead light? What quality of light is it? Is it harsh? Is it soft and flattering?
What is the color temperature of that light? Does it cast a green or a yellow cast on your subjects? If it’s green it’s not appealing in color so it might be the kind of light source that can be turned off. If it can’t be turned off, this might be one of the situations where you introduce a bit of fill lighting from a flash, if only to clean up any color cast from the lighting already present.
My preference is to use the lighting that is present IF It is sufficient and it is pleasant—that is, the light is giving me a high enough shutter speed to stop the action as required and a working aperture that will allow me a high percentage of sharp frames. You might be able to shoot at f/1.4 and nail the focus OR you might need to shoot at f/4 to give yourself some depth of field cushion — you’ve got to KNOW YOURSELF. I will increase the ISO as necessary, and with my Sony cameras I don’t hesitate to go to 6400 or 12,800! This opens up new possibilities for all aspects of the wedding day coverage.
Digital cameras make it easy to get the exposure right by trial and error. You can shoot then review the photo's histogram on the monitor and know exactly what you got. Sony cameras with EVFs make it even easier because what you see is what you get in the viewfinder. That said, wedding photography happens fast and even though you can adjust pretty quickly, nothing is as fast as having an innate ability to know the exposure just by looking at the scene or the room in front of you. You want to have your camera dialed in (within a stop or so) before you even raise it to take your first shot. Then you can fine-tune if necessary. Having that skill makes you a much more efficient photographer and you can focus on what's happening rather than playing with camera controls.
Here’s how I get my expose in available light situations with examples and basic lighting diagrams.
Front Light
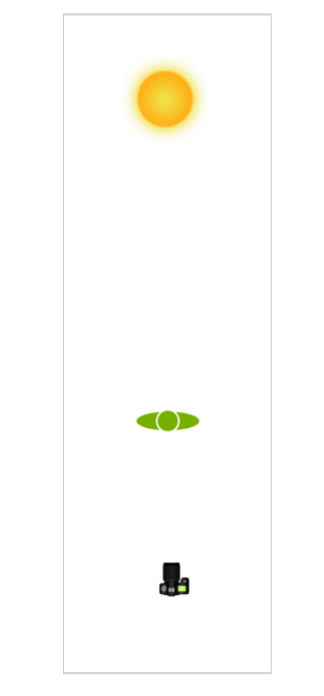
In a full daylight, front light situation like this, the sun comes directly over your shoulder. The Sunny f16 Rule applies here. That rule is that the exposure is the ISO expressed as a shutter speed (e.g. 100 ISO = 1/100-sec. shutter at f/16. Equivalent exposures: 1/250-sec. at f/10, 1/3200-sec. at f/2.8, 1/1000t-sec. at f/5, etc). That's where I start. I then evaluate the light and decide if I need to open up if the sun is lower on the horizon.
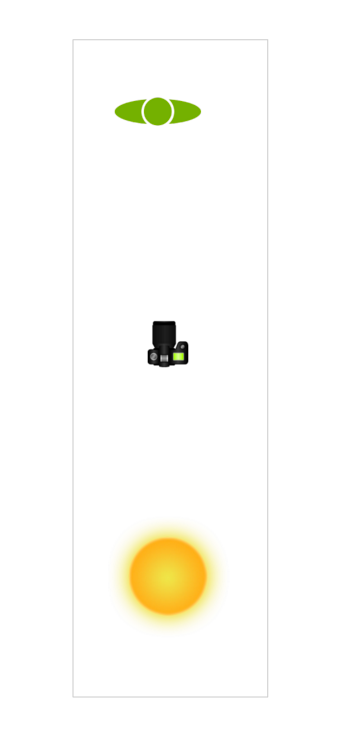
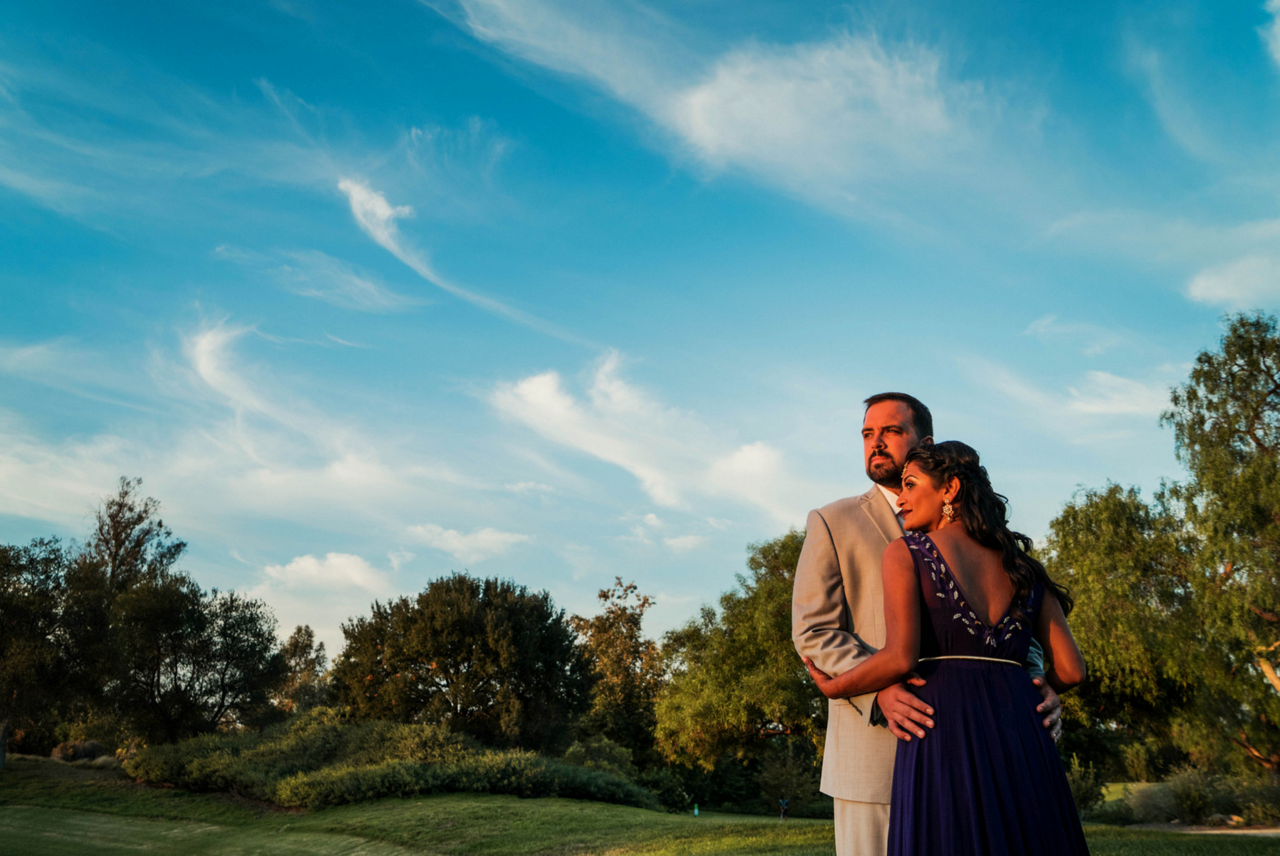
Late afternoon, front light, available light. The nice thing is that in late afternoon the quality of light is so much warmer and the shadows longer so working with front light is often very flattering and interesting. Earlier in the day it might be more harsh, but as it gets later it gets nicer. With the sun lower on the horizon like this, I open up a stop from The Sunny f/16 Rule exposure.
Portrait of a bride and groom in Huntington Beach, CA with late-afternoon light coming over my shoulder. With the sun even lower like this, I open up another stop from The Sunny f/16 Rule exposure. If I don't want to adjust the aperture (because I like the depth of field as it is) or the shutter speed (because I risk too slow of a shutter speed to maintain a blur-free shot), I increase the ISO. With my Sony cameras, I can go to a very high ISO before I see any harmful noise in the shot.
Side Light
In a full daylight, side light situation like this, the sun comes over your left or right shoulder at about a 45º angle. Open up your aperture or decrease the shutter speed 1-stop from the exposure you get with The Sunny f/16 Rule. For example, in a side light situation if you’re at 100 ISO the exposure is 1/100-sec. shutter at f/11. Equivalent exposures: 1/250-sec. at f/7.1, 1/1600-sec. at f/2.8, 1/500-sec. at f/5, etc.
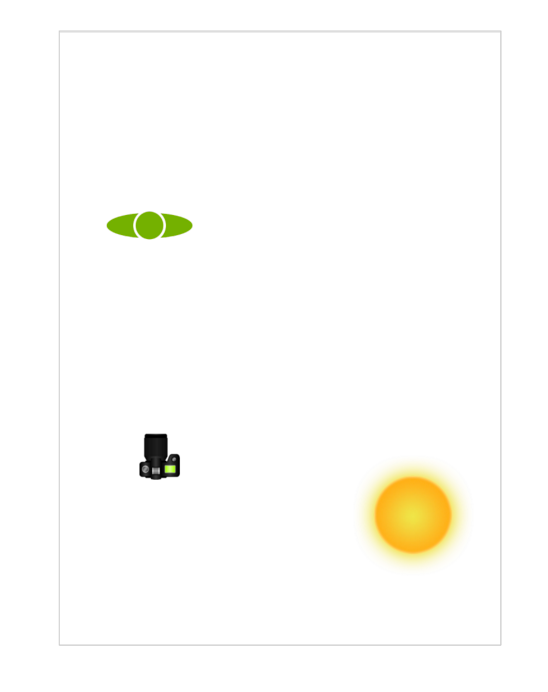
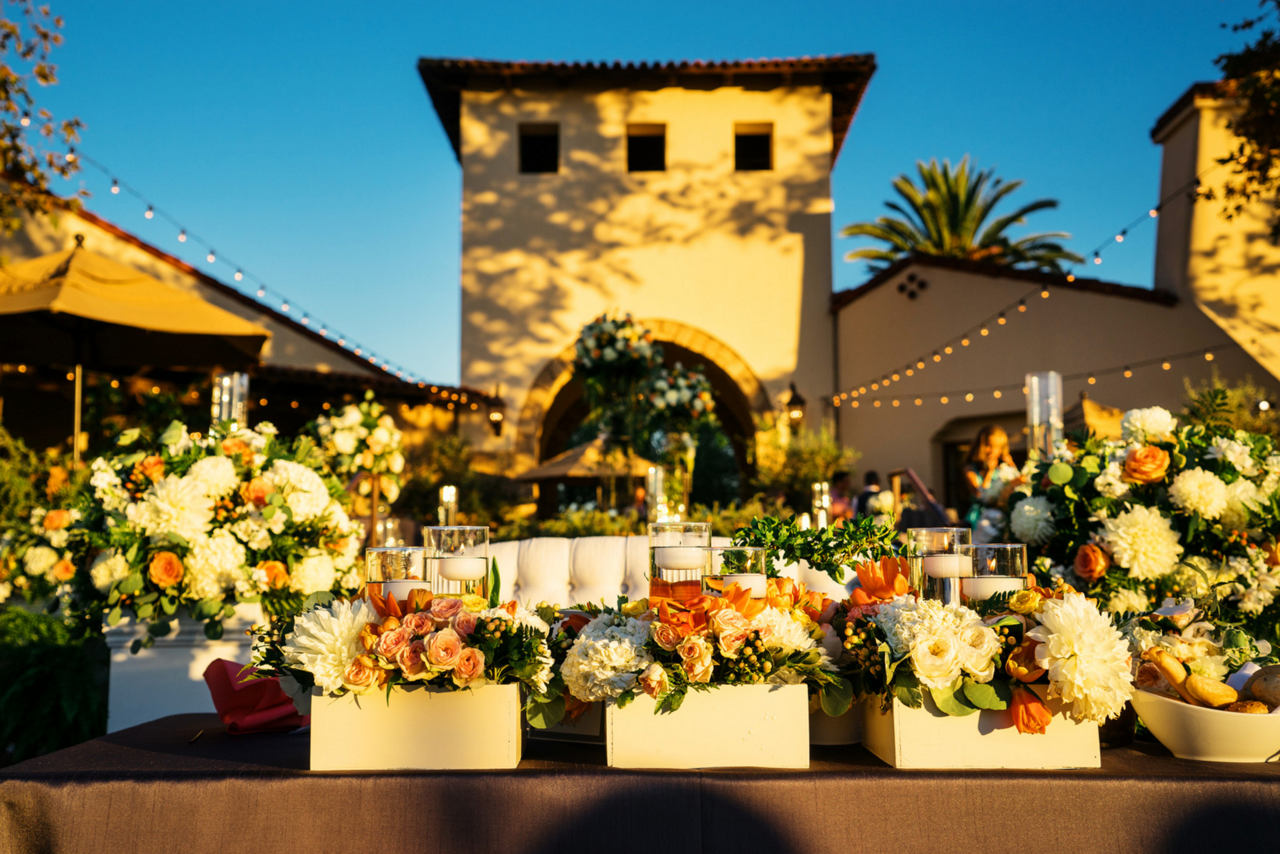
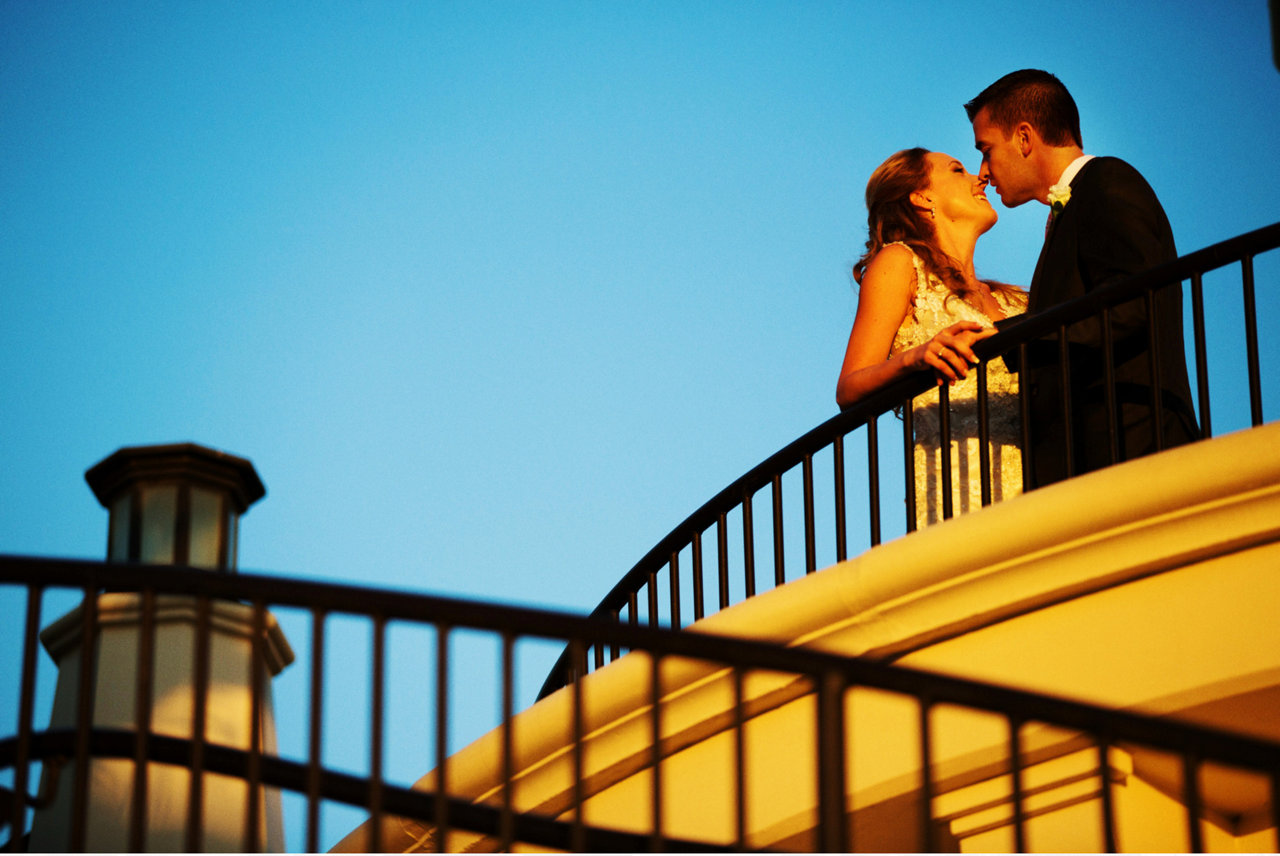
The bride and groom are standing in the late afternoon light, prior to sunset at their wedding in Irvine, CA. Late afternoon creates such warm light. I placed them to take advantage of the light on them and the blue sky behind them. Dropping down on a knee helped position their heads against the sky rather than against the dark clutter of the trees. I started with my basic side light exposure (Sunny f/16 exposure plus one stop) and then I opened up one more stop to account for the low position of the sun.
Back Light
In a daylight, back light situation like this, the sun comes from behind your subject (watch for flare). Look for situations where the light is hitting your subjects from behind, and yet you are shooting from an area that is shaded to help minimize flare.
Backlight can be tough for any in-camera meter so it's even more important that you have a good idea of where you need to set your exposure than in other situations. Start by opening up your aperture or decrease the shutter speed 2 stops from the exposure you get with The Sunny f/16 Rule. For example, in a back light situation if you’re at 100 ISO the exposure is 1/100-sec. shutter at f8. Equivalent exposures: 1/250-sec. at f/4.5, 1/800-sec. at f/2.8 , 1/500-sec. at f3.5, etc. Make adjustments from there.
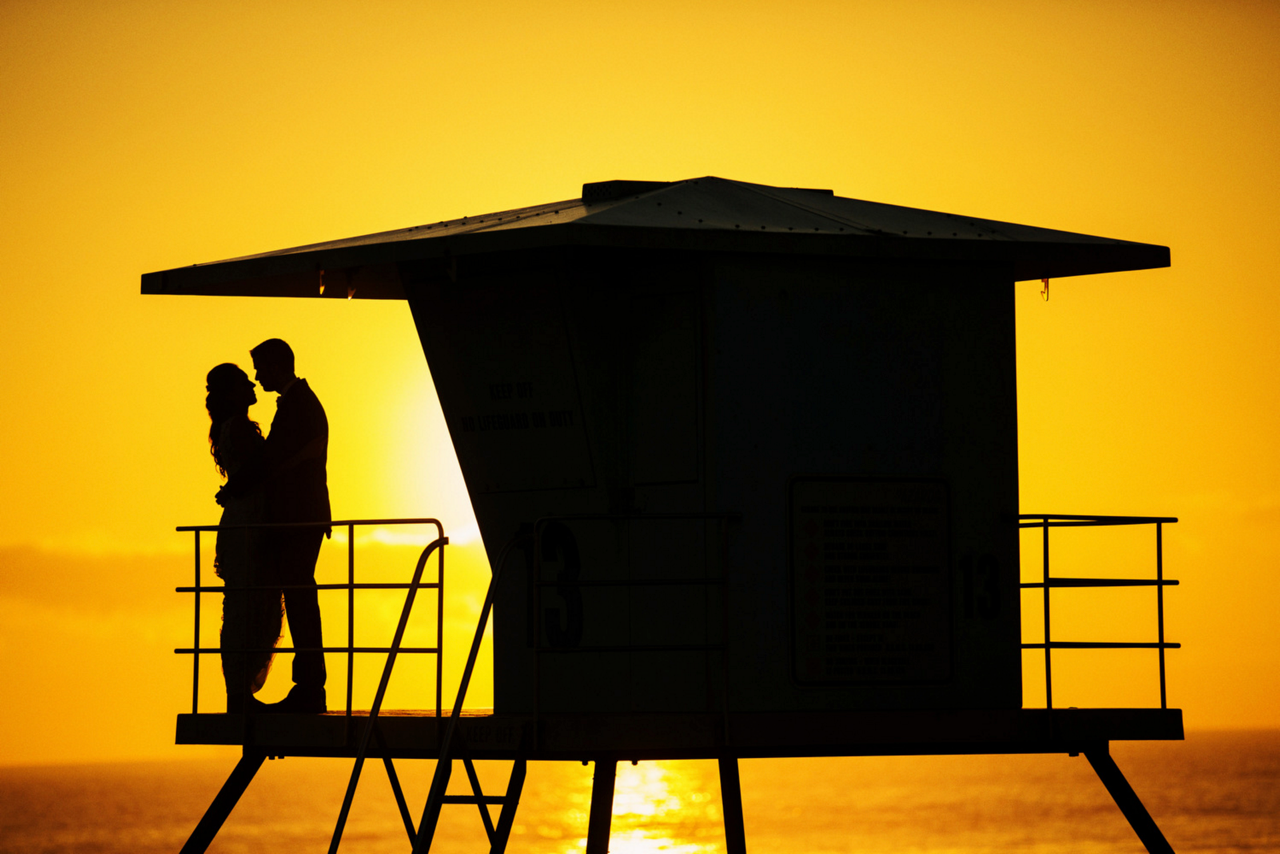
The Ultimate Backlight….just before the sun dropped the couple on a lifeguard’s stand in Huntington Beach creating a silhouette which is the effect I wanted for this portrait. In a shot like this you want to make sure you get the warm yellows and oranges that come from the correct exposure. Be careful of adjusting too much and blowing out the background.
See more about Paul Gero here.

