There’s nothing that I like more than taking long exposure photographs during the day. Why? Because they transform the world, and because you never know what you’ll get at the end of the process. The definition of long exposure is subjective. Your long exposure is probably not my long exposure. In my mind it starts when you need to use the Bulb setting in your camera, which means your shutter speed is at least 30-seconds long. Most of the time, my exposures are at least 4 minutes long and sometimes they run for 15 minutes or longer.
Long-Exposure Essential Gear
I mentioned long-exposure images are made in broad daylight. The only way you can get such a slow shutter speed is by using very dense Neutral Density (ND) filters. ND filters attenuate (in theory) the whole spectrum of light the same way. They are usually graded in stops, meaning that they block part of the light going through them by an amount equivalent to closing your aperture by x stops (each stop cuts light intensity by 1/2). Most of the time in daylight, I will use very opaque filters of 13 or 16 stops (which amount for a reduction of light by x213 or x216 times). As you can imagine, finding the right filters is absolutely necessary when it comes to shooting these kinds of images. because they do not attenuate light perfectly the same at all wavelengths, some filters will have a slight hue and tint your images orange, or blue. That’s why I’ve gone through many different brands and now stick the Firecrest line by Formatt-Hitech, which also attenuate infrared light.
When it comes to shooting such slow shutter speed images you will need a few other mandatory items. First and foremost, you want to use heavy and sturdy tripod and ball head. For my work, I have two Manfrotto aluminum tripods and Manfrotto geared heads (one set that I can use for hiking, another more massive one for very windy situations or very heavy lenses). You’ll need is a remote shutter release of some kind to start and stop the exposure at any point when in Bulb mode. These triggers are extremely handy, especially when it comes to adjusting your exposure on the fly as light conditions change (you can shorten it if the sun comes out of the clouds or let it go longer if light goes down).
Why Mirrorless Is Best For Long Exposure
Now comes the most interesting question: which camera should you be using for long exposure? The short answer is any camera that has a Bulb mode will work. While DSLRs can do the job, in my opinion mirrorless cameras have significant advantages which is why I use Sony mirrorless for my long-exposure photography. First, you don’t have to tape the viewfinder like you do with a DSLR. The mirrorless viewfinder is electronic so light won’t leak in from there. Second, the live view in the viewfinder lets you see much better in very bright outside conditions and makes it much easier to compose, frame and focus. Third, you can adapt virtually any lens to your camera. And fourth, what you see is what you get. Another very important aspect of using long exposure times is that you want to have a camera with a low noise level, otherwise you will be subject to hot pixels and your image could be sprinkled with them. All these reasons put together, plus my desire for high resolution, made me choose the Sony α7R, α7R II and α7R III as my main bodies for long exposure photography.
Finding The Right Subject
Long exposure techniques can be used for almost any type of landscape, seascape, or cityscape subject. You can make people disappear from a busy landmark location, turn the sky into an eerie scene with very soft streaks for the clouds, make the ocean perfectly flat, or the trees and grasses in a landscape ghostly. Graphic and simple compositions tend to work very well, but overall, long exposure is only limited to your own imagination.
Of course, the technique is demanding, finicky and takes practice and experience to master, but it’s immensely rewarding, too. So don’t hesitate to try things out!
Long Exposures, Step By Step
There are, of course, many tricks and specifics depending on the exact equipment you use. But let’s talk about the main steps to taking long exposures:
First, you want to set up your equipment just like you would for any other landscape shoot (keeping in mind this will be on a tripod, not handheld, of course). When you’re happy with the overall composition of your image, it’s time to decide how long your shutter speed needs to be. This will depend on the subject you’re shooting: for water, 30 seconds is a good starting point, for moving clouds, two to ten minutes, to remove people, usually five minutes works. Coming up with your starting exposure time will determine what aperture, ISO and filter to use.
Next comes the part where having experience is especially helpful, deciding if you need to adjust your exposure time on the fly. Light conditions can change quickly. Sometimes the sun will come and go behind clouds, reducing or increasing the amount of light and therefore what the camera sees. Be aware of the light and make adjustments as necessary. The more experience you have, the better you’ll be able to adjust in the moment. Don’t be afraid to experiment, because pixels are free and that’s how you learn.
Focus for long-exposure photography can be tricky. If the filter used is very dark, the camera’s AF will have difficulty and can give you a blurred image. Always focus before placing the filter on the lens, then turn off the AF to prevent the focus from shifting. You can also set your AF to start with the back button (and not the shutter button) which will prevent the AF from starting again when you press the shutter button.
The final step is to check your image. This is the part I like the most because you never know what the final result is going to be until you make the picture. There’s only so much you can control, and the direction of the clouds during the exposure, the fact that a tourist decided to stay still for five minutes and other variables are things you have no control over. And here’s a piece of advice that I hope you’ll take to heart: While the exposure is being made, try and just enjoy the moment, observe your surroundings, think about the next image you’ll take and compose it in your mind. Or just take a good book and relax. For me, long exposure photography is almost a meditative occupation. I enjoy every moment of it.
Example Images
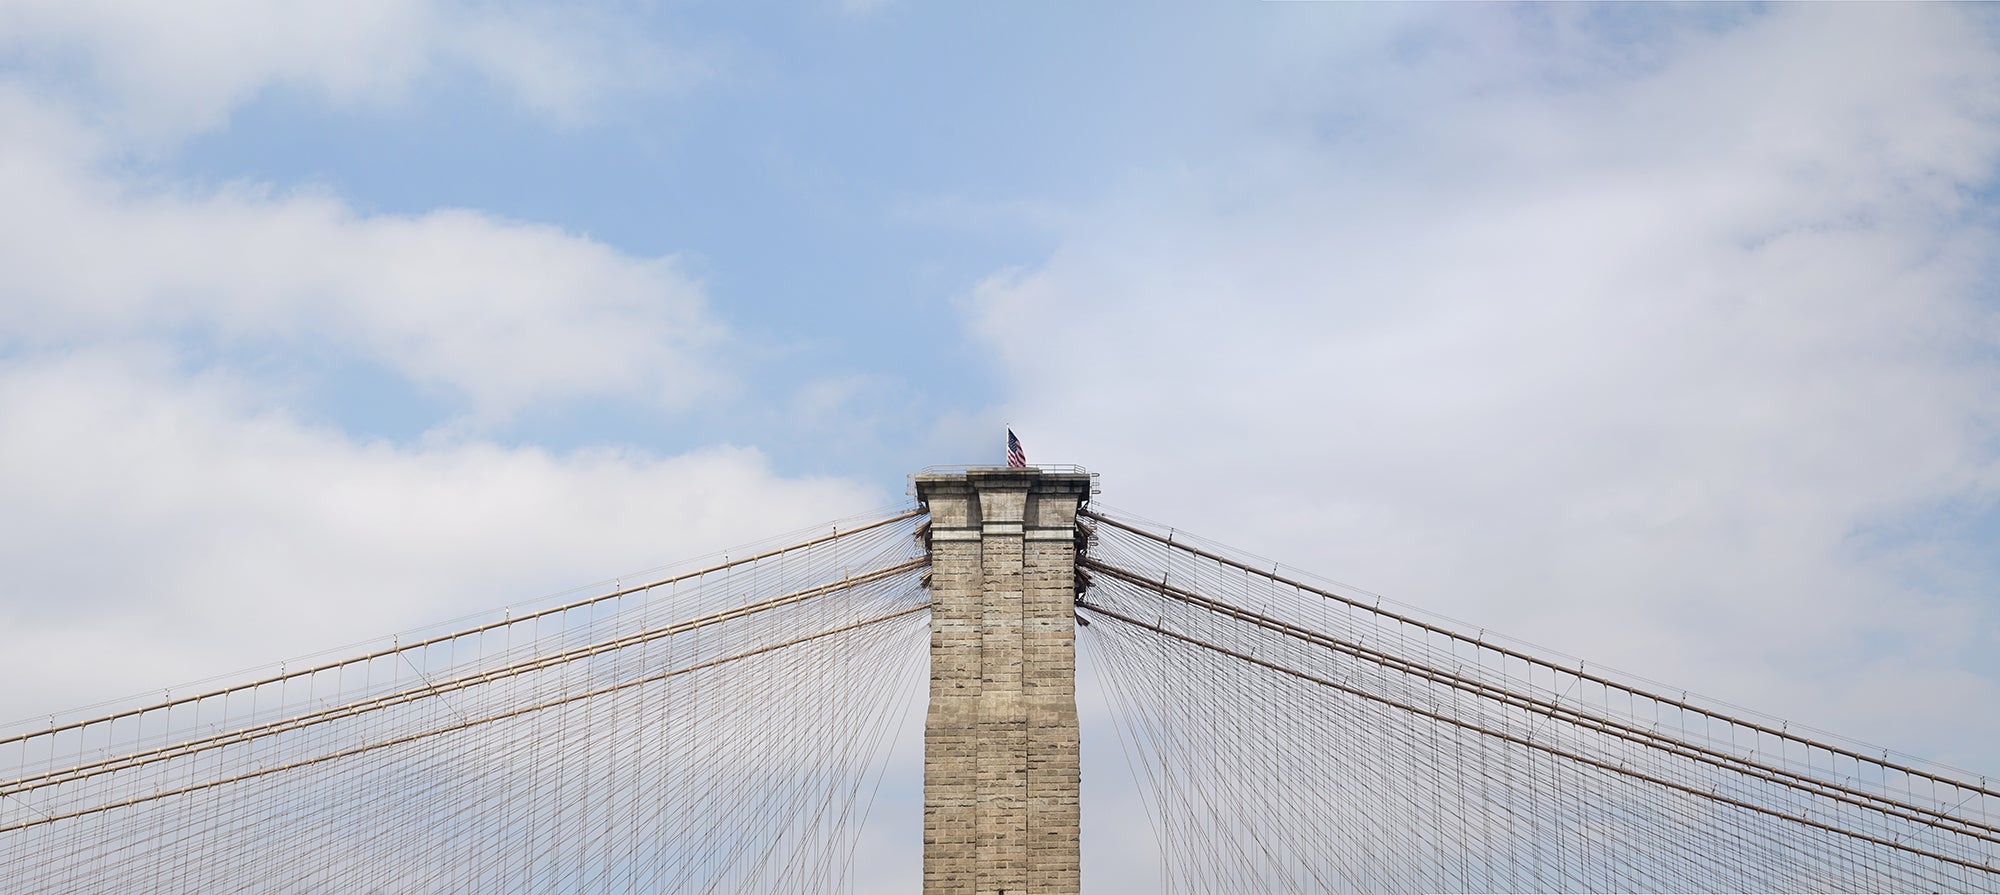
Brooklyn Bridge – Regular Exposure. Sony α7R. Sony FE PZ 28-135mm f/4 G OSS lens. 1/250-sec.
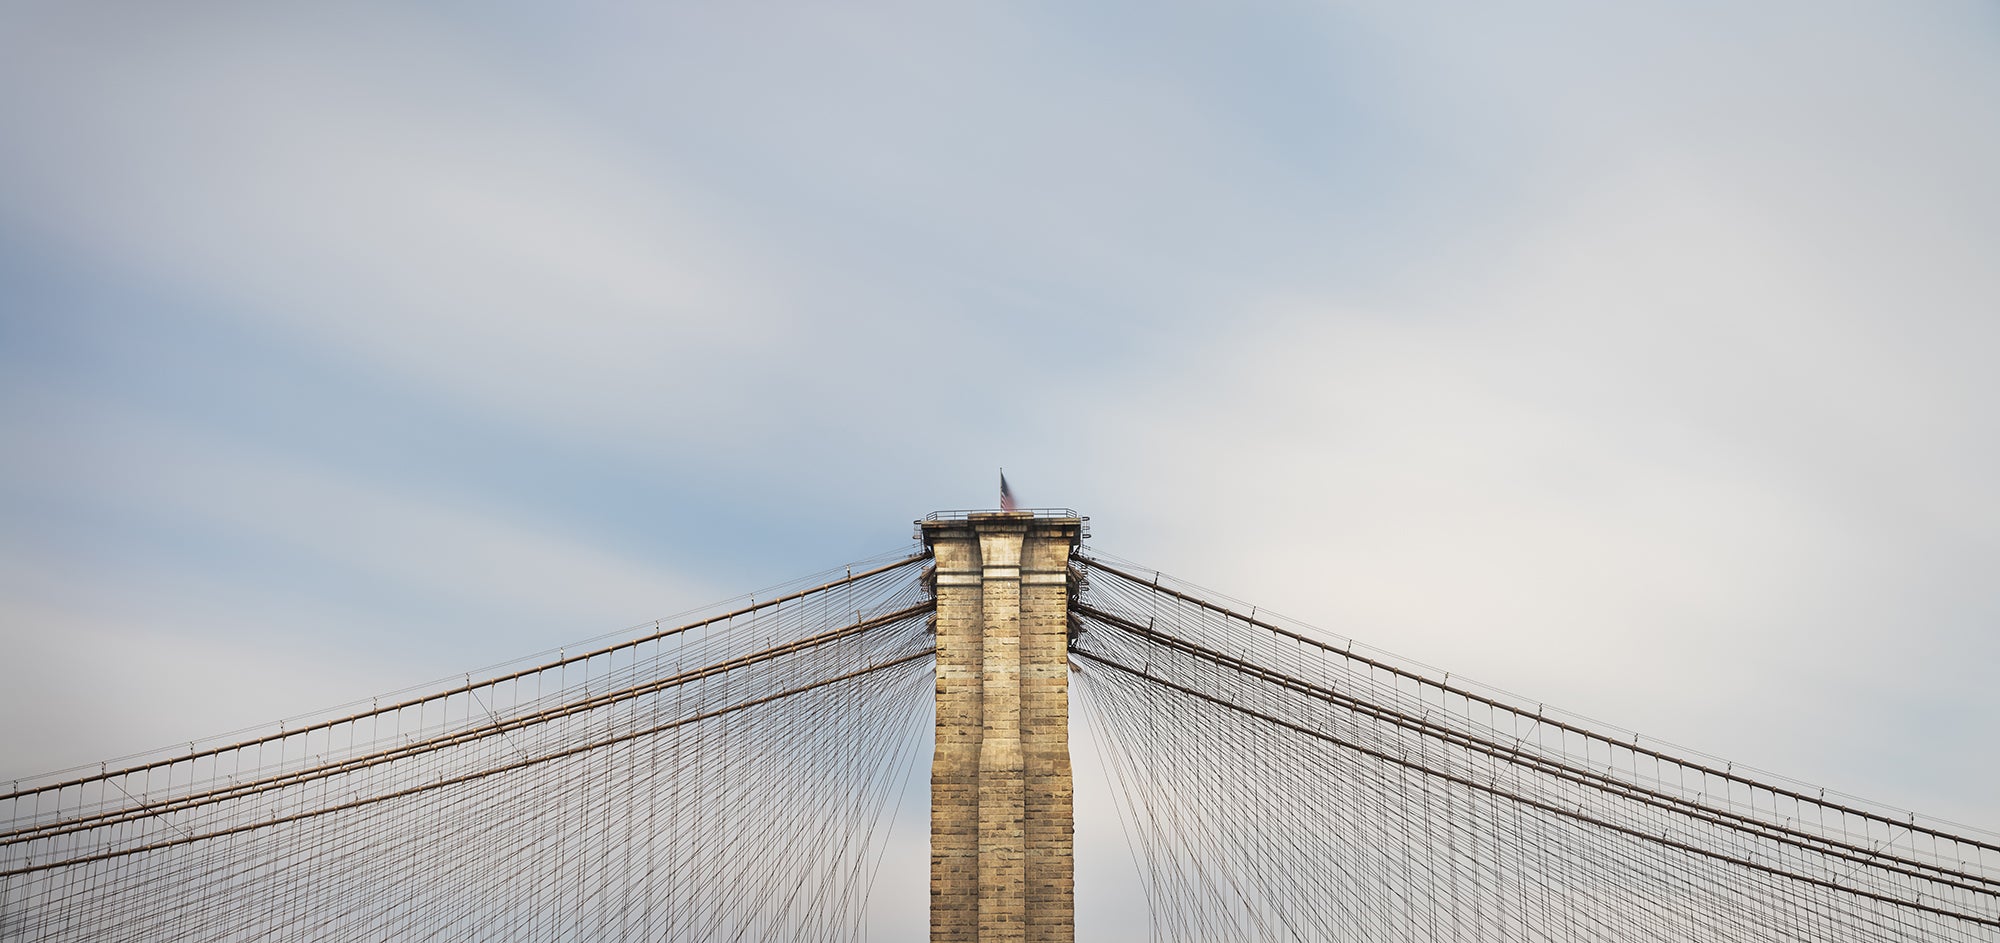
Brooklyn Bridge – Long Exposure. Sony α7R. Sony FE PZ 28-135mm f/4 G OSS lens. 180 seconds.
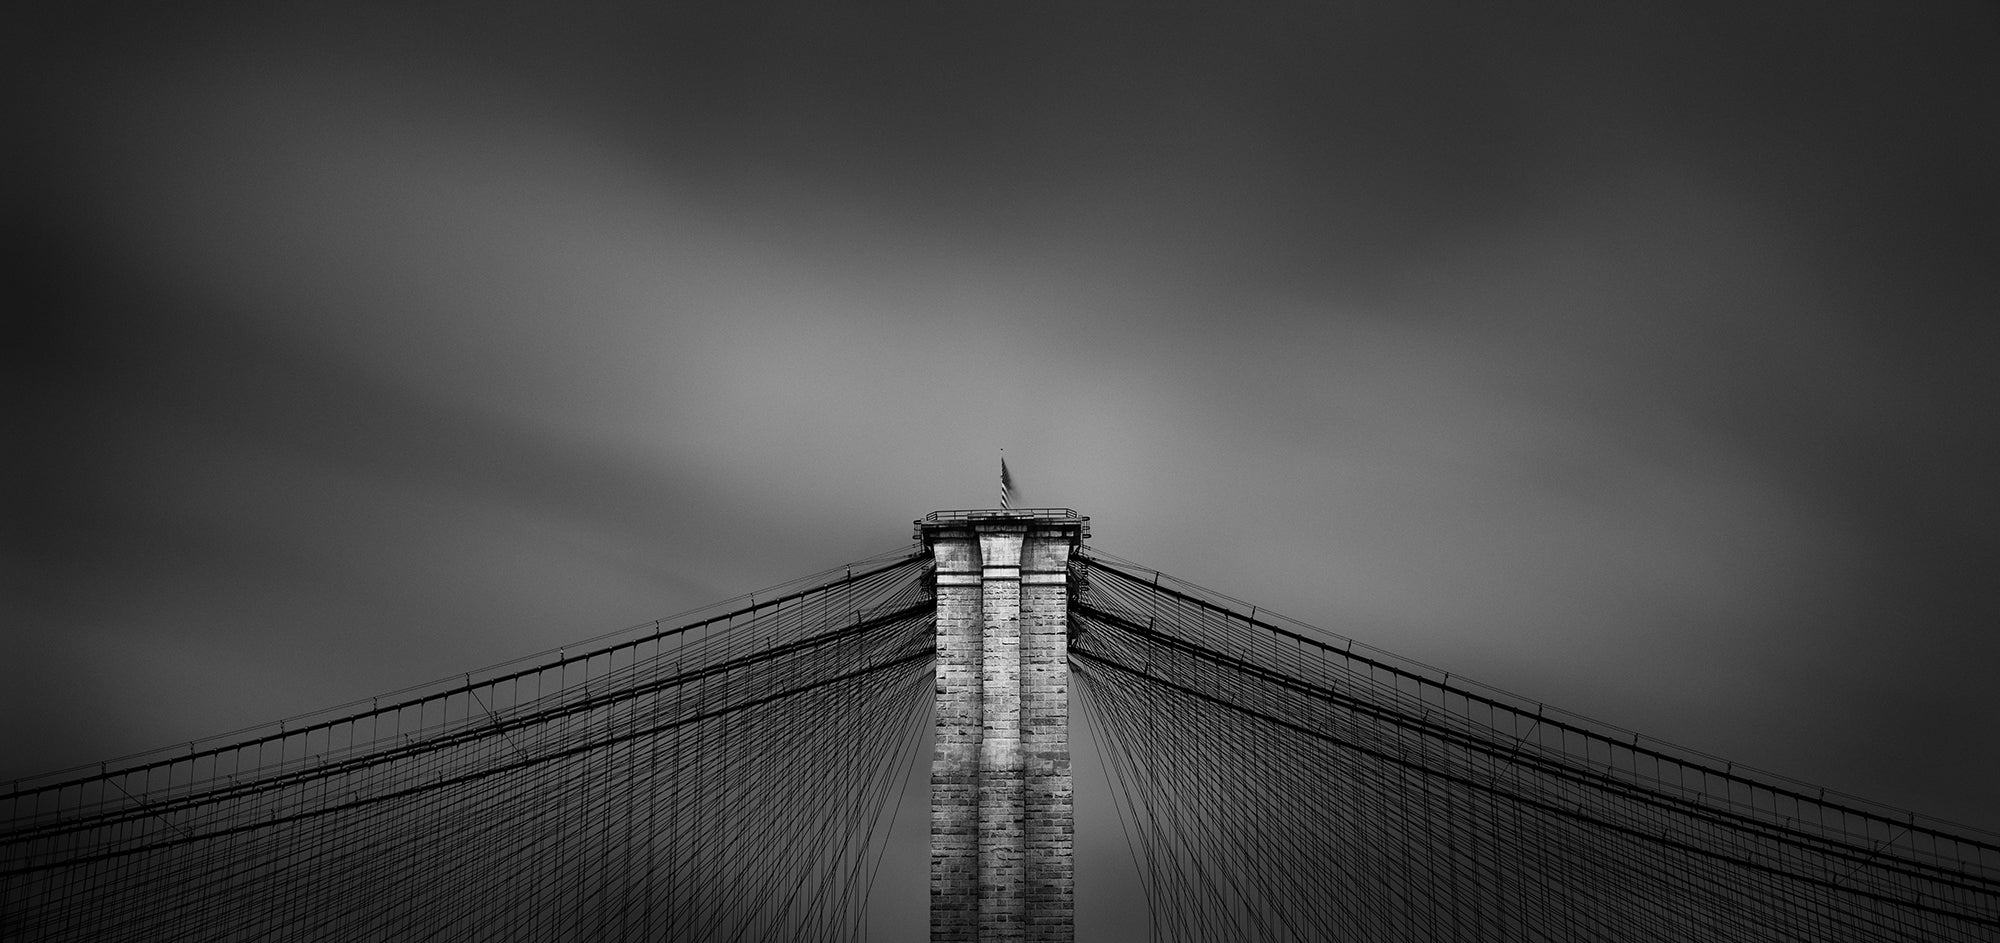
Brooklyn Bridge – Long Exposure after editing. Sony α7R. Sony FE PZ 28-135mm f/4 G OSS lens. 180 seconds.
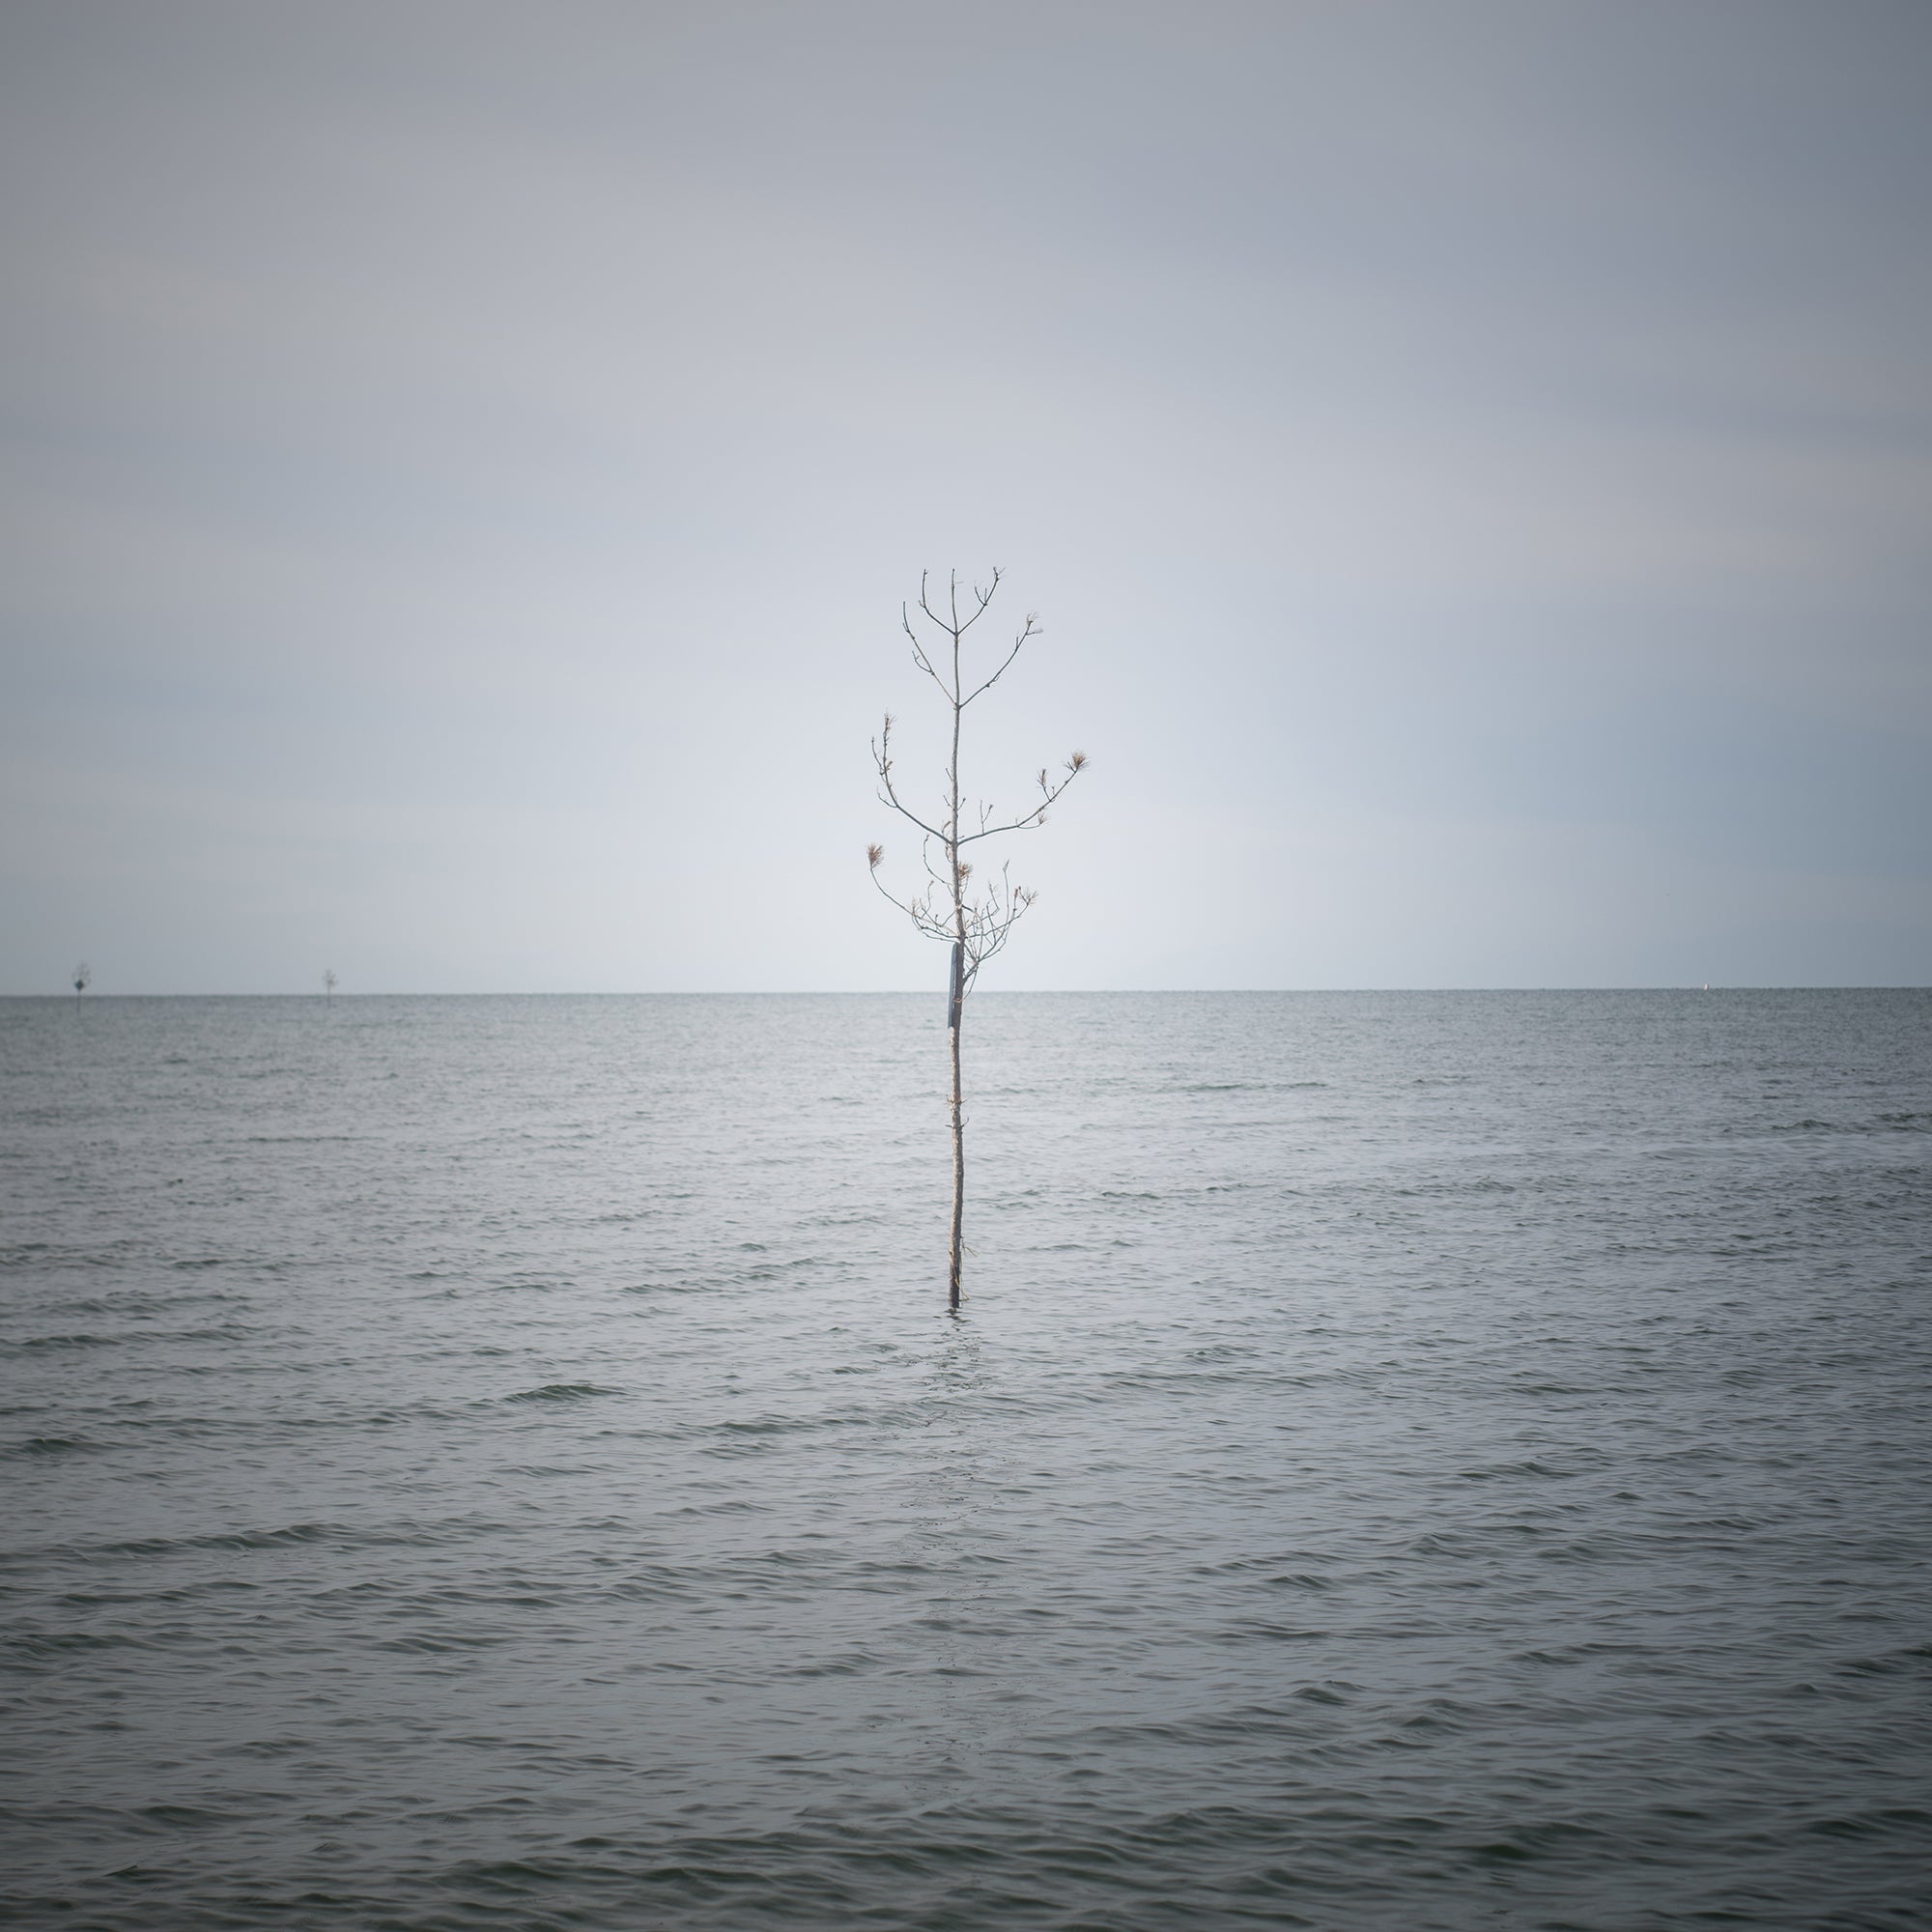
Tree of Life – Regular Exposure Sony α7R. 1/250-sec.
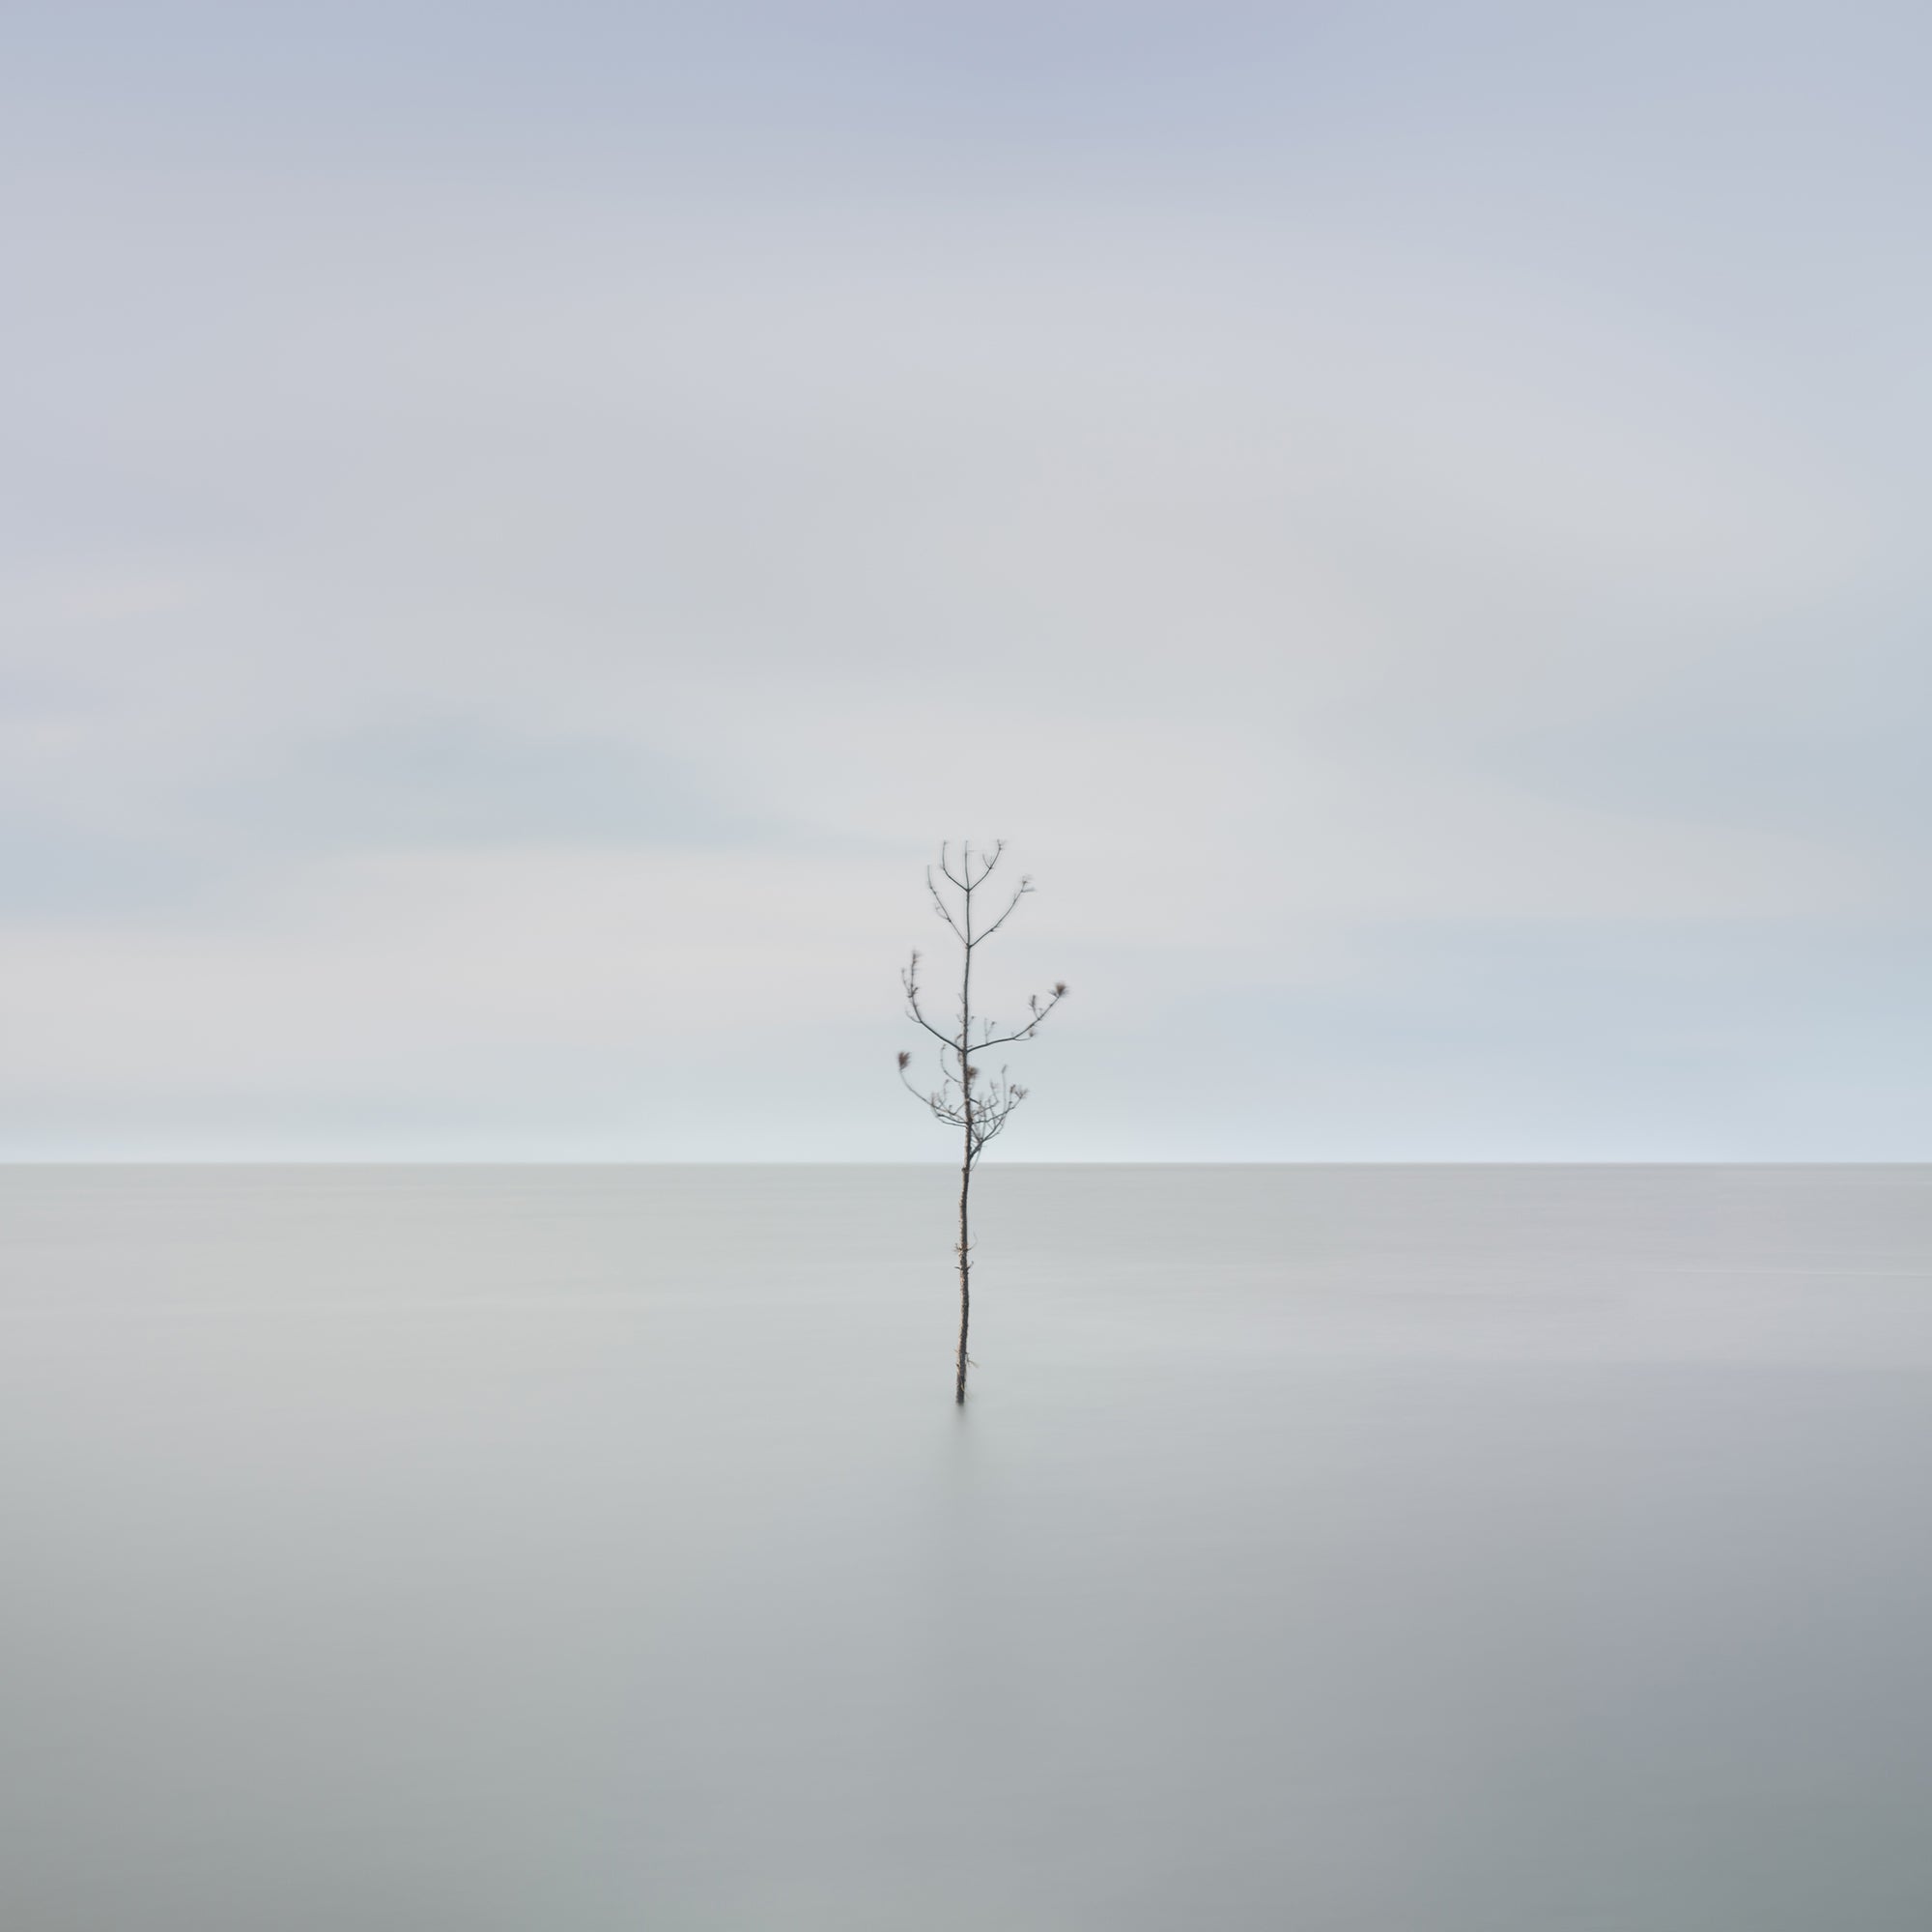
Tree of Life – Long Exposure. Sony α7R. 180 seconds.
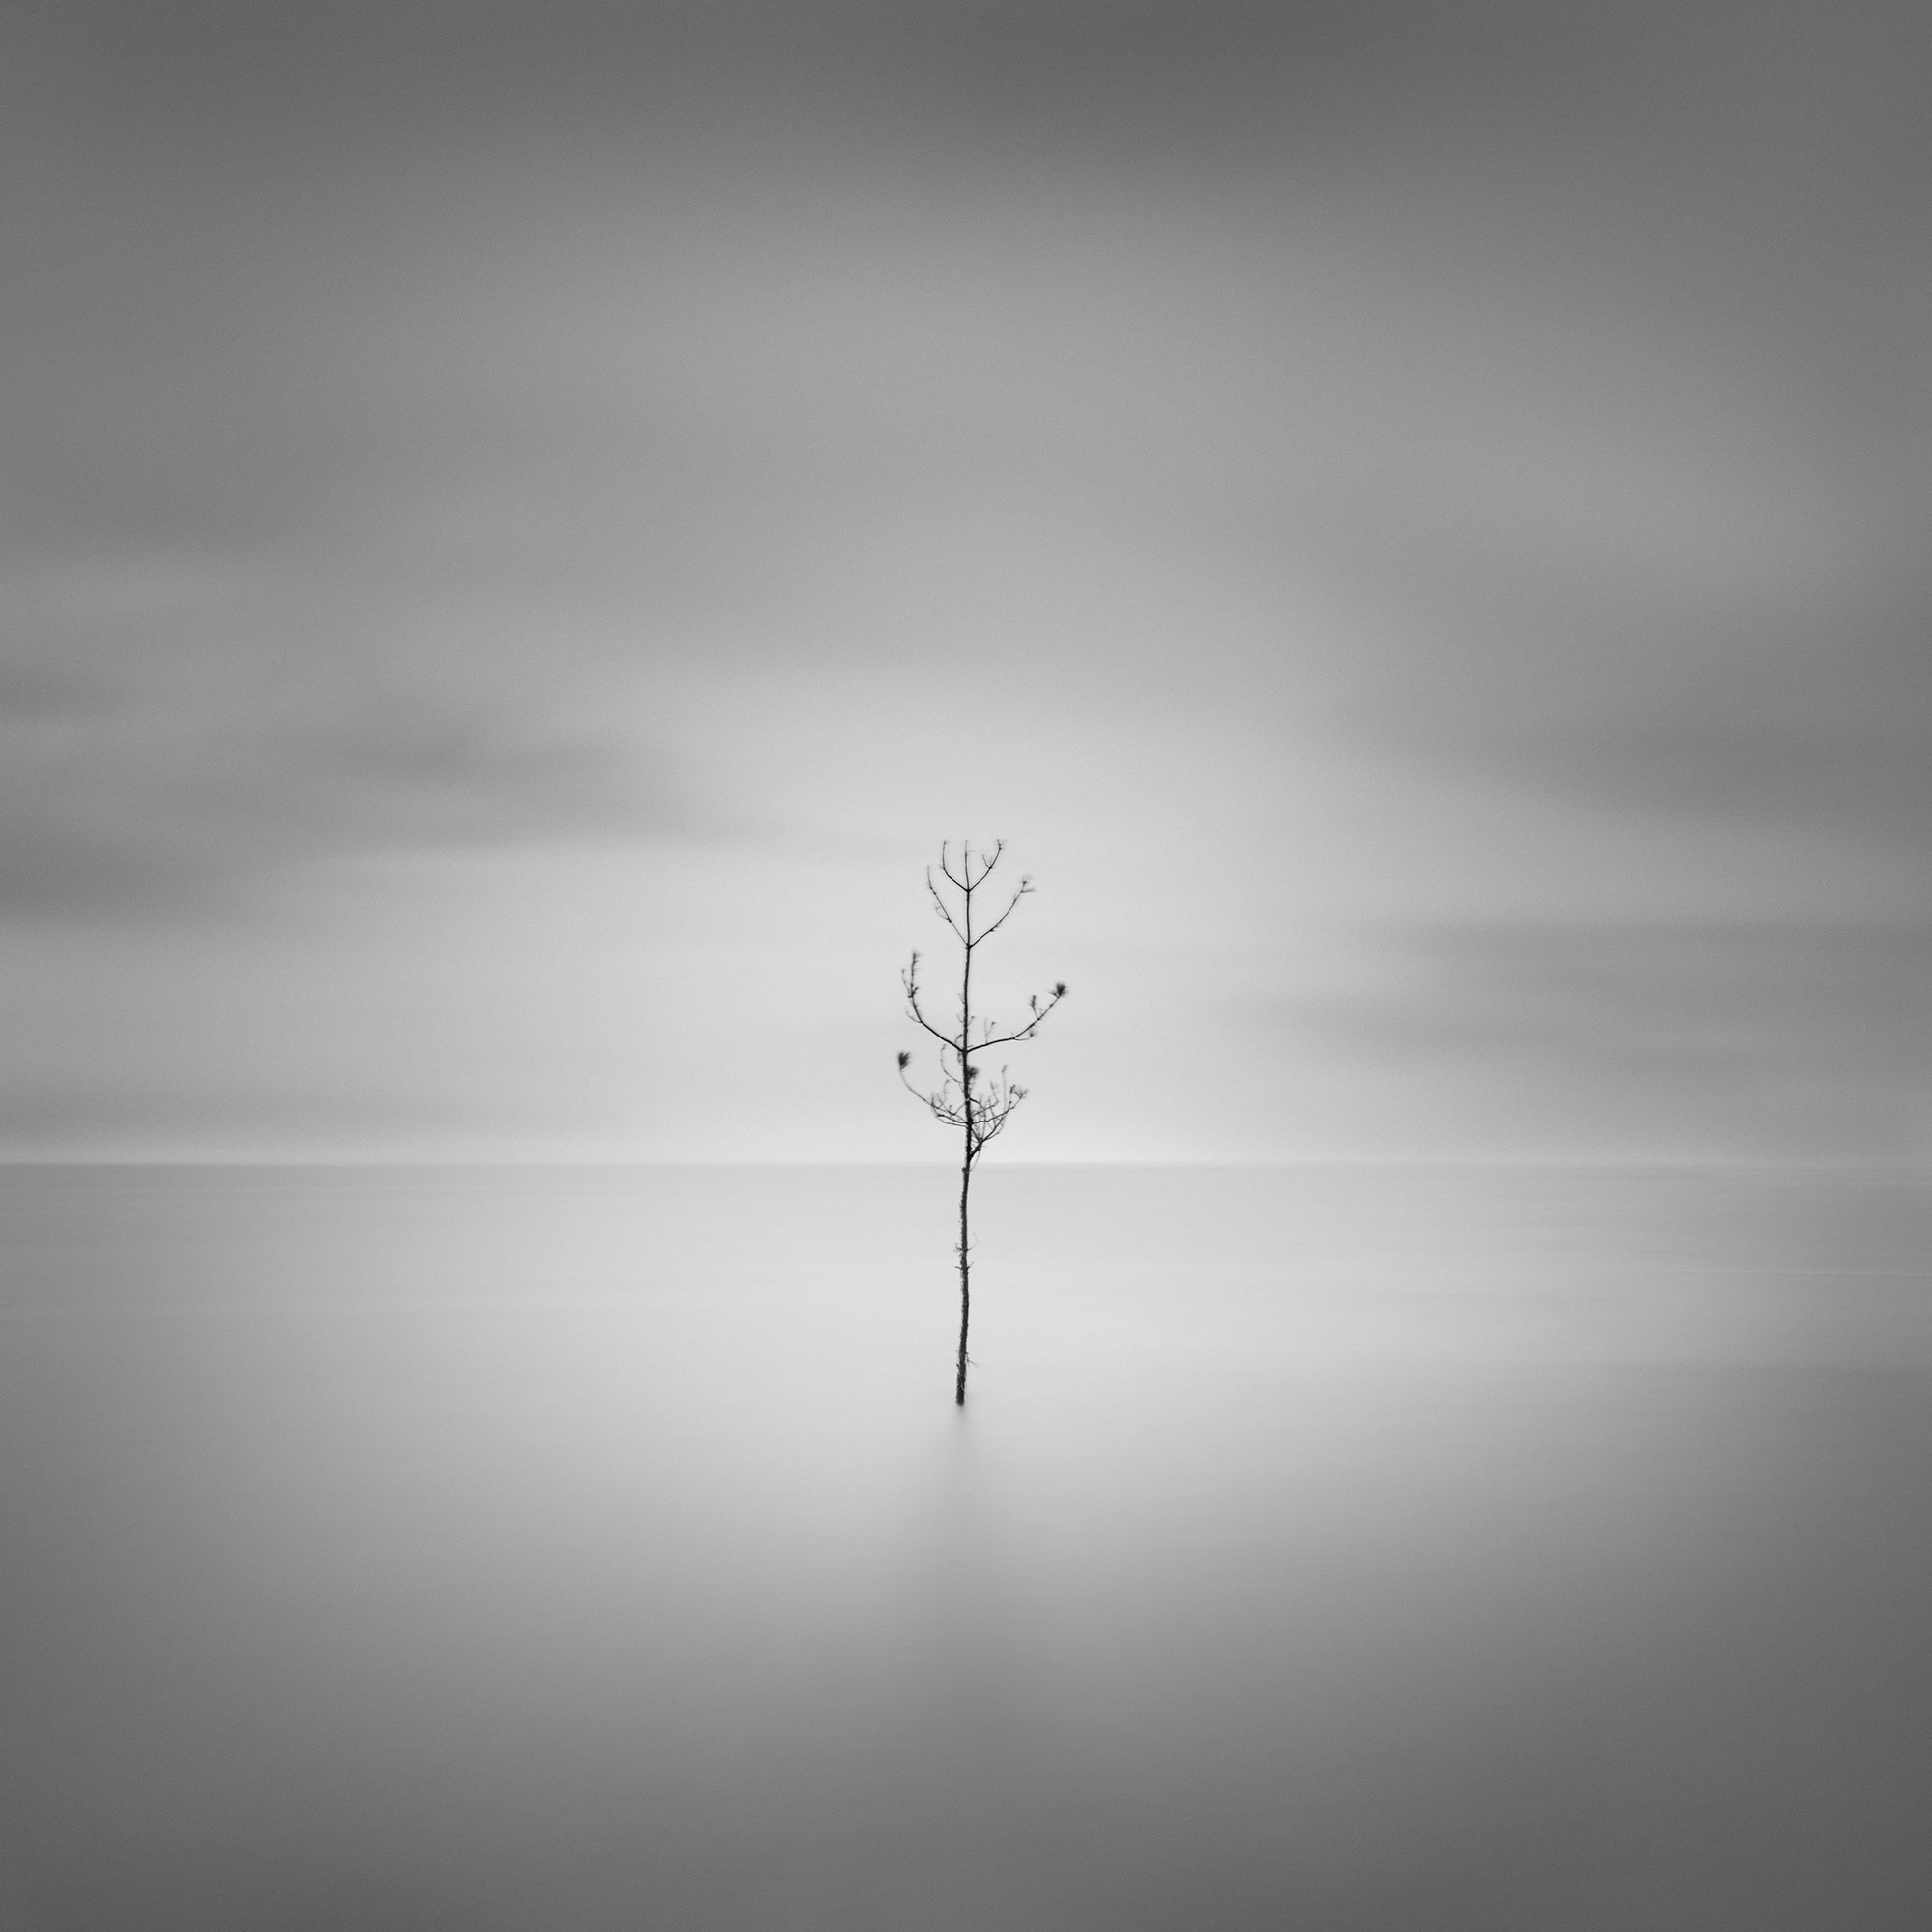
Tree of Life – Long Exposure after editing. Sony α7R. 180 seconds.
Thibauld Roland is a Sony Artisan Of Imagery. See more about him here and follow him on Instagram @thibaultrolandphoto


