After a busy schedule kept me from photographing 2015’s meager, drought-starved poppy bloom, I’ve been looking forward to my first poppy shoot with a Sony mirrorless system. These trips are a spring tradition for me, marking the transition from months of monochrome winter photography to the vivid colors of spring. Over the last couple of weeks my Sony α7R II and I have made several forays into the foothills, putting the camera to the test with some serious poppy photography.
Because I’d transitioned to live-view for my close photography a few years ago, I was surprised by how much better mirrorless is than live-view DSLR shooting for close focus work.
Macro vs Close Up & Lenses I Use
There are some common misconceptions about macro photography. Chiefly, not all close-up photography is macro and not all macro is close up. Macro is technically defined as rendering a 1:1 magnification ratio of the subject on the image plane (the sensor). True macro photography requires a lens made to exacting specifications because it has to perform perfectly at 1:1 magnification.
When talking about close-up photography, one is usually referring to being closer than a foot or so from the subject (there’s no hard definition). I routinely use every lens in my bag for close-up photography, with and without extension tubes, and not necessarily at macro’s 1:1 or great magnification ratio.
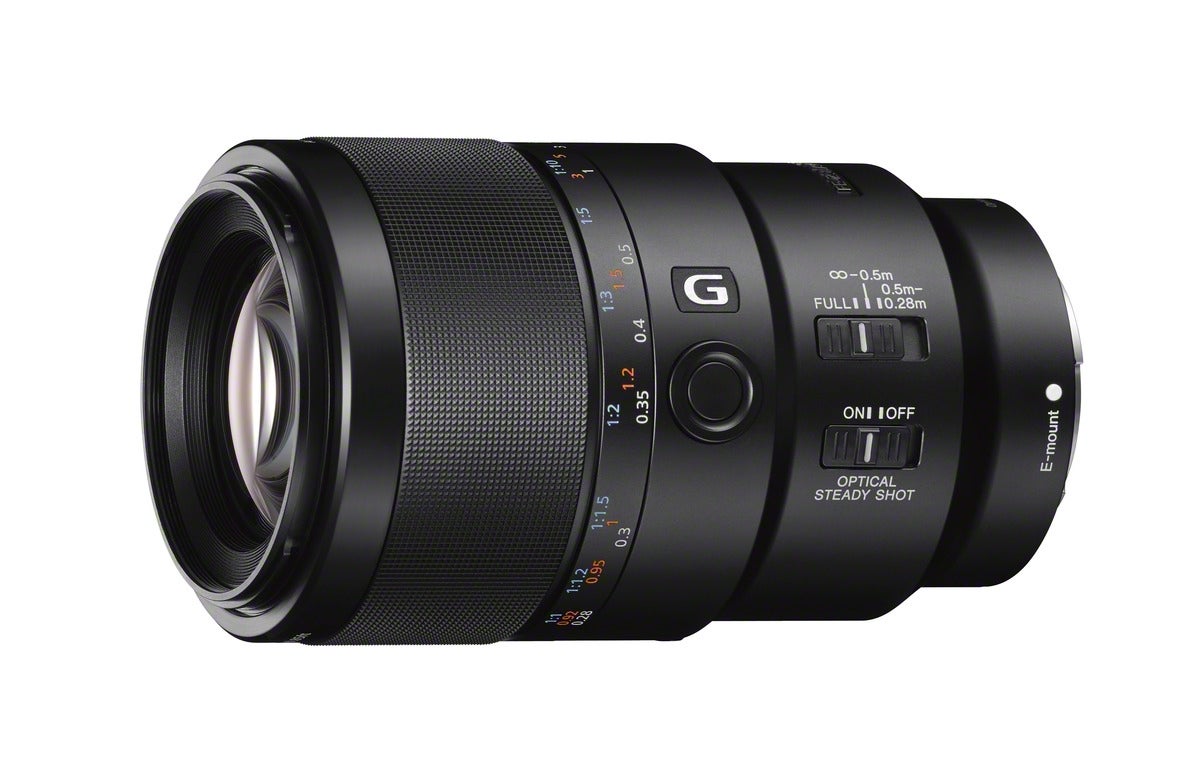
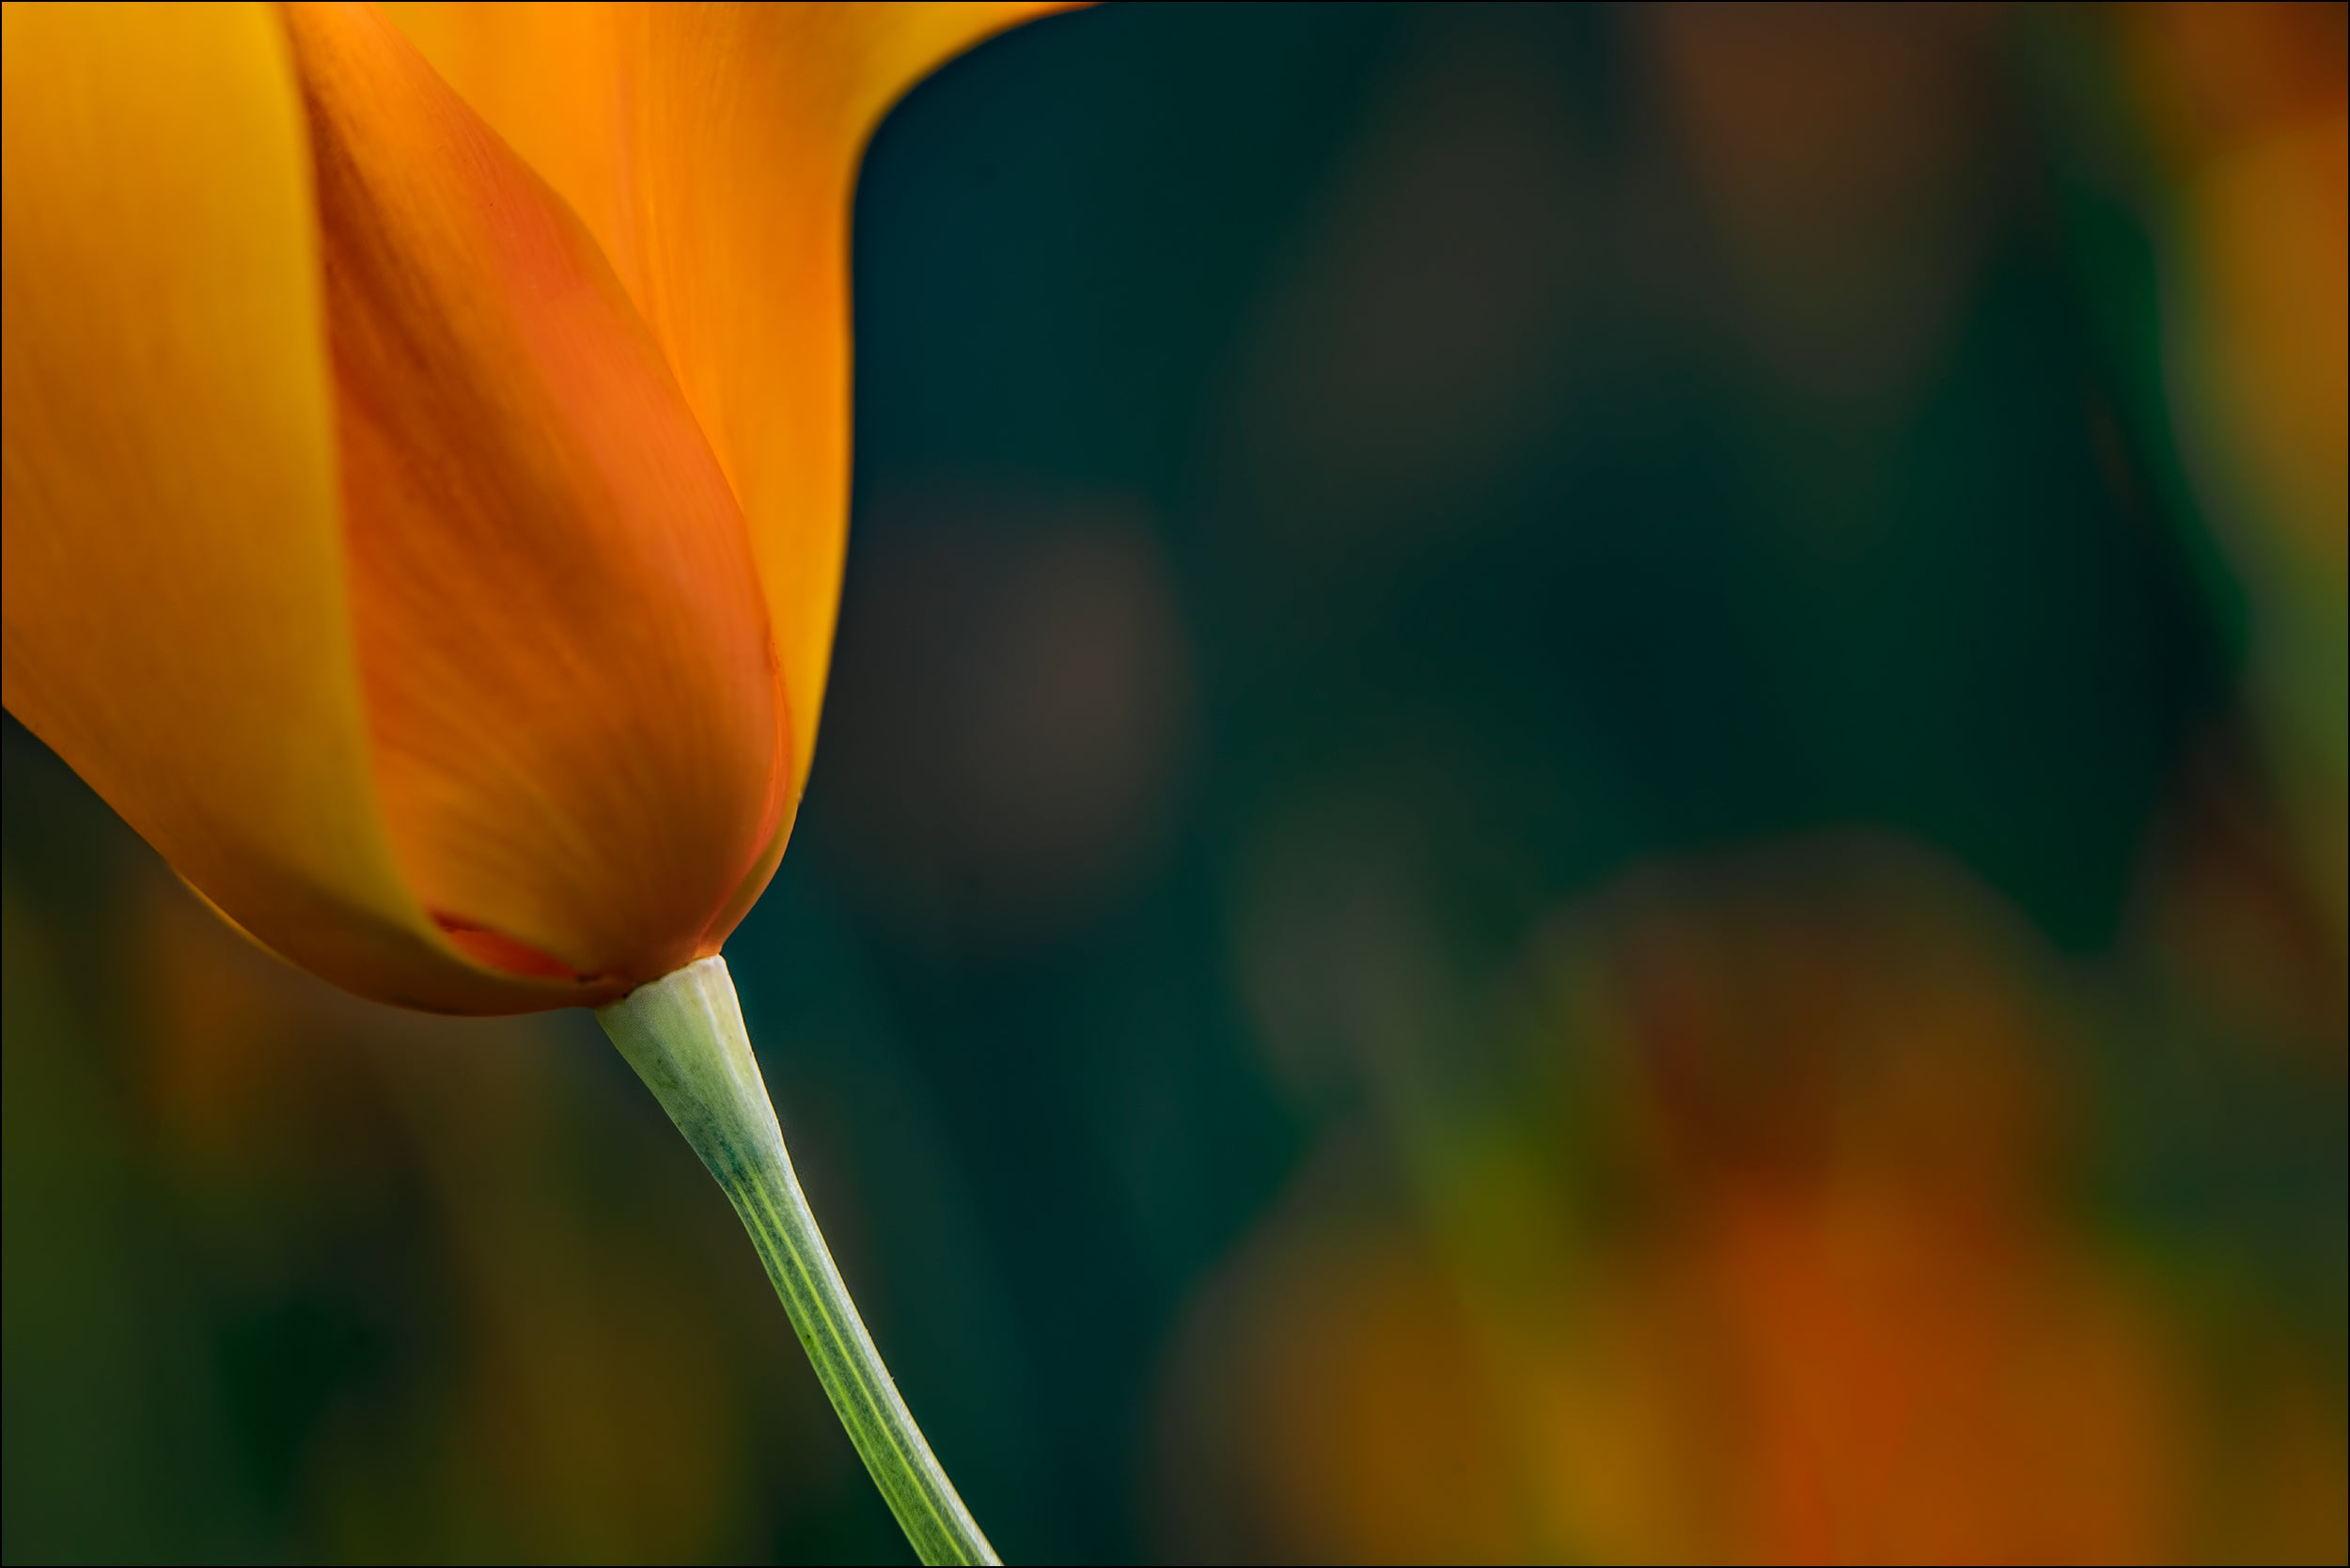
All of the photos in this article were taken with the FE 90mm f/2.8 Macro G OSS Macro lens. For true macro work, the 90 offers outstanding sharpness across the frame. It’s one of the finest lenses ever made.
Close-focus Technique
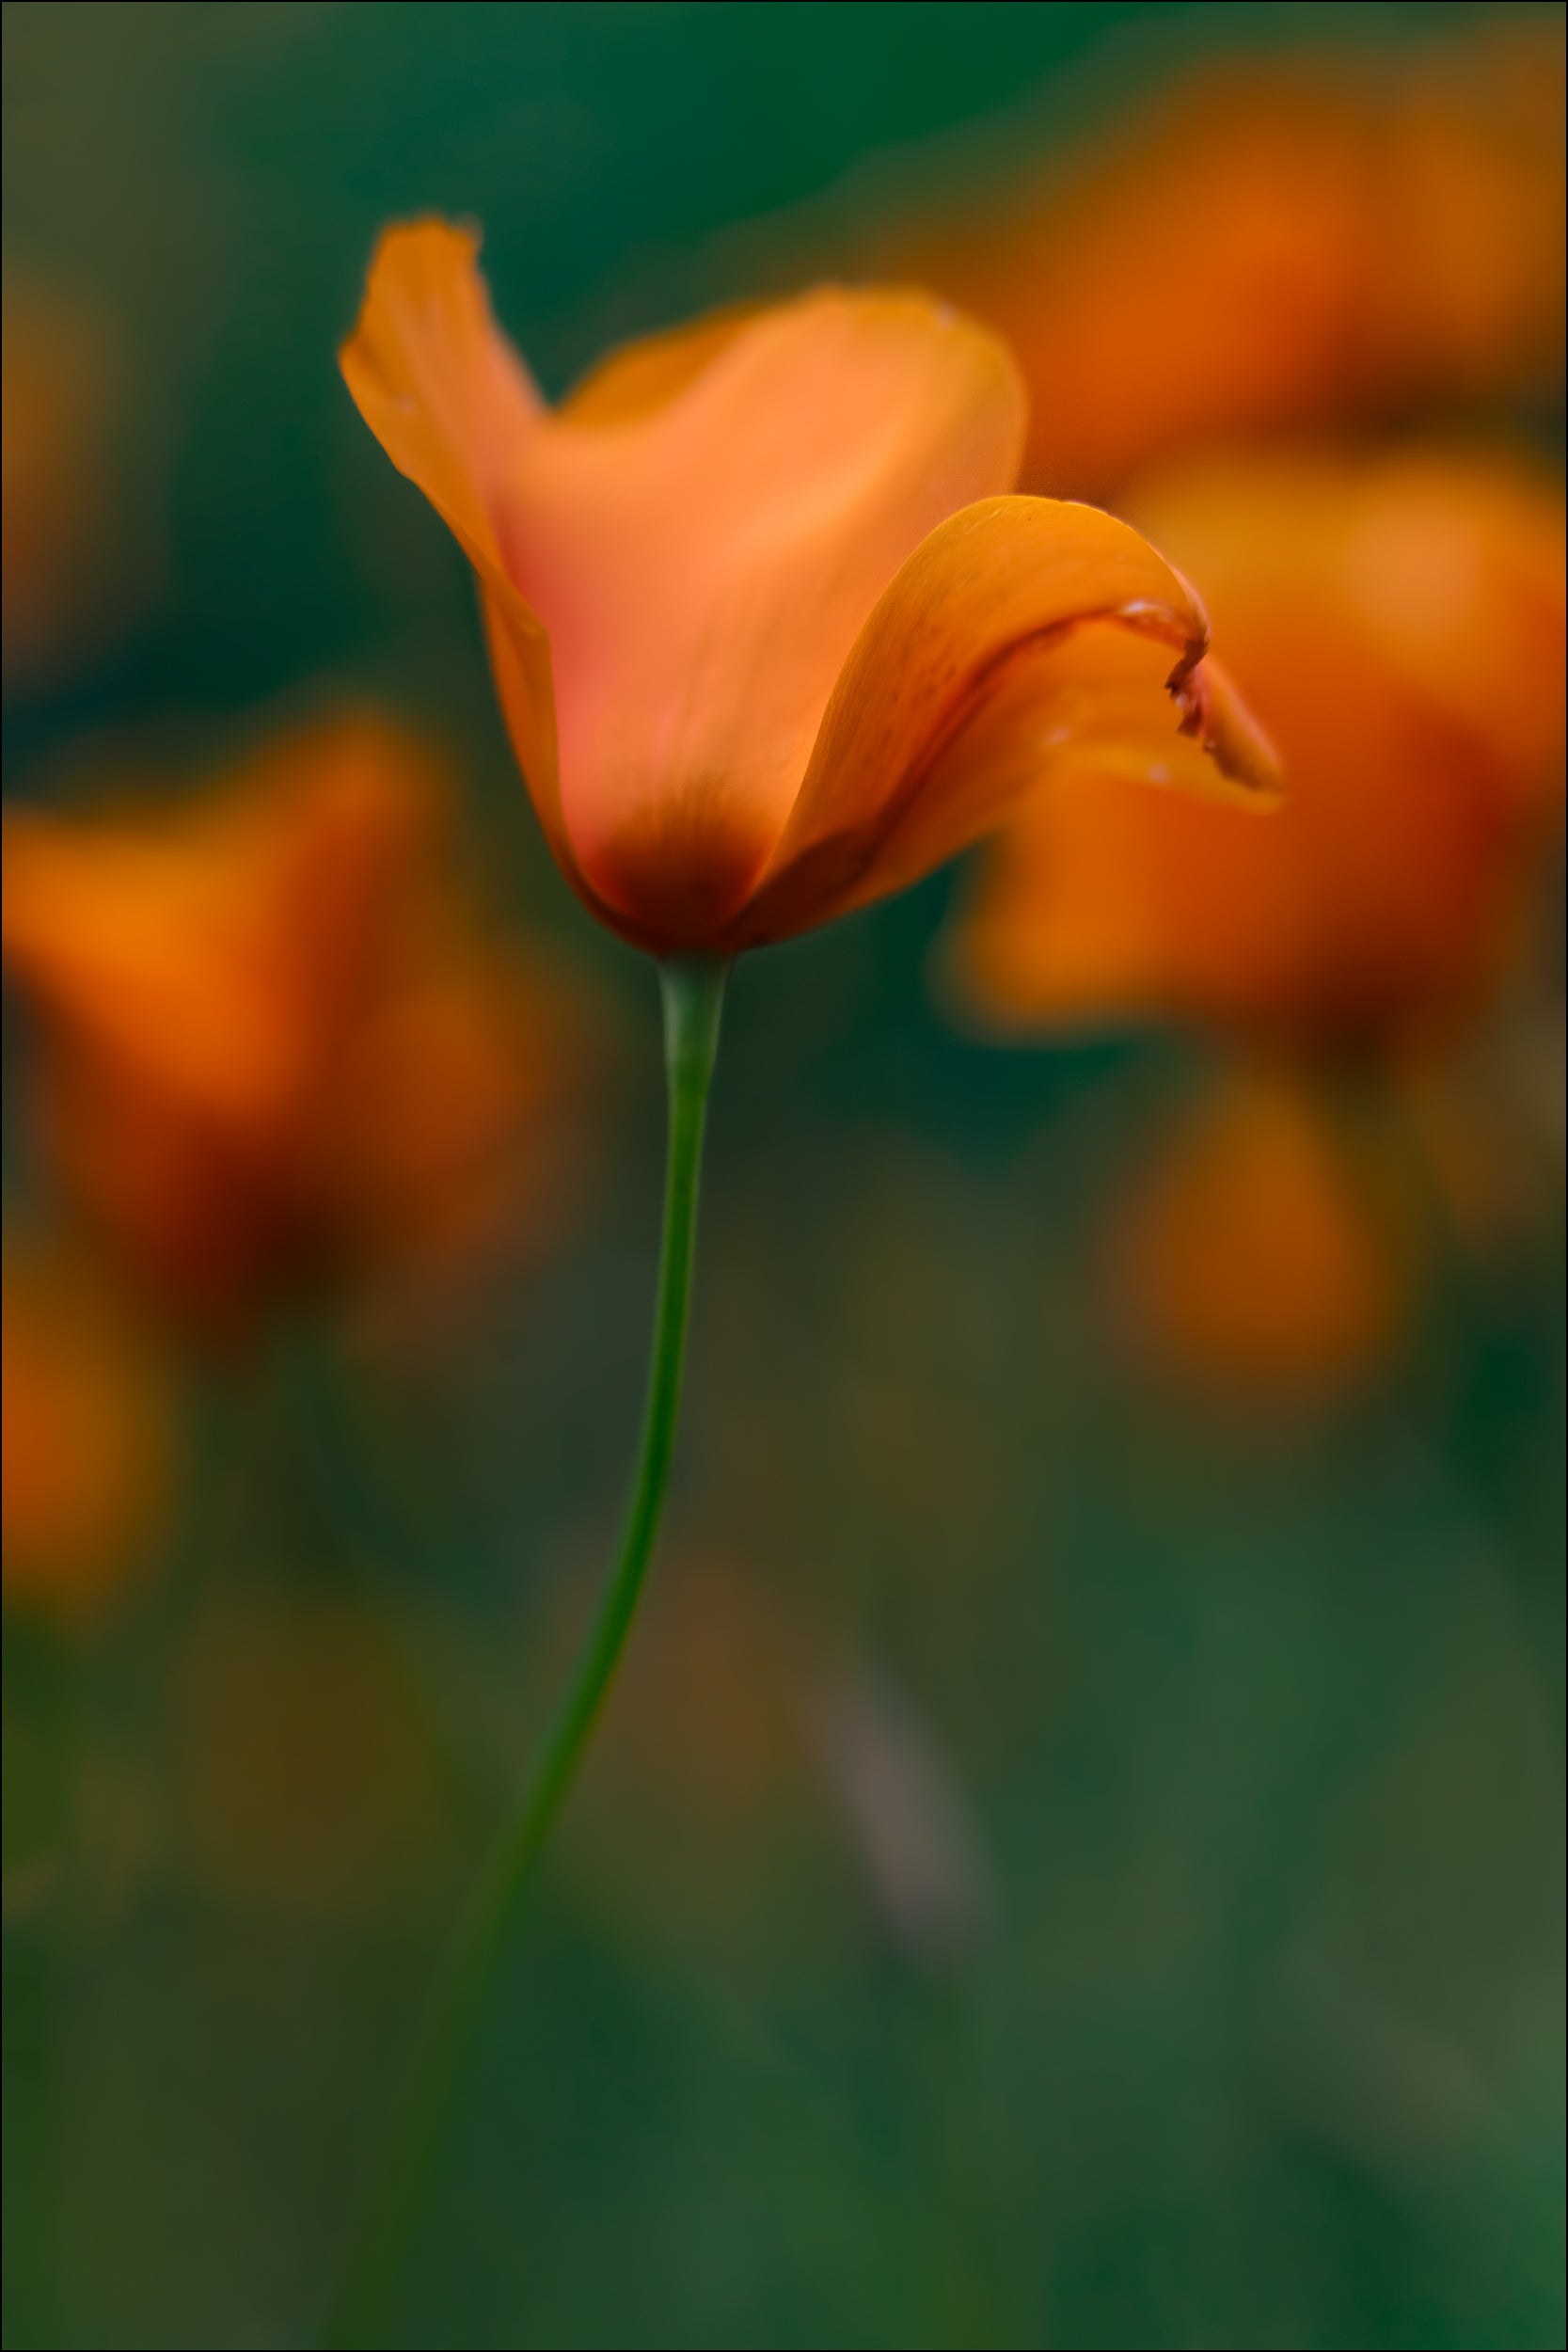
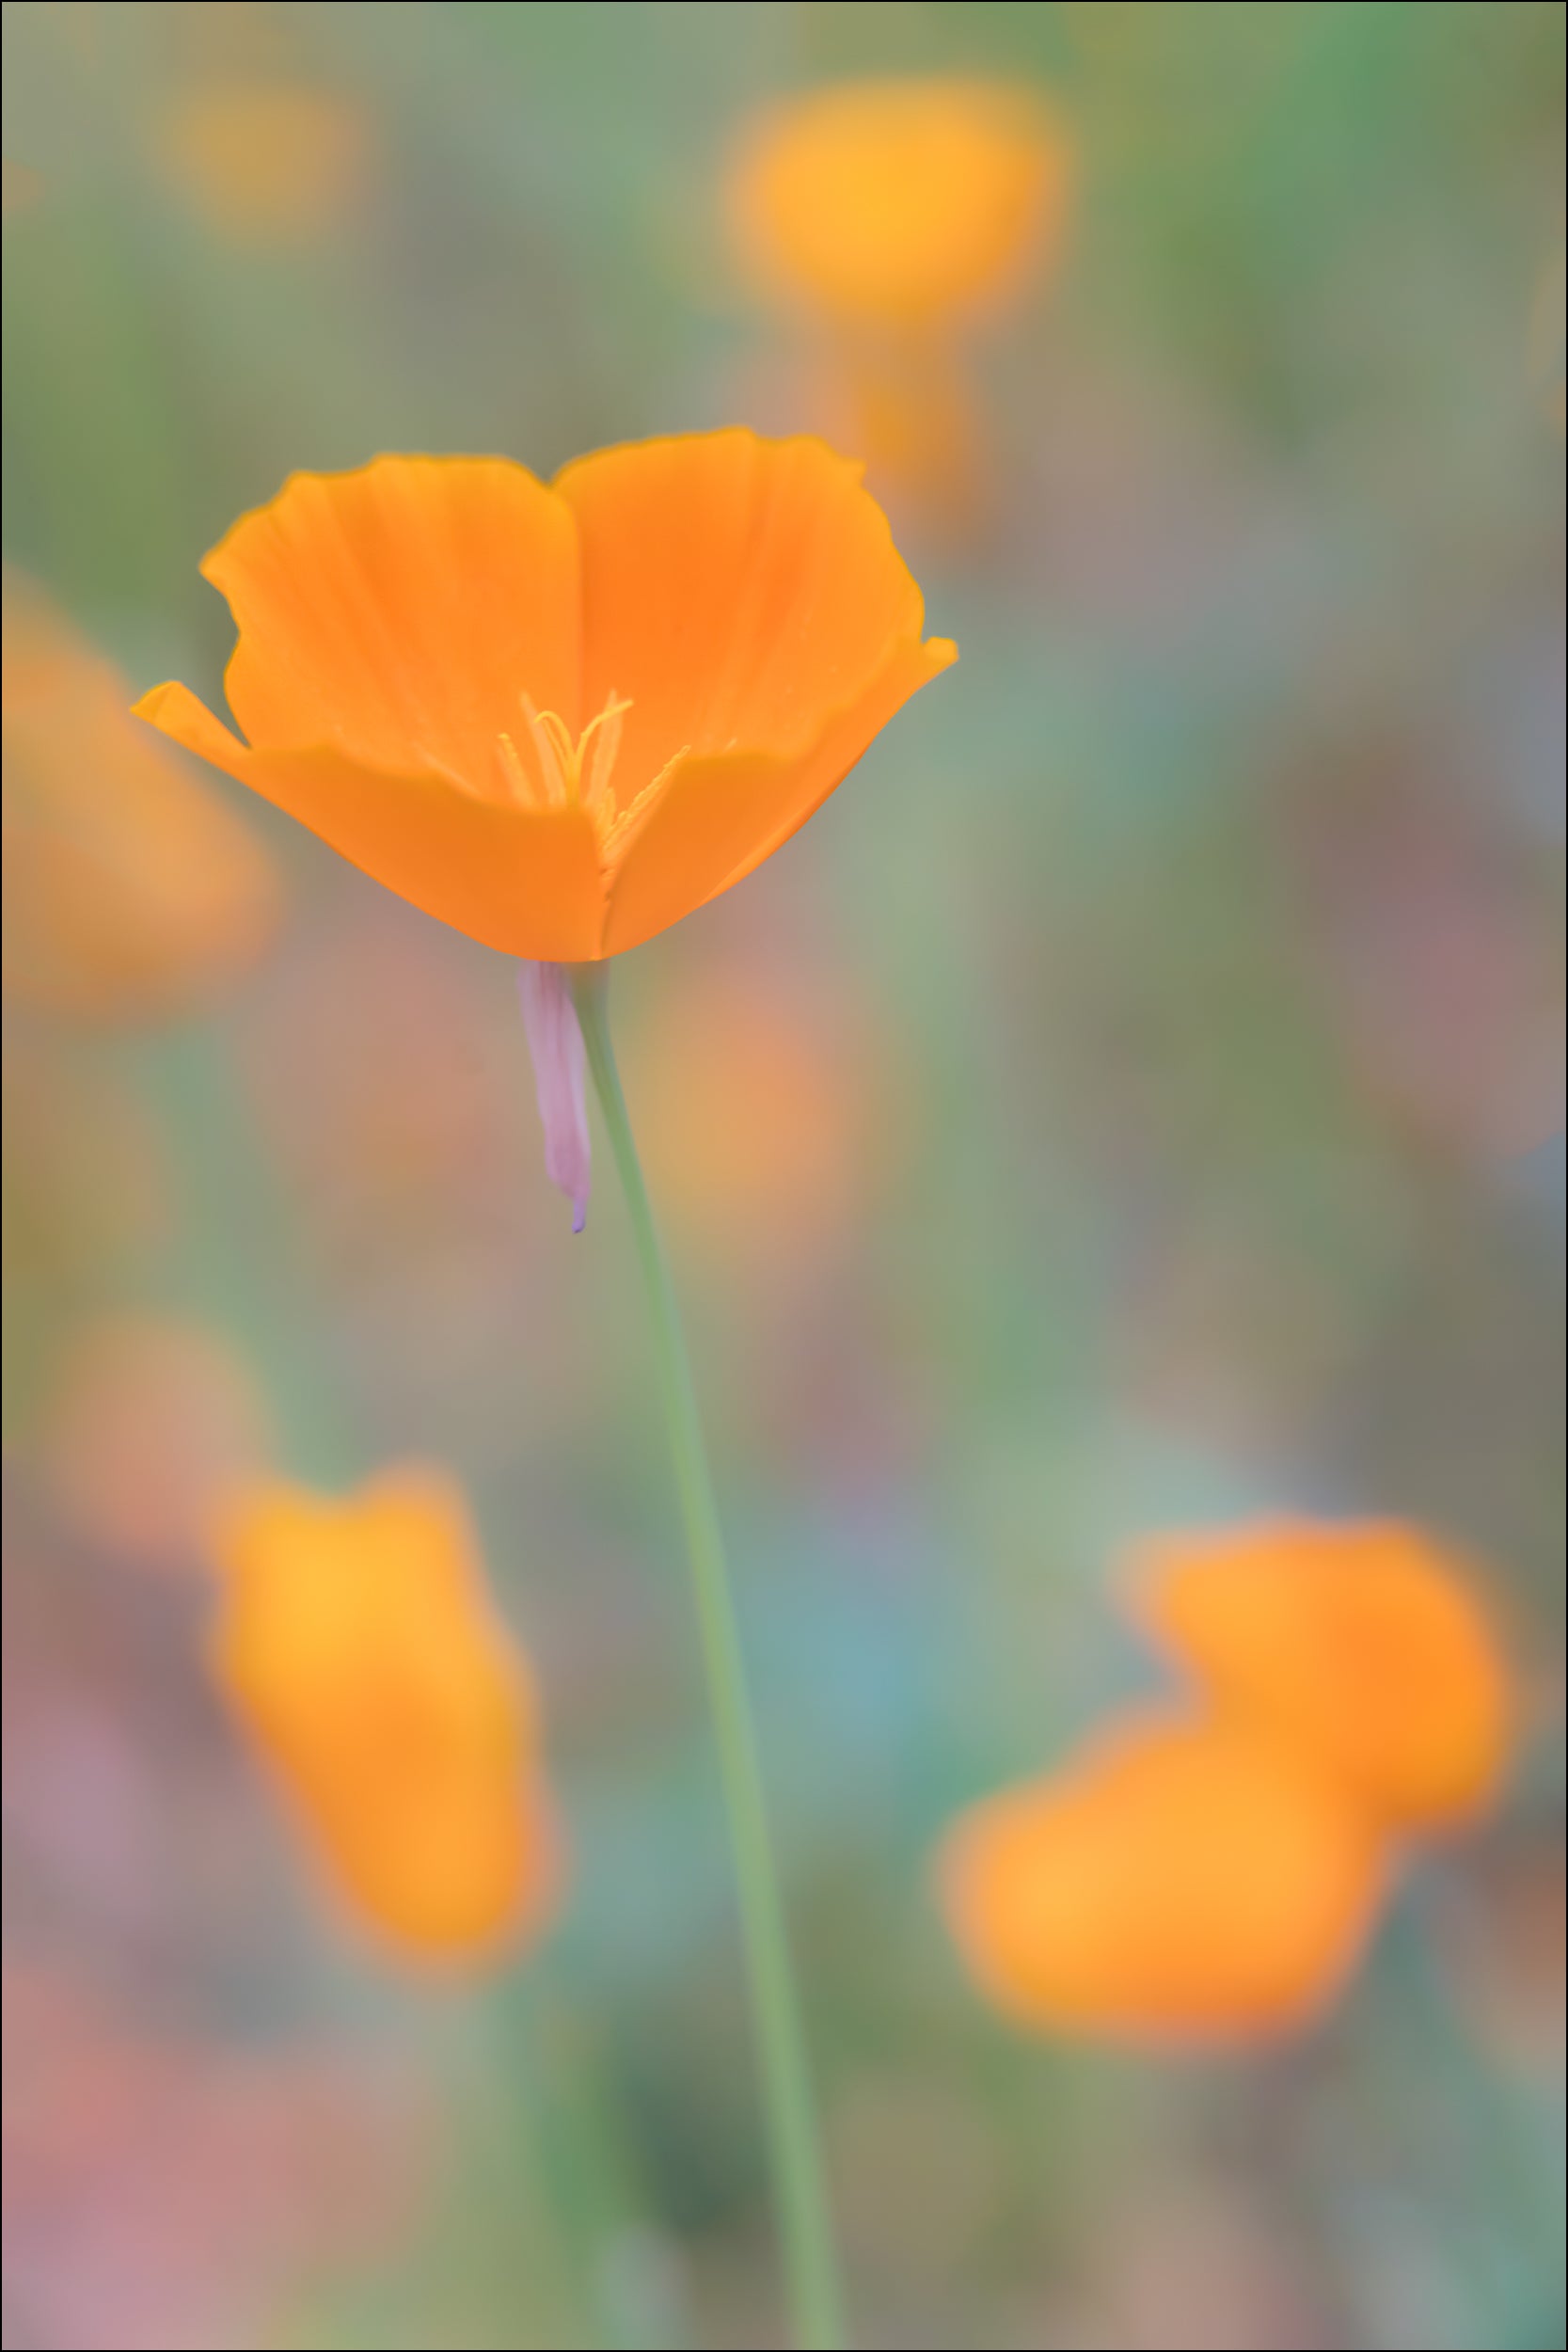
In the close-focus photography I typically shoot, my objective is a paper-thin sharpness range to blur all but the most essential aspect of my scene. Using this approach, I can highlight my subject, make distractions disappear, and create a complementary background of color and shape.
Using only natural light, I start by identifying a flower or flowers that I can isolate from the surroundings (I do this for fall color too). Finding the right background is as essential finding the right subject—without my subject and background working in unison, the image will almost certainly fail. What’s the right background? Other flowers, sparking water, deep shade (that I can turn dark green or black)—use your imagination, and experiment.
Given my desire for minimal depth of field, my lens choice is usually a function of the background’s distance from my subject—there’s an inverse correlation between focal length and depth of field, so the farther away the background, generally the longer the focal length I choose. If I want to focus closer than the lens permits to further reduce the depth of field, I add one or more extension tubes. And I usually start wide open, at my lens’s widest aperture.
With my subject, background, lens, and f-stop determined, I set up my tripod as close to the subject as I can focus and get to work. In the world of close focus photography, the scene looks completely different to the camera than it does to the eye, even more than most other types of photography. So I usually don’t identify my ultimate composition, focal length, and f-stop until I’ve worked the scene awhile.
The Mirrorless Advantage
Because I usually shoot wide open (or close to it), I have to be very precise with my focus point. In most close focus scenes, getting my entire subject sharp is impossible, so I try to determine the most compelling aspect of my subject and put my focus point there.
With the advent of live-view, I stopped using my DSLR’s viewfinder for critical focus. On my DSLR’s LCD I would select the focus point, magnify it to the maximum the camera would allow, and focus (sometimes manually, sometimes using autofocus).
Selecting and magnifying the focus point on my DSLR’s LCD was a real breakthrough that greatly increased my close-focus success rate. But LCDs are often washed out in bright conditions, making it difficult not only to focus, but also to review my image to check the composition and sharpness.
I’ve already grown to consider my electronic viewfinder a huge advantage to my close-focus photography. Putting my eye to the α7R II’s electronic viewfinder, I retain all the select/magnify/focus capability I had on my DSLR LCD screen, plus the focus peaking and highlight warning I can only get with mirrorless shooting—all in a view that’s completely shielded from sunlight. I also appreciate the α7R II’s articulating LCD that allows me to compose contortion-free in the formerly impossible positions photographing ground-based subjects often requires.
But Wait, There’s More
As much as I appreciate the relative ease of mirrorless composition and focus, the real game-changer was the α7R II’s high ISO capability. The first afternoon I went out to photograph poppies, I dealt with a light breeze that swayed my subjects—sometimes a lot, other times just enough worry me. At the kind of magnification I was using, I needed to freeze even the slightest motion.
Starting at ISO 800, a setting I knew my α7R II could handle with ease, I shot successfully for a while. But as the sun dropped behind the hills and clouds started to move in, I soon needed more light. My wide-open aperture was a compositional imperative, and the breeze made shutter-speed non-negotiable, leaving ISO my only means of adding light. Each time I increased my ISO I held my breath, fully expecting that surely this time I’ve surpassed the noise threshold. But as the sky darkened and a light rain moved in, I kept pushing the ISO all the way up to 6400.

Back home on monitor I scrutinized my results more closely. At 800 ISO the images were about as clean as I was accustomed to shooting at 100 or 200 ISO with my DSLRs. And while I clearly had more noise at 6400 than at 800, that noise was still quite manageable. Even at the higher ISOs, my α7R II macro images were at least as sharp if not sharper than I was accustomed to in my DSLR days.
With just a few shoots under my belt, I feel like I’ve only scratched the surface with close-focus photography and my Sony α7R II. The wildflowers will continue in the foothills for a couple more months, and I’ll certainly be taking full advantage of every opportunity. And I can’t wait for the fall color season.

