My name’s Andrew J. Clarke (@andrew.j.clarke), I’m a commercial, landscape and travel photographer based in Perth, Western Australia. I’ve been in love with capturing the Australia landscape for as long as I’ve been taking photos and I’ve been working with Sony Australia as a Sony Digital Imaging Advocate since late 2018, hosting workshops, tours, presentations and other events.

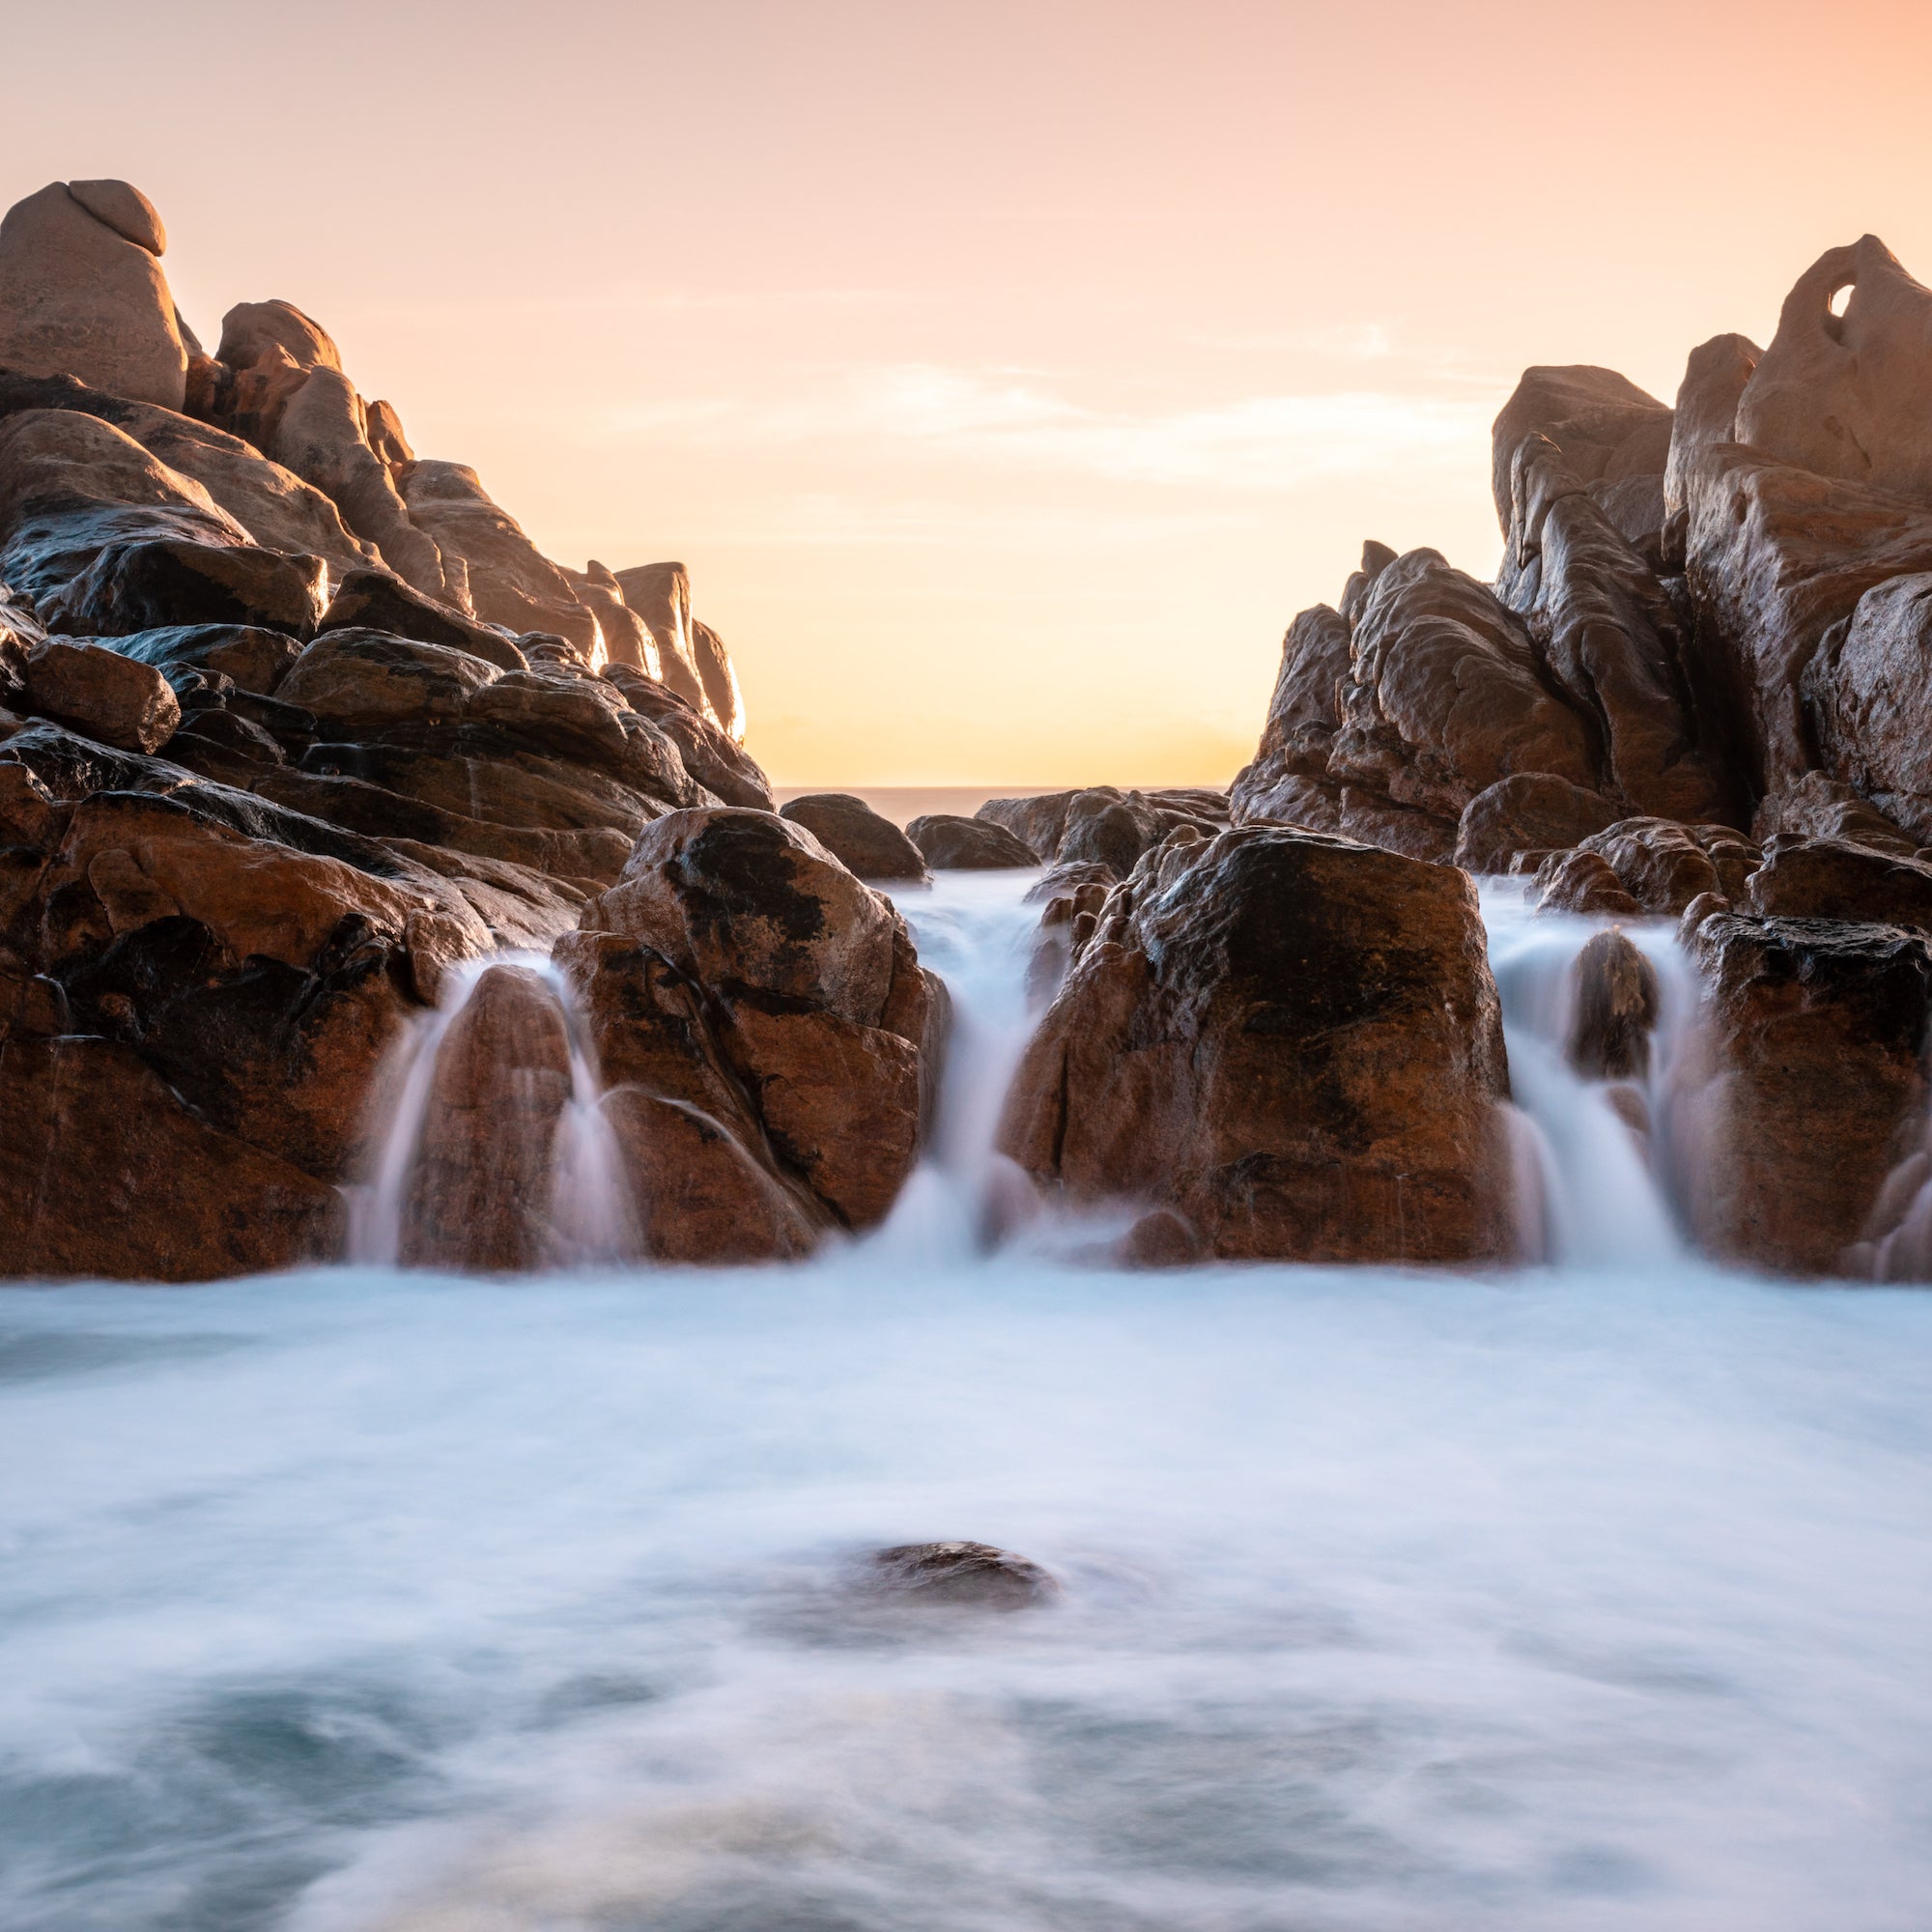
Sony α7R II. Sony 24-70mm f/2.8 G Master. 4-secs., f/14, ISO 100
Location & Inspiration
This image was taken at the iconic Injidup Natural Spa in the south-west region of Western Australia. This particular rock formation acts as a breakwater for the huge swells of the Indian Ocean and the resulting whitewash forms several small waterfalls that flow into a sheltered ocean inlet. As the name would suggest, this makes not only for an idyllic swimming location in the warmer months, but for stunning landscape photographs all year round.
I’m certainly neither the first nor the last photographer to set up shop crammed into the opposing rock face to capture this perspective. However my focus for this series of images was the amazing (almost surreal) natural symmetry present in the formation; no doubt forged by thousands of years of waves wearing down the rock to form this three-pronged path.
My Camera & Lens
This image was taken with my trusty Sony α7R II. While I have since transitioned to the latest model in the R series, the colors, dynamics and detail rendered by the α7R II really stands up even today, and just shows how ahead of its time the camera was. I combined this with the Sony 24-70mm f/2.8 G Master, which allowed me to zoom in slightly to 45mm and emphasize the compositional elements I was seeking to capture with this series. (NOTE: You can get special pricing on the 24-70mm f/2.8 G Master lens through June 28, 2020. Click HERE for all the details.) I also used a circular polarizing filter (to control glare and reflections on the rocks) and a six-stop neutral density filter (to help create motion blur in the water).
How I Set Up My Camera Settings For The Long Exposure
My setup for this particular image was fairly precise as I had planned the photograph in advance, however it was not without its challenges. There isn’t exactly a convenient location to set up a tripod as the inlet is surrounded by a fairly steep and jagged rock face, which means you have to jam your tripod legs into various cracks and position your body fairly awkwardly to see the back of the camera. While it’s possible to set up in the pool itself at times, on this occasion the flowing water would have made it impossible to keep the tripod stable while capturing a long exposure.
I wanted to make the water smooth and a bit dreamy, while retaining some texture. An ultra-long exposure would have made the water too smooth for my liking so I dialed in the camera settings for just a few seconds. There's always some trial and error with this kind of an exposure because of the way the water moves.
- ISO 100 is always preferable for landscape images as it provides the best image quality. It’s also worth noting that ISO 100 also provides the highest dynamic range in Sony Alpha cameras, which was definitely necessary for this composition – facing a setting sun with the foreground in shadow.
- Having the aperture set to f/14 was needed to ensure that I had enough depth of field to keep the foreground center rock and the rest of the rock formation in focus, particularly because I was shooting a little more zoomed in than your standard landscape shot at 45mm. Pushing the aperture any further risks losing sharpness in the image due to diffraction.
- A shutter speed of four seconds was just enough time to smooth out the whitewash in the foreground (simplifying the visual language of the composition), but yet short enough to preserve some of the texture in the water flowing over the central waterfalls. A shutter speed of 10+ seconds likely would have seen the water turn to a surreal mist (which was not what I was going for in this particular image).
Post-Production
Taking this image into post, the biggest challenge was managing the extreme dynamic range while preserving the natural tones and colors of the scene. To achieve this I applied a local adjustment to just the sky, rolling back the highlights and also adding a touch of contrast and warmth. I also brought up the foreground shadows to showcase the textures in the rocks using a combination of a curve adjustment and clarity, as well as a graduated filter. Finally, I made some minor adjustments using the HSL panel in Lightroom to simplify the colors and showcase the contrast between the aqua-blue hues of the water and the orange-reds of the rocks. Ultimately everything came together for a pretty straight forward edit in the end!


