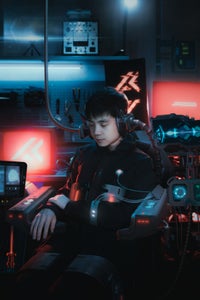
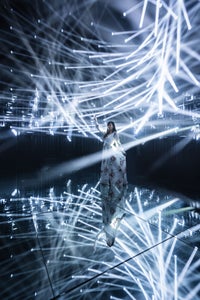
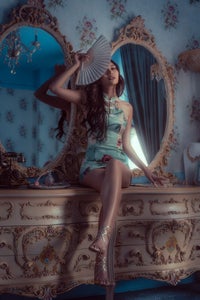
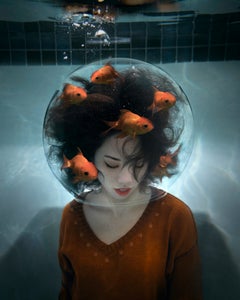
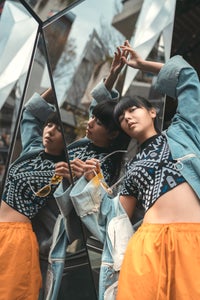
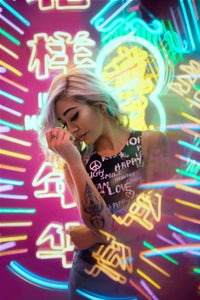
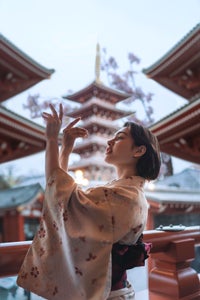
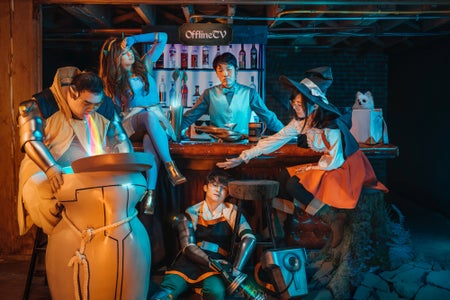
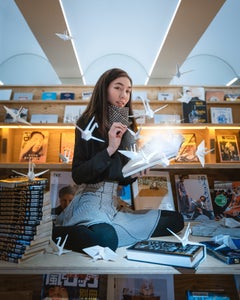
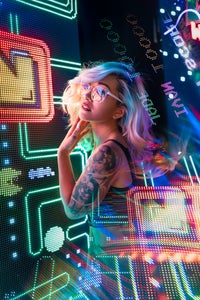
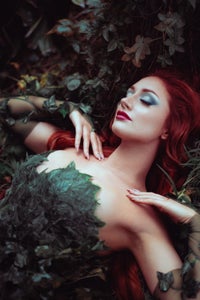
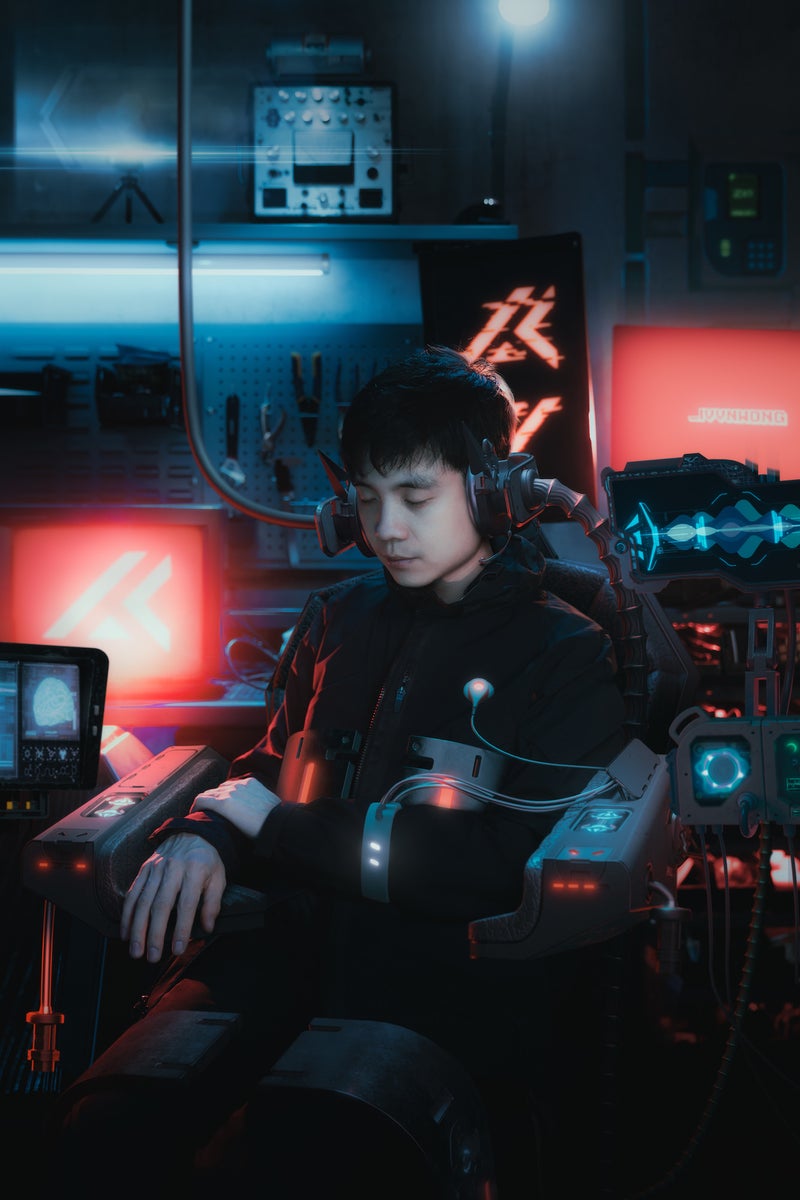
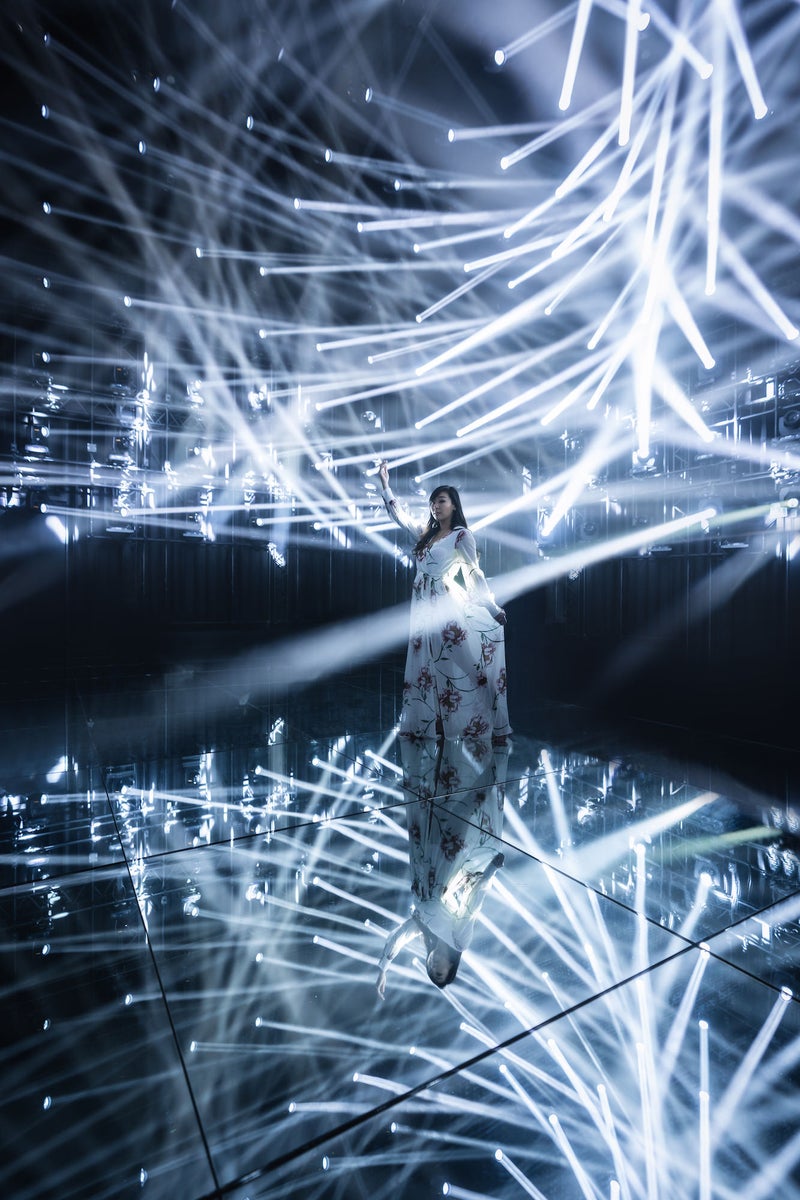
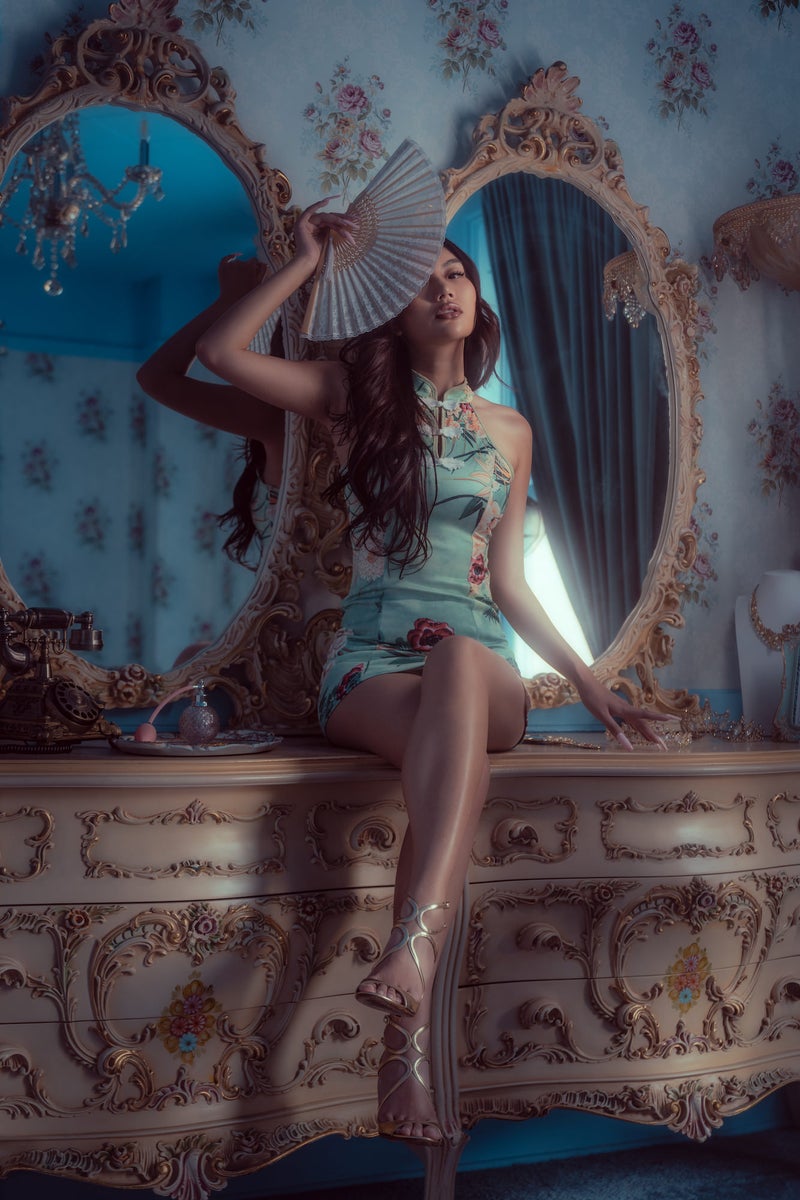
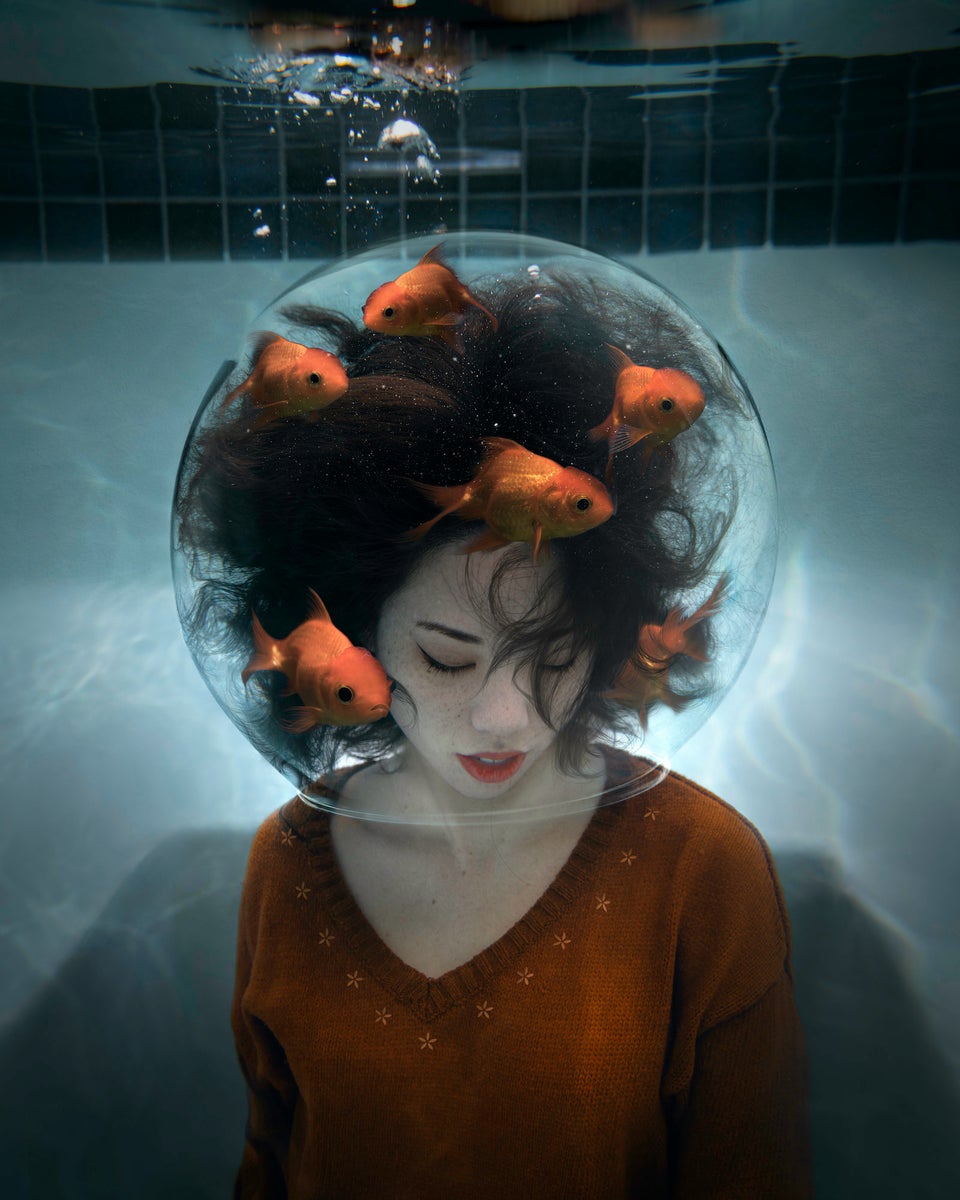
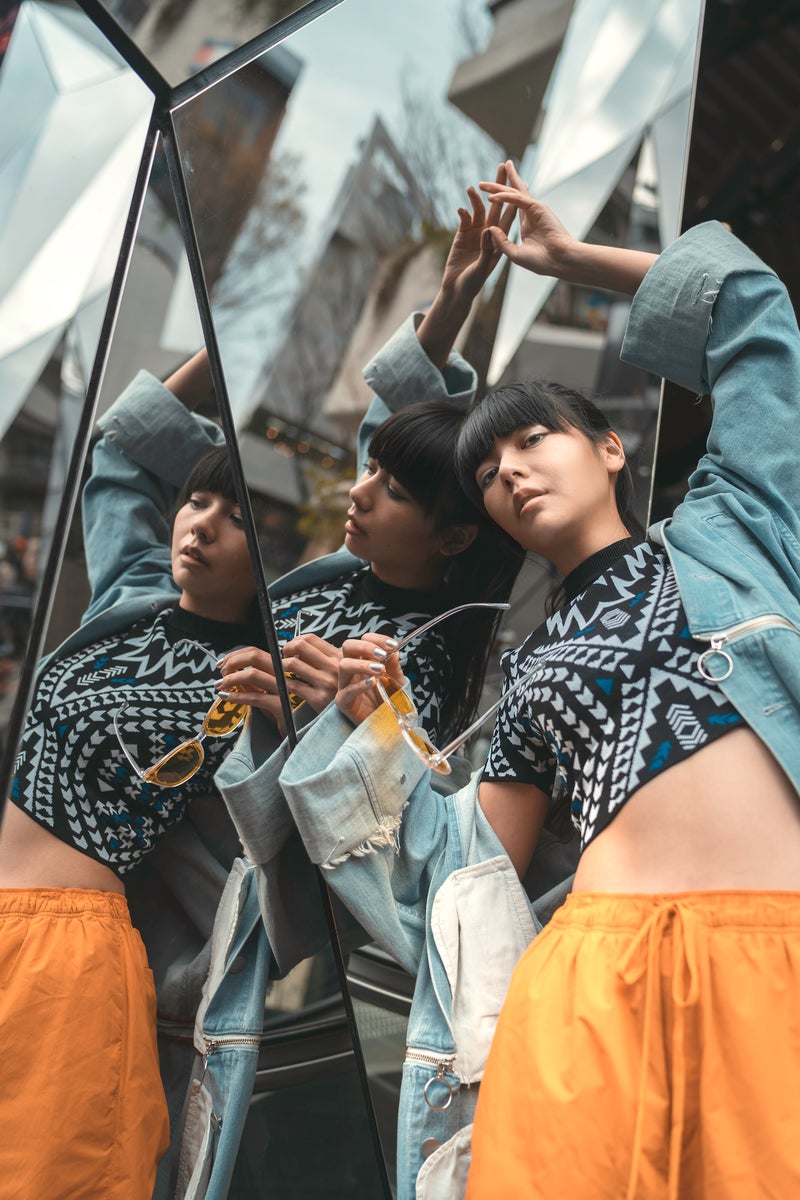
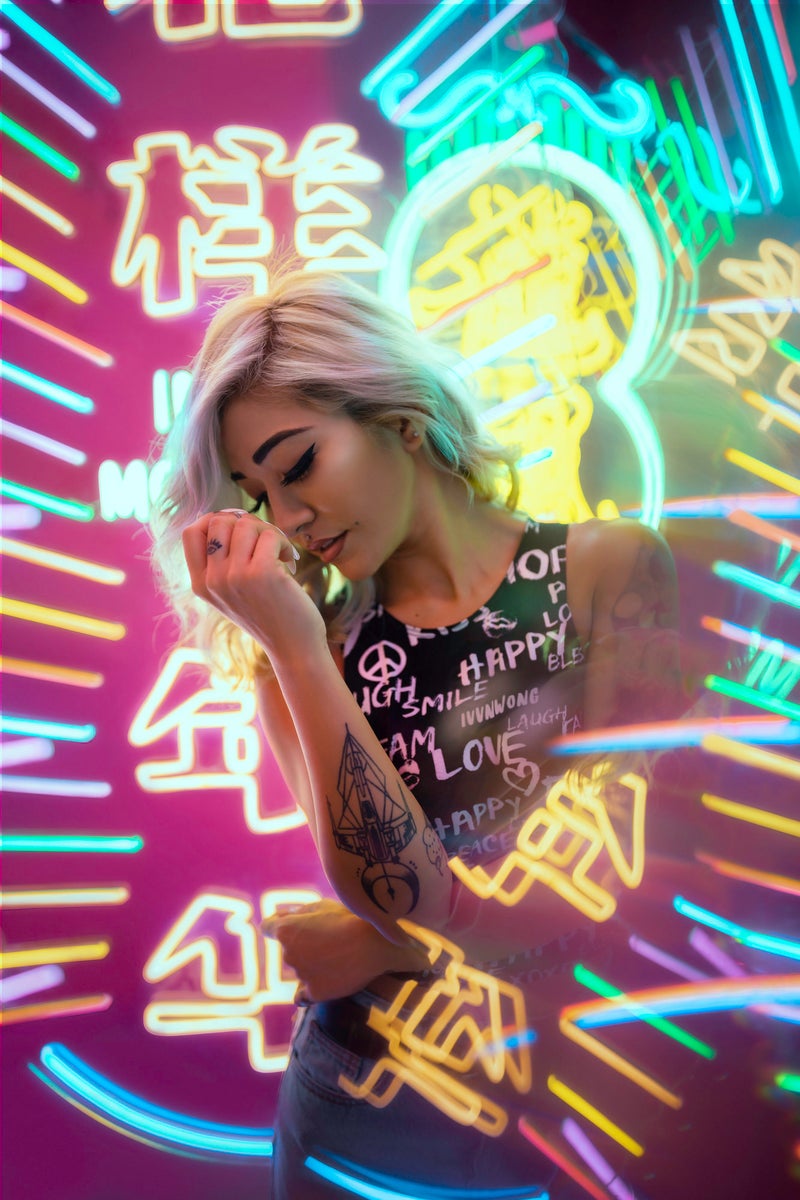
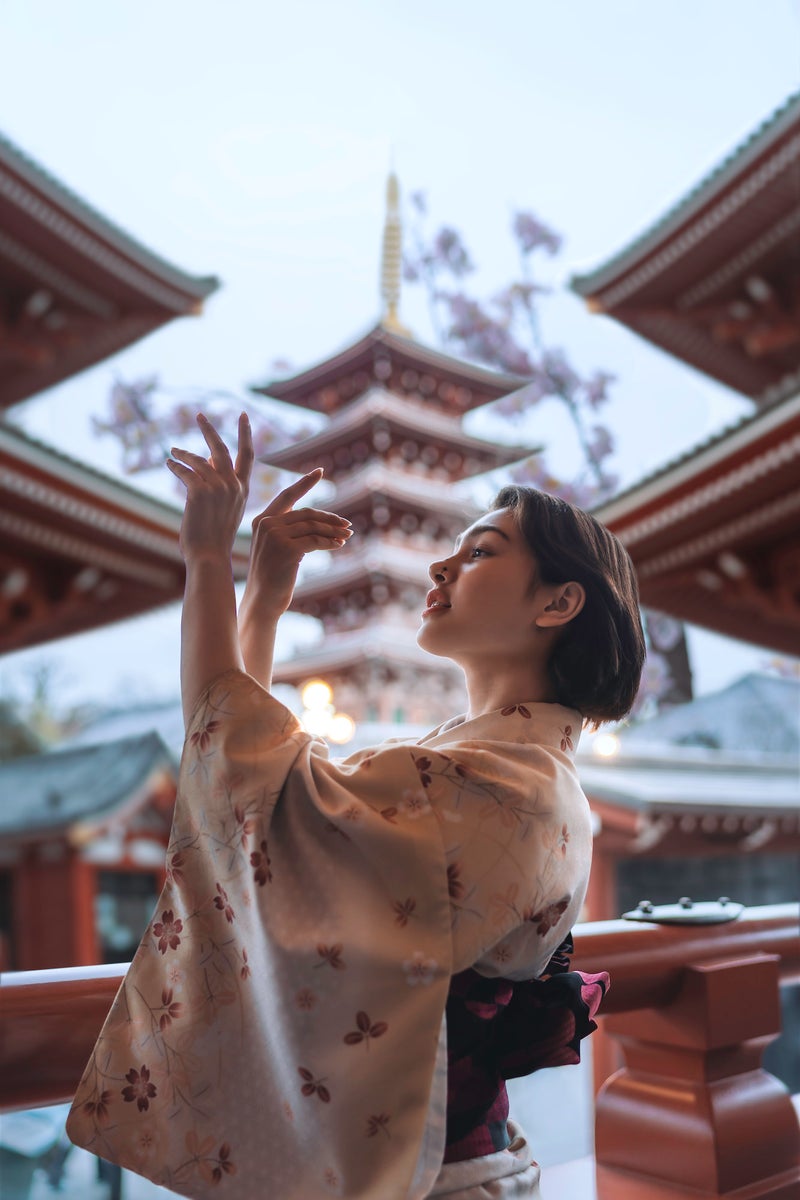
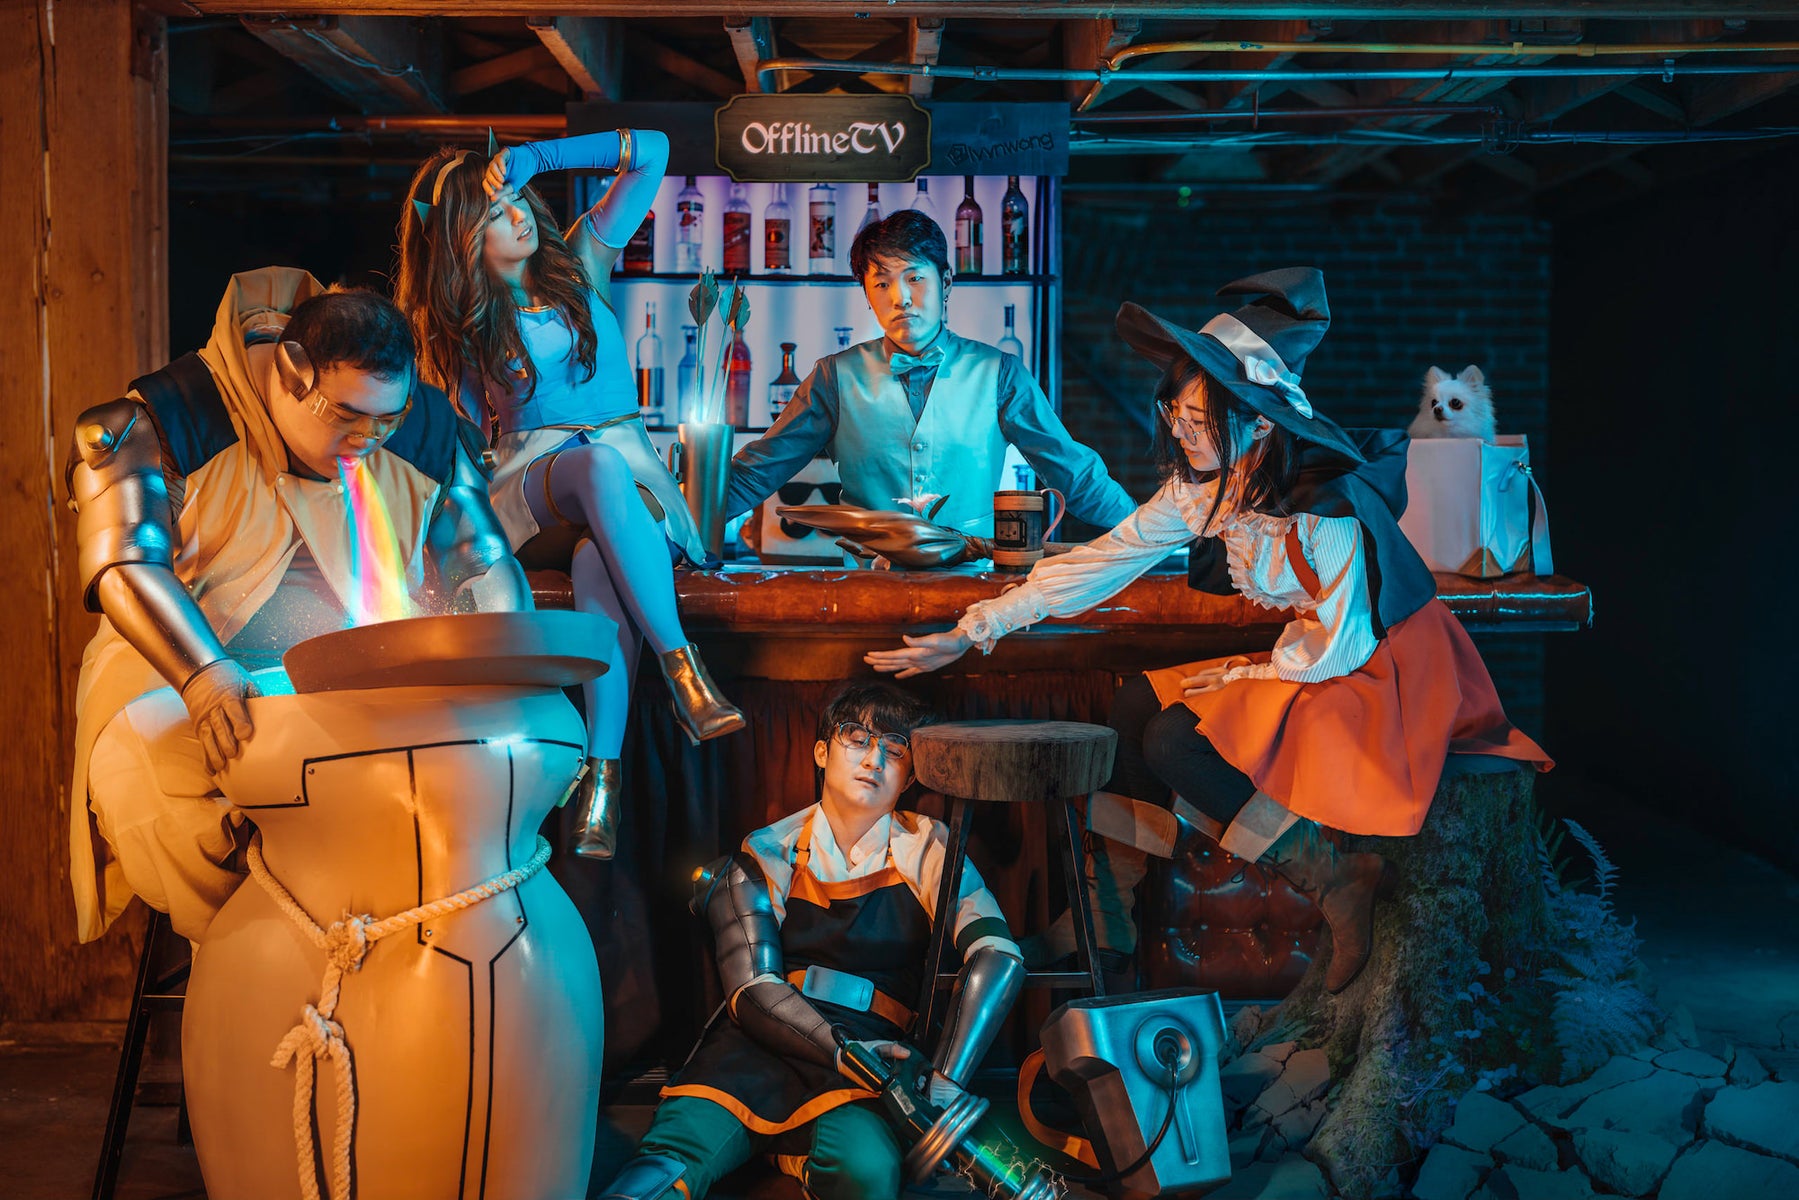
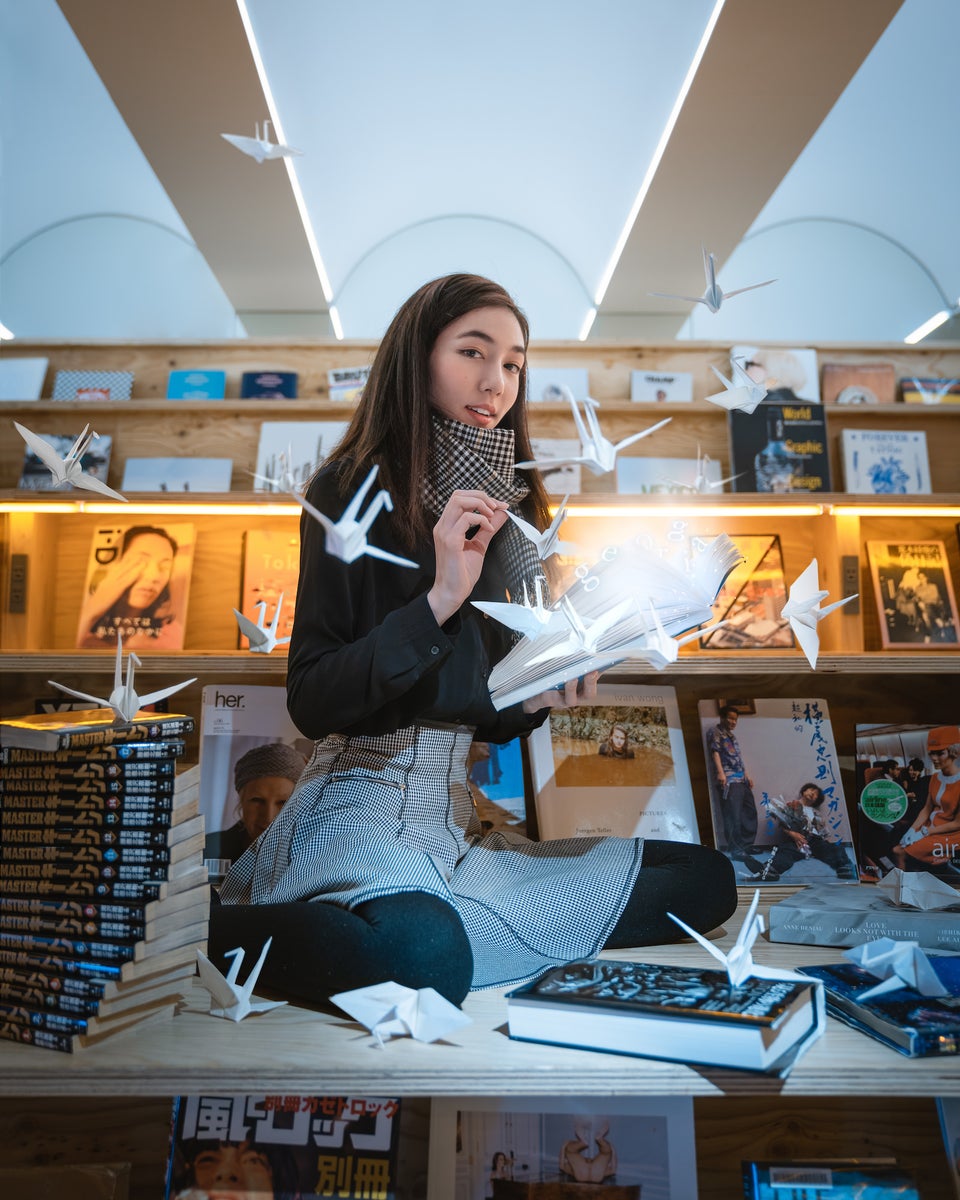
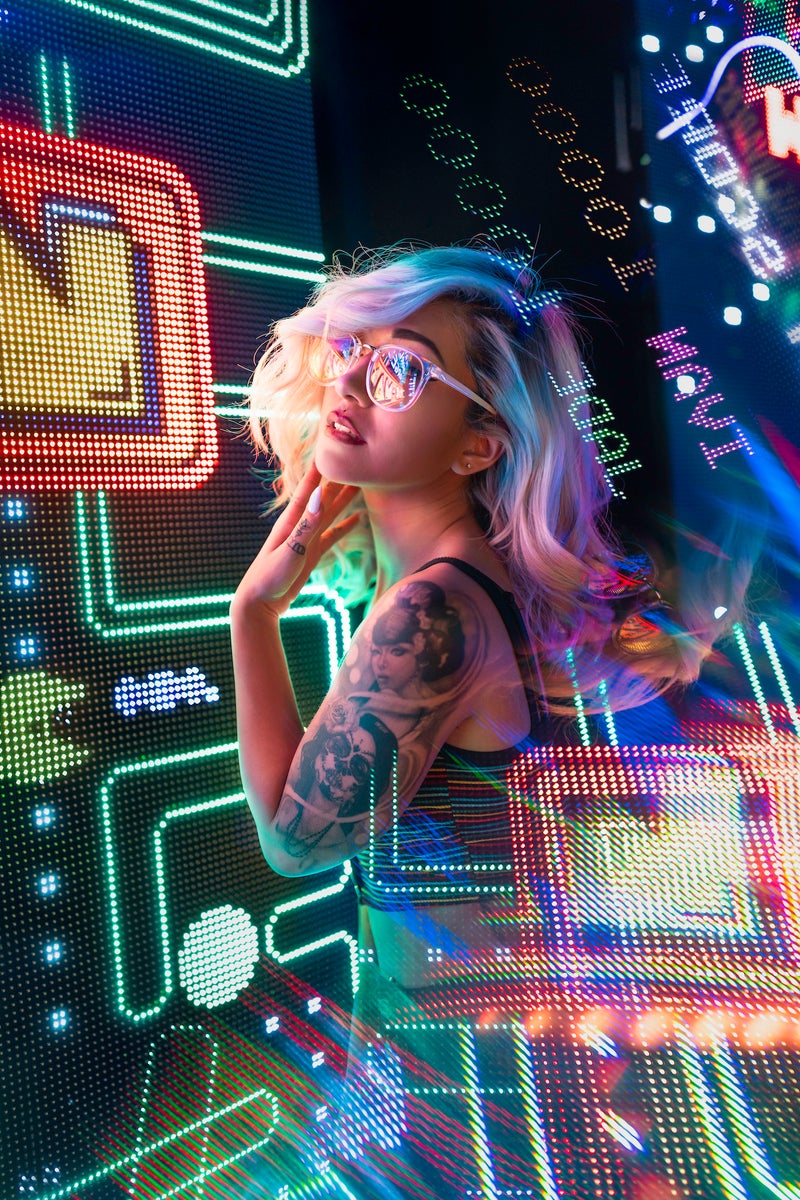
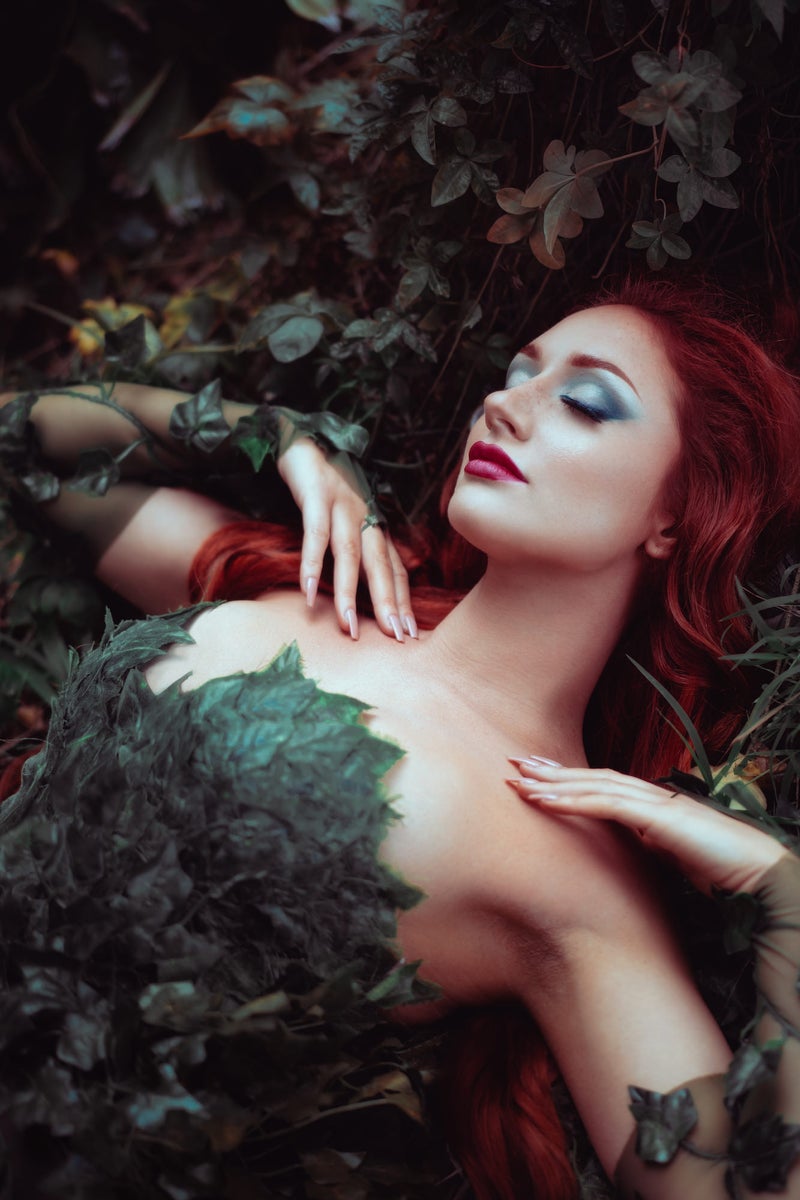
Based between New York and Los Angeles, photographer Ivan Wong (@ivvnwong) of the Alpha Collective loves to create images that elicit a feeling from its viewers. “My work is inspired by the use of light, neo-noir, cyberpunk and other futuristic themes – think Blade Runner, Tron, Devil May Cry, Inception.” Wong creates many styles of photography and other content, and here he focuses on the gear he uses specifically for his portrait work. Keep reading below as he explains each piece of gear you’ll find in his kit and why – plus see the eye-catching futuristic imagery he’s able to create with it.
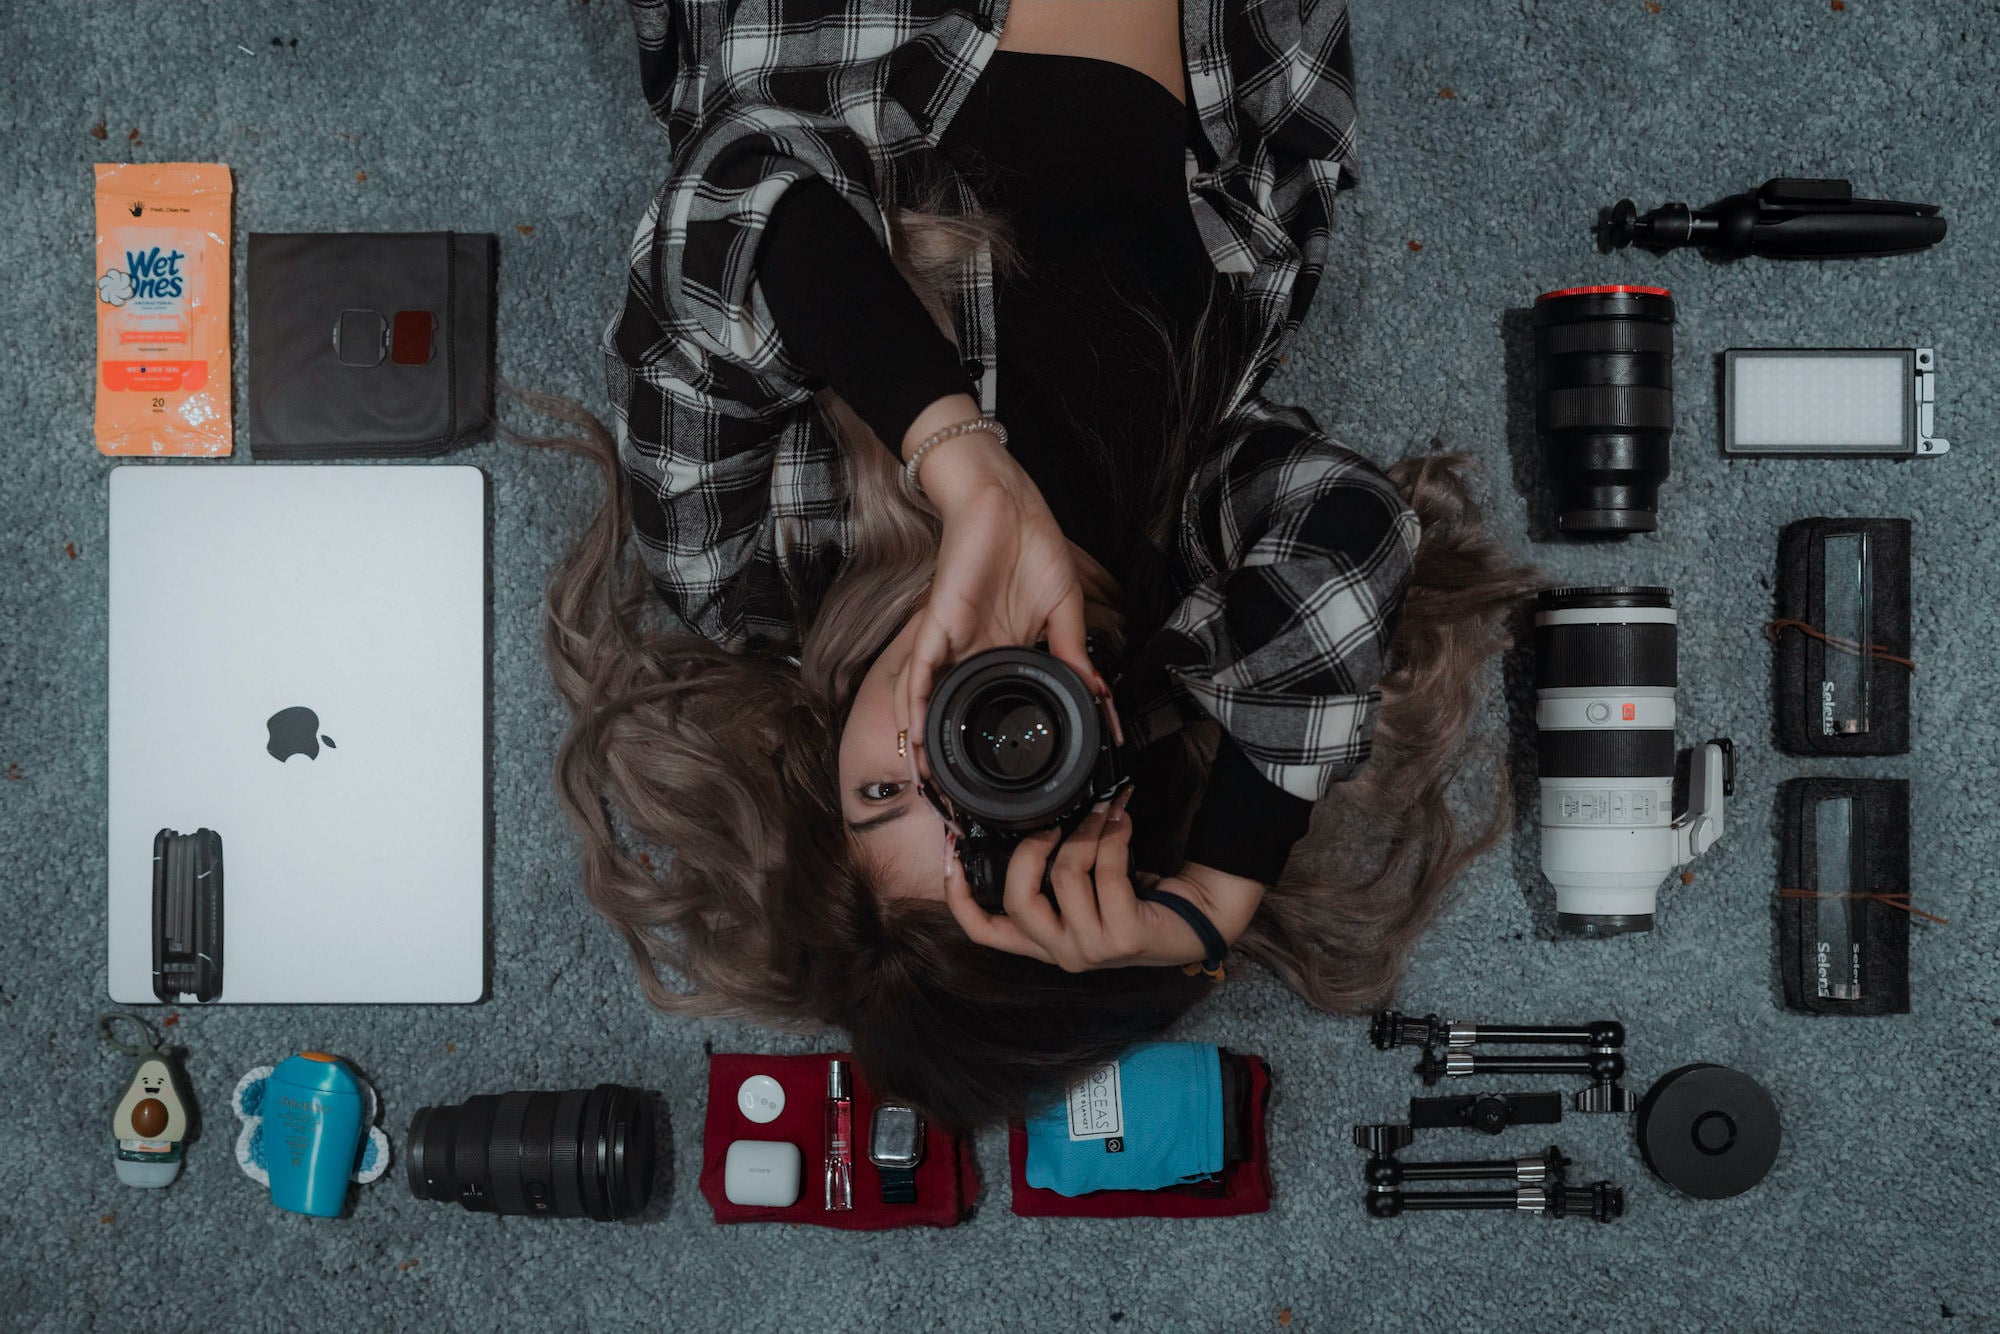
Portrait photographer Ivan Wong of the Alpha Collective shows us the cameras, lenses and other key gear in his kit for creating his cynerpunk style.
Cameras
Sony Alpha 1: I consider the Alpha 1 the best camera on the market. When the specs for this camera were announced, I immediately jumped onto the pre-order. The Alpha 1 has the horsepower to help me execute my photoshoots more seamlessly and effortlessly. Supporting 50 MP, capturing at 30 fps, and having high ISO tolerance, the Alpha 1 is my do-it-all for portraits, cityscapes, and landscapes. Particularly for portraits, I love how I can capture in low light with high ISO, and still bring back details that are usually lost in other cameras. Some models tend to move fast, or the lighting like color-changing neon, smoke/glow, and refractions from prismatography differ in every frame captured - the fps allows me to select the frame with the best subtle change in expression. The tenacious eye autofocus of the Alpha 1 saves me from out-of-focus shots. Moreover, the color science is a leap from previous lines which non-Sony users complain about against other camera brands - the colors on the Alpha 1 definitely prove them wrong.
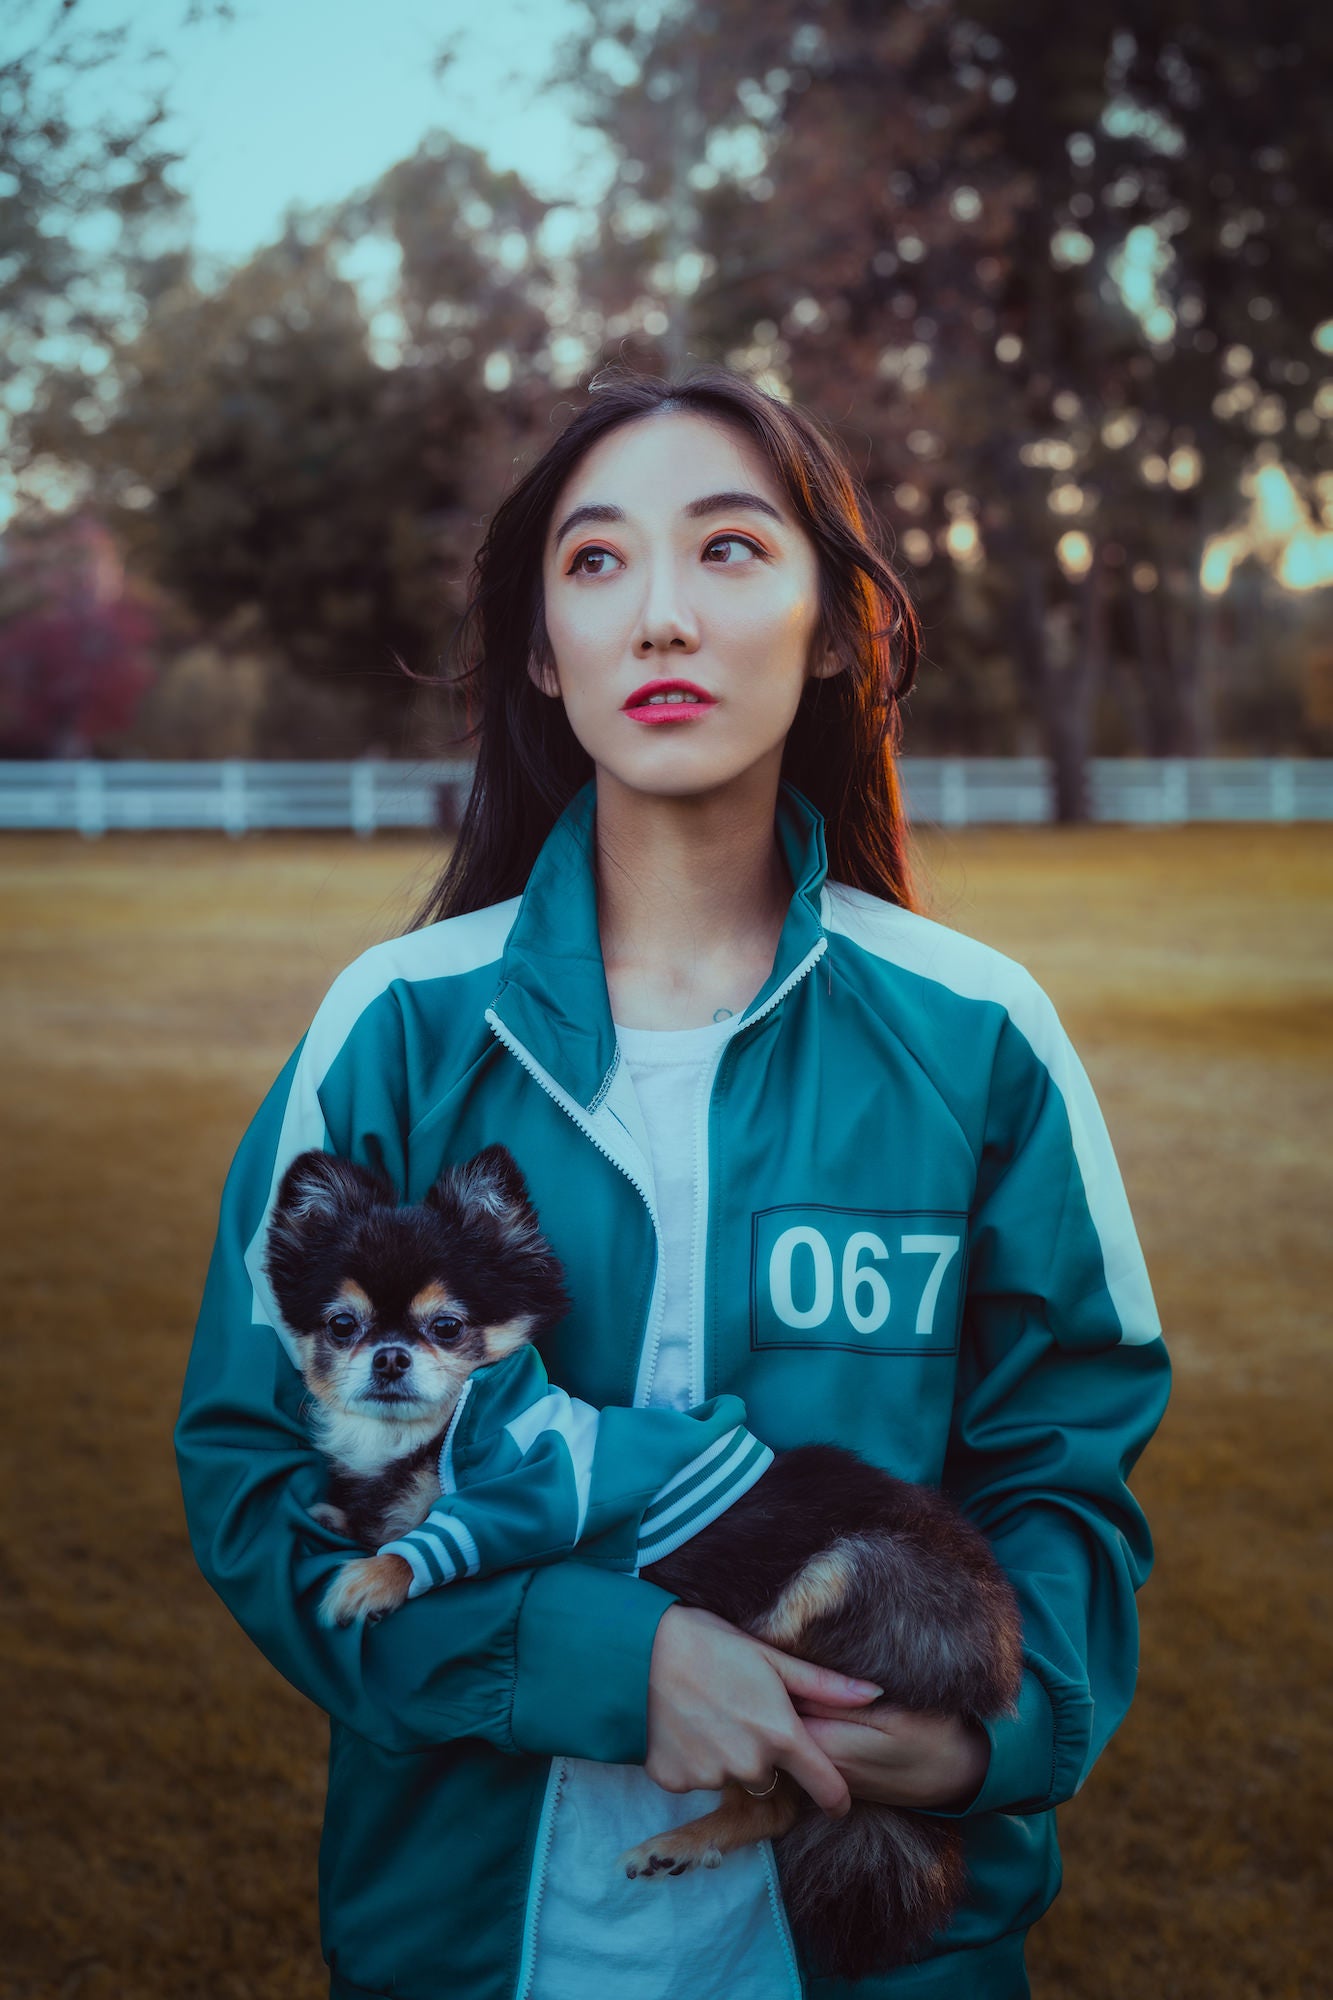
Photo by Ivan Wong. Sony Alpha 1. Sony 50mm f/1.2 G Master. 1/80-sec., f/4, ISO 320
Sony Alpha 7R IV: I upgraded from this camera to the Sony Alpha 1. This was a beast for me, but the Alpha 1 better suits my current needs. However, I have converted my Alpha 7R IV to a full-spectrum camera so it can shoot infrared photography. While I use IR mainly for cityscapes and landscapes, I have used it to capture models in shots with outfit colors that really pop against the wider background in IR. This is also my secondary camera for portraits. If I chose my dominant lens to be tighter to the model (like the 50mm), I would equip the Alpha 7R IV with wider lenses (like the 35mm or 24-70mm) and vice versa to swap angles quickly without the need to constantly change lenses.
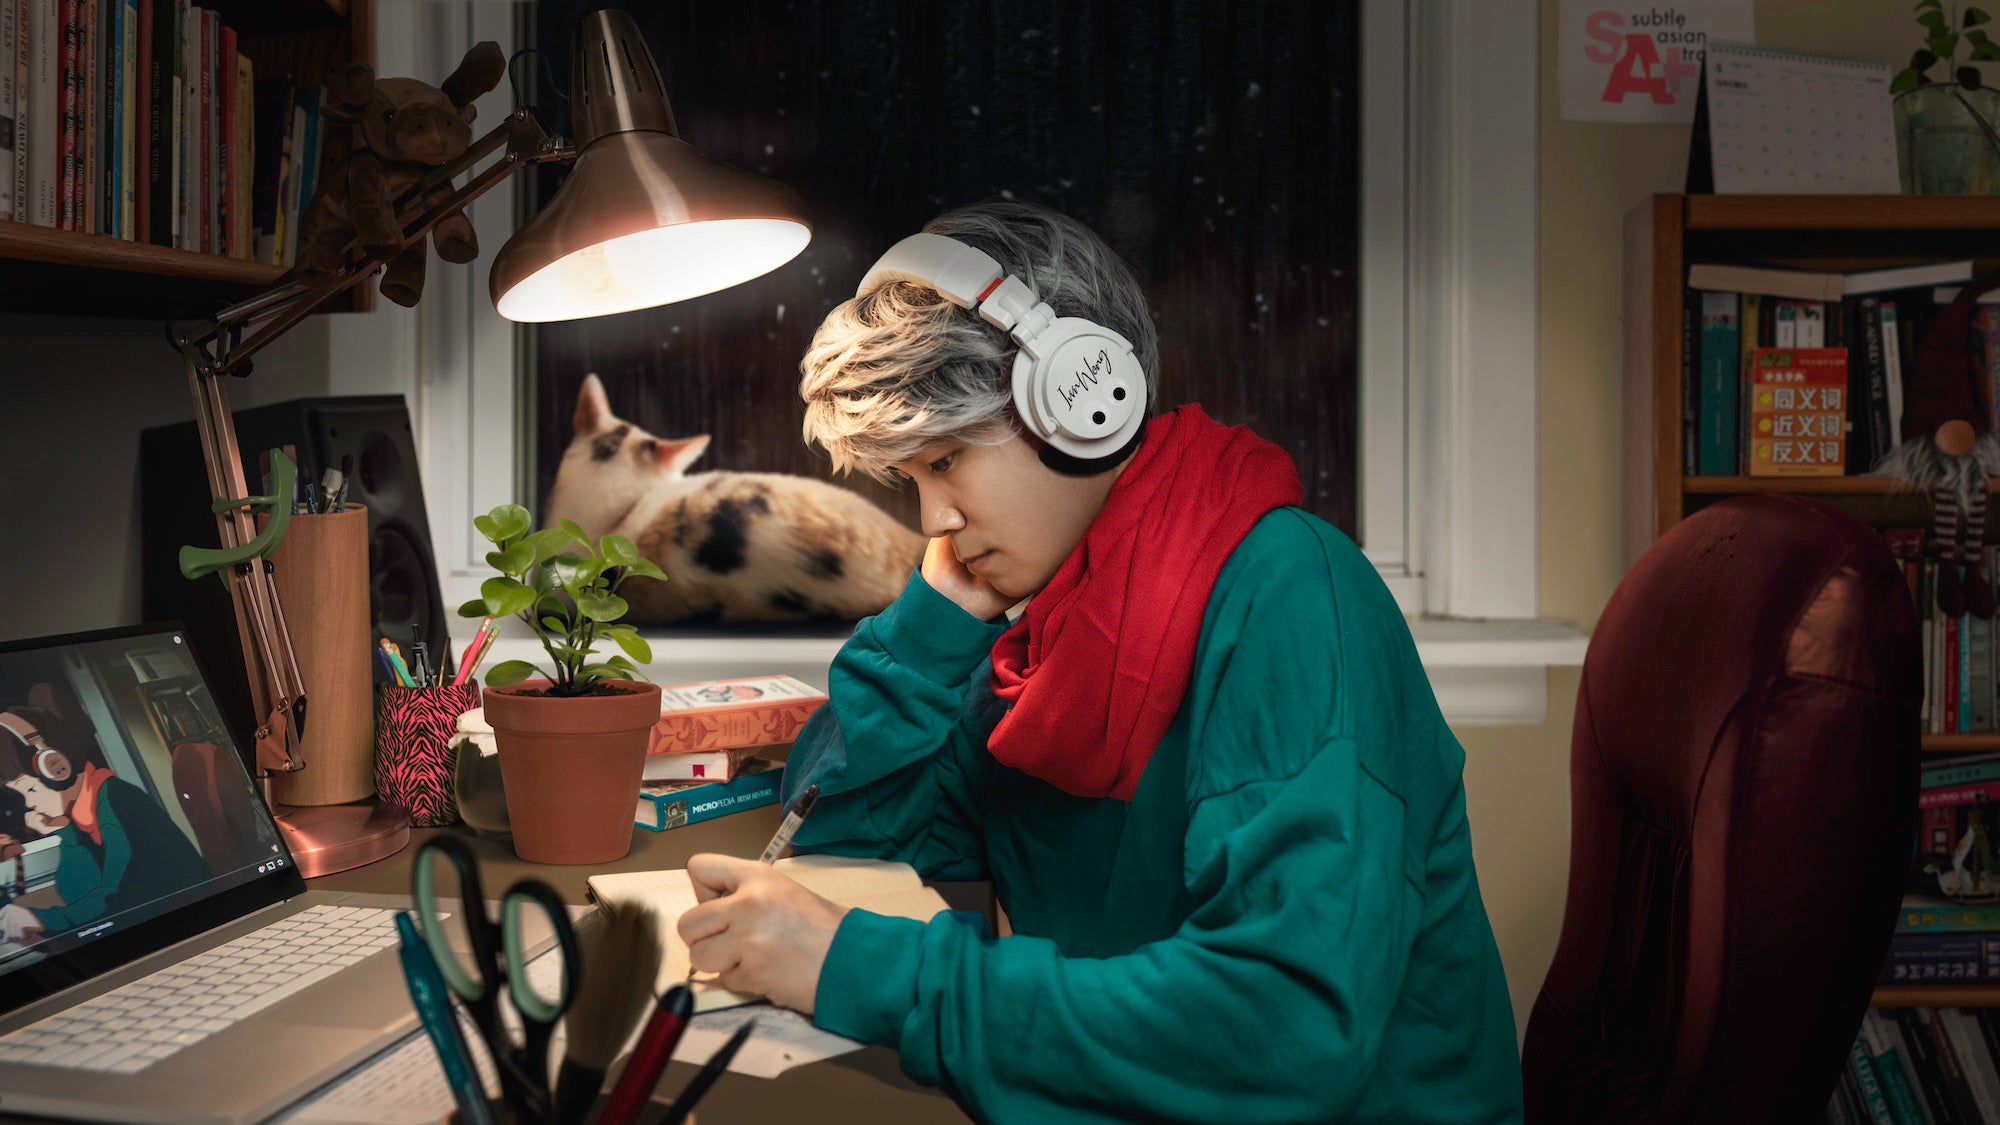
Photo by Ivan Wong. Sony Alpha 7R IV. Sony 16-35mm f/2.8 G Master. 1/125-sec., f/2.8, ISO 200
Lenses
Sony 16-35mm f/2.8 G Master: I use the 16-35mm for wider angle portraits where I want to maintain a wider background-to-subject ratio. But with this lens I can quickly switch between the wider portraits and closer head to waist portraits. This is perfect for when I’m traveling and memorializing the environment is just as important to me as the subject.
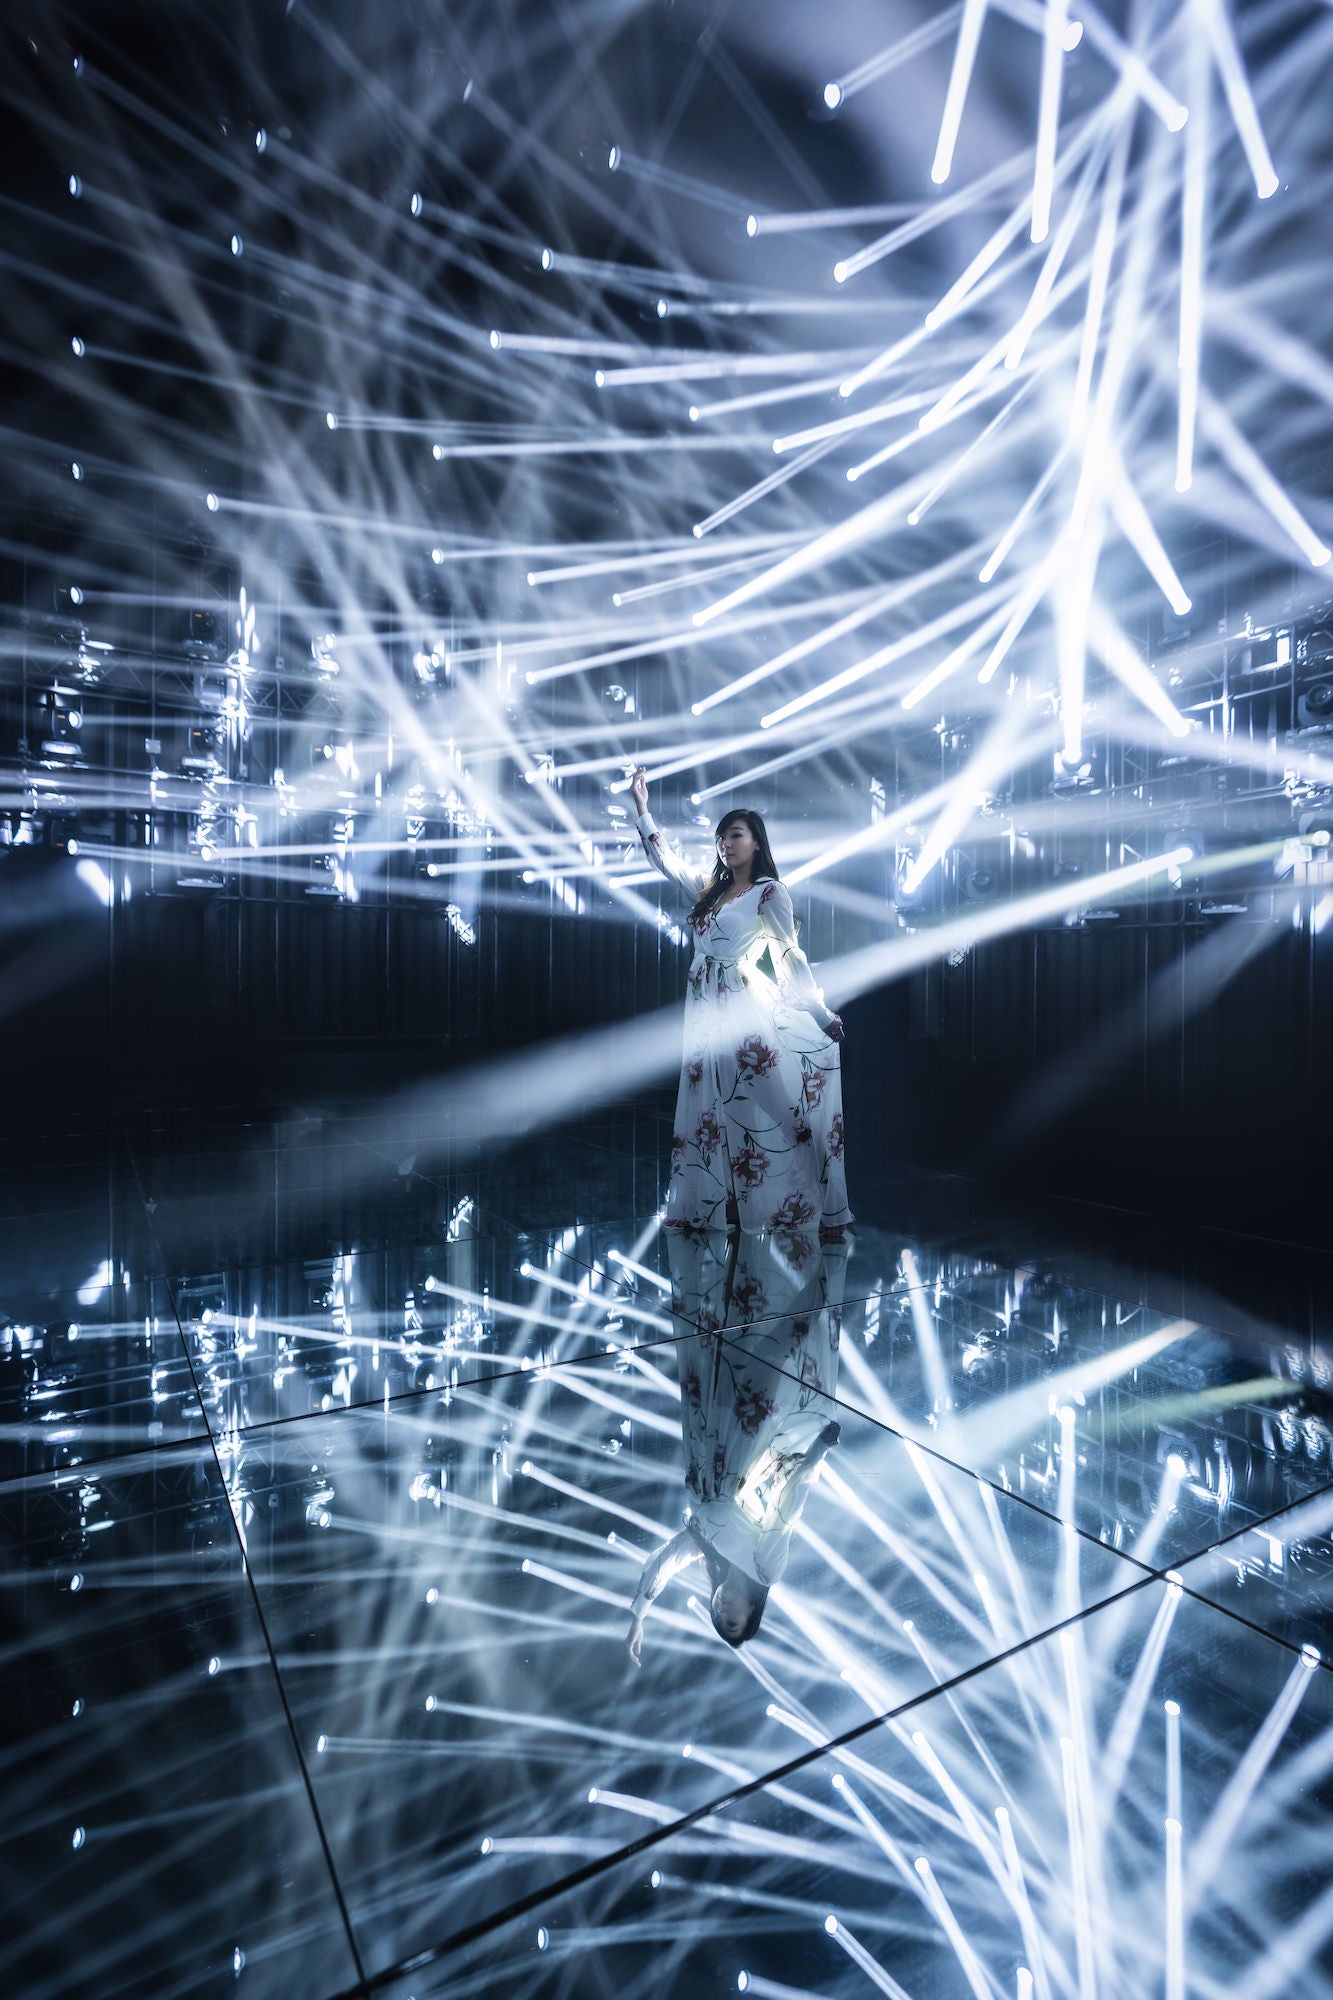
Photo by Ivan Wong. Sony Alpha 7R III. Sony 16-35mm f/2.8 G Master. 1/20-sec., f/2.8, ISO 640
Sony 24-70mm f/2.8 G Master: This is my go-to lens for portraits when I want to carry light and my focus is primarily on the subject. The focal lengths of this zoom lens encompasses the ranges I tend to shoot portraits at. It’s extremely sharp and versatile, and so always has a place in my bag.
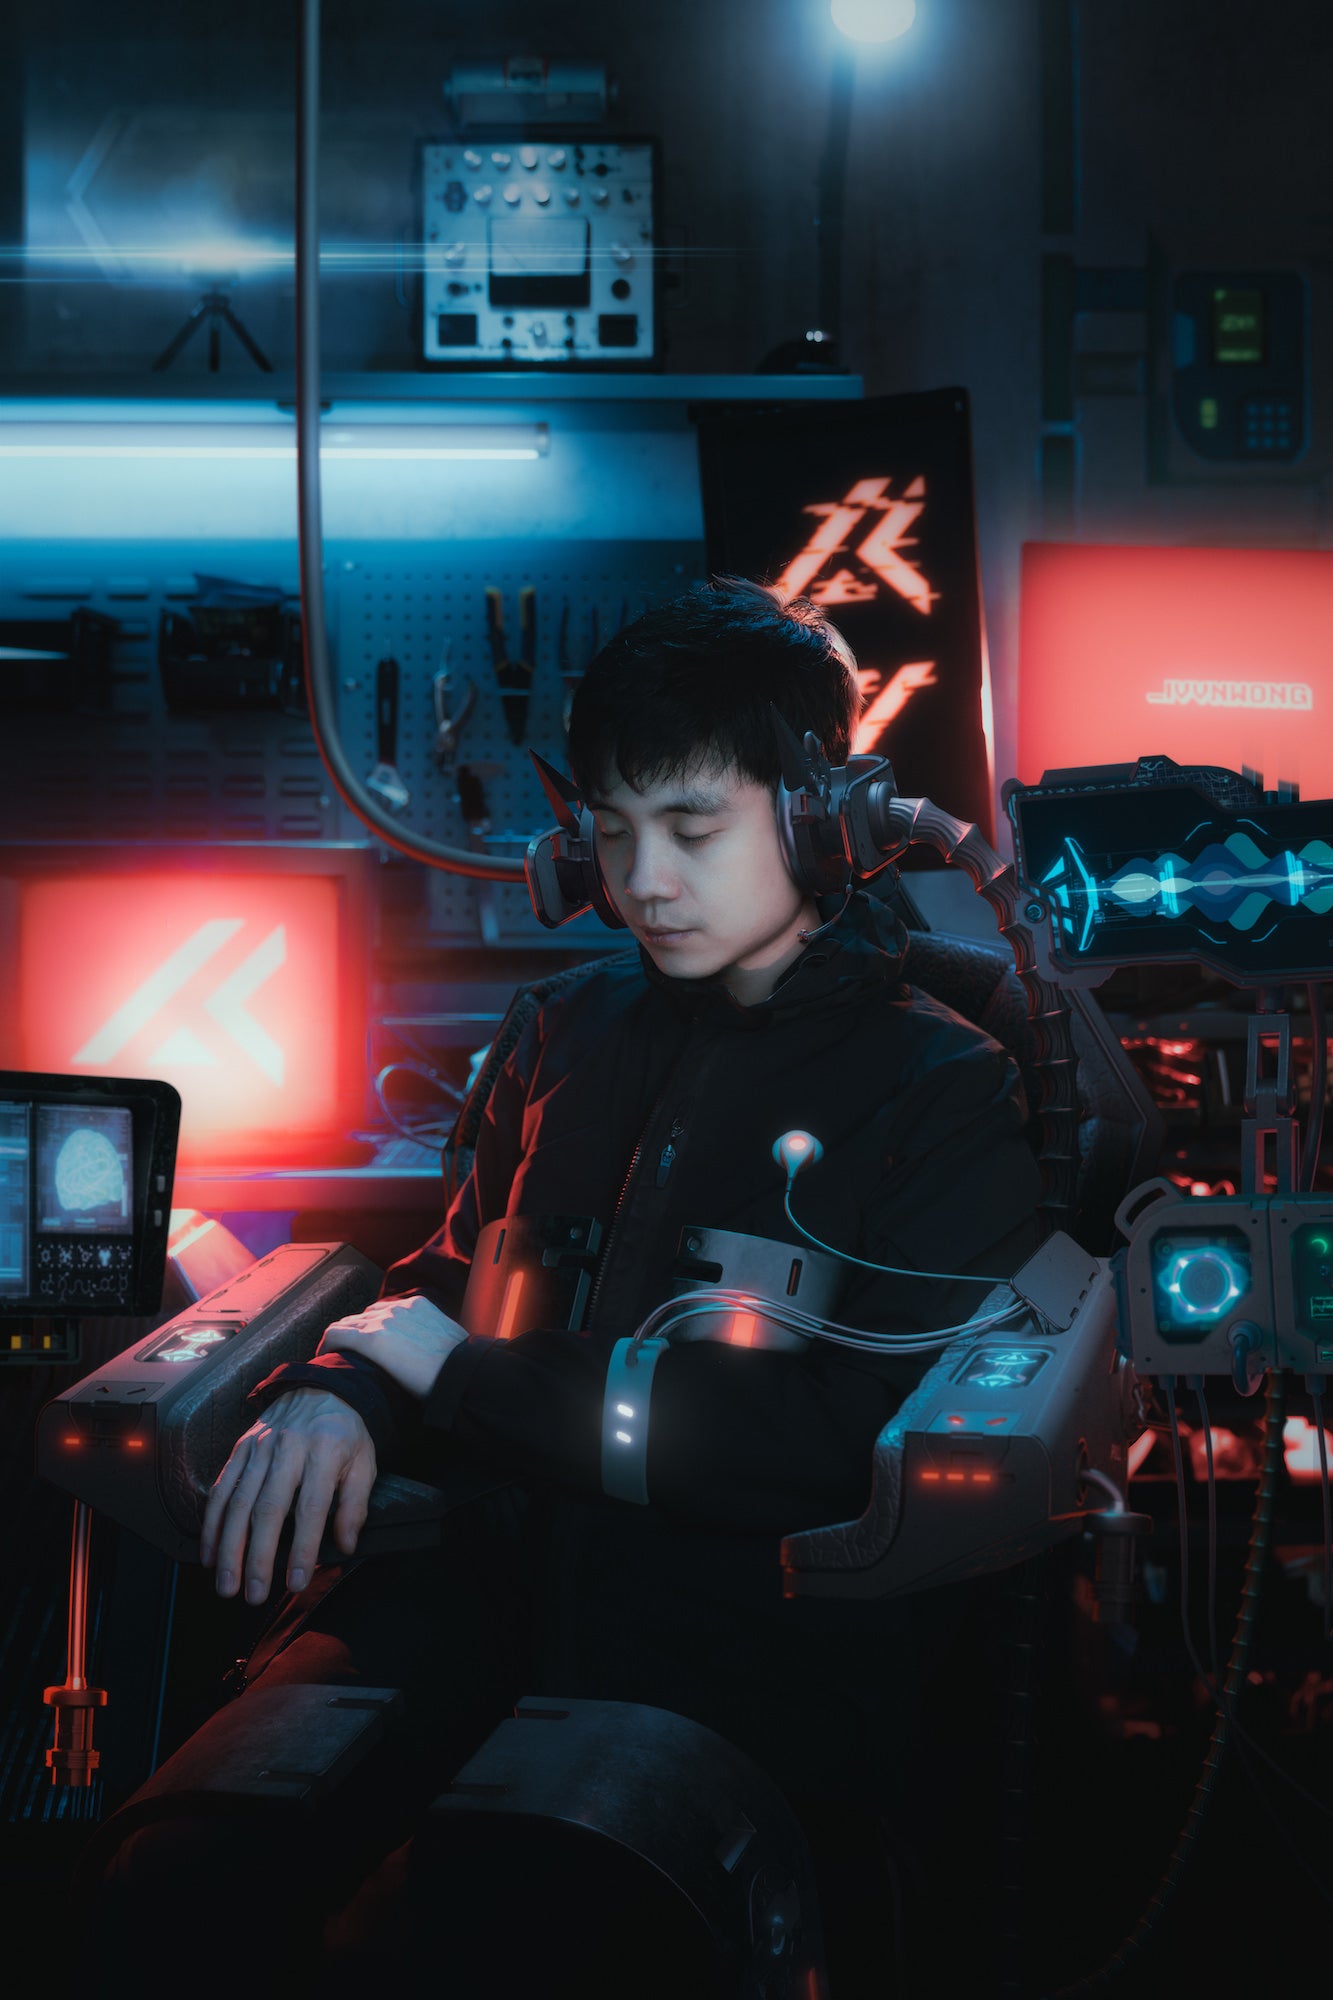
Photo by Ivan Wong. Sony Alpha 7R IV. Sony 24-70mm f/2.8 G Master. 1/25-sec., f/2.8, ISO 500
Sony 70-200mm f/2.8 G Master: While I rarely use this lens for portraits, I turn to this one when extreme bokeh to me is the desired outcome. The compression at higher focal lengths adds a dramatic effect to portraits, especially at lower apertures. It allows me to make the subject pop against neons or city lights in the back, or to blur out people in a crowded environment so the subject doesn’t get lost in the photo. This is also a great one for street portraits since I don’t like approaching strangers in the streets - with this lens, I can “hide” from them since I can be further away.
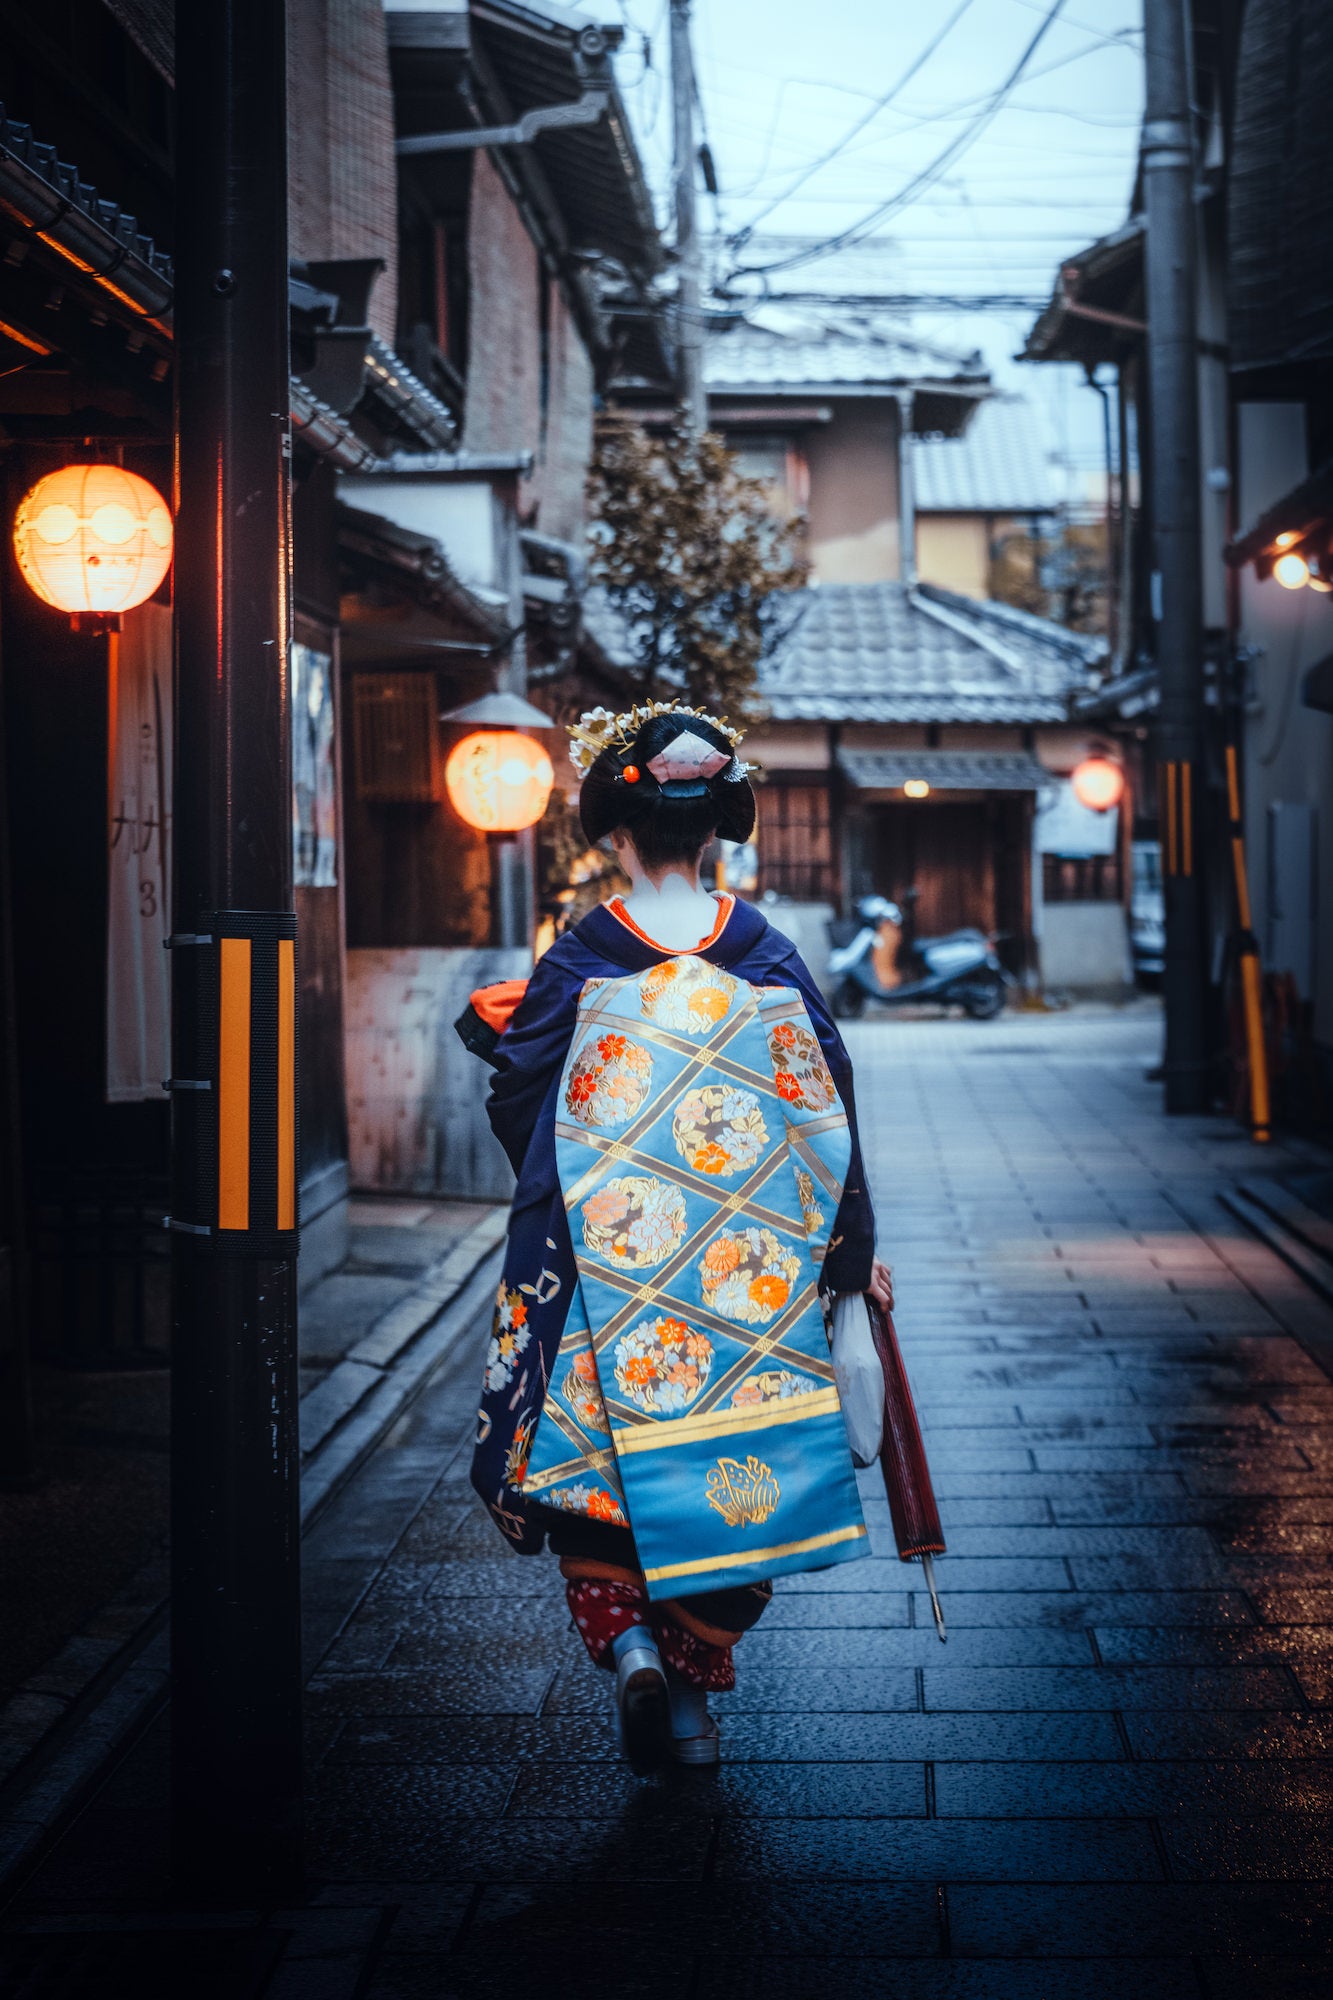
Photo by Ivan Wong. Sony Alpha 7R III. Sony 70-200mm f/2.8 G Master. 1/80-sec., f/3.5, ISO 800
Sony 35mm f/1.4 G Master: 35mm used to be my go-to focal length because I navigated to experimenting with portraits from experimenting with architecture. The type of portraits I liked would include almost the full body of a subject. The 35mm is my specialty lens for when I want a blurrier background or when the lighting is too dark (e.g. night portraits or shoots with subjects in them), but I want to maintain as much detail of the subject without increasing ISO too much or decreasing shutter speed too low.
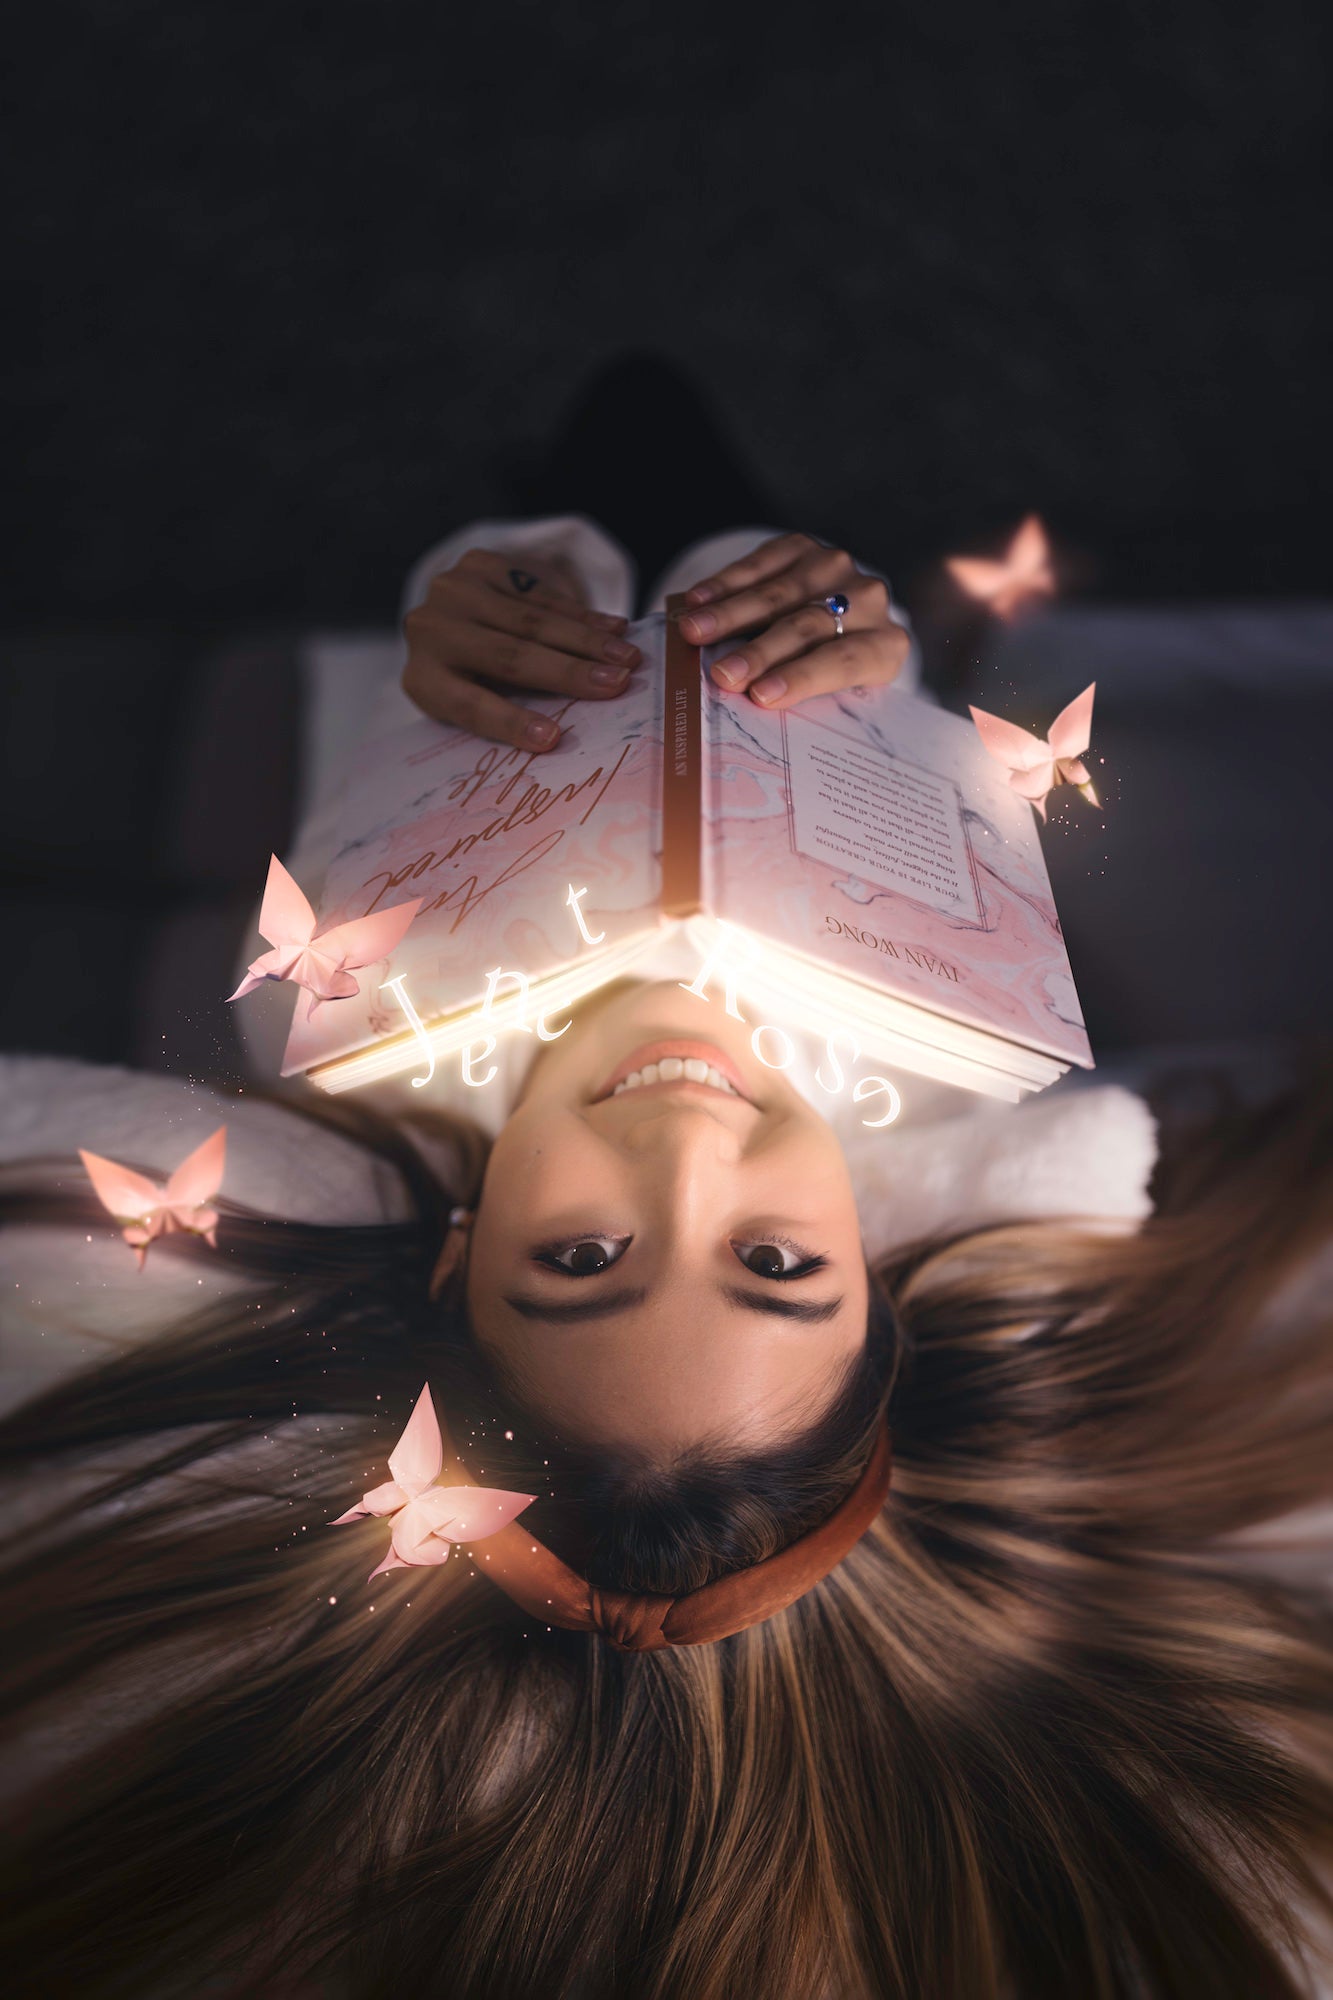
Photo by Ivan Wong. Sony Alpha 7R III. Sony 35mm f/1.4 G Master. 1/100-sec., f/1.4, ISO 200
Sony 50mm f/1.2 G Master: The 50mm is the focus length that I’ve started shooting portraits at. Before I liked to shoot wider head-to-toe shots of models, now I have become more comfortable shooting more compressed head-to-body shots. This lens can also be used to shoot full body shots at wider distances between the subject and me, but have less distortion on the subject compared to the 35mm. Similar to the 35mm f/1.4, the 50mm f/1.2 is my go-to for bokeh and low-light conditions. This lens is also extremely sharp and fast, which works incredibly well with the high fps of the Alpha 7R IV and Alpha 1.
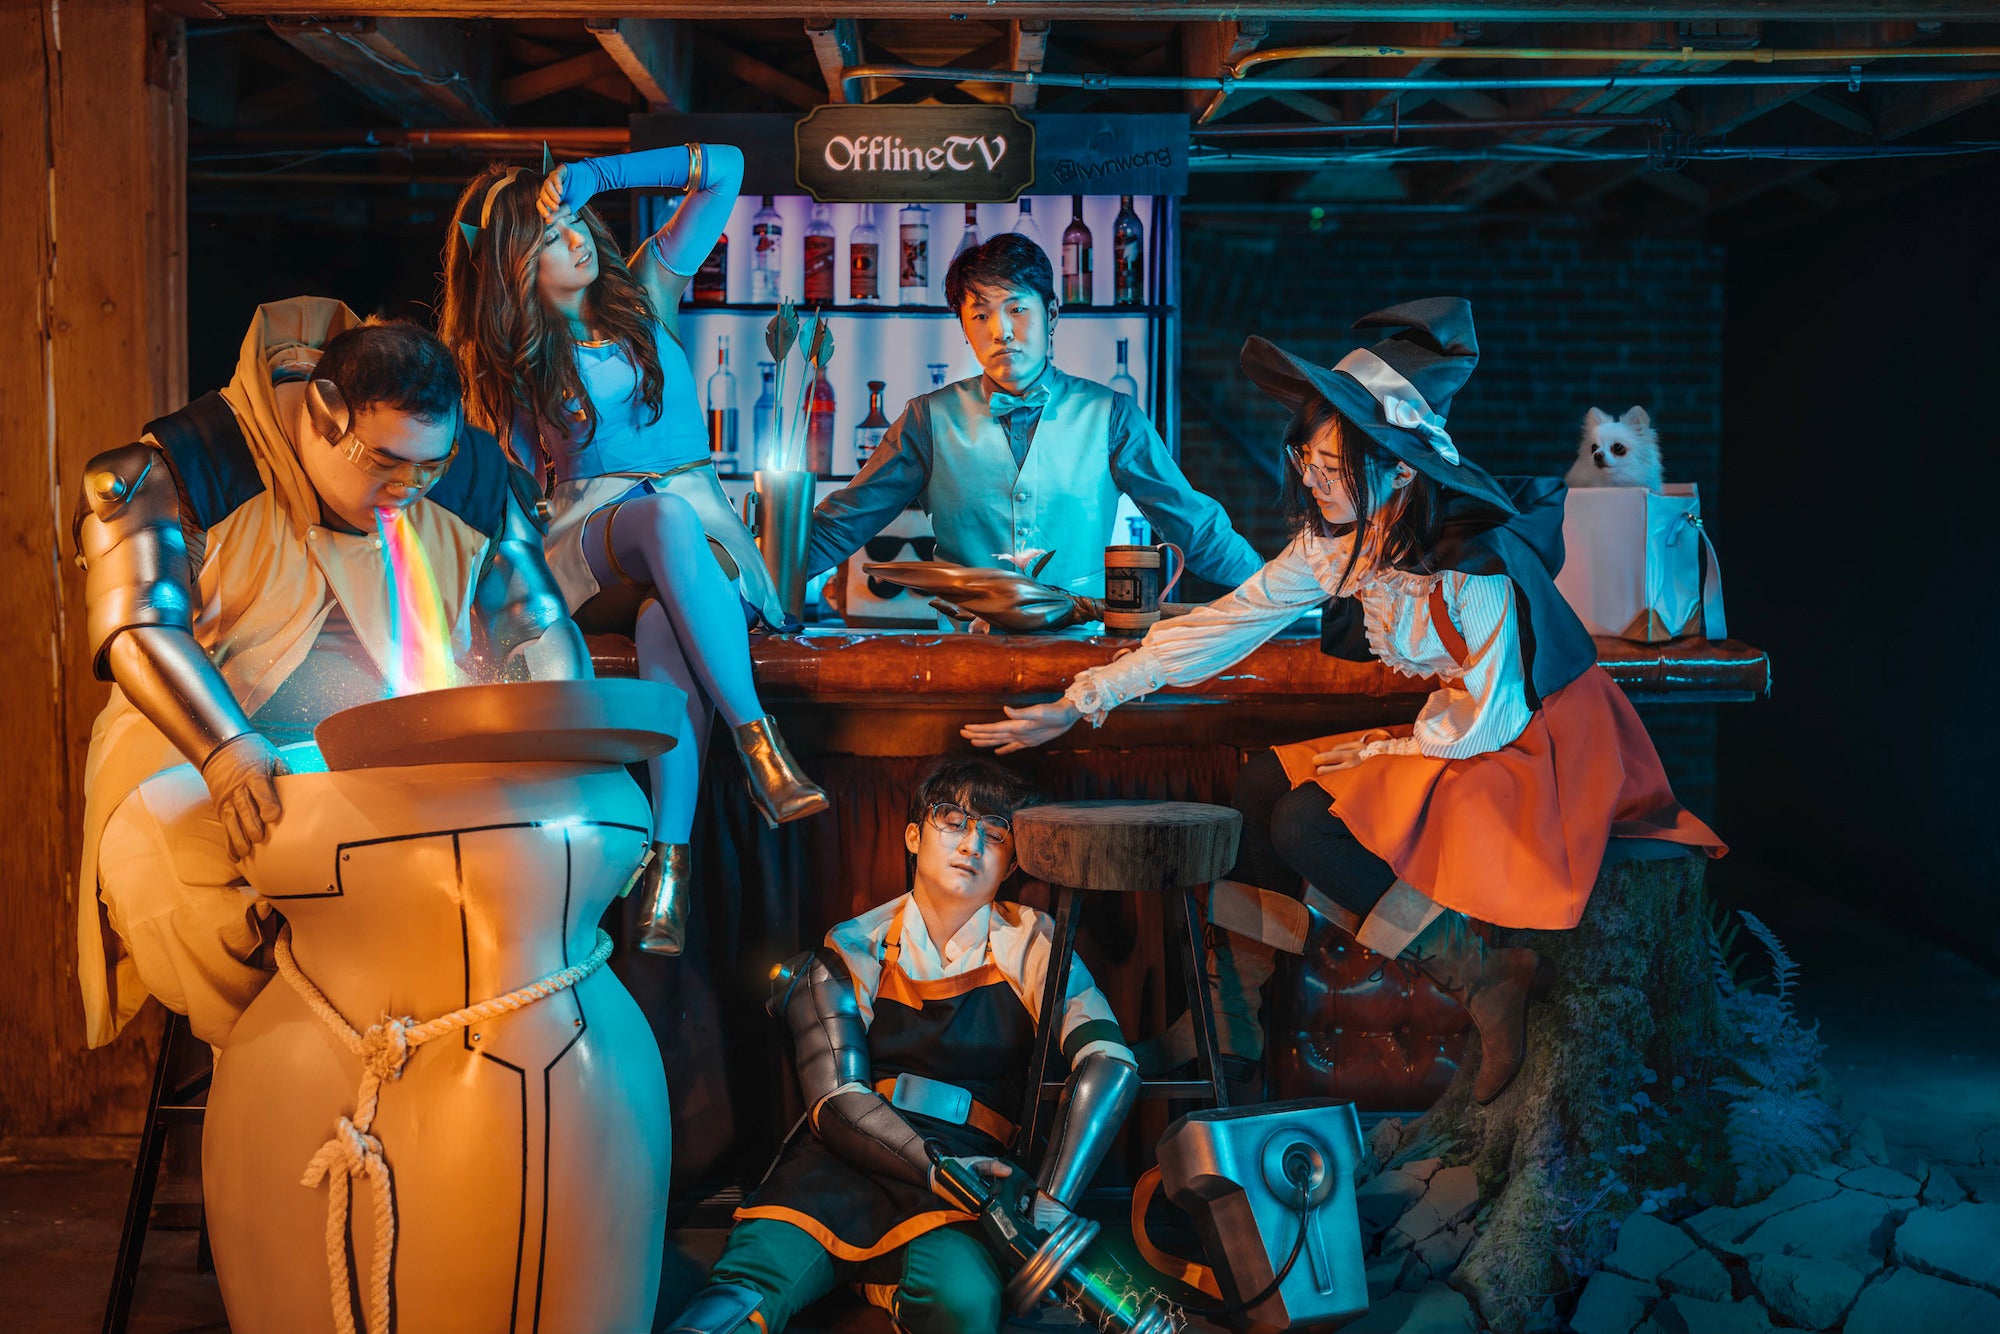
Photo by Ivan Wong. Sony Alpha 7R IV. Sony 50mm f/1.2 G Master. 1/60-sec., f/1.6, ISO 160
Accessories
Lowepro mTrekker Backpack: I try not to carry a bulky backpack because I have a small frame. Those also tend to become heavy and are noticeable while I’m out in the street. The Lowepro mTrekker maintains a small profile even though I stuff it with so many camera bodies, lenses, and accessories. The inside is also compartmentalized with padding so my gear is kept safe and organized. The problem is that it’s so small that I have to carry my laptop separately since it can’t fit into the backpack’s small laptop sleeve.
Peak Design Carbon Fiber Tripod: The third-most important gear in my bag after my camera bodies and lenses is my tripod. The Peak Design carbon fiber tripod tops every tripod that I have ever owned. For me, a lightweight tripod that is quick to deploy is a necessity, not a nice-to-have. Packing so much gear in my backpack, the last thing I want is additional weight from accessories. I often shoot creative portraits, cityscapes, and landscapes so my tripod is almost always strapped to my backpack.
Sony HVL-F60RM Speedlight: I purchased this speedlight recently after having tested it at the 2022 Sony Kando Trip. I was always afraid of using flash, but took a crash course from another Sony Ambassador who was a pro at lighting. This has become an essential gear for me when I’m shooting portraits in harsh daylight conditions since I can use the flash to balance the light between the subject and the lit environment. Because this is a Sony accessory, it quickly snaps onto the bodies and settings are seamless.
Lighting Kit: I carry a portable light and mini tripod for creative or night portraits. The light is adjustable to different colors and brightness and the tripod helps me with positioning the light around the subject.
“Prismatography” Kit: Whenever I shoot portraits with plenty of scenic and colorful environments, I bring my “prismatography” kit, which consists of 2x magic arms, 2x prisms, and a dual cold shoe extension bar. Oftentimes I’ll utilize one prism to reflect lights to add an extra element and “texture” to the portrait. However, sometimes I’ll also experiment with two prisms to fill different edges with reflections from the prisms, especially if I’m shooting in landscape mode.
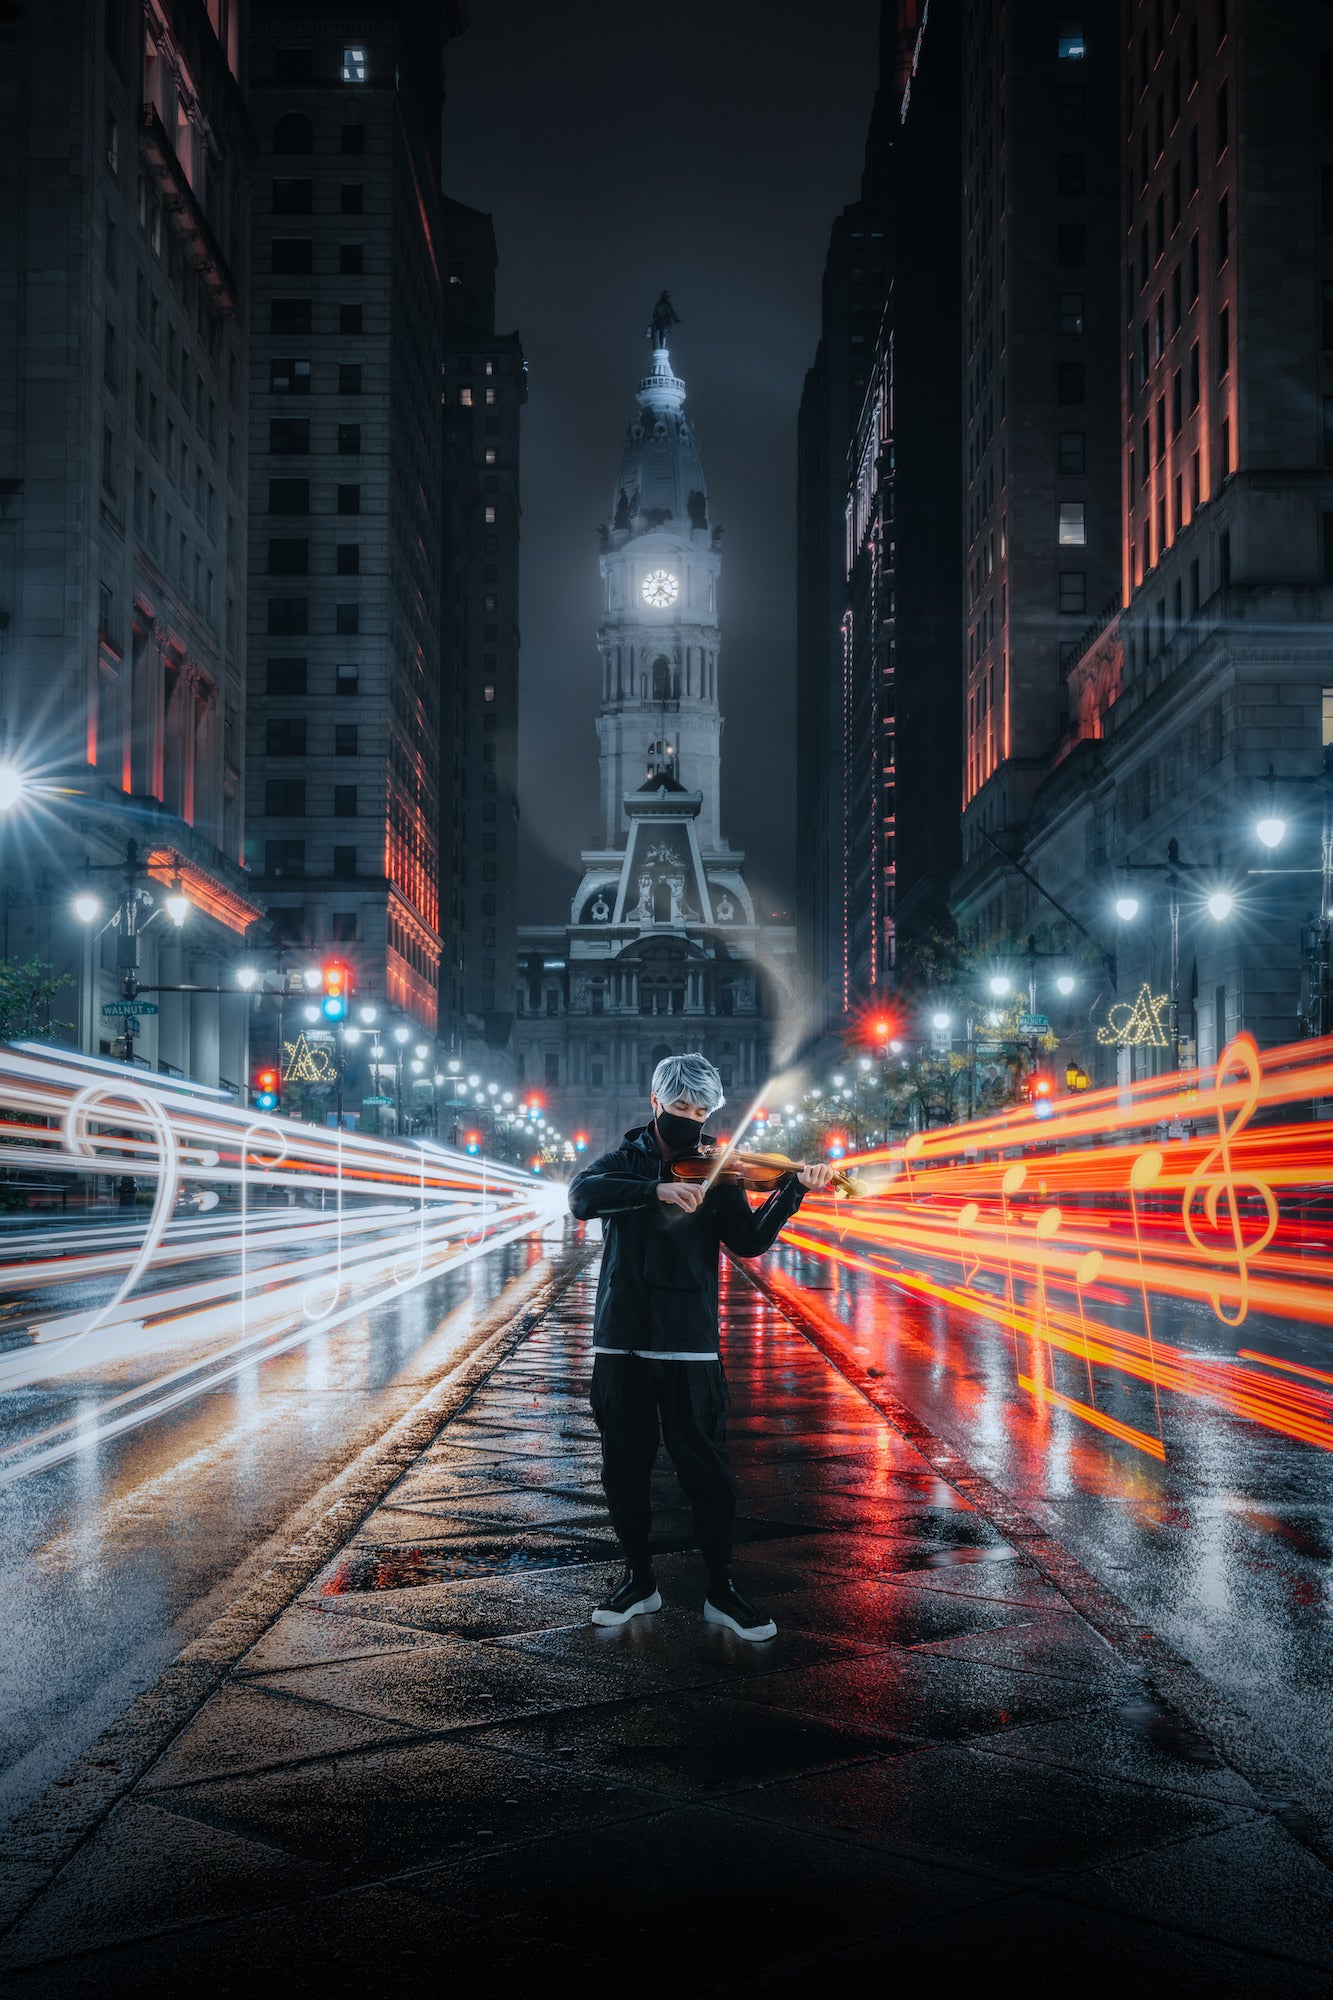
Photo by Ivan Wong. Sony Alpha 7R IV. Sony 24-70mm f/2.8 G Master. 1/15-sec., f/3.2, ISO 400
Star Filters: I carry a set of 4-star to 8-star filters to turn lights into stars for dramatic effects in portraits or cityscapes. Similar to the prisms, this can add an extra element to the portrait to make them more unique.
Diffusion Filters: Diffusion filters help add a softening/moody look to portraits and even cityscapes and landscapes by softening the harshness of lights and creating a “bloom” look from the light sources. They also soften the skin of the subjects and like my prisms and star filters, I use them for additional creative effects. I carry 5%, 10%, and 20% Moment Lens diffusion filters, and choose based on the degree of “bloom” and softness I want.
Clip-in filters: Both the Alpha 7R IV and Alpha 1 support clip-in filters. These are handy whenever I need to swap between lenses and don’t want to constantly pass the filters between them. I have a Kolari UV clip-in filter so I don’t have to buy one for every lens I own, and a Kolari 590nm IR clip-in filter for my Alpha 7R IV.
Step-Up Rings: Each of my lenses are equipped with a step-up ring to 82mm. This streamlines my screw-on filter set since I don’t need to buy multiple filter sizes for each lens.
Cleaning Kit: Having a cleaning kit is critical to capturing photos with no dirt or dust in frame, especially at higher apertures. Shoots can be indoors or outdoors, in harsh or clean terrains so it’s best to be prepared for any conditions. I carry multiple lens clothes just in case. I also carry wet wipes and hand sanitizer in case the sets are dirty. In portrait photography, we often experiment with different angles to get the perfect frame, which can include lying on the ground, climbing things to utilize higher vantage points, or grabbing objects from surroundings to use as props.
Sunscreen & Cologne: Similar to the hand sanitizer and wet wipes, sunscreen and cologne are important to keep me protected in harsh conditions. My go-to cologne is a portable vial of Aventus by Creed and my sunscreen is a light-weight option by Shiseido. Laying on the streets taking portraits can be grimey sometimes, especially in areas of heavy pedestrian traffic like Downtown LA or New York streets.
Apple Tag: I carry an Apple Tag in my backpack to track it in case it gets lost. I like to hide this in a nook in the backpack so the perpetrator won’t notice it in case the backpack ever gets stolen.
Foldable Blanket: The blanket comes in handy whenever I need to lay my backpack down in unkept environments, if I ask the model to sit, but I don’t want them to be uncomfortable sitting in dirty areas, or if I need to lay down to get down-up angles of the models.
Allen Wrench: My cameras are equipped with l-brackets for easy mounting to my tripod. And my Peak Design tripod mount is always screwed onto my 70-200mm lens. Just in case these ever get loose, I always carry my allen wrench set to tighten them.
See more of Ivan Wong's work on Instagram @ivvnwong.
