Photographing cityscapes is an absolute thrill and I’ve learned a lot about how to capture the best photo possible, by revisiting places I’ve gone to and doing things differently the second time.
To help both beginners and professionals, I’ve composed 11 tips I think will be helpful to capture better cityscape/skyline images. They’re my personal experiences that have helped me, but take these tips and make them your own to fit your style and creative mind.
 Photo by Kenneth Hines (@professorhines). Rockefeller Center’s “Top of the Rock” in New York, NY. Sony α7. Sony 55mm f/1.8 lens. 8-sec., f/10, ISO 50.
This is a heavily visited tourist attraction in Midtown Manhattan and it’s always recommended you arrive early to save your spot so you can capture that epic sunset you want. I arrived over four hours early to get a good spot, but I almost missed that chance by moving and coming back to a crowded top-level observation area.
Fortunately, I was able to force my way to a ledge area to set up my camera for some great sunset images.
1. Determine your vantage point, then choose your lens
Wherever you plan to shoot helps abundantly in choosing your lens(es). Cityscapes are typically great with a wide-angle shot, but this can come from a wide-angle lens or even a telephoto lens, based on how far away you are from a scene. Sometimes using a wide-angle lens of a scene from a faraway vantage point will not bring viewers into your image if it seems too far away to get a feel for what you captured in your photo.
Many like to plan out what they are going to take with them to cut down on unnecessary gear. Figure out where you’re shooting from and map out the distance. If you don’t care to do that then, of course, bring all of your lenses! You never know what will be the right lens for a given situation. That 85mm lens you have could be the bread and butter choice, but yet you left home with only a 35mm and you’re screwed out of getting a good image when you could have had a winner! Hopefully, you have a super-high-megapixel camera and can crop heavily to try and make that work.
Lately, I’ve found the Zeiss Batis FE 85mm f/1.8 Sonnar and Sony Sonnar T* FE 55mm f/1.8 ZA lens. as favorites with my Sony Alpha cameras, for my cityscape images. Most wouldn’t think of these lenses as first choices, but they’ve actually been amazing at capturing some of my recent cityscapes in New York City and Chicago.
 Photo by Kenneth Hines (@professorhines). Chicago, IL. Sony α6000. Sony 10-18mm f/4 lens. 1/50-sec., f/7.1, ISO 500
I pressed my camera up against the glass of the building I was in to get this reflection of the elevated transit and the buildings on the opposite side of the street. I’ve shot here several times and to this day whenever I post images from here many always think this is Photoshopped, but it’s 100% NOT!
2. Look for Reflections
These can really make for some incredible looking images. Having a mirrored image that wasn’t Photoshopped can really add character to a photo and also allow your viewers to view your image longer and concentrate on just how you captured it.
Reflections from one building that reflect back to another building or what’s happening in the sky is a very cool capture. It’s better if you’re able to really get close up on the building of focus and reflect off of it, vs. being a distance away. That closer perspective gives you an illusion that, if captured perfectly, can throw off your viewers – which is always fun to do!  Photo by Kenneth Hines (@professorhines). Chicago, IL. Sony α9. Sony 16-35mm f/4 lens. 1/640-sec., f/18, ISO 50.
I was teaching an attendee at my Summer Street Meet how to photograph toward the sun when it’s behind the skyline you’re capturing. Here I decided to do a silhouette to just give me the outline of the buildings and the subtle look with the sky and water in the image.
3. Pay Attention to Light
This is SO important! I have many photographers who come to me needing help on this, especially those who rarely, if ever, shoot with natural light. Sunlight is unpredictable and you have to follow its lead and be attentive to how the light falls off of buildings and reflects from them.
You can do so many things with the sunlight and you have to really be creative here. Time of day is important too as the colors and conditions are changing every minute, especially during sunrise and sunset. You can do things such as adjusting your aperture to obtain the sunburst/star effect from the sun or even adjusting your metering mode to center to account for the sun in your image, which creates a gorgeous silhouette on buildings or anything that may be in your frame.
 Photo by Kenneth Hines (@professorhines). Downtown Connector, Atlanta, GA. Sony α7R II. Sony 55mm f/1.8 lens. 25-sec., f/16, ISO 80.
Atlanta has one of the widest highways in the country and it goes between the downtown and midtown areas, offering a nice close-up view of the bumper-to-bumper traffic and the downtown skyline in a great composition for night time photographs. You don’t have to worry about people here and can always expect to be the only one out photographing.
4. Use a Tripod when Needed
Depending on when and where you’re shooting, having a tripod can really make for a more impressive image. As light trails from highways and roadways in the foreground, it can add a more dramatic feel to your photo over a frozen still image.
I’ve been to locations that may not allow tripods, but in some cases, they’ll have ledges you may be able to prop up on or even be able to use a small tabletop tripod (which most places typically will allow, as opposed to full-size tripods.) A hand-held shot vs. a long exposure one can be the difference between having a good image and a great one. Click here for my recommended list of tripods. Remember, when using a tripod be sure to DISABLE your camera/lenses stabilization. Even though you’re on a tripod the camera/lens will still be accounting for motion and your image may turn out with a blur because of this.
 Photo by Kenneth Hines (@professorhines). Downtown Los Angeles, CA. Sony α7. Sony 10-18mm f/4 lens. 30-sec., f/9.
I happened to be out with my friend and I just looked up and thought this cluster of buildings would make for a great composition. I was using my Sony 10-18mm, which is an APS-C lens, but oddly it does work between 12-18mm. This was the widest lens I could use at the time for Sony before the new Sony FE 12-24mm f/4 G lens was released.
5. Capture Different Angles
Sometimes we become so stuck in our routine way of doing things that we forget to think outside the box and be more creative.
Notice your surroundings. With cityscapes/skylines, you have a lot that’s around you and you must look out to see what’s near or far and how you can capture as many different angles as possible. Just looking straight up can have a great perspective or having the clouds above be seen reflecting off of a building to give a dramatic look, or even trying some funky angles that someone may think you’re crazy for taking but it ends up being a unique image.
Don’t be afraid to try a variety of different things. It may even help to go to an area you want to photograph a few times beforehand to scout out the location. This helps in making sure when you’re ready to capture the perfect scene there’s little thinking needed to be done and you won’t waste any time during the short window of sunrise or sunset.
 Photo by Kenneth Hines (@professorhines). Portland, OR. Sony α7. Sony 16-35mm f/4 lens. 4-sec., f/22, ISO 50.
This pier was moving quite heavily for this shot and this is one of those rare times where I was using a tripod and enabled image stabilization to counter the movement.
6. Photograph in Aperture Priority
I know this angers a lot of photographers when I say this. Many are even angered by the fact that I, as a professional, photograph about 99% in aperture priority. I’ve hosted several photo walks across the country and attended a few as well and I’ve seen countless times people missing an image because they had to dial in the right settings. In a studio, photographing fireworks or something then yes... manual is certainly what I’d go with, but for cityscapes, aperture priority is your best friend.
Why? You’re eliminating the need to get the right exposure by the camera automatically adjusting, based on your ISO setting and your aperture. This is also a must if you choose to bracket your images. Using manual will take you longer than you need it to.
You also want to be able to turn around quickly to get a shot if you need to without having to redo your camera settings. When you move your camera, the lighting conditions will be different and you’ll be changing your settings for every position you move to. A change in lighting means different exposure, which in turn will be brighter or darker based on your initial settings. This takes up a lot of time and you’re more likely to miss that perfect photo.
 Photo by Kenneth Hines (@professorhines). Rockefeller Center in New York, NY. Sony α6000. Sony 10-18mm f/4 lens. 1/20-sec., f/7.1, ISO 500.
7. Get to Heavily-Trafficked Areas Early!
This should be common knowledge. Numerous photographers will be planning their sights on the same location you are and getting positioned in that perfect spot. Sometimes I’ve arrived at a location four hours ahead to secure my spot. Make sure you’ve visited the potty, have some snacks and something to keep you busy while you wait – as you don’t want to leave your spot!
 Photo by Kenneth Hines (@professorhines). Sony α6000. Vintage 135mm f/2.8 lens. 1/800-sec., ISO 100.
This is a manual focusing lens that’s absolutely incredible. With the crop factor of this camera, this turns into a 200mm lens and even though it’s such a tight focal length I’m still able to get a wide image of the skyline of San Francisco because of how far away I am. The α6000 doesn’t have IBIS but because this image was taken during the day I had a fast enough shutter speed to get a clean crisp image at 200mm.
8. Manual Focus for Sharper Results
Cameras autofocus quite well, but sometimes it could be that ever-so-slight miss and your image isn’t tack-sharp. If you’re on a tripod, you’ll be able to pinpoint your focus by manually focusing. If you’re hand-holding then you’ll have to rely on your cameras autofocusing.
Making sure you have the exact perfect image lined up and focused properly is good for those epic cityscape images that you may want to blow up and sell.
 Photo by Kenneth Hines (@professorhines). Brooklyn Bridge Park in New York, NY. Sony α7. Sony 24-70mm f/2.8 G Master lens. 15-sec., f/16, ISO 320.
This was a late and foggy night in New York that actually made for a great image with the fog, hiding many of the buildings – such as One World Trade Center and giving a very eerie look to the scene.
9. Inclement Weather is a Winner
Mother Nature can add value to a composition. Maybe capturing that perfectly-timed lightning bolt or even low-flowing fog across the buildings. Don’t be afraid to go out if the day you planned to photograph turns out to have a few weather changes. Make sure your camera equipment is weather resistant and has a cover as to not get damaged in any way.
 Photo by Kenneth Hines (@professorhines). Freedom Parkway Bridge in Atlanta, GA. Sony α6000. Sony 10-18mm f/4 lens. 6-sec., f/9.
10. Bracketing Can Help Even More
All cameras perform differently and capture different levels of dynamic range. If your camera isn’t the strongest in that area then bracketing can overcome any shortcomings of your camera.
Later on, in post-production, you can mask images together for combining highlights in one image to the shadows in another to balance your image accordingly and obtain that properly exposed image. You can determine your exposures and how many brackets you’d want to use. I typically go for a -2, 0 and +2 exposures when I bracket. I feel that gives me the range I need to balance an image if needed. All of my images now, however, are just single images, which I can bring back a lot of detail from, because of the great dynamic range of the Sony Alpha cameras.
 Photo by Kenneth Hines (@professorhines). Battery Park Promenade in New York, NY. Sony α6000. Sony 10-18mm f/4 lens. 1/4-sec., f/11, ISO 200.
11. Be Creative in Post-Processing & Don’t Forget to Photograph in RAW
Make your photo your own! There’s so much you can do with a RAW file in post-processing. Try different things to bring an already great photo to be even more creative with post-processing. Just don’t go overboard and ruin your image with too much editing.
There are many photos I may look at just in camera and not see much from in the photo, but with editing, I can bring back detail in the highlights or bring more life into the shadows and add more of that warm tone to my photo if it was sunrise or sunset. There are some who are against editing, especially if you’re seen photographing with a lot of expensive gear, but it’s your work! Make it into how you feel inspired to make your art look and how you want to present that to the world!
See this speed edit below of how I took one of my cityscape images and really brought it to life in post-processing.
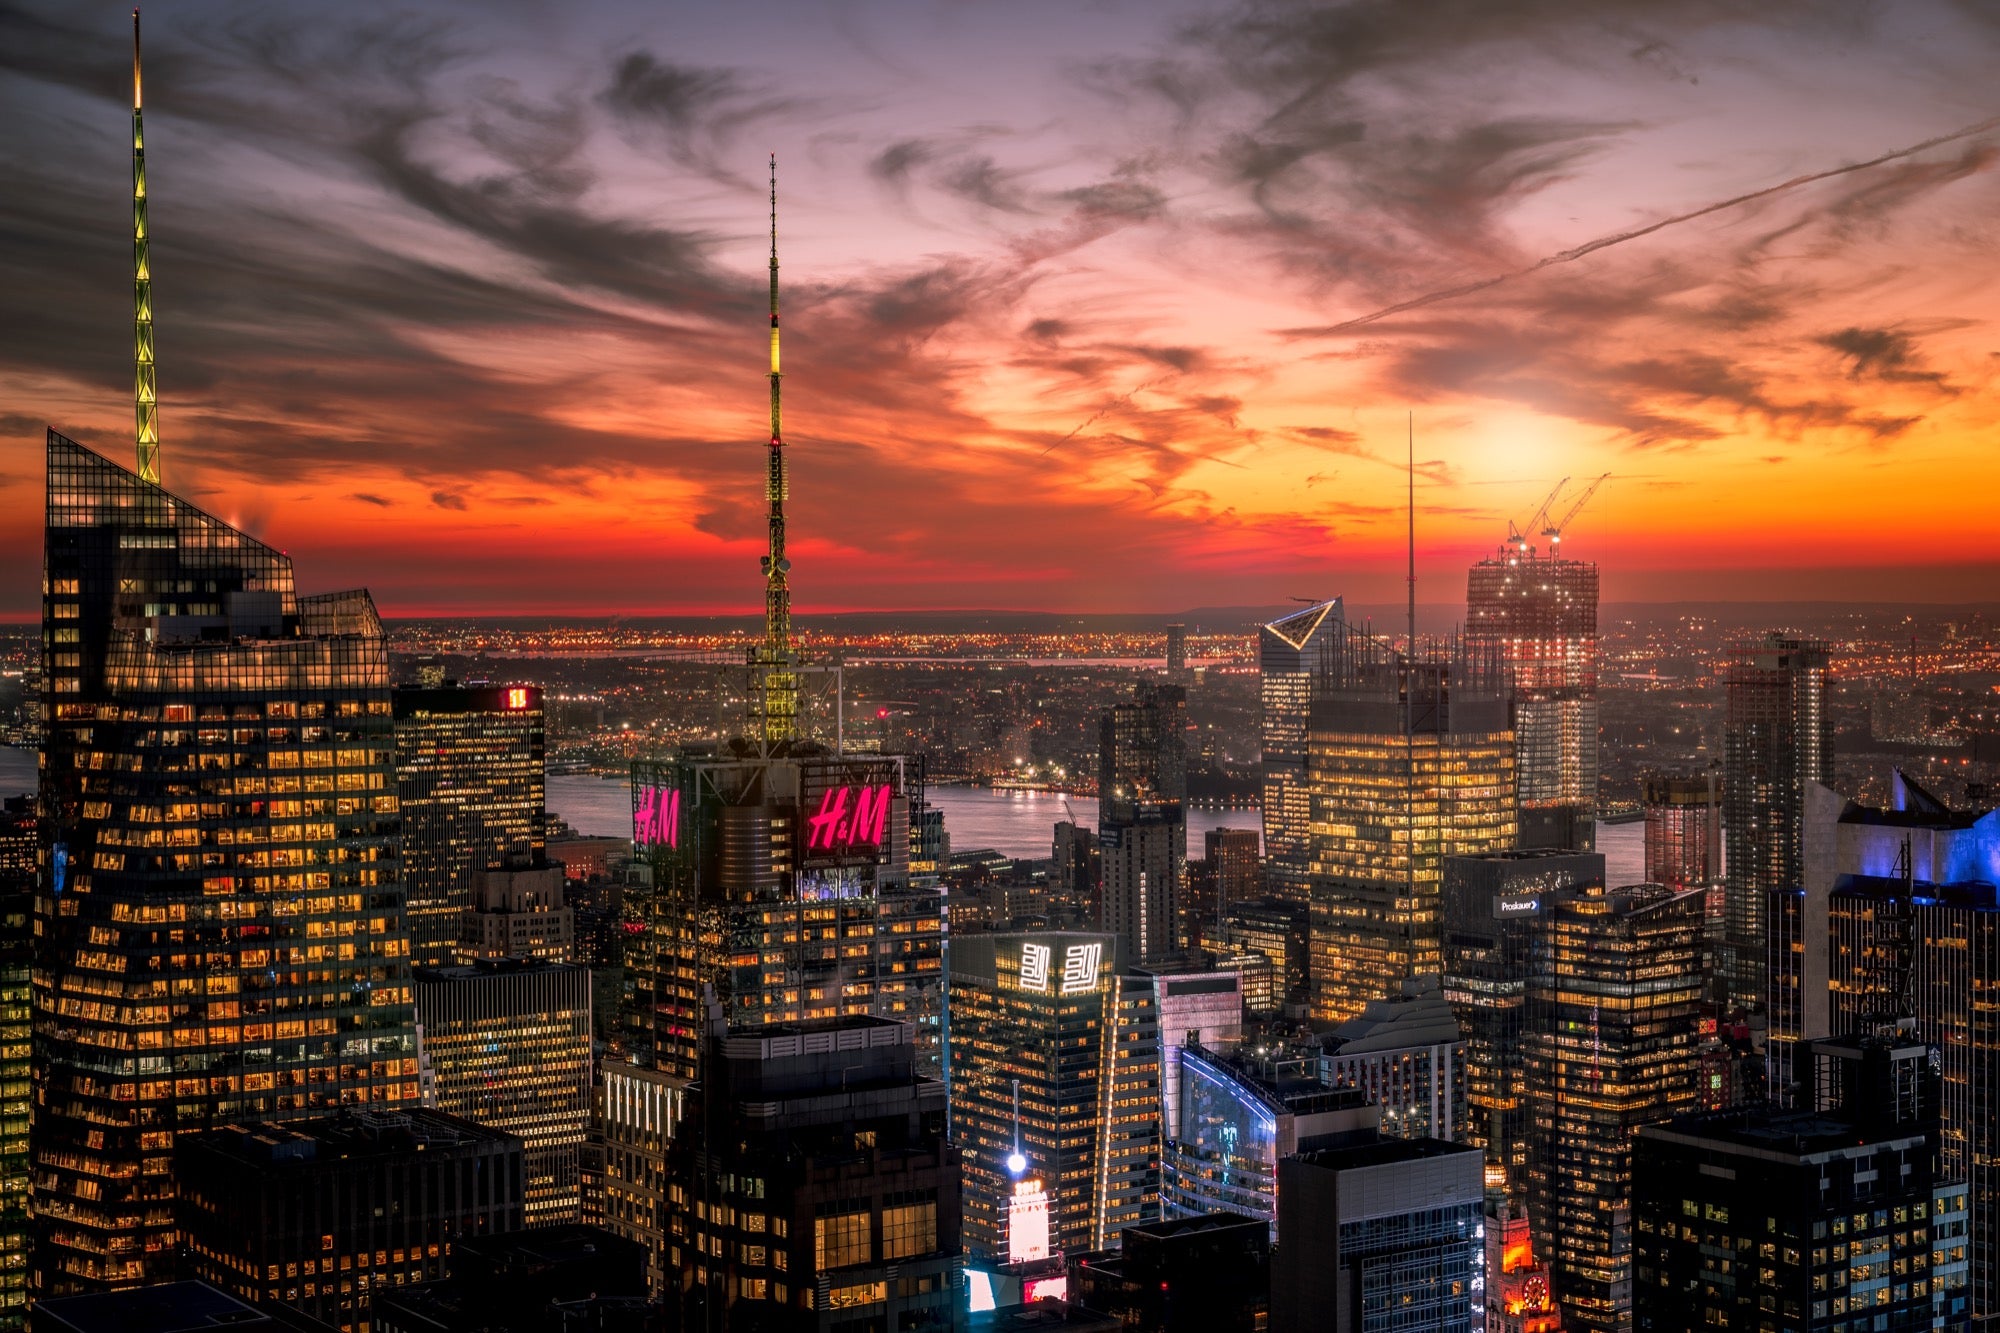 Photo by Kenneth Hines (@professorhines). Rockefeller Center’s “Top of the Rock” in New York, NY. Sony α7. Sony 55mm f/1.8 ZA lens. 4-sec., f/10, ISO 50.
The Sony cameras' dynamic range is so good that with a single image I was able to really bring out the shadows of the image and tone down the highlights to give an HDR-like effect to this photo and have very rich, vibrant colors in post-processing.
Happy shooting
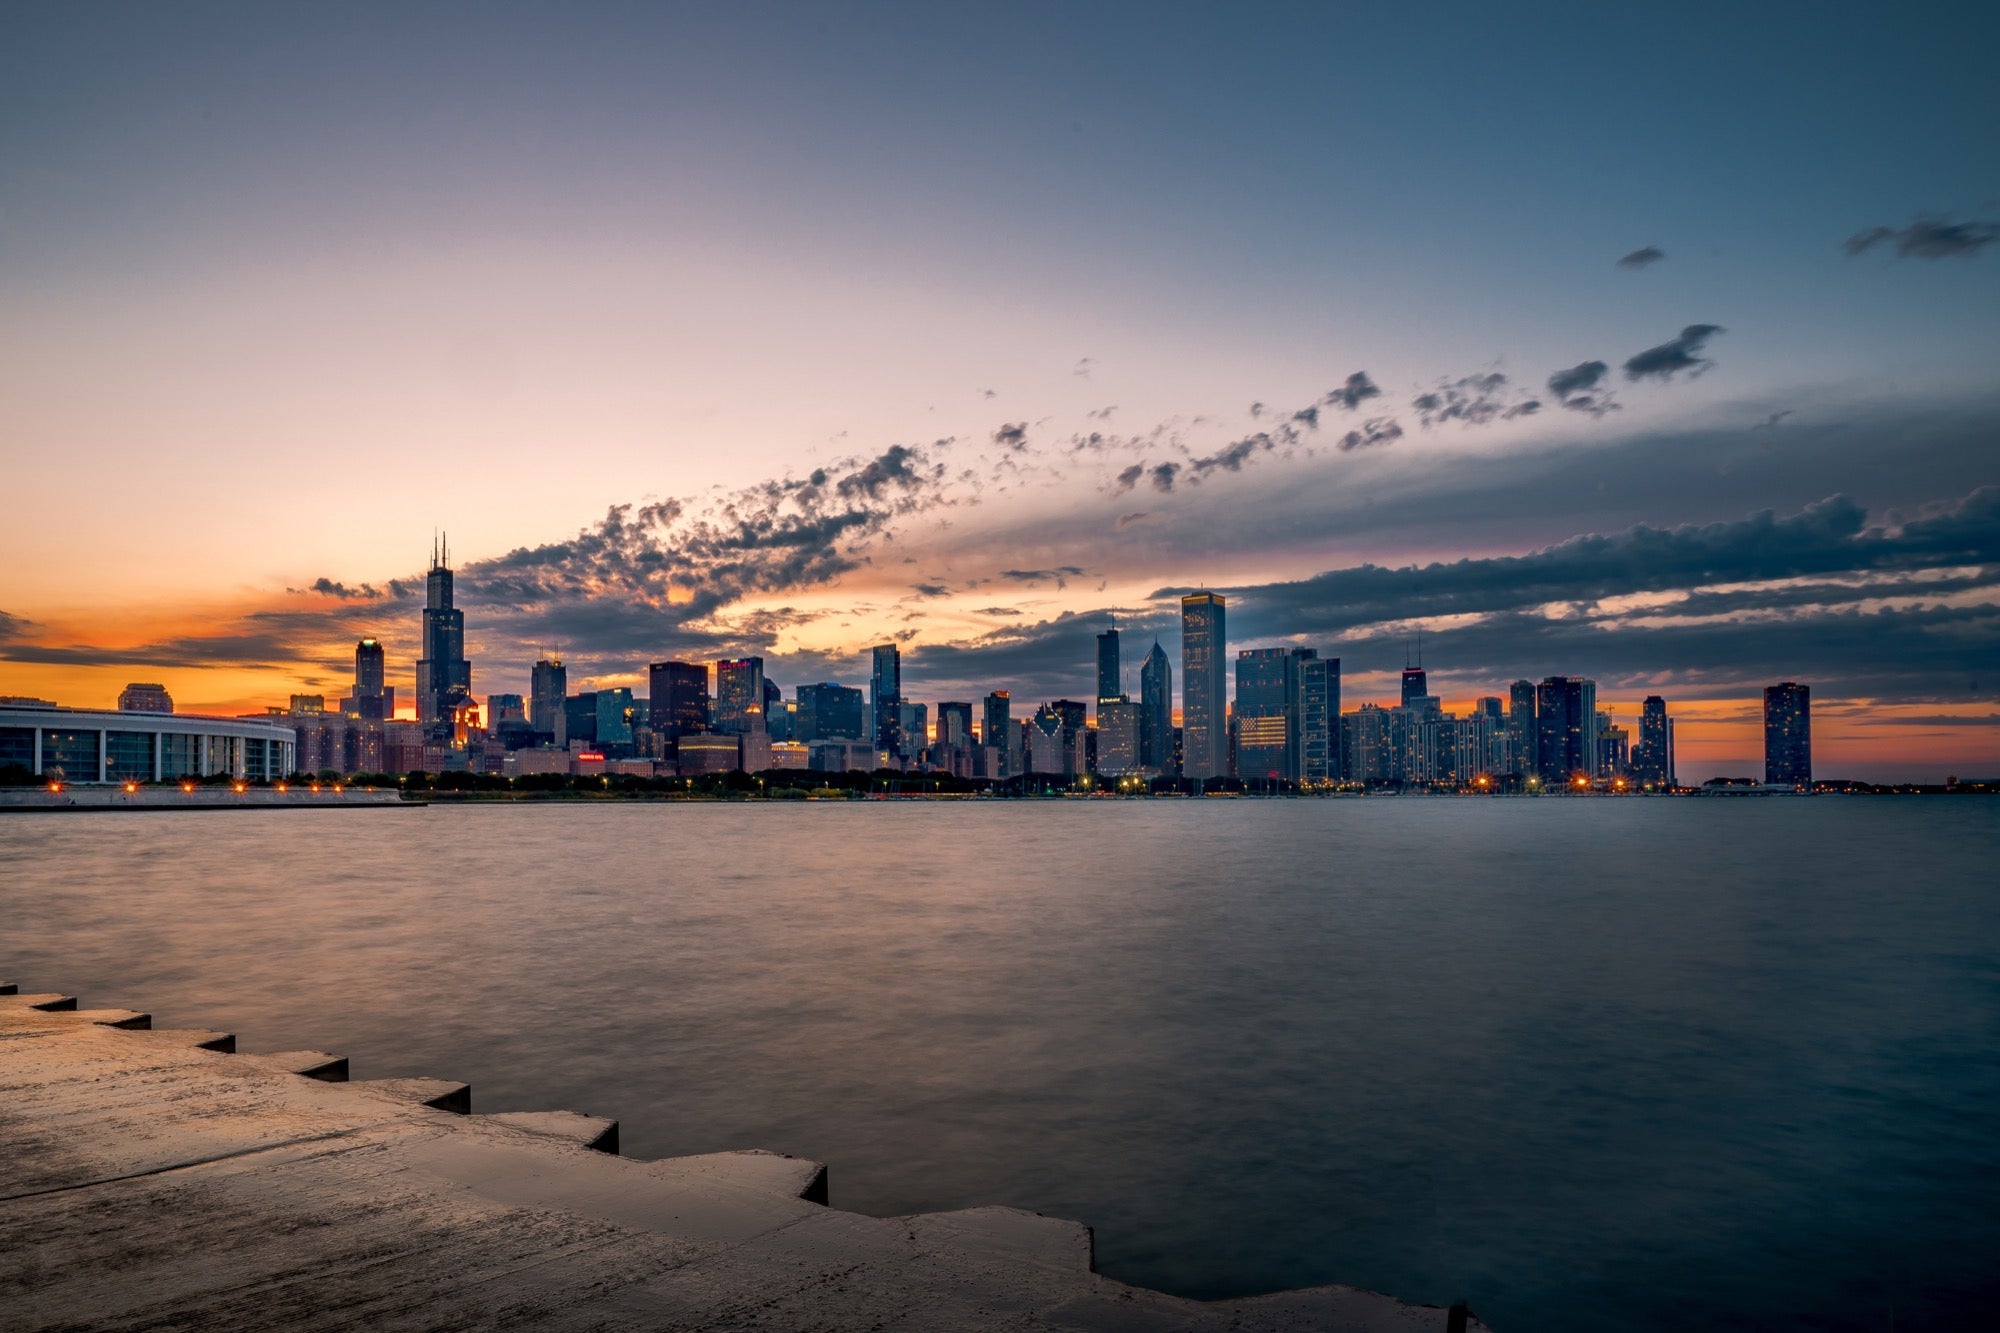 Photo by Kenneth Hines (@professorhines). Chicago, IL. Sony α9. Sony 16-35mm f/4 lens. 4.99-sec., f/22, ISO 50.
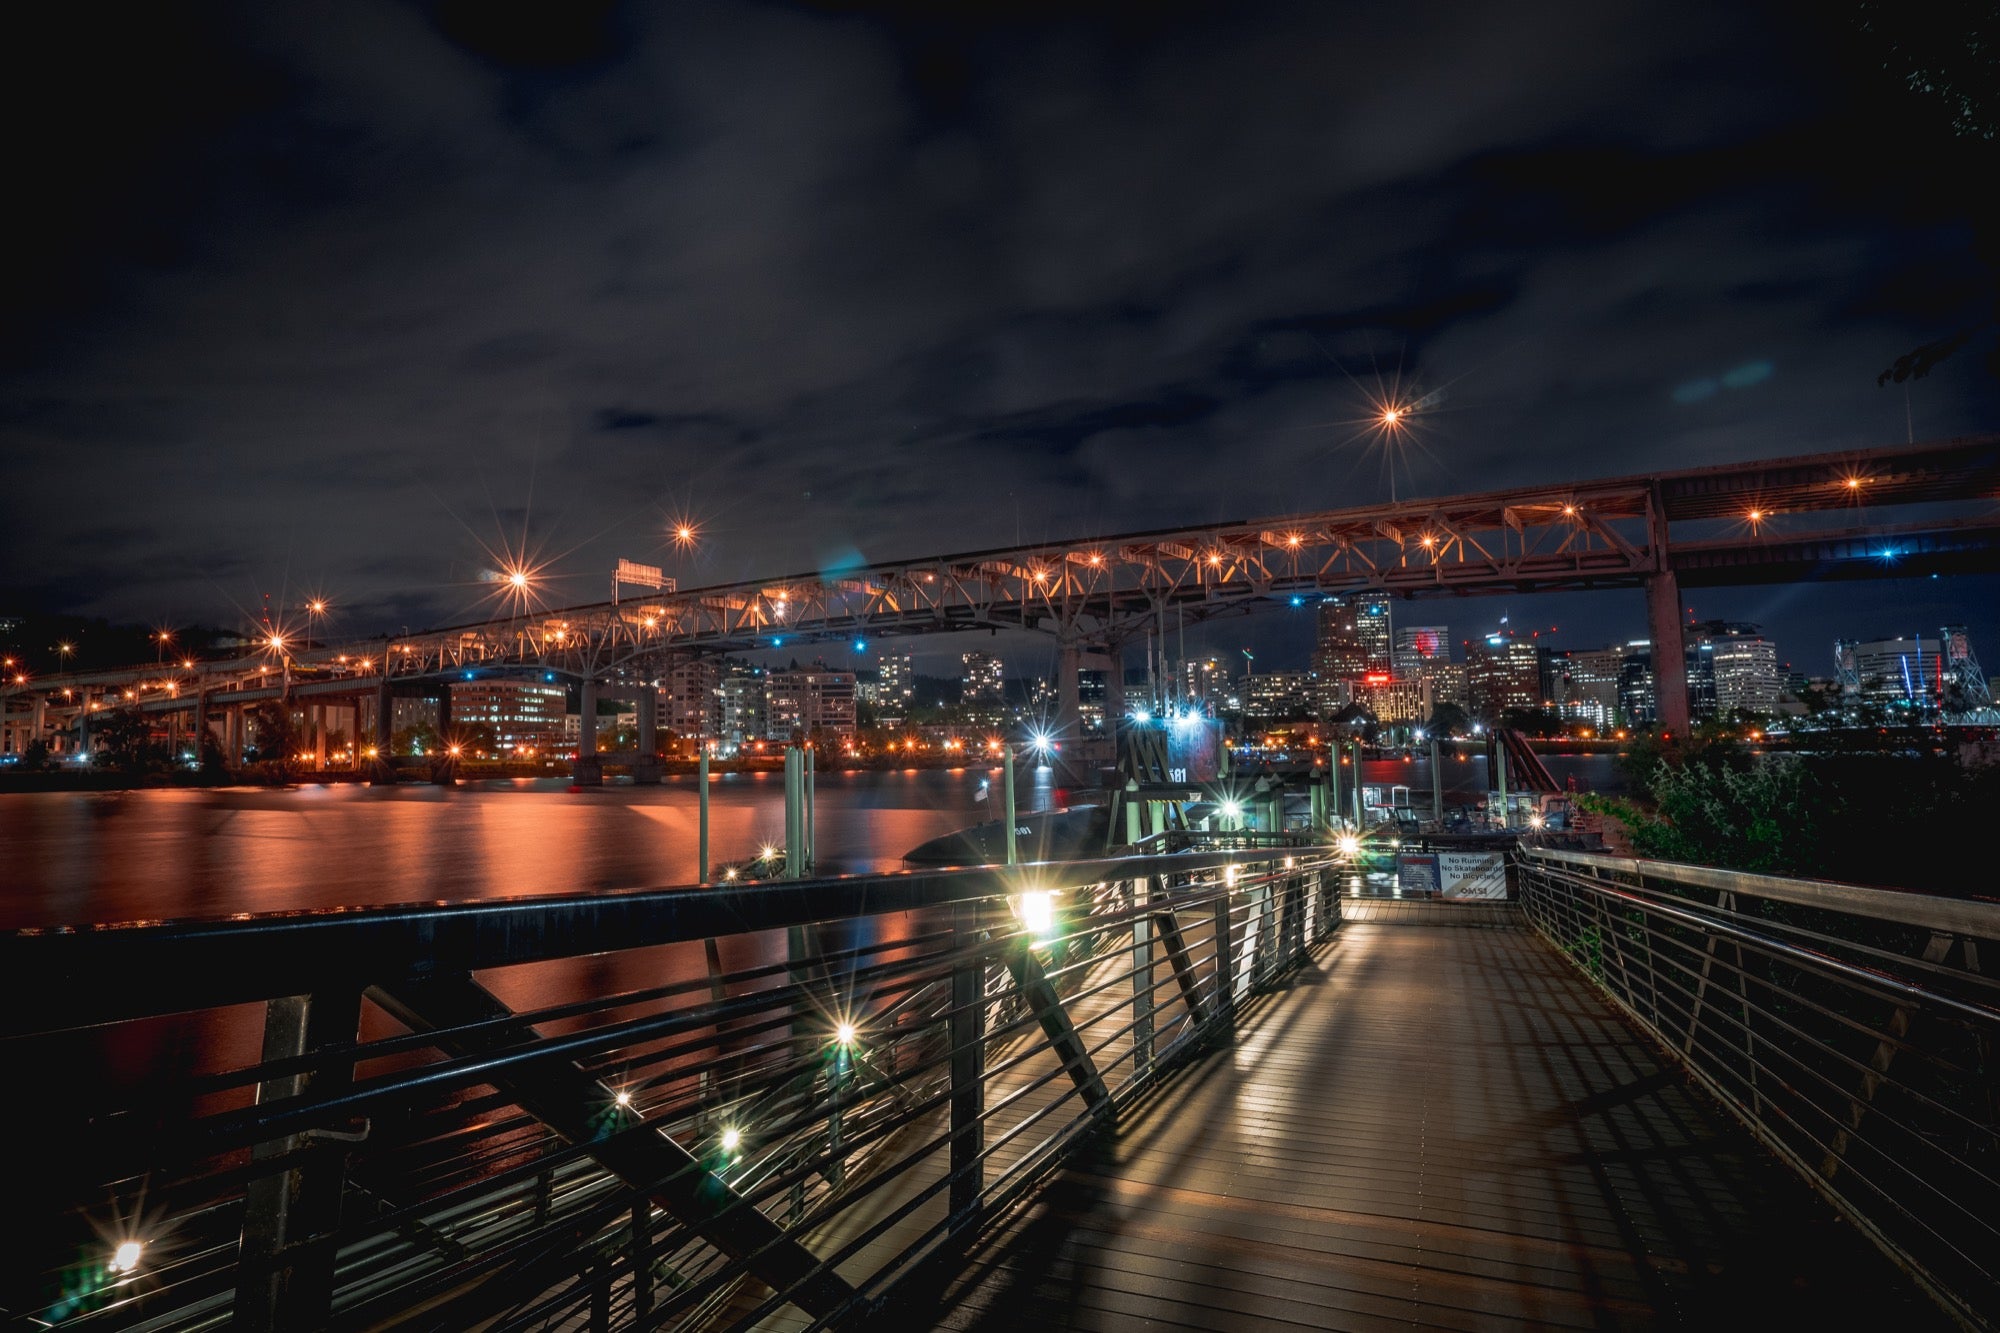 Photo by Kenneth Hines (@professorhines). Portland, OR. Sony α7. Sony 16-35mm f/4 lens. 24.99-sec., f/18, ISO 320.
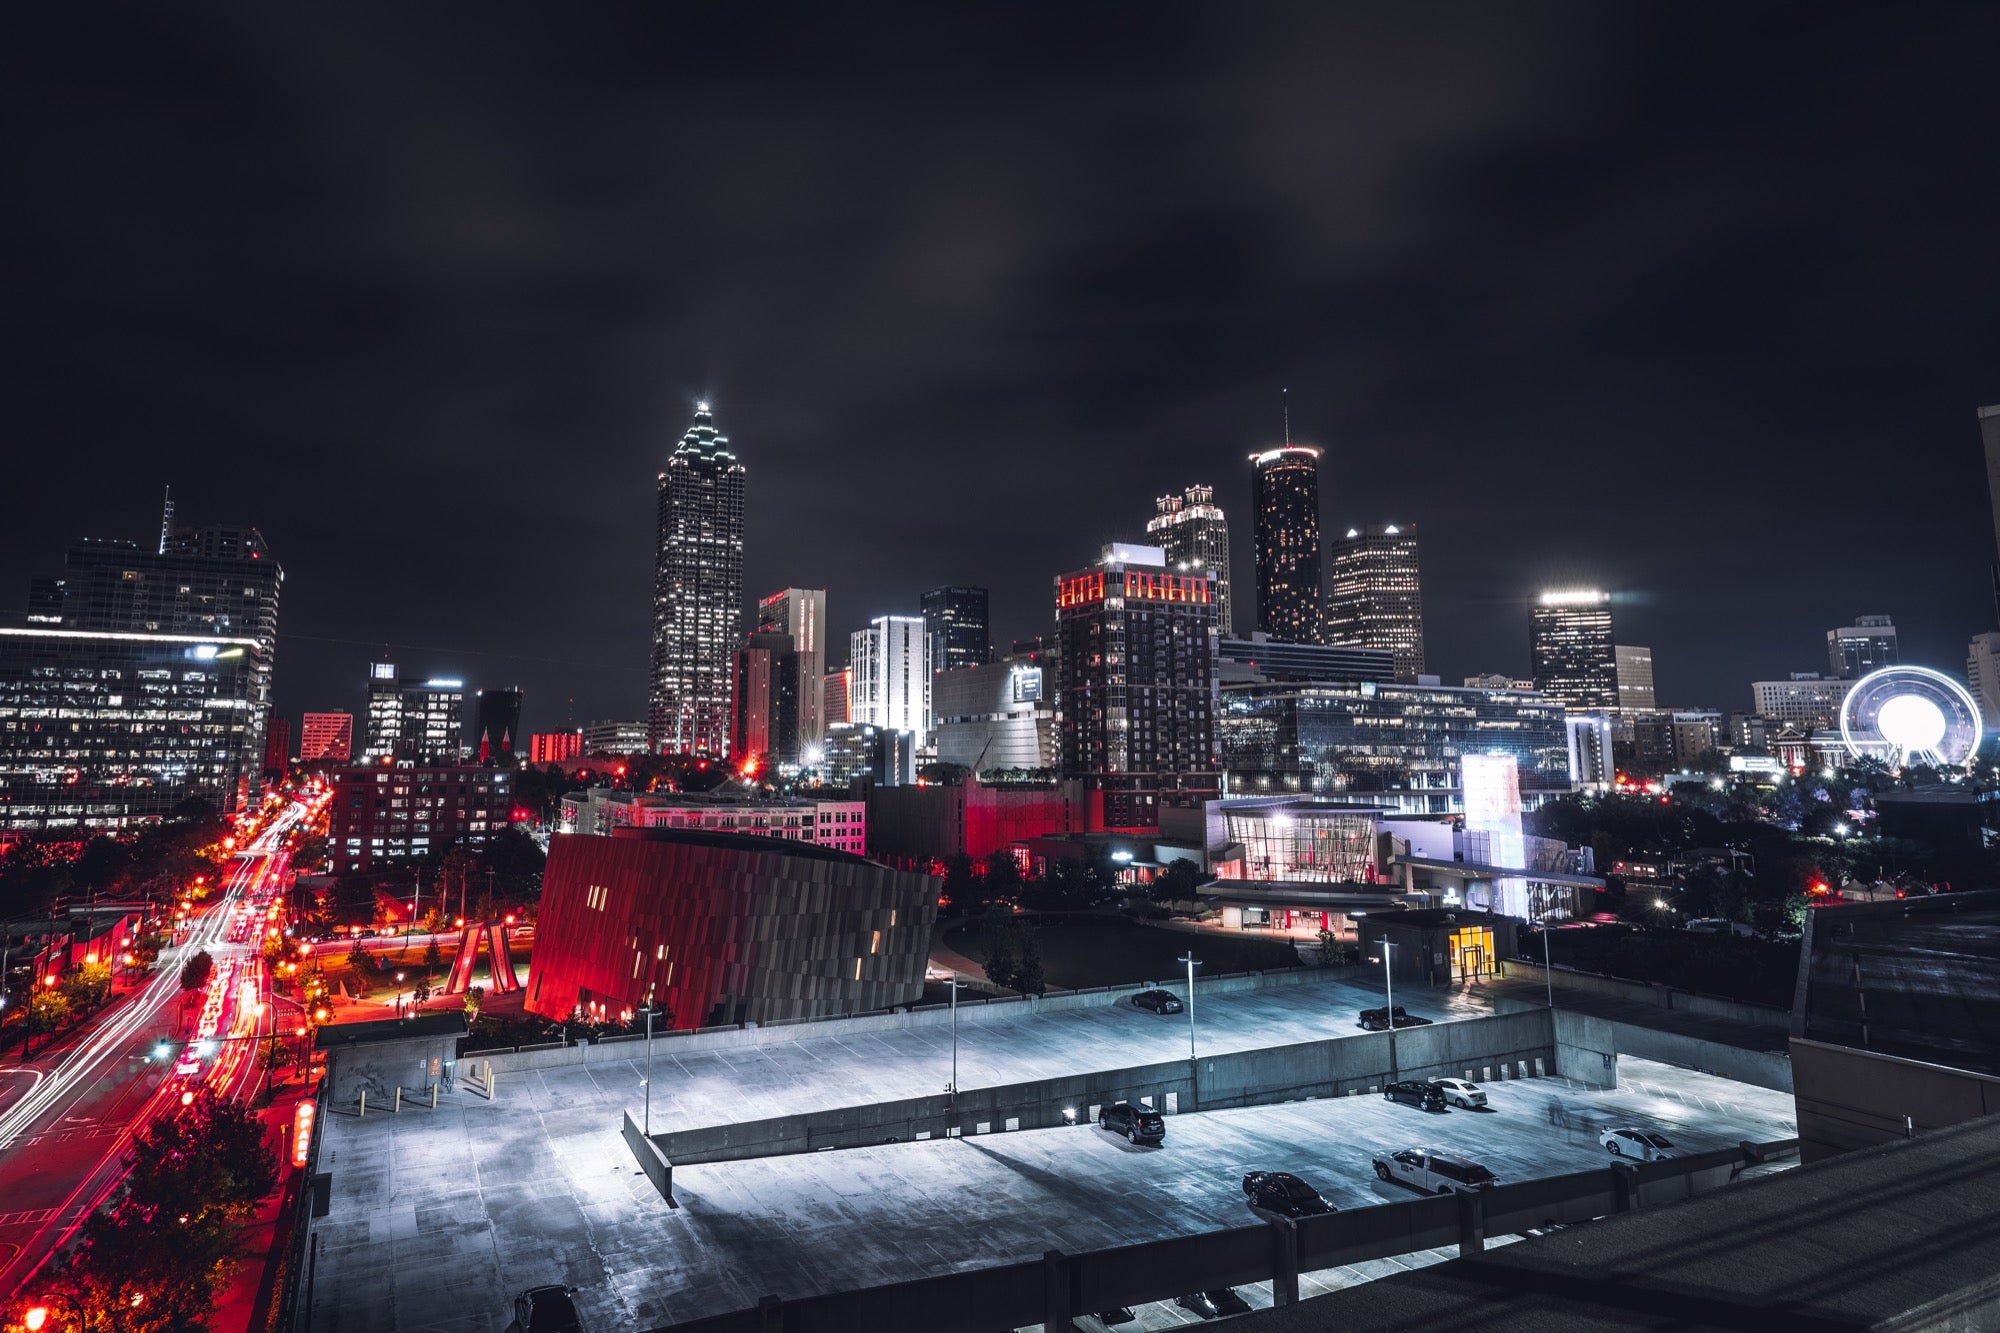 Photo by Kenneth Hines (@professorhines). Atlanta, GA. Sony α7. Sony 16-35mm f/4 lens. 30-sec., f/13, ISO 64.
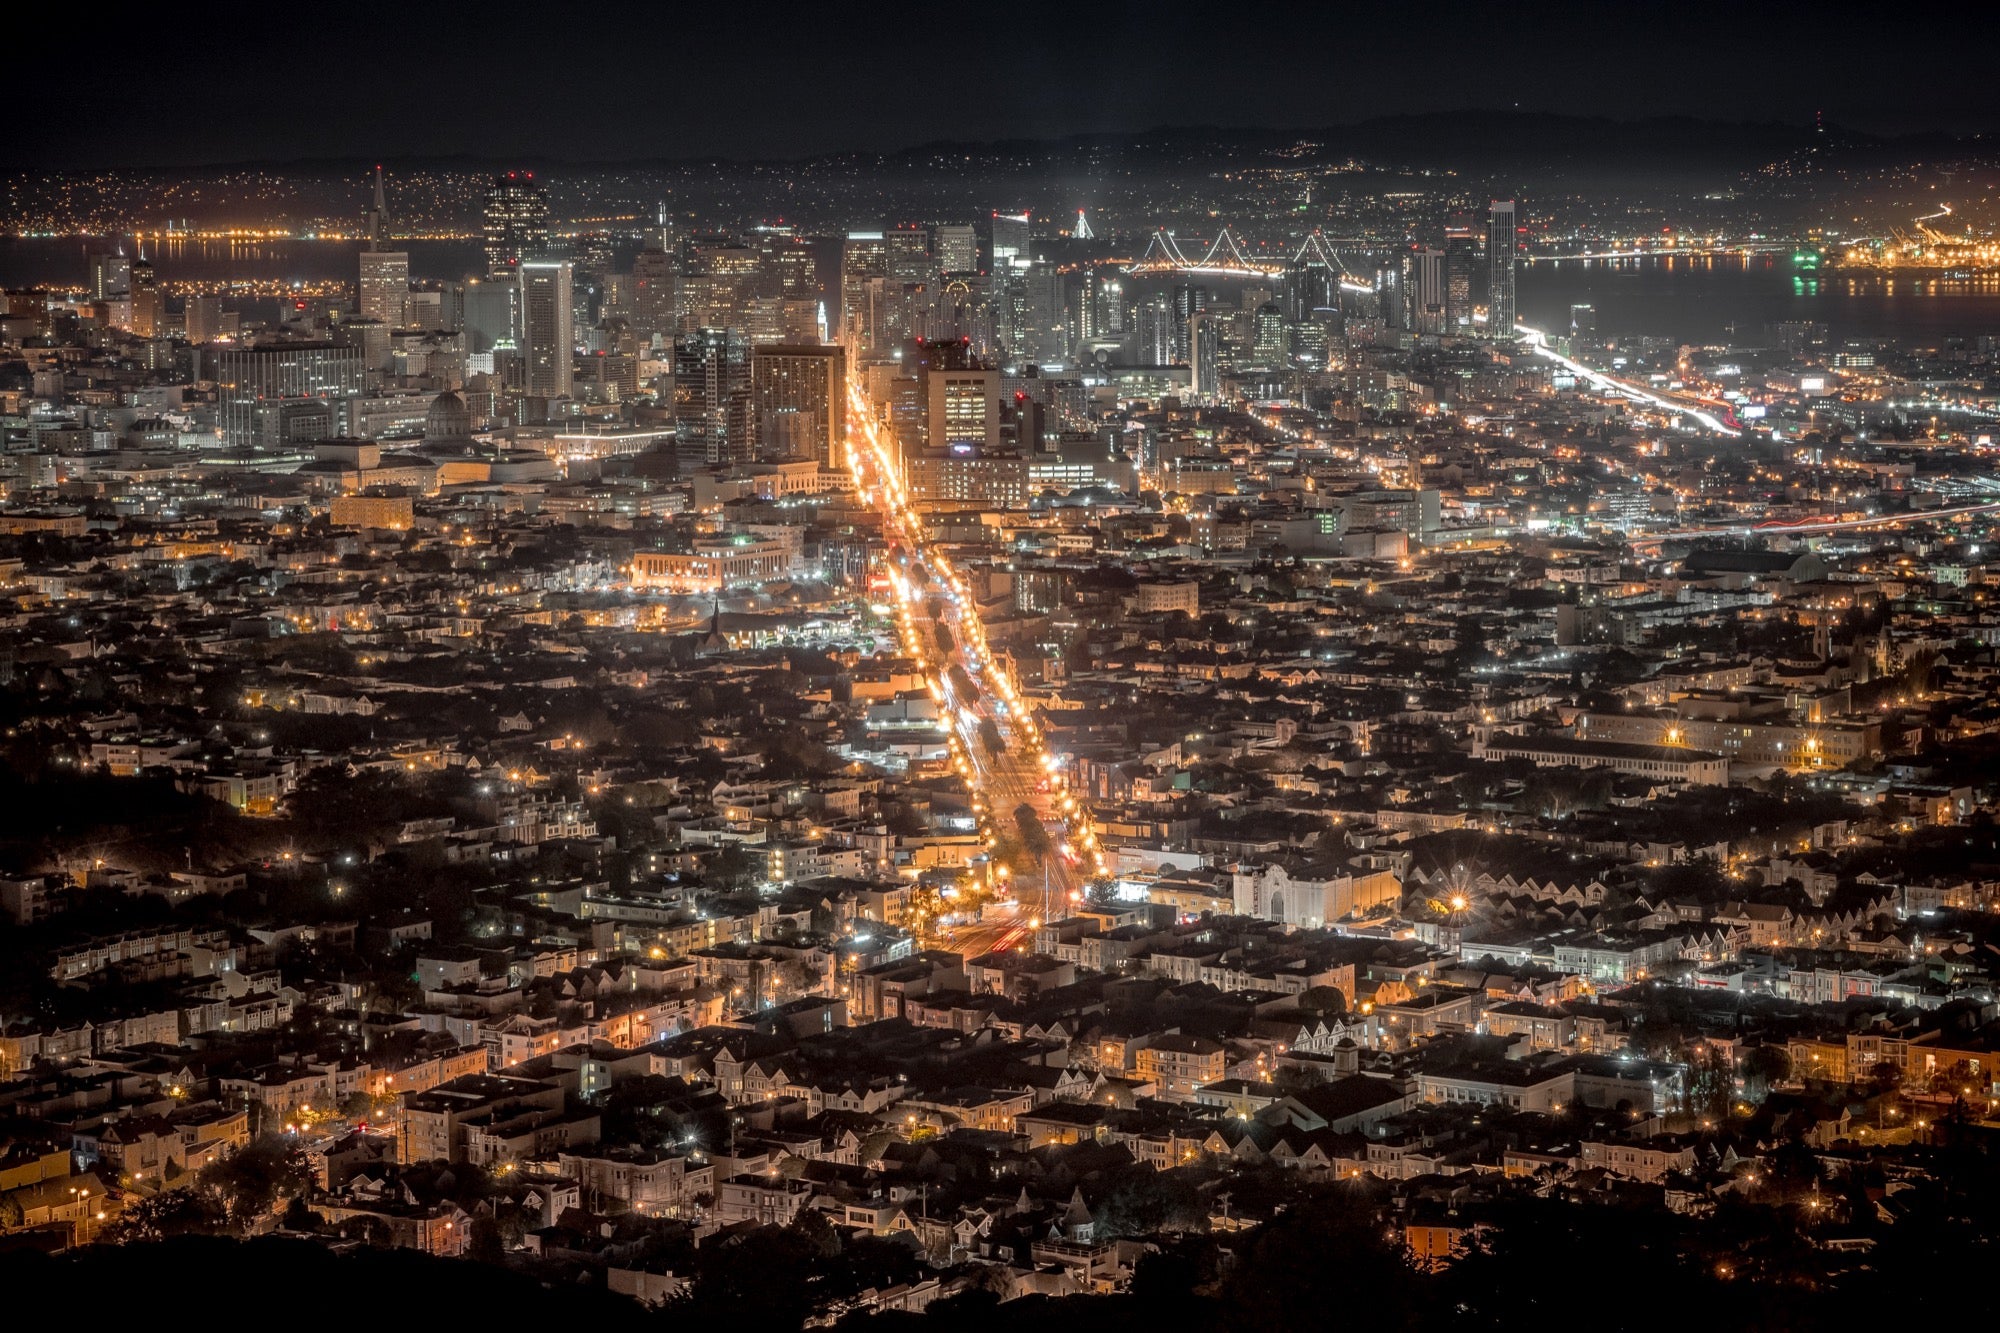 Photo by Kenneth Hines (@professorhines). Twin Peaks in San Francisco, CA. Sony α7. Sony 24-70mm f/4 lens. 6-sec., f/10, ISO 400.
San Francisco has a very densely populated skyline, but only the area near the Bay Bridge has the tallest buildings, which really makes for great night images. I wanted to only capture that so I shot at 70mm, which was a perfect crop for this image. 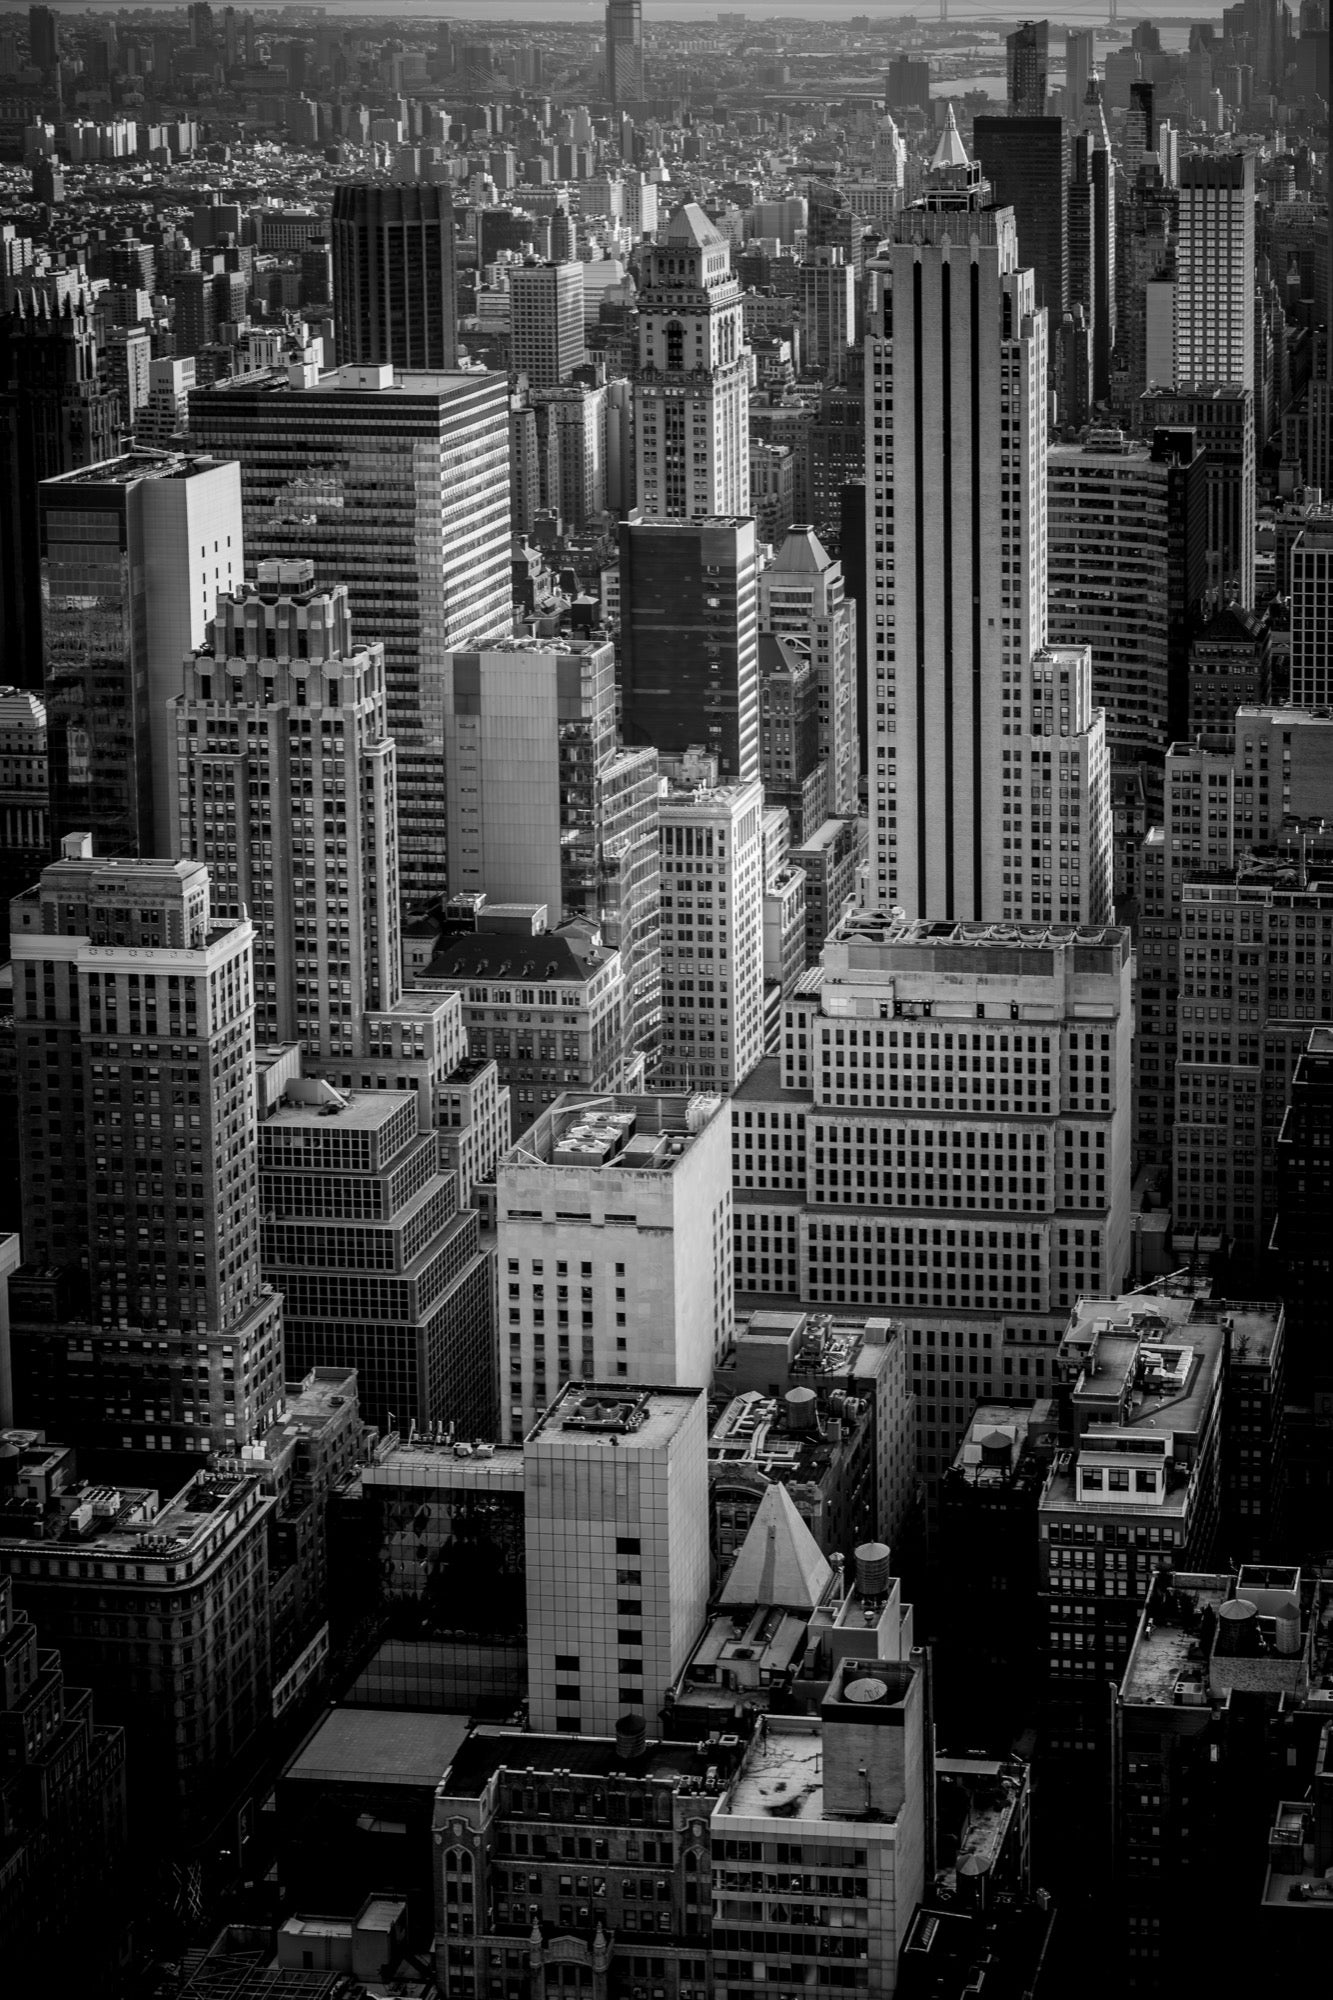 Photo by Kenneth Hines (@professorhines). Rockefeller Center’s “Top of the Rock” in New York, NY. Sony α7. Sony 55mm f/1.8 lens. 1/20-sec., f/8, ISO 64.
Kenneth Hines is part of the Alpha Imaging Collective. You can follow him on Instagram @professorhines

