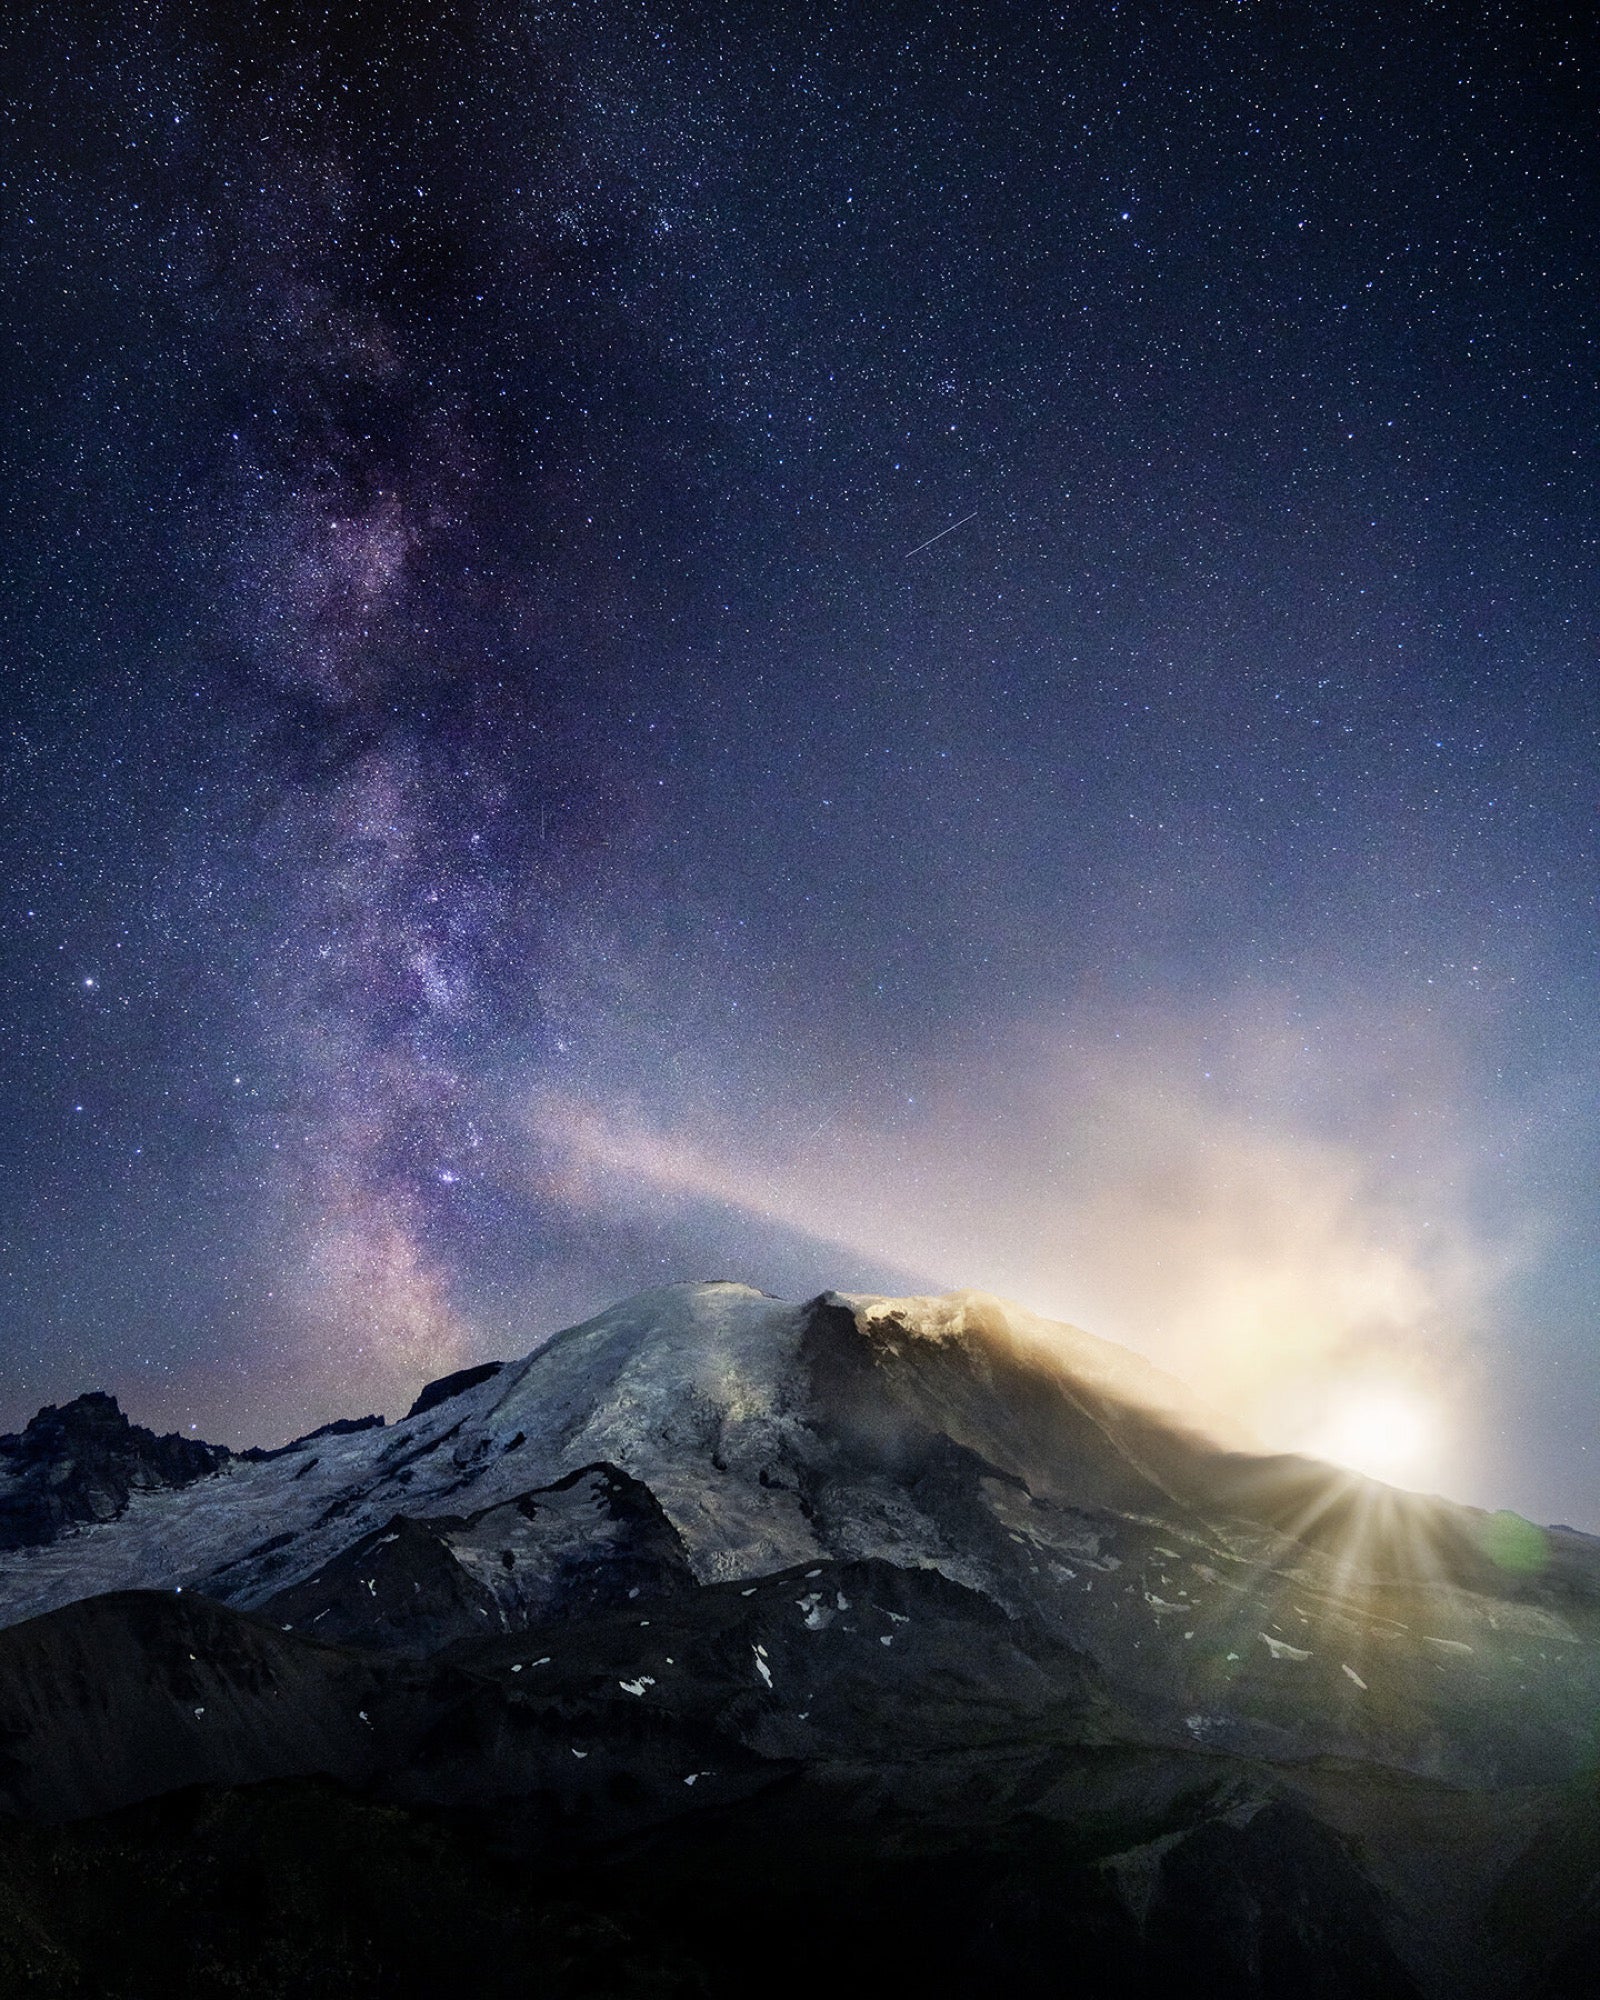
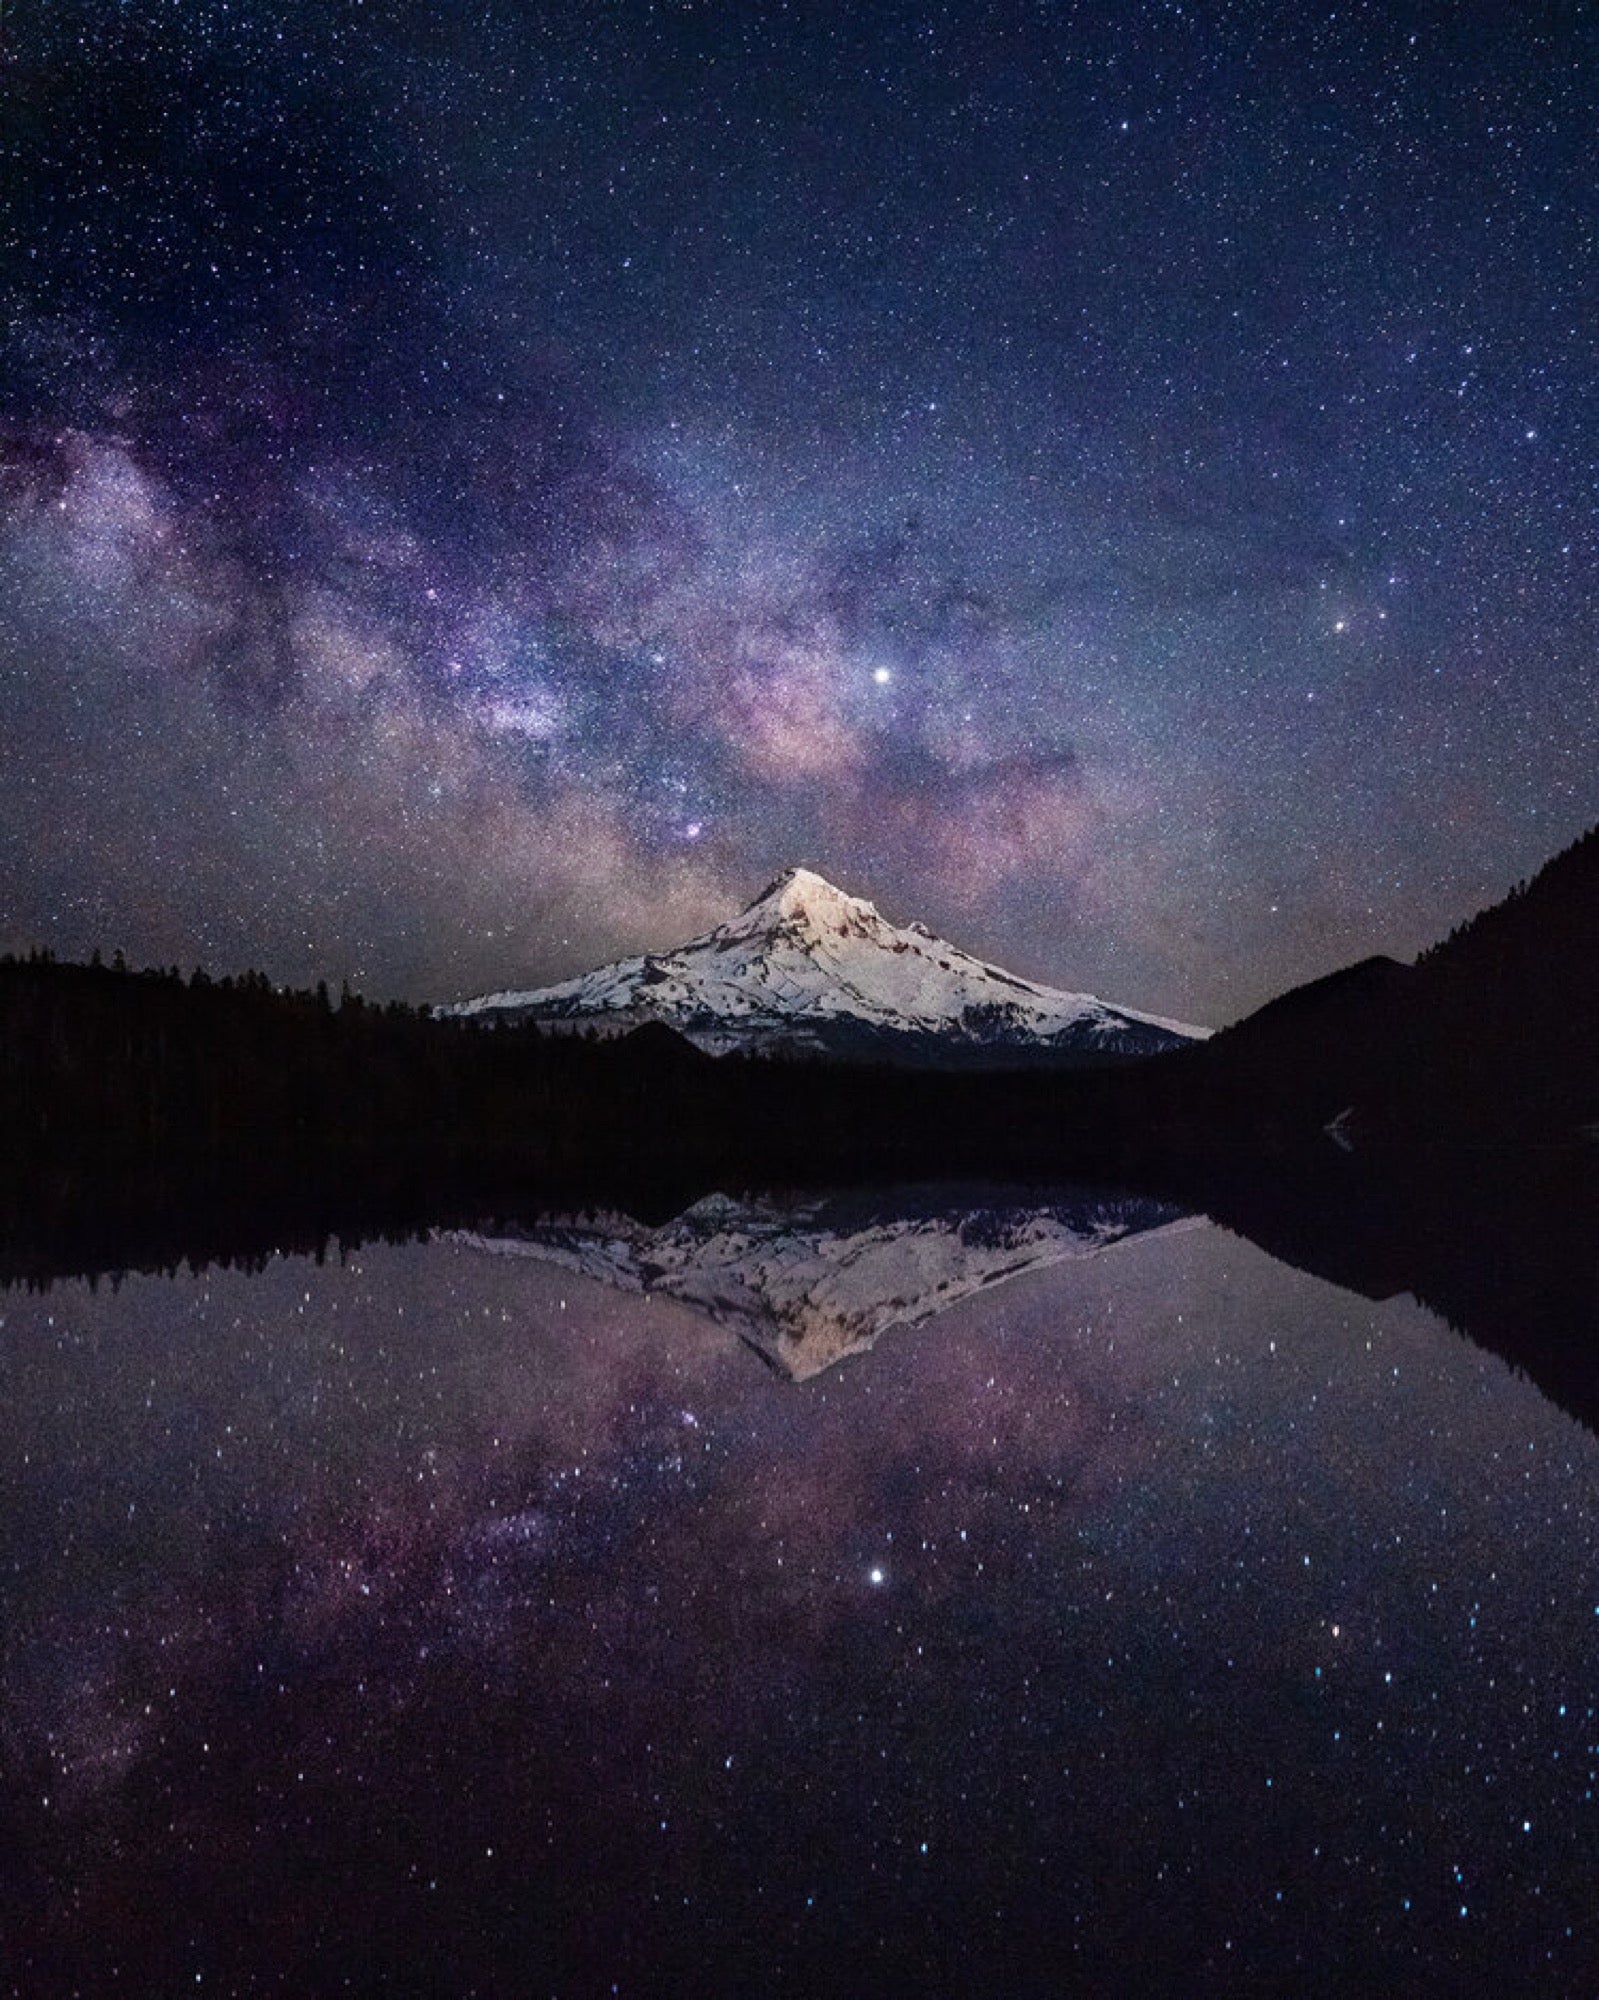
Astrophotography and astro-landscapes where the terrestrial landscape is seen beneath the star-studded splendor of the Milky Way, have become doable without the need for specialized telescopes or filters. A quick cruise through Instagram reveals how photographers are bringing out their cameras and getting creative after the sun goes down. We connected with landscape, adventure and astro-photographer Autumn Schrock (@autpops) to find out how she sets up her Sony Alpha mirrorless camera and the gear she uses to create her stunning images. (Also, note that on Autumn’s website, you can find her complete guide to astrophotography.)

Gear
You don’t need a ton of gear to shoot astrophotography, but there are certain requirements to keep in mind that will make a big impact. A camera body that’s able to operate manual shooting mode is mandatory, lenses that are wide angle (8mm - 35mm) with fast apertures (think f/1.4 - f/2.8) are preferable, and don’t forget a tripod (which I have, ahem, done!). The following gear options that I use and recommend will give you the best results, but this is by no means an exhaustive list – there are more affordable options out there, but at the cost of image quality.
Camera Bodies
Sony α7R III: My go-to camera body. From wildlife to landscapes to portraits, the 42MP offers me a great deal of flexibility without losing image quality. I’ve been very impressed with its low-light capabilities while shooting the night sky.
Sony α7 III: While I love my α7R III more than anything, I can definitely notice a difference in the light sensitivity of this body when shooting at night. I get half the megapixels of the α7R III, but 24MP is plenty for me.
Lenses
Sony 20mm f/1.8 G: This is my pick for astrophotography. Sony’s widest G prime is incredibly fast and sharp, making for an excellent low-light lens. Its compact size makes it very travel friendly, and the 20mm focal length is versatile for all sorts of shooting scenarios.
Sony 16-35mm f/2.8 G Master: The zoom range is ideal for photographing the night sky, and the G Master’s f/2.8 is fantastic to have. It’s a very sharp lens in a pretty small package, and I highly recommend it for astrophotography.
Sony 24-70mm f/2.8 G Master: The lens that’s almost always attached to my camera during the day. Not typically regarded as an exceptional astrophotography lens, but it does a great job in my book for tighter compositions. Like all of Sony’s G Master lenses, it’s amazingly sharp, and the low aperture is a must.
Other Gear
Vanguard VEO 2 265CB Tripod: The perfect blend of sturdy and portable. The carbon fiber construction keeps the weight down and the ball head is easy to use even when wearing burly mittens.
Sony TOUGH SD Cards: Let’s talk about peace of mind. Not only are these incredibly fast, they’re also dust, dirt, water, mud and grime-proof for whatever nonsense comes your way.
Black Diamond Spot 325 Headlamp: If you’re shooting at night, you’ll need a light! Safety first, kids. Flashlights are a hassle when needing to change lenses or batteries or basically anything, so a headlamp is the way to go.
Shimoda Designs Action X50 Backpack: Hands down my favorite photography bags. From the thoughtful details like strap customization to the rugged materials, these bags are awesome. Most importantly, they’re comfortable.

My Camera Settings
Before you head out, I find that it’s simpler to set up your nighttime camera settings without needing the assistance of a headlamp to find buttons. I shoot with Sony cameras and I can save all of my astrophotography settings and access them on the mode dial which is super convenient.
RAW Format: It’s typically a good idea to shoot in RAW instead of JPEG, but this is especially important when taking your camera out at night. RAW captures and stores all of the information that hits your sensor, whereas JPEG compresses and tosses out information to save space. Since you’ll already be struggling to get enough image information at night, RAW is essential for high quality images. Note: You can choose compressed or uncompressed RAW, but I find uncompressed is preferred. Uncompressed will give you slightly more information to work with in post-processing, but if you don’t have much file storage space, compressed RAW is passable.
Shutter Delay: Even the slightest camera movement (like pressing the shutter button) can result in a blurry photo when taking a long exposure, but this can easily be eliminated by using a remote shutter or the built-in self-timer in most cameras. A 2 or 5-second delay will give your camera enough time to settle after you’ve pressed the shutter button, giving you crisp images with no movement.
Manual Shooting Mode: This setting allows you to have full control over the exposure. I adjust the aperture, shutter speed, and ISO manually instead of allowing the camera to try on its own.
Manual Focus Mode: I always say that the most challenging part of astrophotography is focusing. I use manual focus to focus at infinity. If your lens has an AF/MF switch on it, easy breezy! Just switch it to Manual. If not, you can turn on manual focus through your camera menu. Some lenses also come equipped with focus distance markings that display an infinity symbol to help guide you, some don’t. When manually focusing on my Sony bodies, they will automatically zoom in for me to see better once I turn the focus ring. I can zoom in even further by pressing the center button inside the control wheel. This helps me tremendously as I don’t have the best vision, especially at night.
Bright Monitoring: This camera setting in my Sony cameras dramatically brightens the image in the electronic viewfinder (EVF), making it much easier to see the scene to compose. Bright Monitoring can be an astro-photographer’s best friend on a dark night. You can see more about Bright Monitoring in Sony cameras here.
(Optional) Long Exposure Noise Reduction OFF: Your camera may or may not have a long exposure noise reduction setting that will take a second exposure after your set exposure to aid in removing hot pixels. I usually leave this setting turned off to save time and battery life.
Getting the Right Exposure & The Rule Of 500
You’ve made it to your shooting spot and set your camera up on the tripod—now what? It’s time to manually focus on the brightest star in the sky. Take a test photo, scope it out, and adjust from there. Don’t worry, it’s rare if I nail the focus on the first try, especially with a super wide lens. Once you’ve focused and generally set up your composition, the fun begins!
There are an infinite number of variables that can affect your exposure, and I encourage you to experiment and play around with it. This is a good place to start:
Aperture: It’s generally a best practice to choose the widest aperture that is available for your lens. You want as much light as possible to hit your sensor. A range from f/1.4 - f/2.8 is ideal. There are times when it is SO dark, that I only want to use my fastest prime lenses so that I can get more light than my zooms would give me.
Shutter Speed: This is my most-changed variable when shooting at night. I like to play around with different speeds for different effects or for compositing photos together later in post. It is important to note the Rule of 500 here. You’d think that you should set your shutter speed to 30 seconds to get more light, but because we are on a spinning planet, you’ll get movement called star trails.
The Rule of 500 is a guide for determining your maximum exposure time without getting star trails. It’s an easy concept to remember if you shoot with a full frame body: divide your focal length by 500. Although it’s called the Rule of 500, I find that it’s a little too liberal with a 42MP camera, so with my α7R III, I typically use 300 instead. For example, if your focal length is 24mm, the maximum shutter speed that you should use is 12.5 seconds:
Full Frame: 300 / (focal length) = maximum shutter speed
Ex. 300 / 24 = 12.5 seconds
For a crop sensor body, you’ll first need to figure out the crop factor of your sensor. If you aren’t sure of the size of your sensor, look up your camera model online and/or peruse the manual. Multiply your focal length by your camera’s crop factor to get the equivalent focal length to divide by 300:
Crop Sensor: (focal length) x (crop factor) = equivalent focal length → 300 / (equivalent focal length) = maximum shutter speed
Ex. 24 x 1.5 = 36 → 300 / 36 = 8.3 seconds
ISO: My second most-changed variable when shooting at night. Usually an ISO around 1600-3200 will be sufficient with an aperture of f/1.8 or f/2.8, although I’ve taken shots at 10,000 ISO and still been pleased (yeah, Sony!).
White Balance: An often-overlooked setting, you can leave this on auto and come away with great results, but sometimes city lights or the moon throws the colors off and everything comes out a little whack. While it’s easy enough to adjust white balance through post-processing if you shoot in RAW, it’s a good practice to handle this in-camera. When choosing a custom white balance for astro, I find that I’m drawn toward cooler skies and usually live in the Kelvin range of 3800 - 4800, depending on the scene.
See more about how Autumn Schrock makes her astro photos, including composition tips and post-processing techniques at autumnschrock.com. Also, Autumn is a regular participant in the Alpha Female group on Facebook.


